Introduction
Text messaging has become an indispensable part of our daily communication. Whether it’s delivering an urgent message, sharing a funny anecdote, or simply staying in touch with friends and family, the ability to send quick and convenient text messages right from our smartphones has revolutionized the way we communicate.
With the plethora of messaging apps available, it can be overwhelming to choose the right one that suits your needs and preferences. However, once you have selected the perfect messaging app, you can unlock a world of features and customization options that will enhance your texting experience.
In this article, we will guide you through the process of selecting the right messaging app, syncing your contacts, composing text messages, adding emojis and GIFs, attaching photos and videos, sending voice messages, utilizing the voice-to-text feature, managing group chats, protecting your privacy, adding a signature to your messages, using shortcuts and auto-correct, customizing your texting experience, and troubleshooting common issues.
Whether you are new to texting or simply looking to optimize your messaging skills, this comprehensive guide will provide you with the knowledge and tips necessary to master the art of texting from your smartphone.
So, grab your smartphone and let’s dive into the wonderful world of text messaging!
Choosing the Right Messaging App
When it comes to choosing the right messaging app for your smartphone, there are several factors to consider. With a multitude of options available, each app offers its own set of features and advantages. Here are some key considerations to help you make an informed decision:
- User Interface: Pay attention to the app’s user interface and how easy it is to navigate. Look for a clean and intuitive design that suits your personal preferences.
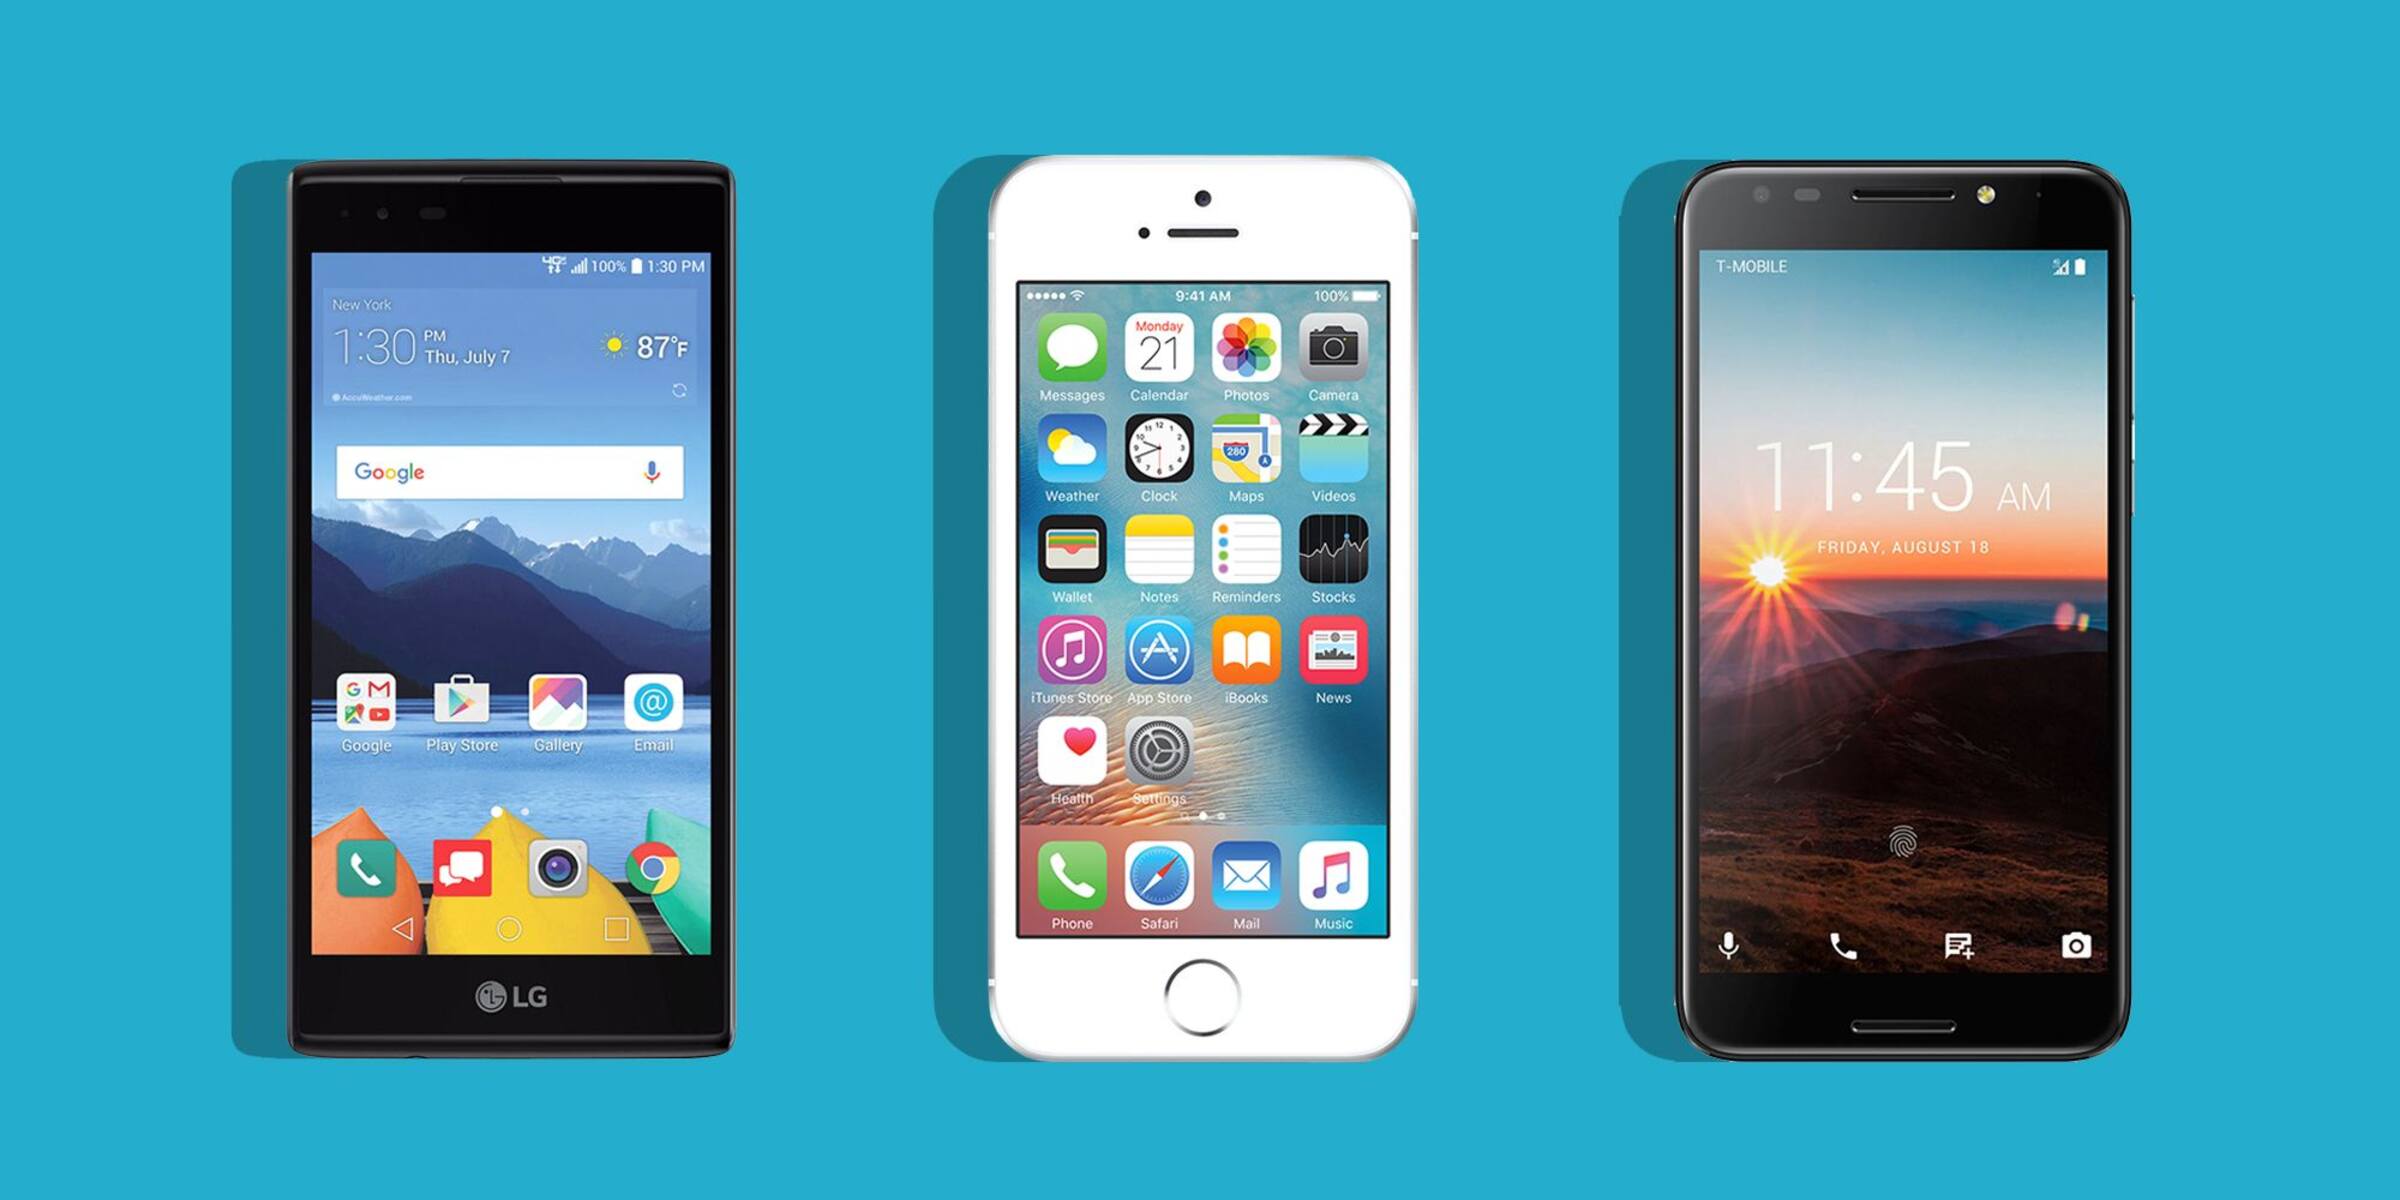
- Compatibility: Ensure that the messaging app is compatible with your smartphone’s operating system. There are apps that cater specifically to iOS, Android, or both.
- Security: Look for messaging apps that prioritize user privacy and offer end-to-end encryption to secure your conversations.
- Features: Consider the features that are important to you. Are you interested in video calling, voice messaging, or the ability to send multimedia files?
- Integration: Check if the app integrates well with other services and apps on your smartphone, such as your contacts, calendar, or cloud storage.
- Popularity: Take into account the popularity of the messaging app among your contacts. It’s more convenient to use an app that most of your friends and family are already using.
Some popular messaging apps that you can consider are WhatsApp, Facebook Messenger, iMessage, Telegram, and Signal. These apps offer a wide range of features and are widely used by millions of people around the world.
Ultimately, the right messaging app for you will depend on your personal preferences and specific needs. Take your time to research and test different apps to find the one that best suits your communication style. Once you have chosen the perfect messaging app, you can move on to the next step: syncing your contacts.
Syncing Your Contacts
One of the first things you’ll want to do after choosing a messaging app is to sync your contacts. Syncing your contacts allows you to easily find and communicate with your friends, family, and colleagues without manually entering their phone numbers each time you want to send a message. Here’s how to sync your contacts:
- Grant Permission: When you open the messaging app for the first time, it will likely prompt you to grant permission to access your contacts. Allow the app to access your contacts so it can sync them automatically.
- Manual Import: If the app does not automatically sync your contacts, you can manually import them. Go to the app’s settings or contact management section and look for the option to import contacts. You may be given the option to import contacts from your phone’s address book or from other sources, such as Google or iCloud.
- Verify and Update: After syncing your contacts, take a moment to verify that all of your contacts are correctly imported. Check for any missing or duplicate entries and make any necessary updates or edits.
- Group Contacts: Some messaging apps allow you to create contact groups for easier communication. Consider organizing your contacts into groups based on family, friends, colleagues, or any other categories that make sense to you.
- Profile Pictures: If your contacts have profile pictures associated with their phone numbers, many messaging apps will automatically display these pictures in your conversations. It’s a great way to personalize your messaging experience and quickly identify who you’re talking to.
Syncing your contacts only needs to be done once, and the messaging app will automatically update your contacts’ information when changes are made. This ensures that you always have the most up-to-date contact details at your fingertips.
By syncing your contacts, you’ll be able to easily find and connect with your contacts right within the messaging app. No more searching through your phone’s address book or manually entering phone numbers. With your contacts synced, you’re ready to start composing text messages and stay connected with the people that matter most to you.
Composing a Text Message
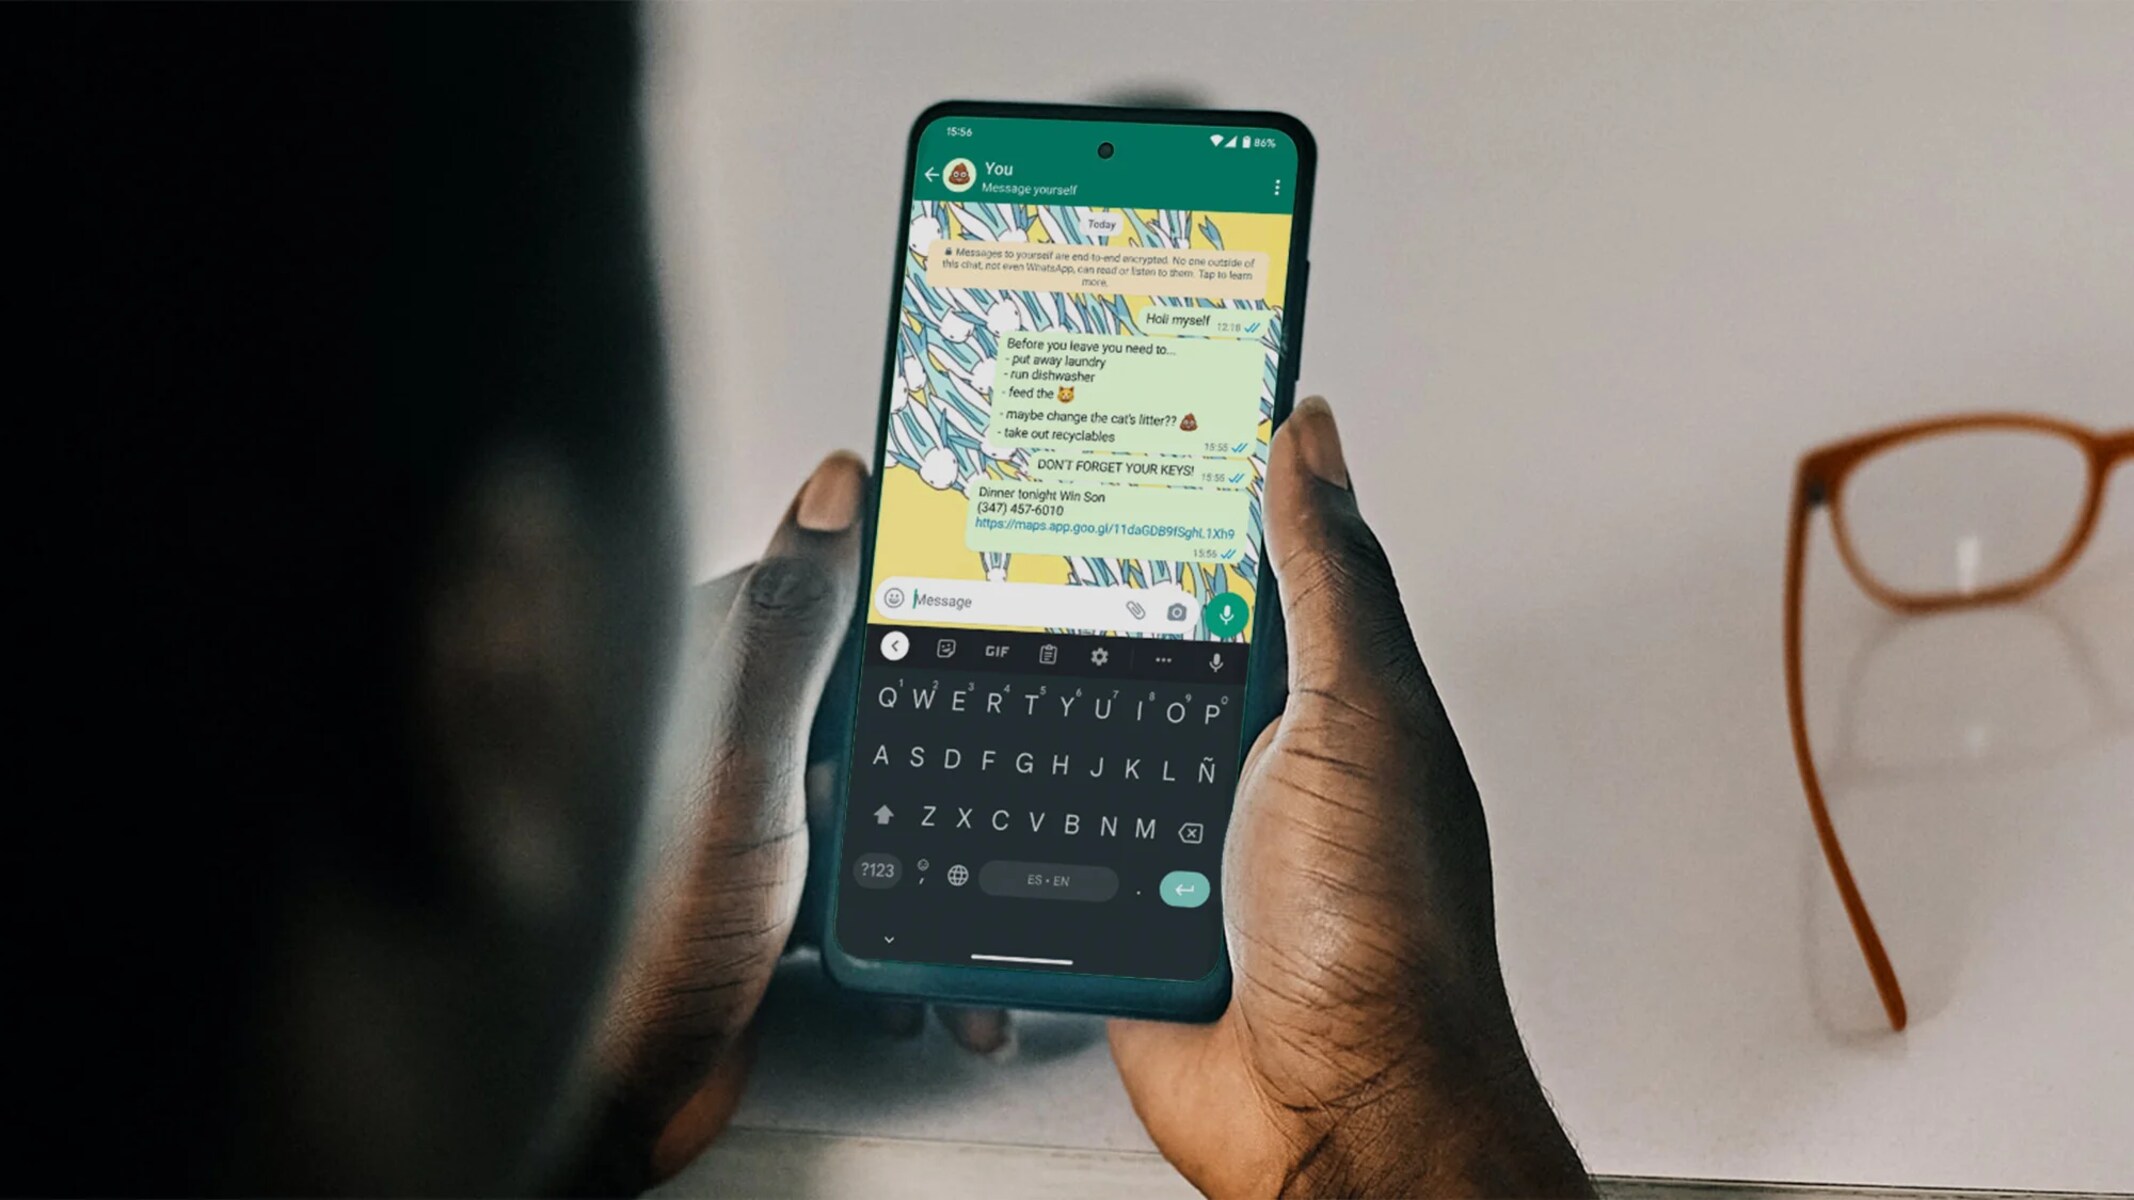
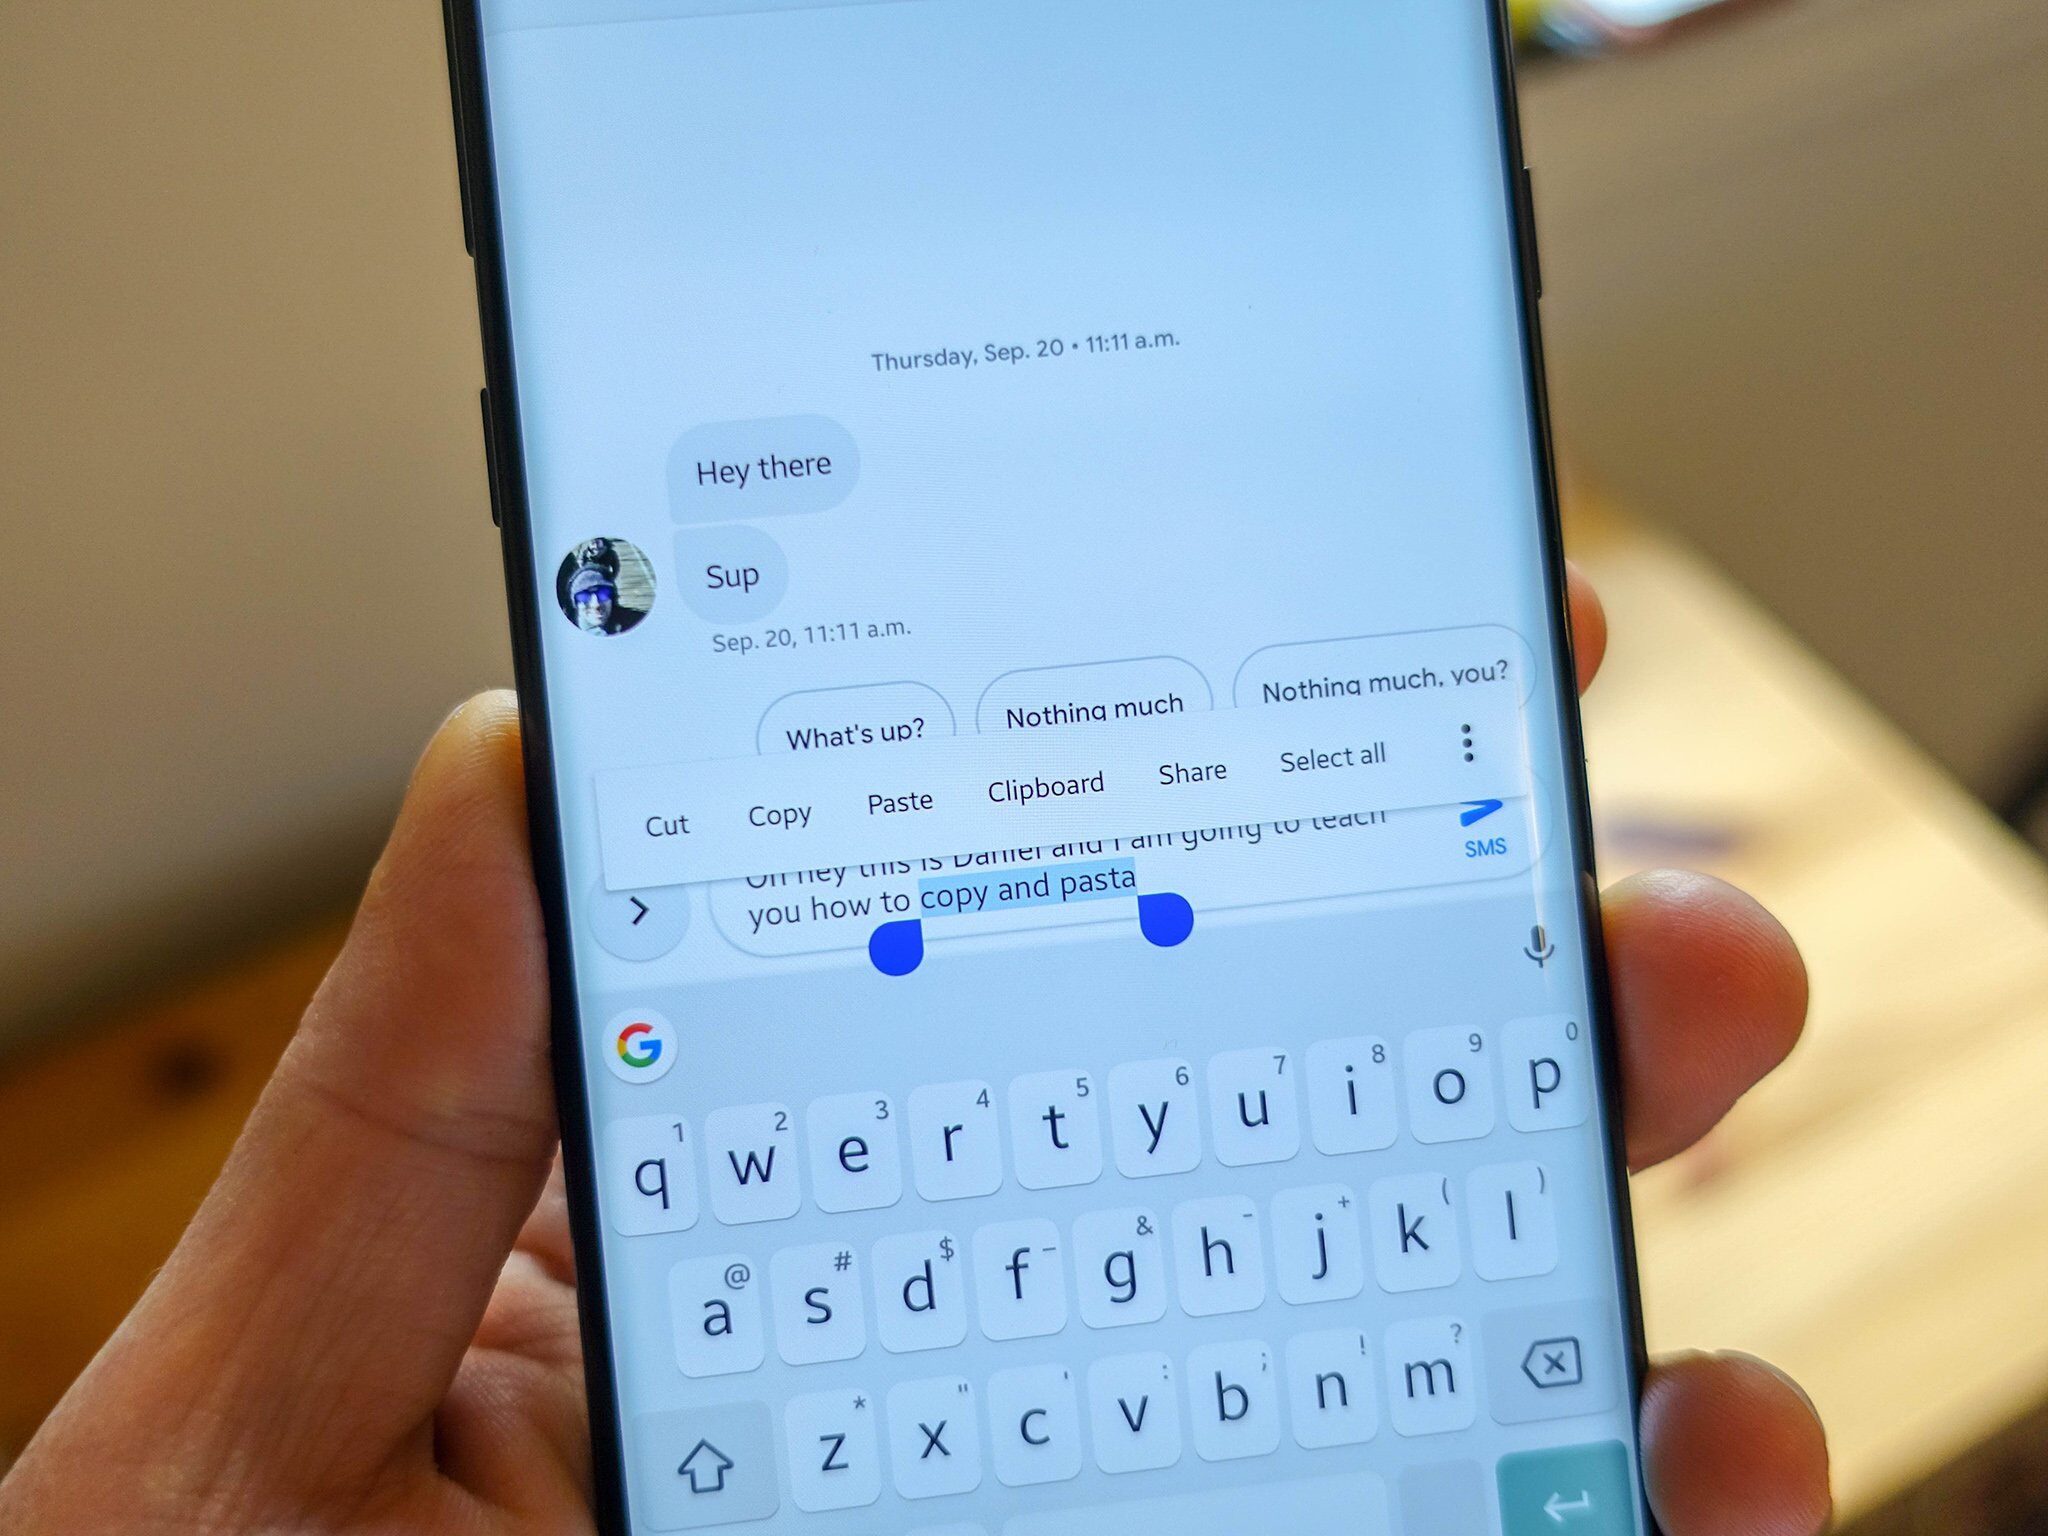
Now that you have synced your contacts, it’s time to start composing text messages. Whether you’re sending a quick hello, sharing important information, or expressing your thoughts, the process of composing a text message is simple and straightforward. Here’s how to do it:
- Open the Messaging App: Launch the messaging app on your smartphone. You’ll typically find it on your home screen or in the app drawer.
- Select a Contact: Tap on the “New Message” or “Compose” button to start a new conversation. Select the contact you want to send a message to from your synced contacts.
- Type Your Message: Once you’ve selected the contact, a text entry field will appear. Start typing your message in the field. You can include text, emojis, and even GIFs to add personality and express yourself.
- Send the Message: When you’re ready to send the message, tap on the send button, usually represented by an icon of a paper airplane or an arrow pointing right. Your message will be instantly delivered to the recipient.
Additionally, most messaging apps offer features like spell check, auto-correct, and predictive text to assist you in composing your messages. These features can save you time and help reduce errors in your texts.
Remember that texting is meant to be concise and efficient. Keep your messages short and to the point. If you have a lot to say, consider breaking it up into multiple messages or making a phone call instead.
Furthermore, be mindful of the context and tone of your messages. Text can sometimes be misinterpreted, so choose your words carefully and use appropriate punctuation and capitalization to convey your intended meaning.
Now that you have the basics down, it’s time to explore additional features that can enhance your text messages. Let’s dive into adding emojis and GIFs to spice up your texts!
Adding Emojis and GIFs
Emojis and GIFs have revolutionized how we express ourselves in text messages. They bring a whole new level of fun, emotion, and creativity to our conversations. Adding emojis and GIFs to your texts is incredibly easy and can make your messages more engaging and expressive. Here’s how to do it:
- Access the Emoji Keyboard: When composing a text message, look for the emoji icon on your keyboard. Tap on it to open the emoji keyboard.
- Select an Emoji: Browse through the different categories of emojis to find the one that best represents your feeling or the message you want to convey. Simply tap on an emoji to insert it into your text message.
- Use Emoji Suggestions: Some messaging apps have a feature called emoji suggestions, which automatically recommend emojis based on the words you type. For example, if you type “happy,” it might suggest a smiling face emoji. Take advantage of this feature to quickly add emojis to your messages.
- Add GIFs: Many messaging apps also support the ability to send animated GIFs. Look for the GIF button or option in the message composer. You can search for specific GIFs or browse through popular categories to find the perfect one. Tap on a GIF to add it to your message.
- Express Yourself: Get creative with your use of emojis and GIFs. Play around with different combinations and sequences to convey your emotions or add a touch of humor to your messages.
Emojis and GIFs can add a whole new dimension to your text messages, making them more engaging and enjoyable for both you and the recipient. They can help you express yourself in a visual and entertaining way that words alone sometimes cannot capture.
However, it’s important to use emojis and GIFs in moderation. Overusing them can make your messages appear cluttered and distract from the actual content. Be mindful of the context and the person you’re communicating with. Some professional or formal conversations may not be appropriate for excessive emoji or GIF usage.
Now that you know how to spice up your texts with emojis and GIFs, let’s move on to learning how to attach photos and videos to your messages.
Attaching Photos and Videos
Text messages are not limited to just text – you can also easily share photos and videos with your contacts. Whether you want to share a memorable moment, a funny clip, or an important image, attaching photos and videos to your messages allows you to enhance your communication and make it more visual. Here’s how to do it:
- Open the Messaging App: Launch the messaging app on your smartphone and select the contact you want to send the photo or video to.
- Tap on the Attachment Icon: Look for the attachment icon, often represented by a paperclip or a camera icon. Tap on it to access the options for adding attachments.
- Select the Photo or Video: Choose where you want to select the photo or video from. You can either select it from your phone’s gallery or take a new photo or video using your smartphone’s camera.
- Preview and Edit: Before sending the photo or video, you may have the option to preview and make edits. Some messaging apps offer basic editing tools like cropping, rotating, or applying filters to enhance the visual quality.
- Send the Attachment: Once you’re satisfied with the photo or video, tap on the send button to attach it to your message. Depending on the file size and your internet connection, it may take a moment to upload and send.
Attaching photos and videos to your messages allows you to share experiences, memories, and information in a more visually appealing way. It adds depth and context to your conversations, making them more engaging and interactive.
Keep in mind that large media files can take up storage space and affect your data usage if you’re not connected to Wi-Fi. Consider resizing or compressing the photos and videos before sending, especially if you’re sending multiple files or large-sized files.
Now that you know how to attach photos and videos to your messages, let’s explore another exciting feature: sending voice messages.
Sending Voice Messages
Text messages don’t always have to be typed out – you can also use the convenient option of sending voice messages. Voice messages allow you to communicate in a more personal and expressive way, giving your contacts the opportunity to hear your tone and emotions. Here’s how to send voice messages:
- Open the Messaging App: Launch the messaging app on your smartphone and select the contact you want to send a voice message to.
- Tap on the Microphone Icon: Look for the microphone icon in the message composer. Tap and hold on the microphone icon to start recording your voice message.
- Record Your Message: While holding the microphone icon, speak your message clearly into your smartphone’s microphone. You can record as long as you want, but be mindful of the length to keep the message concise and focused.
- Release the Microphone Icon: Once you’ve finished recording your message, simply release the microphone icon to stop the recording. The voice message will be instantly attached to your text message.
- Send the Voice Message: Tap on the send button to send the voice message to your contact. They can play the voice message to listen to your recorded message.
Sending voice messages adds a personal touch to your conversations, especially when you want to convey tone, emotion, or a sense of urgency. It’s a great way to communicate when typing a lengthy message may not be convenient or when you want to connect on a more intimate level. Your contacts will appreciate the effort and enjoy hearing your voice.
Keep in mind that voice messages are similar to recorded phone calls, so be considerate of the environment you’re in when recording. Find a quiet place where you can speak clearly without interruptions or excessive background noise.
Now that you know how to send voice messages, let’s explore another useful feature: using the voice-to-text feature to convert your spoken words into text.
Using Voice-to-Text Feature
Typing out long messages can be time-consuming and tedious, especially when you’re on the go. Thankfully, many messaging apps offer a voice-to-text feature that allows you to dictate your messages instead of typing them out. This feature not only saves time but also enables you to send messages quickly and effortlessly. Here’s how to use the voice-to-text feature:
- Open the Messaging App: Launch the messaging app on your smartphone and select the contact you want to send a message to.
- Tap on the Microphone Icon or Voice Input Button: Look for the microphone icon or voice input button in the message composer. Tap on it to activate the voice-to-text feature.
- Start Dictating: Once the voice-to-text feature is activated, start speaking your message aloud. Speak clearly and enunciate your words to ensure accurate transcription.
- Review and Edit: After you’ve dictated your message, the app will transcribe your speech into text. Take a moment to review the transcribed message and make any necessary edits or corrections.
- Send the Message: Once you’re satisfied with the transcribed message, tap on the send button to send it to your contact.
The voice-to-text feature is incredibly useful when you’re on the move, driving, or simply prefer the convenience of speaking instead of typing. It saves you time and allows you to send messages without the hassle of typing on a small keyboard.
However, keep in mind that the voice-to-text feature might not always be 100% accurate, and errors can occur in the transcription. It’s essential to review the transcribed message before sending it to ensure accuracy and clarity.
Now that you know how to use the voice-to-text feature, let’s explore how to manage group chats and communicate with multiple contacts at once.
Managing Group Chats
Group chats are a fantastic way to communicate and stay connected with multiple contacts simultaneously. They enable you to have conversations, make plans, and share information with a group of friends, family members, or colleagues. Managing group chats effectively ensures smooth communication and an organized conversation flow. Here are some tips for managing group chats:
- Create a Group: To start a group chat, open your messaging app and look for the option to create a new group. Select the participants you want to add to the group and give it a name.
- Establish Communication Guidelines: Set some ground rules or guidelines for the group chat, such as the purpose of the chat, acceptable topics, and expected behavior. This helps maintain a productive and respectful environment.
- Mute Notifications: Group chats can often be lively and result in a constant stream of notifications. If the chat becomes too active, you can choose to mute notifications to avoid being overwhelmed by constant alerts.
- Archive or Pin Important Messages: Some messaging apps allow you to archive or pin important messages in the group chat, making it easier to find and reference them later. This is particularly useful when discussing important information, making plans, or sharing important files.
- Exit or Remove Participants: If you no longer wish to be part of a group chat, you can choose to exit it. If you created the group, you also have the option to remove participants who are no longer relevant or active in the conversation.
- Use @ Mentions: When addressing a specific participant in the group chat, use the ‘@’ symbol followed by their name. This ensures that the intended person receives a notification and highlights their attention to the message.
- Be Mindful of Group Dynamics: Remember that group chats can have different dynamics and personalities. Be mindful of the tone, content, and frequency of your messages to maintain a harmonious environment.
Managing group chats effectively ensures that everyone feels included, the conversation stays on track, and important information doesn’t get lost in the flow of messages.
Now that you have the tools to manage group chats, let’s explore how to protect your privacy while communicating via text messages.
Protecting Your Privacy
When it comes to text messaging, ensuring the privacy and security of your conversations is crucial. Although messaging apps employ various security measures, it’s essential to take additional steps to protect your privacy and keep your personal information secure. Here are some tips to safeguard your privacy while communicating via text messages:
- Choose a Secure Messaging App: Select a messaging app that prioritizes user privacy and offers end-to-end encryption. This ensures that your messages are encrypted and can only be accessed by the intended recipients.
- Use Strong Passwords: Set strong, unique passwords for your messaging app accounts. Avoid using common passwords and consider using a password manager to securely store and manage your passwords.
- Enable Two-Factor Authentication: Enable two-factor authentication whenever available. This adds an extra layer of security by requiring a verification code in addition to your password when logging into your messaging app account.
- Be Cautious of Suspicious Links: Avoid clicking on unfamiliar or suspicious links sent via text messages. These could be phishing attempts or lead to malware-infected websites. Always verify the source and legitimacy of links before clicking on them.
- Regularly Update Your App: Keep your messaging app updated with the latest version. Updates often include security patches and enhancements that protect against potential vulnerabilities.
- Be Selective with Location Sharing: Avoid sharing your exact location with individuals or groups unless necessary. Limit location sharing to trusted contacts and be mindful of potential privacy risks.
- Review and Adjust Privacy Settings: Take the time to review and adjust the privacy settings of your messaging app. Customize your preferences and visibility of personal information to ensure it aligns with your desired privacy level.
- Regularly Delete Unnecessary Messages: Delete old or unnecessary text messages that contain sensitive information. Regularly clearing your message history reduces the risk of any personal or confidential data being compromised.
- Exercise Caution with Public Wi-Fi: Avoid sending sensitive messages or sharing confidential information while connected to public Wi-Fi networks. Public networks may not be secure, making your conversations vulnerable to eavesdropping or interception.
- Use Device Security Features: Take advantage of the security features offered by your smartphone, such as biometric authentication (fingerprint/face recognition) and device encryption. These features add an extra layer of protection to your device and its contents.
By implementing these privacy practices, you can significantly reduce the risk of unauthorized access, protect the confidentiality of your conversations, and maintain your privacy while texting.
Now that you’ve learned how to protect your privacy, let’s explore how to add a signature to your text messages to give them a personal touch.
Adding a Signature to Your Messages
Adding a signature to your text messages is a great way to personalize your communication and add a touch of professionalism or creativity. A signature can include your name, contact details, a favorite quote, or any other information you want to include. Here’s how to add a signature to your messages:
- Open the Messaging App: Launch the messaging app on your smartphone and navigate to the settings or preferences section.
- Locate the Signature Option: Look for the option to add a signature in the messaging app’s settings or preferences. It may be listed as “Signature,” “Personalization,” or something similar.
- Enter Your Signature: Once you’ve found the signature option, enter your desired text into the provided field. You can type your name, a quote, or any other information you want to include.
- Customize the Formatting: Some messaging apps offer formatting options for signatures, allowing you to change the font style, size, or color. Explore the available customization features and adjust the formatting to suit your preferences.
- Save the Signature: After entering and customizing your signature, save the changes. The signature will now be automatically added to your text messages.
A signature adds a personal touch and provides additional information about you to the recipients of your messages. It can be especially useful in professional contexts, where it enables you to include your name, job title, and contact details for easy reference.
However, it’s important to consider the length and content of your signature. Keep it concise and relevant to avoid overwhelming the recipients with excessive text. Also, be mindful that some messaging apps may have a character limit for signatures.
With your signature in place, your messages will have a unique and distinctive touch that reflects your personality or professional identity.
Now that you know how to add a signature, let’s explore how to use shortcuts and auto-correct to improve your texting experience.
Using Shortcuts and Auto-Correct
Shortcuts and auto-correct features can greatly enhance your texting experience by saving time and reducing typing errors. These features allow you to create custom shortcuts for frequently used phrases or words and automatically correct common typing mistakes. Here’s how to use shortcuts and auto-correct to improve your text messages:
- Access Keyboard Settings: Open the settings menu on your smartphone and navigate to the keyboard settings. On most devices, this can be found under “Language & Input” or “Keyboard & Input Methods.”
- Set Up Shortcuts: Look for the option to set up text shortcuts. This may be listed as “Text Replacement,” “Personal Dictionary,” or similar. Tap on it to access the shortcut settings.
- Create Shortcuts: In the shortcut settings, you can create custom shortcuts for words, phrases, or even entire sentences. For example, you can set “omw” as a shortcut for “On my way!” Whenever you type the shortcut, it will automatically expand to the full phrase.
- Enable Auto-Correct: In the keyboard settings, ensure that the auto-correct feature is enabled. This feature automatically corrects common typing mistakes and misspellings as you type.
- Customize Auto-Correct Settings: Some keyboards allow you to customize the auto-correct settings. You can adjust the level of correction, add specific words to the dictionary, or even turn off auto-correct for certain typing scenarios.
- Review and Edit Suggestions: As you type, pay attention to the auto-correct suggestions that appear above the keyboard. If the auto-correct suggestion is incorrect or not what you intended to type, you can tap the suggestion and choose from alternate options or edit the word manually.
- Practice and Adjust: It may take some time to adapt to the auto-correct and shortcut features. Practice using them regularly and adjust the settings as needed to fine-tune their performance and cater to your typing style.
By using shortcuts, you can save time and effort by typing less while conveying the same message. Auto-correct helps minimize spelling errors and makes your texts appear more polished and professional.
However, it’s important to review your messages before sending them, especially when relying on auto-correct. Auto-correct can sometimes generate incorrect suggestions, leading to unintentional errors or nonsensical sentences. Always proofread your texts to ensure accuracy and clarity.
With shortcuts and auto-correct at your disposal, you can enjoy a smoother and more efficient texting experience.
Now that you’re familiar with shortcuts and auto-correct, let’s explore how to customize your texting experience further.
Customizing Your Texting Experience
Customizing your texting experience allows you to personalize and tailor your messaging app to suit your preferences and style. From changing the appearance of the app to adjusting notification settings, there are several ways you can customize your texting experience. Here’s how:
- Theme and Appearance: Many messaging apps offer options to change the theme or color scheme of the app. Explore the settings to find available themes or customization options to make the app visually appealing to you.
- Notification Settings: Customize the notification settings to determine how and when you receive notifications for new messages. You can choose to have sound alerts, vibration, or even disable notifications for specific conversations.
- Font Styles and Sizes: Some messaging apps allow you to change the font style and size within the app. This allows you to personalize the appearance of your messages and make them easier to read.
- Conversation Bubbles: Customize the appearance of conversation bubbles, such as the shape, color, or background image, to make it visually appealing and distinguishable from other conversations.
- Custom Stickers and Themes: Some messaging apps offer a wide variety of stickers and themes that you can download or purchase to further customize your conversations and express yourself creatively.
- Keyboard Customization: Explore keyboard settings to customize the layout, color scheme, or even add additional languages or input methods to enhance your typing experience.
- Threaded Conversations: Check if your messaging app supports threaded conversations, which organize messages in a conversation format. This makes it easier to follow and refer back to previous messages in a conversation.
- Swipe Gestures: Some messaging apps allow you to customize swipe gestures for various actions, such as deleting messages, marking messages as read, or archiving conversations. Customize these gestures to match your preferred workflow.
- Backup and Sync: Enable backup and sync features within the messaging app to ensure your messages, attachments, and settings are backed up and can be accessed across multiple devices.
By customizing your messaging app, you can create a more personalized and enjoyable texting experience. Tailor the app to your preferences, making it visually appealing, easy to use, and reflective of your personal style.
Remember that the customization options may vary depending on the messaging app you’re using. Explore the settings and preferences to discover what customization options are available to you.
Now that you know how to customize your texting experience, let’s explore some common issues you may encounter while messaging and how to troubleshoot them.
Troubleshooting Common Issues
While text messaging is generally a smooth and reliable means of communication, you may encounter some common issues along the way. Fortunately, most of these issues can be easily resolved with a few troubleshooting steps. Here are some common issues you may encounter while messaging and how to troubleshoot them:
- Message Sending Failures: If your messages fail to send, ensure that you have a stable internet connection or cellular data. Restarting your device or toggling the airplane mode on and off can also help resolve connectivity issues.
- Receiving Delayed Messages: If you’re experiencing delays in receiving messages, check your internet connection and ensure that your device has sufficient storage space. Contact your service provider if the issue persists.
- Random App Crashes: If the messaging app keeps crashing, make sure that you have the latest version of the app installed. Clearing the app cache or restarting your device can also help resolve this issue.
- Keyboard Issues: If you’re experiencing problems with your keyboard while typing, such as lag or incorrect autocorrect, try clearing the keyboard cache or restarting your device. If the issue persists, consider using a different keyboard app.
- Missing or Deleted Conversations: If a conversation has gone missing or you accidentally deleted it, check your archived or trash folder within the messaging app. If the conversation is not there, it may not be recoverable.
- Notification Problems: If you’re not receiving message notifications, ensure that notifications are enabled for the messaging app in your device settings. Also, check if the app is silenced or set to “do not disturb” mode.
- Unresponsive Contacts: If you’re unable to send messages to a specific contact, verify that the contact’s number is correct and not blocked in your messaging app. If necessary, try deleting and re-adding the contact.
- Backup and Restore Issues: If you’re having trouble backing up or restoring your messages, ensure that you have enough storage space and a stable internet connection. Check the app’s settings for backup and restore options and follow the instructions provided.
If these troubleshooting steps do not resolve the issue, consider reaching out to the support team of your messaging app or your device manufacturer for further assistance.
Staying patient and persistent while troubleshooting will help you resolve common issues and ensure a smoother texting experience.
Now that you’re equipped with troubleshooting knowledge, you can confidently navigate through any hurdles you may encounter while messaging.
Conclusion
Text messaging has become an integral part of our communication repertoire, allowing us to connect with others quickly and conveniently. By following the tips and techniques outlined in this guide, you can master the art of texting from your smartphone and enhance your overall messaging experience. From choosing the right messaging app to customizing your settings, there are various ways to tailor your text messages to suit your style and preferences.
Syncing your contacts, adding emojis and GIFs, attaching photos and videos, sending voice messages, utilizing the voice-to-text feature, managing group chats, protecting your privacy, adding a signature, using shortcuts and auto-correct, and customizing your texting experience are all facets that contribute to efficient and enjoyable communication. By incorporating these practices, you can make your messages more engaging, expressive, and personalized.
In addition, it’s important to be aware of common issues that may arise while messaging and how to troubleshoot them effectively. By following the provided troubleshooting steps and seeking assistance when needed, you can overcome common obstacles and maintain a smooth texting experience.
Now armed with the knowledge and tips from this guide, you’re ready to embark on a seamless and engaging text messaging journey. So go ahead, grab your smartphone, and start composing those thoughtful, humorous, and heartfelt messages that will leave a lasting impression on your recipients. Happy texting!


