Introduction
When it comes to building a custom PC, attention to detail is key. Every component, down to the smallest cable, plays a crucial role in the overall performance and aesthetics of the system. One area that often gets overlooked is the power supply unit (PSU) cables. These cables are essential for delivering power to the various components of the PC, but they can be unsightly and detract from the overall look of the build.
This is where sleeving PSU cables comes in. Sleeve is a process of encasing the cables in a protective and aesthetically pleasing material, typically made of nylon or paracord. Not only does sleeving PSU cables offer a cleaner and more organized appearance, but it also provides added protection against damage and improves cable management.
In this guide, we will walk you through the step-by-step process of sleeving PSU cables. We will cover everything from removing the cables from the power supply unit to reconnecting them after sleeving. So, whether you are a PC enthusiast looking to add a personal touch to your build or a professional looking to offer sleeving services to clients, this guide has got you covered.
Why Sleeve PSU Cables?
While sleeving PSU cables may seem like an optional step in PC building, there are several compelling reasons why you should consider doing it. Let’s delve into the advantages of sleeving your PSU cables:
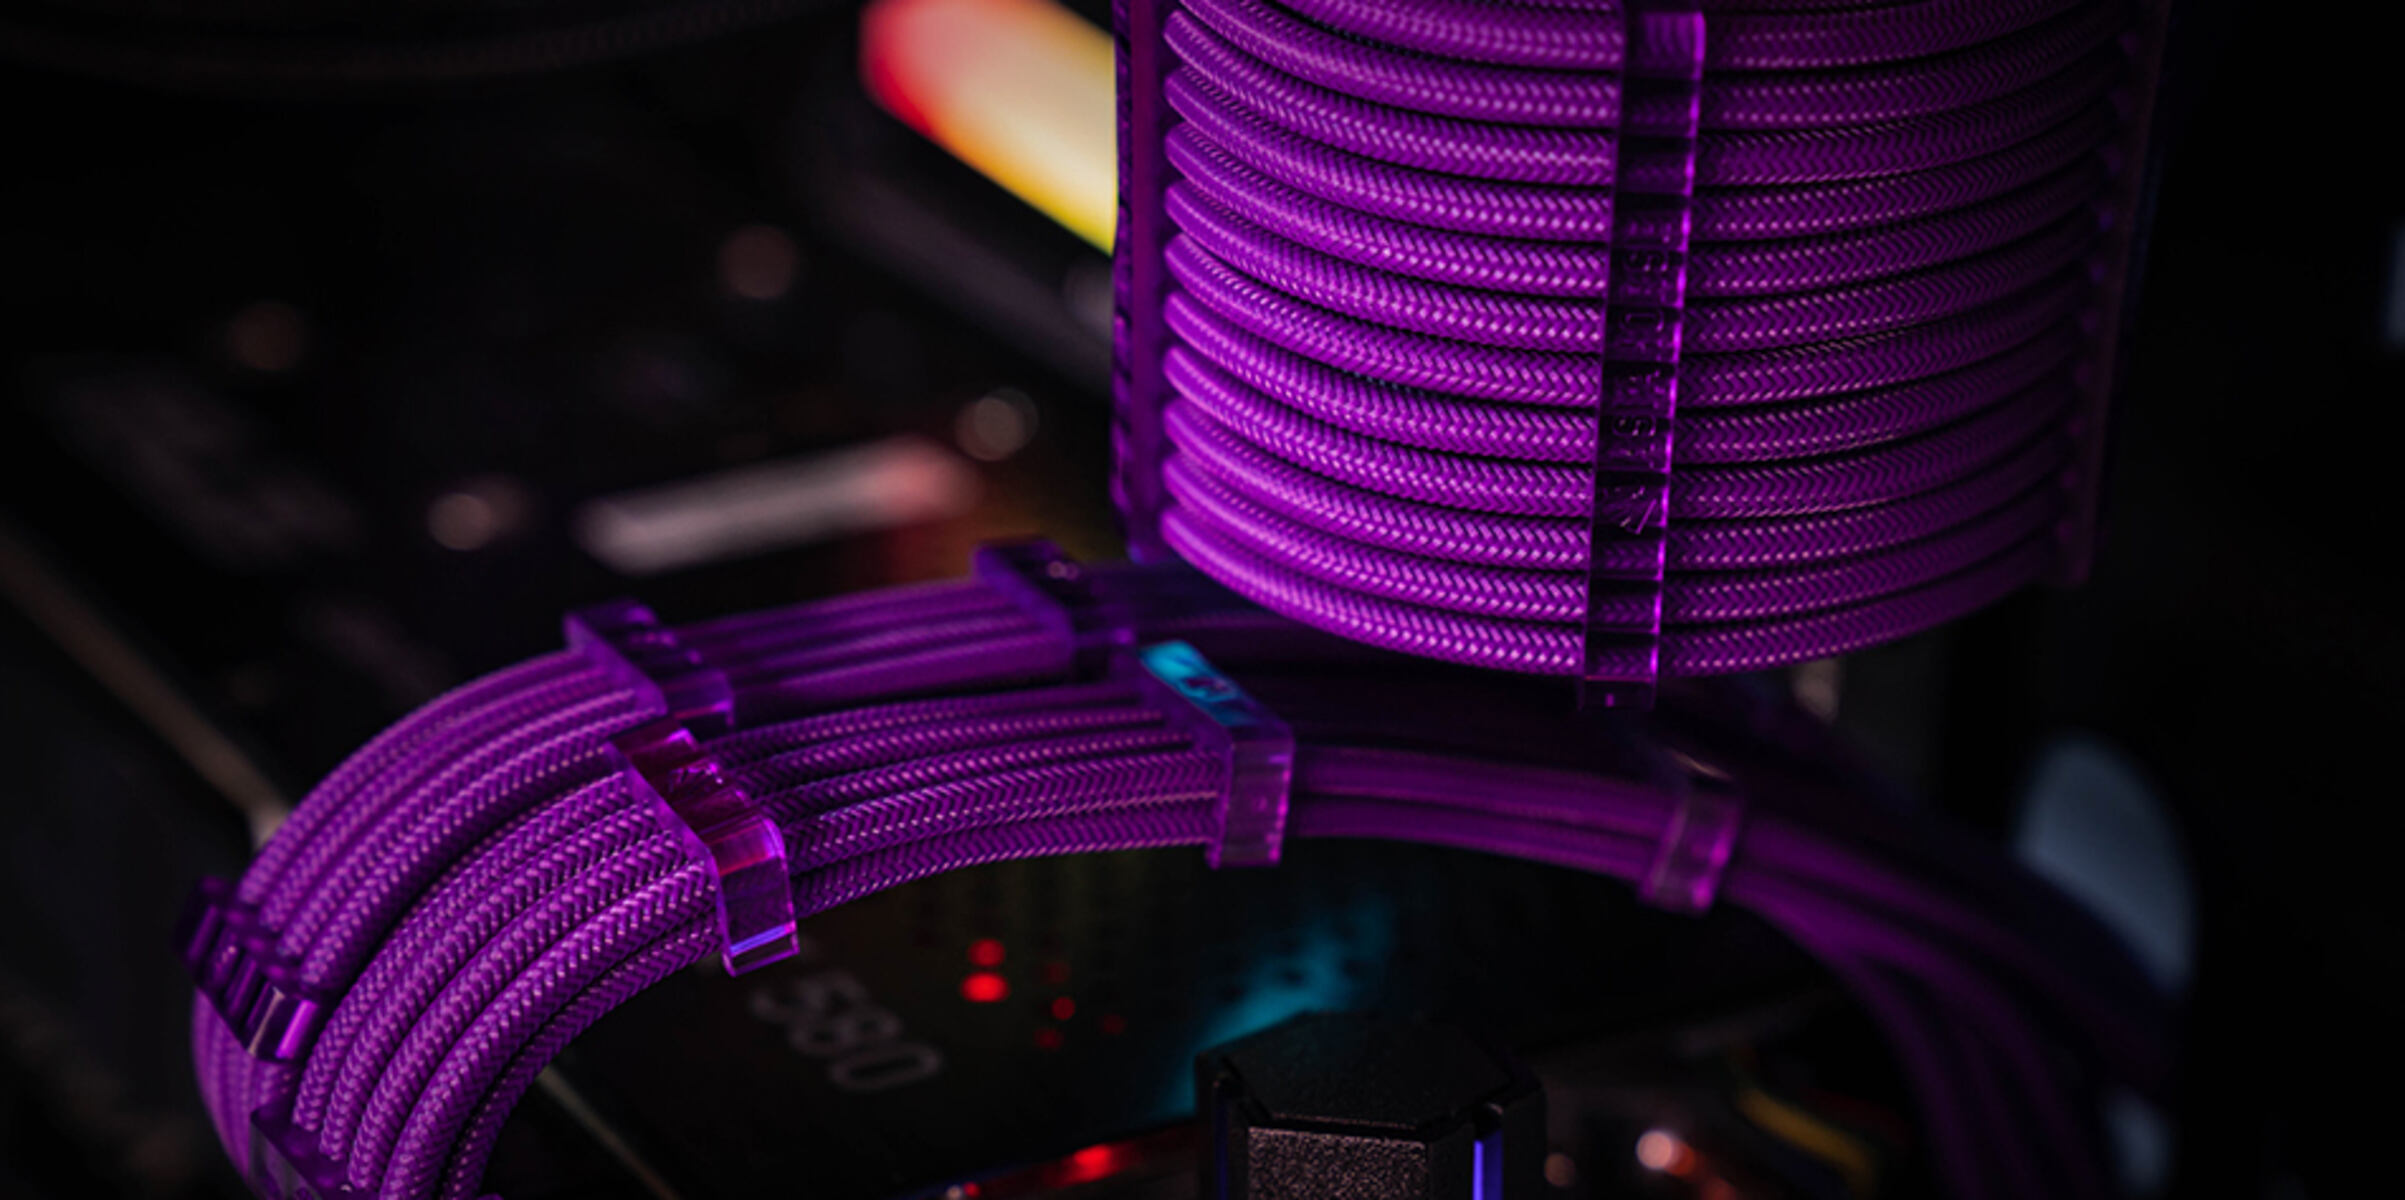
- Aesthetics: One of the primary reasons to sleeve PSU cables is to enhance the overall visual appeal of your build. Sleek and neatly organized cables can transform the appearance of your PC, giving it a professional and clean look.
- Cable Management: Another benefit of sleeving PSU cables is improved cable management. By encasing the cables in a protective sleeve, you can easily route and manage the cables inside your case. This not only improves airflow but also reduces cable clutter, making it easier to access and upgrade components in the future.
- Customization: Sleeving allows you to bring a touch of personalization to your PC. With a wide variety of sleeve colors and patterns available, you can match the sleeved cables with your build’s theme or create a unique color scheme that reflects your style and preferences.
- Protection: Sleeving PSU cables provides an extra layer of protection, preventing the cables from being damaged by sharp edges or accidental tug. This can help prolong the lifespan of your cables, reducing the risk of electrical shorts or failures.
Overall, sleeving PSU cables not only enhances the aesthetics of your build but also improves cable management, customization options, and cable protection. It is a worthwhile investment of time and effort that can significantly enhance the overall look and functionality of your PC.
Tools and Materials Needed
Before diving into the process of sleeving PSU cables, it’s important to gather all the necessary tools and materials. Having everything prepared in advance will ensure a smooth and efficient sleeving process. Here is a list of the tools and materials you will need:
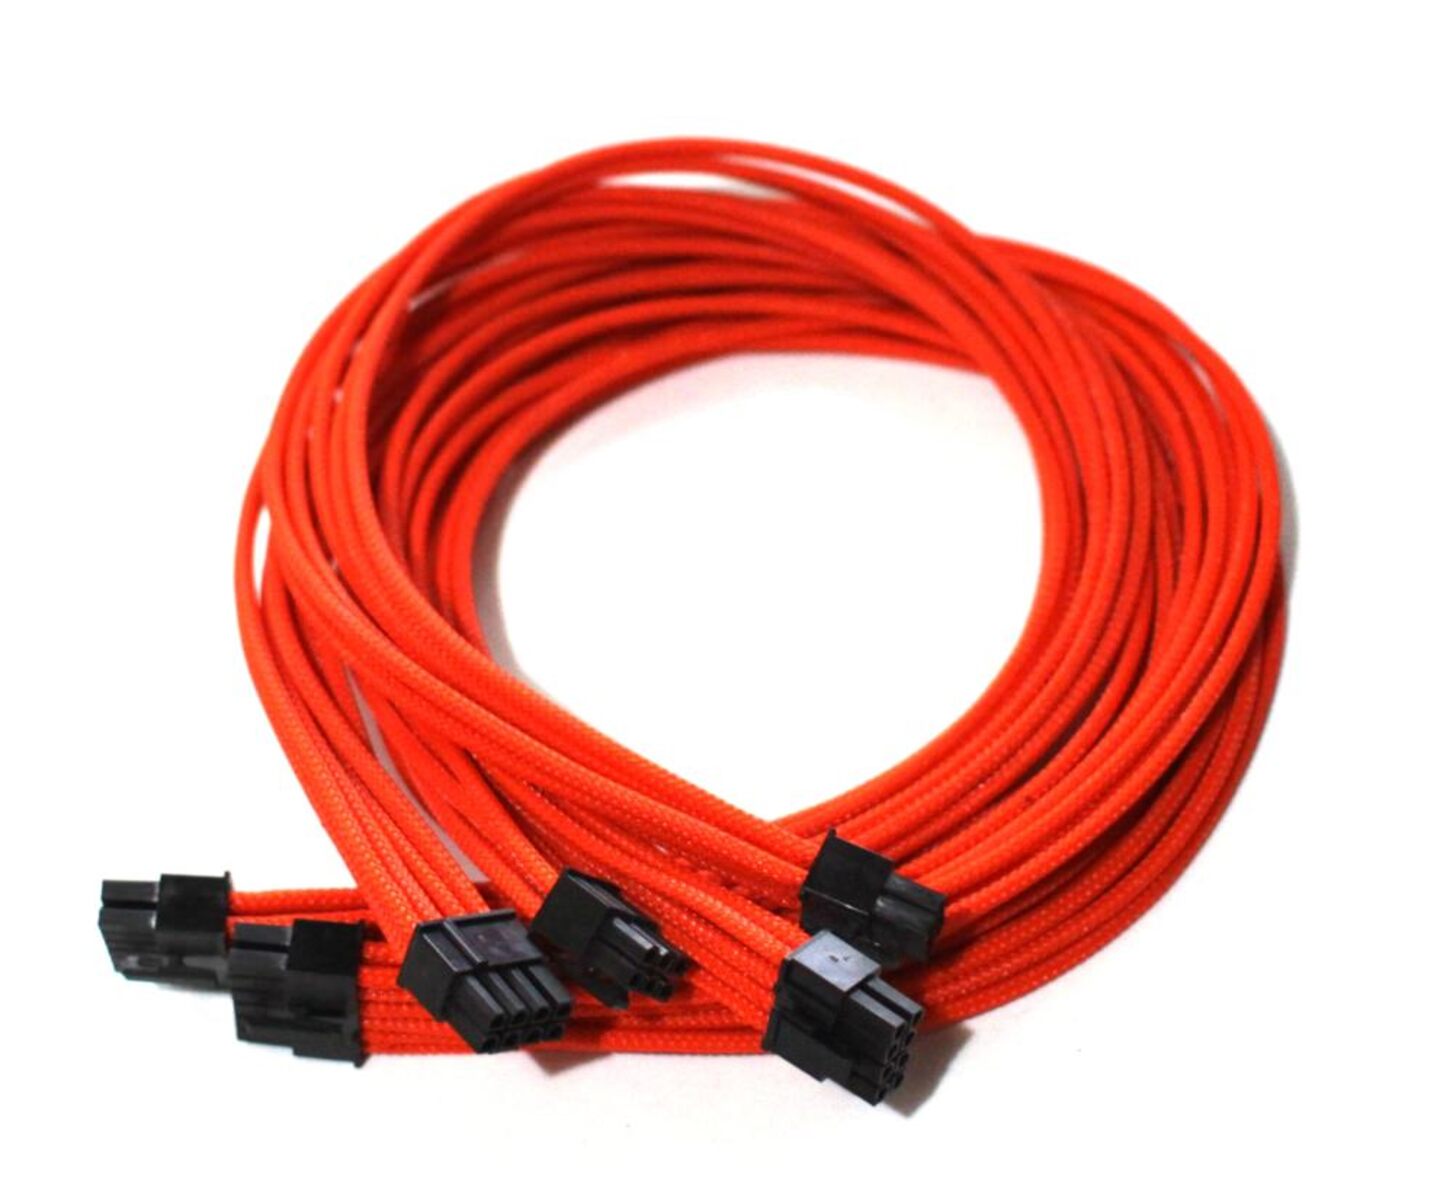
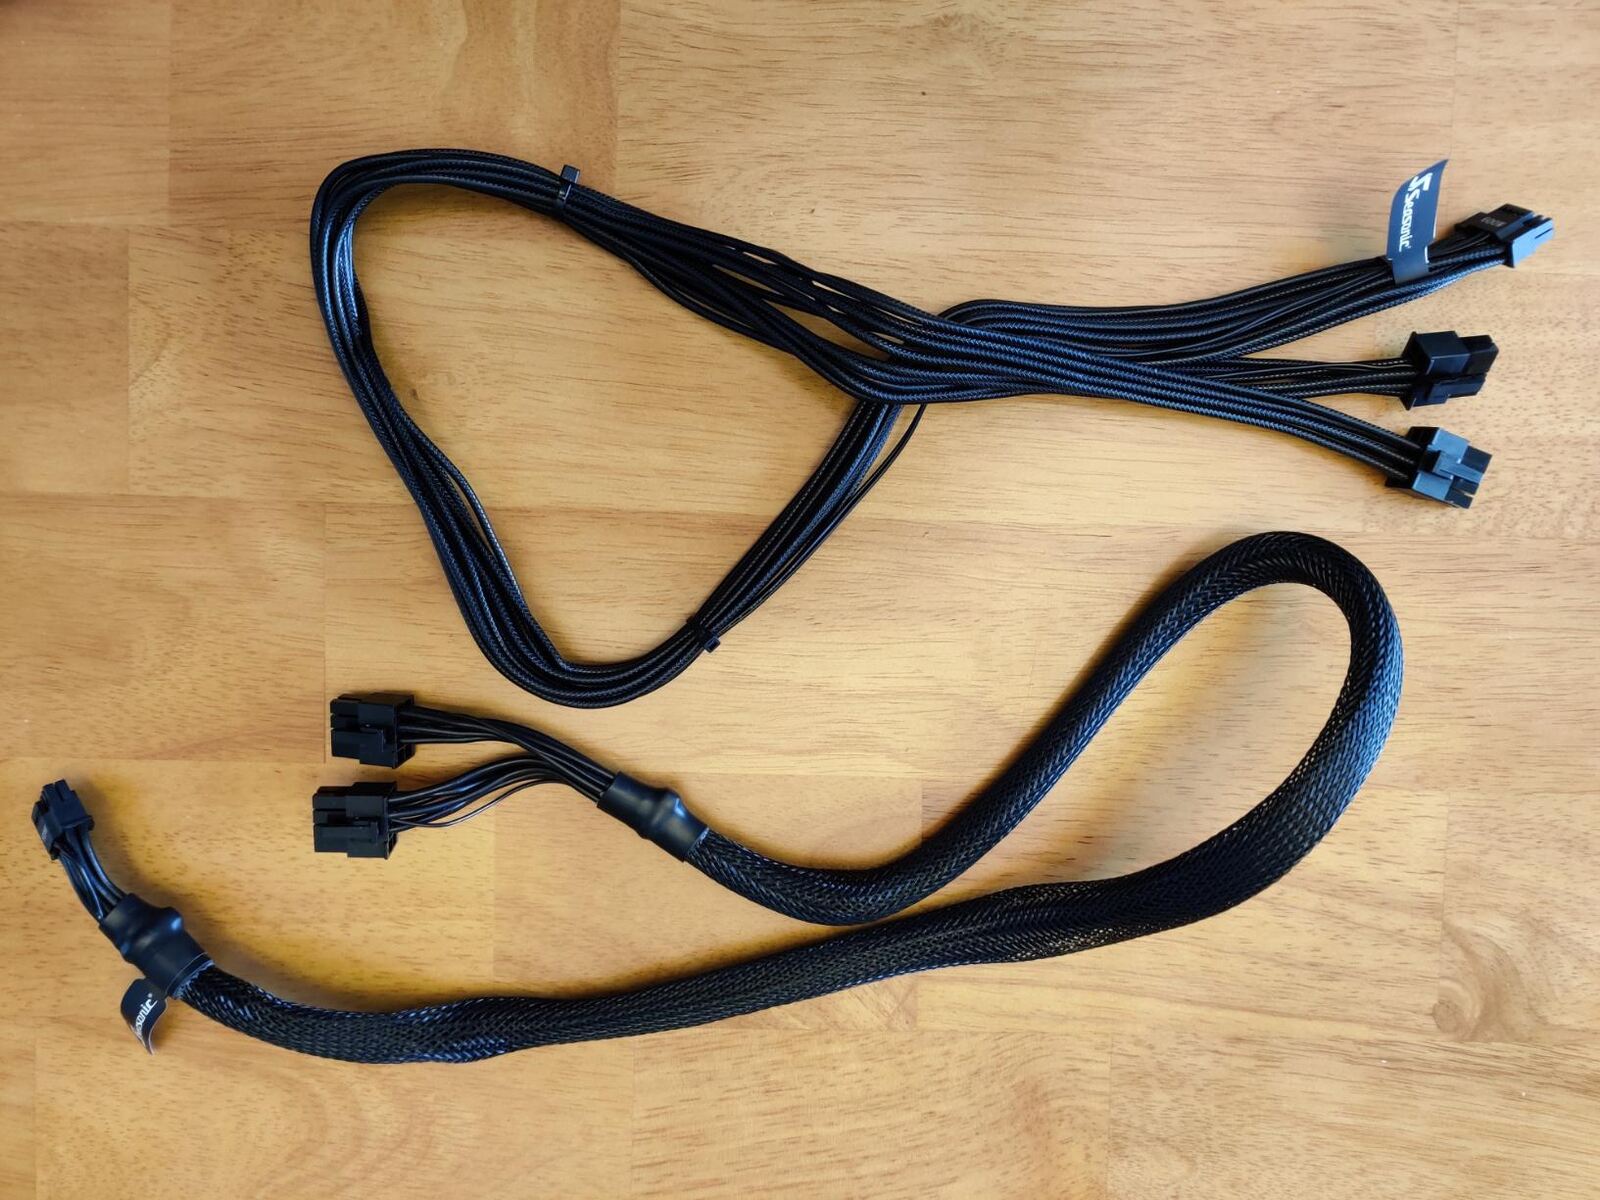
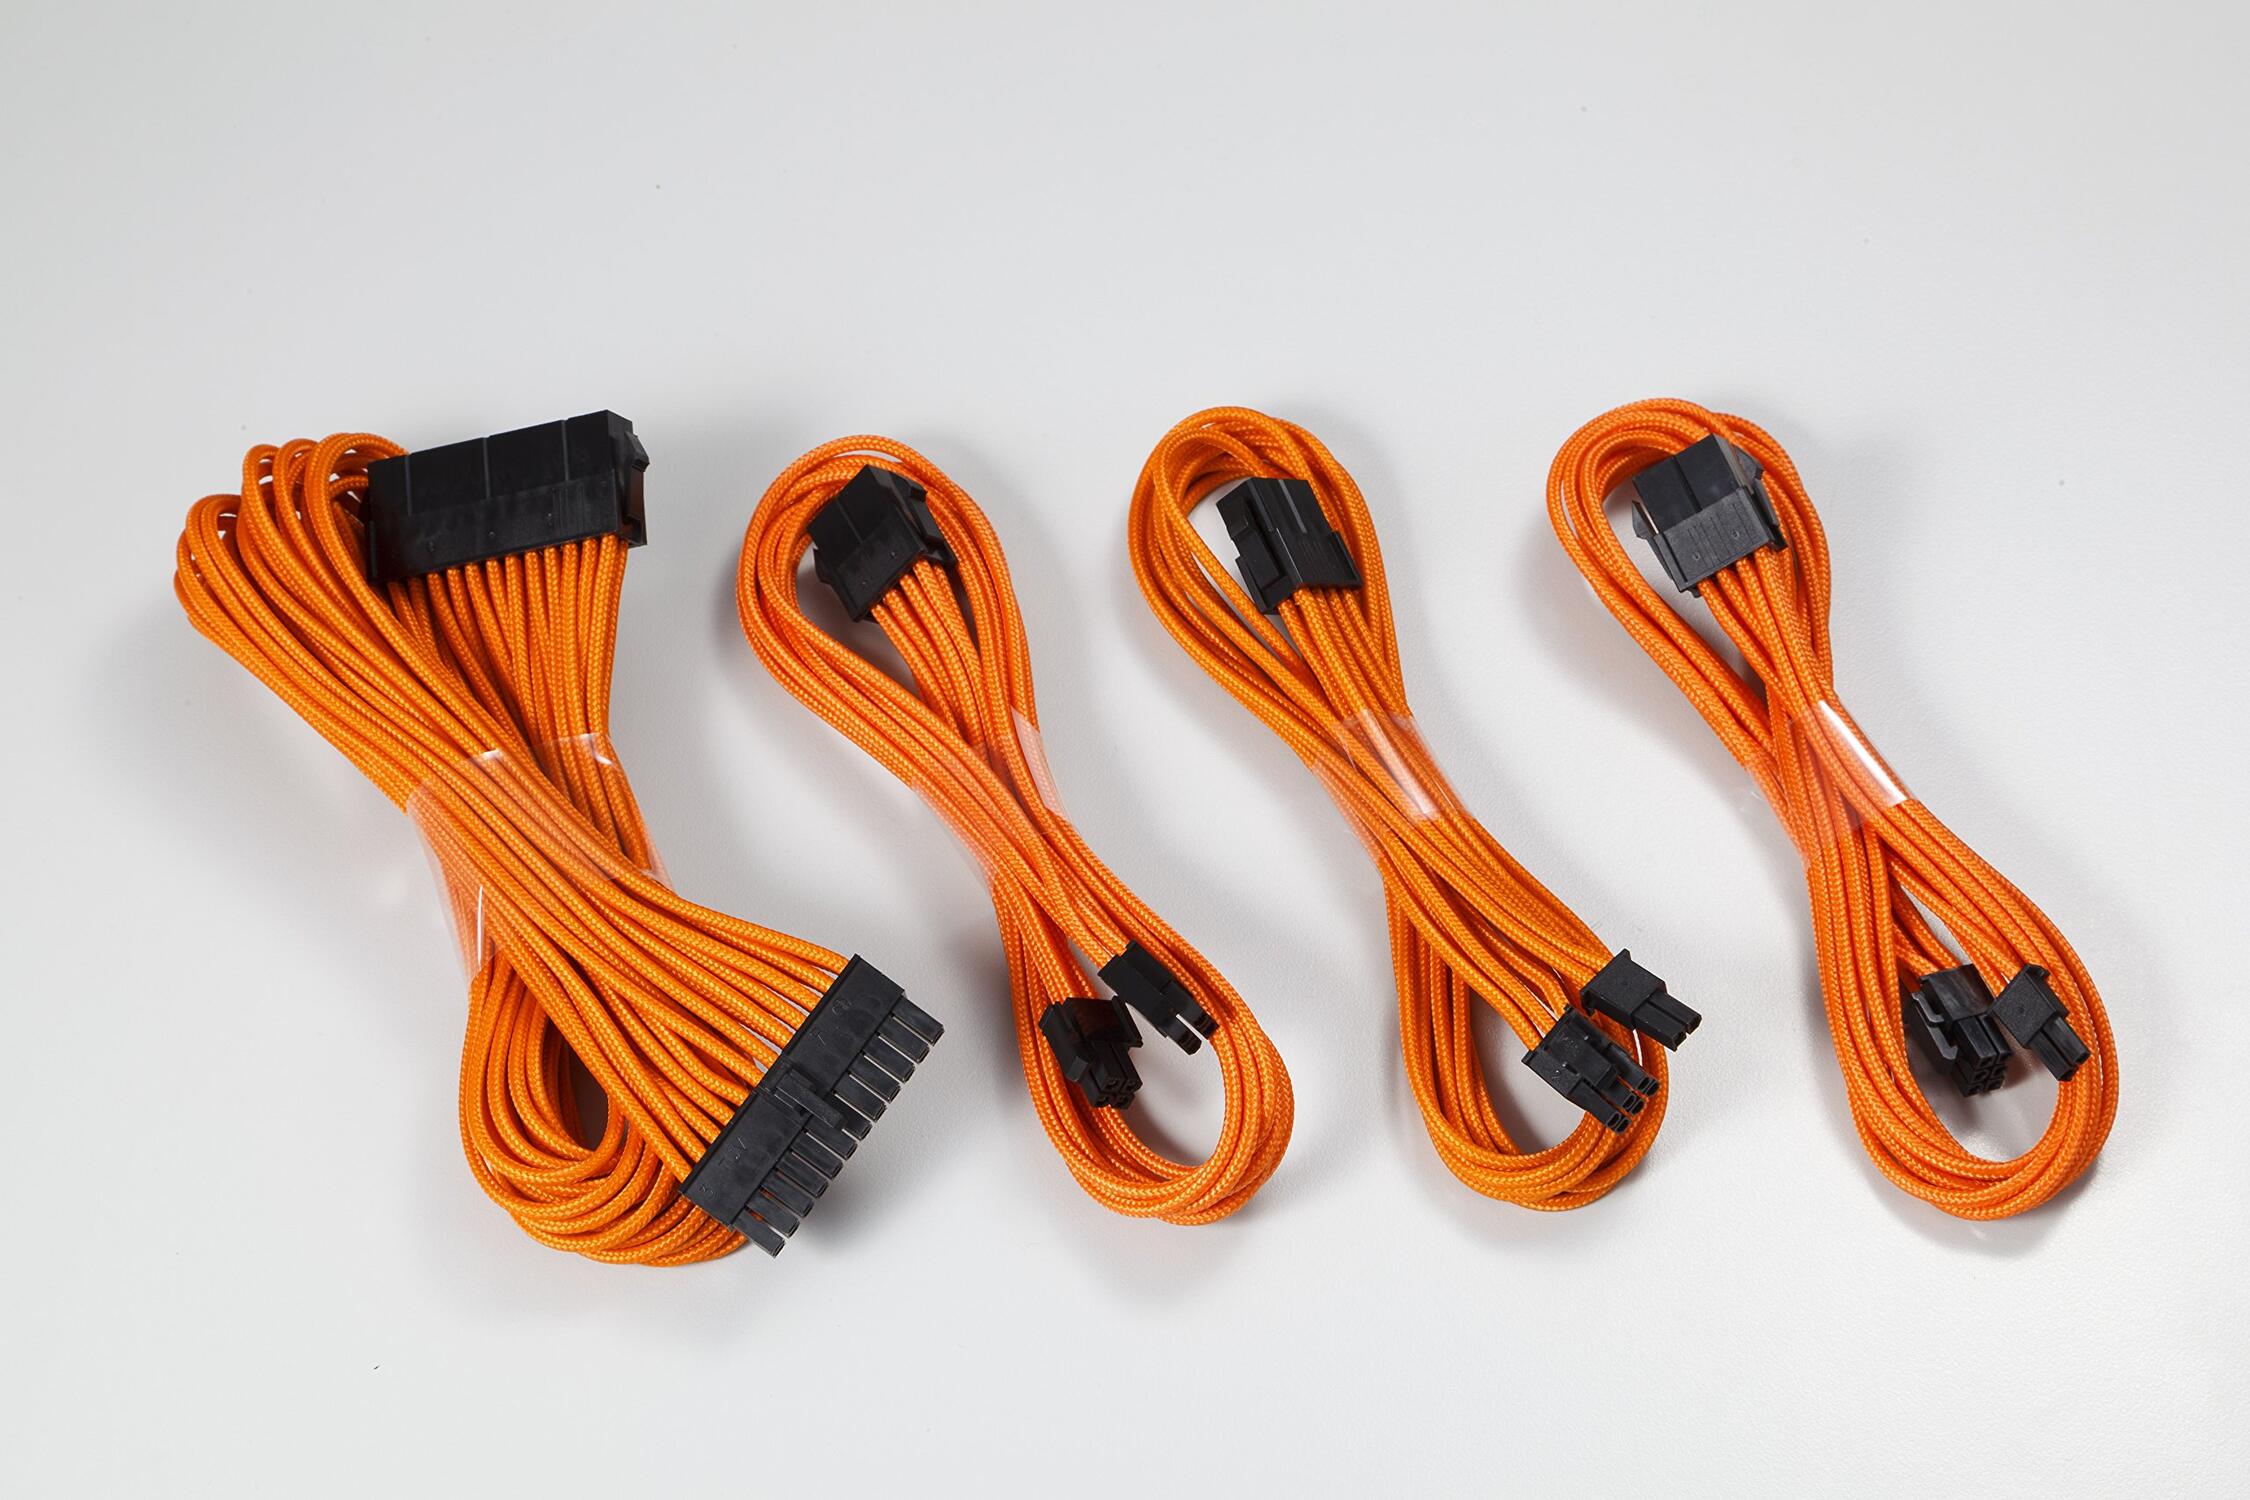
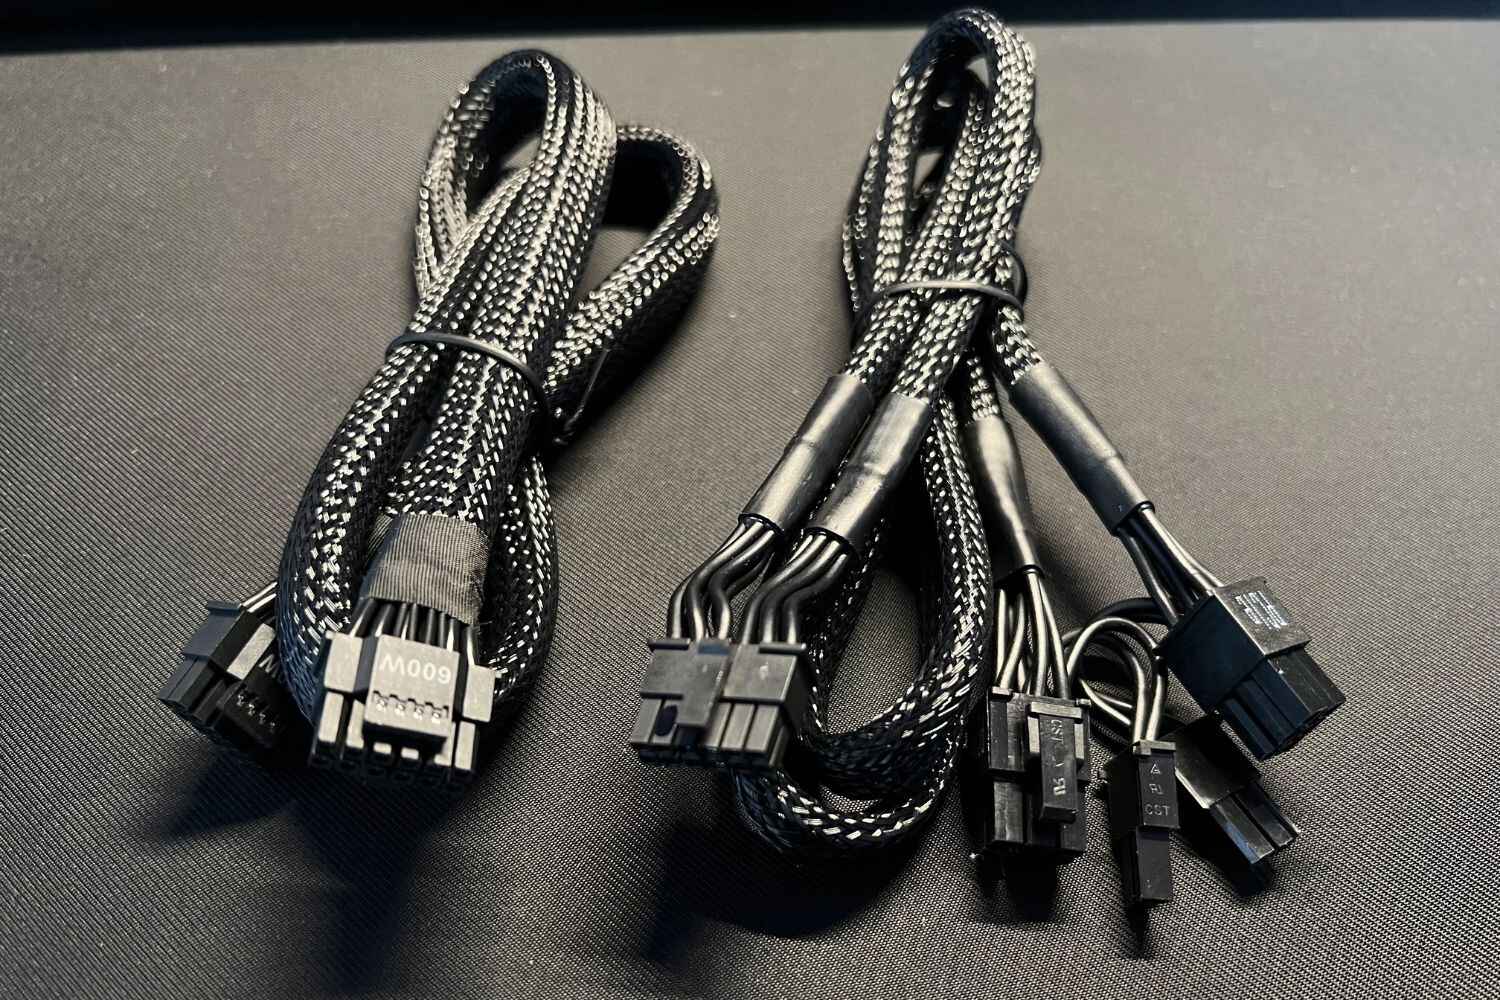
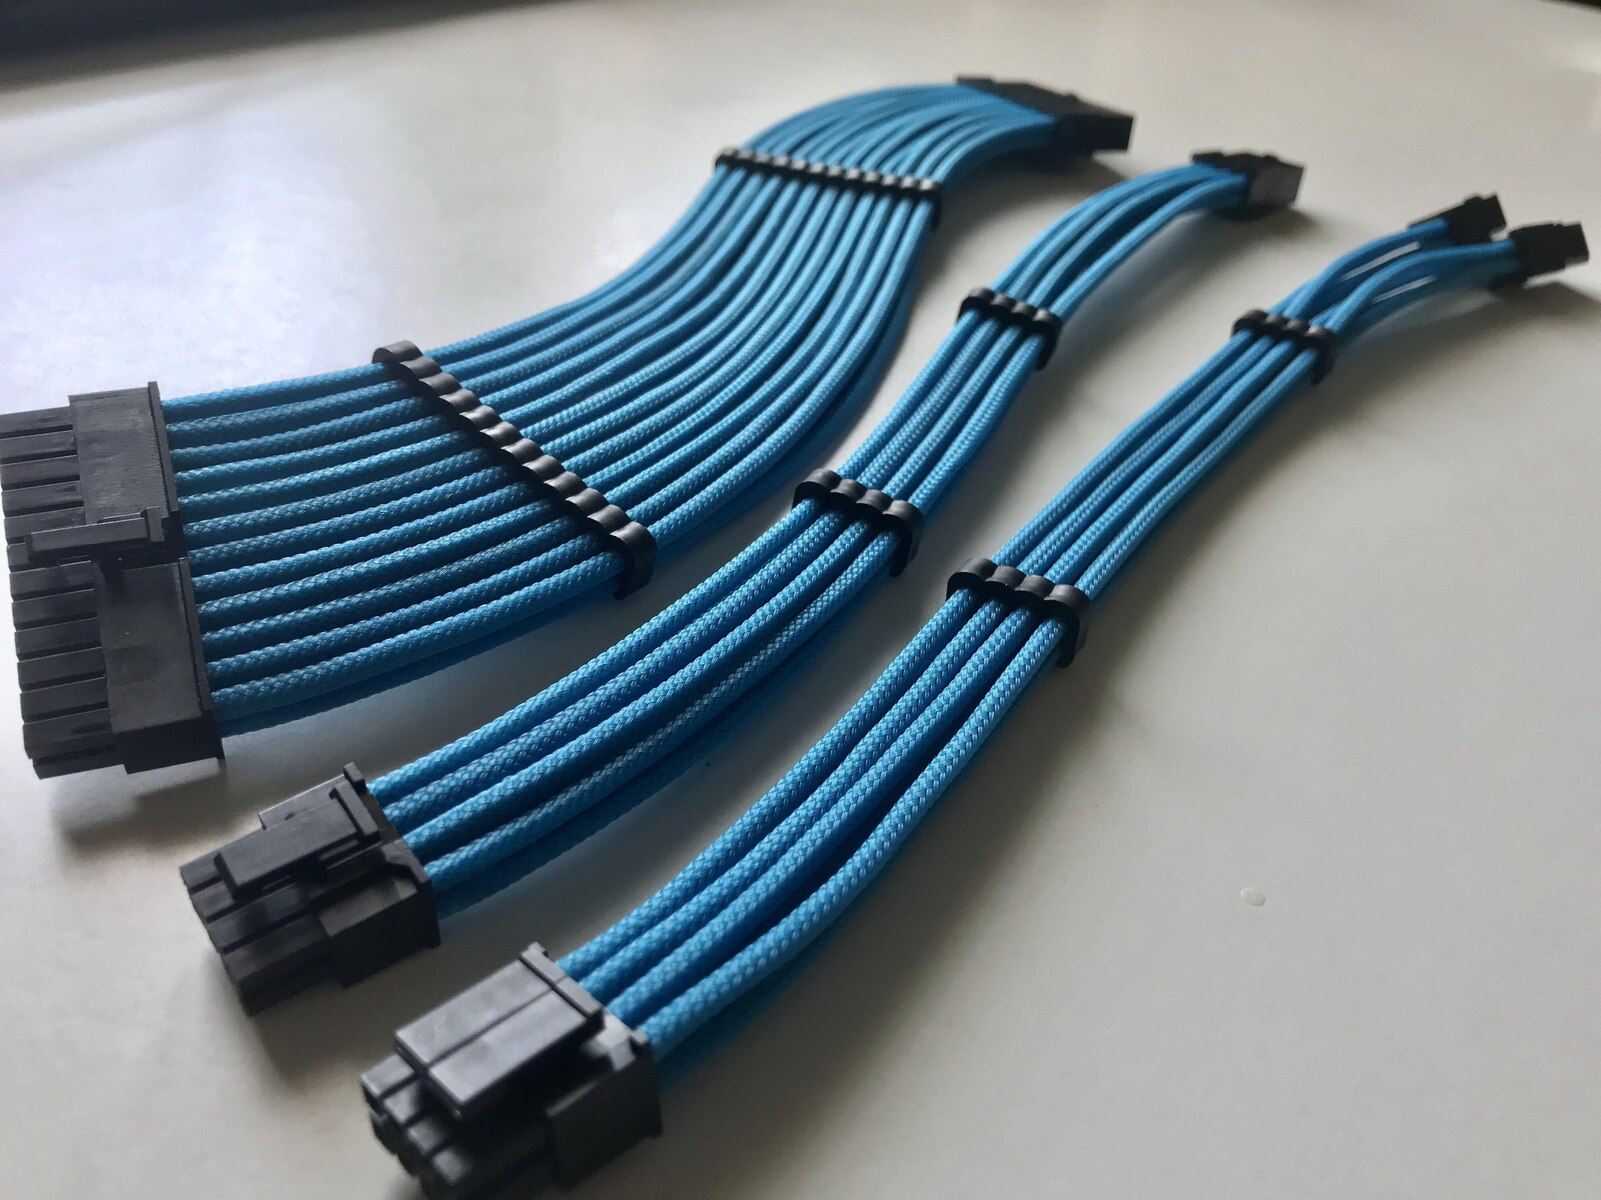
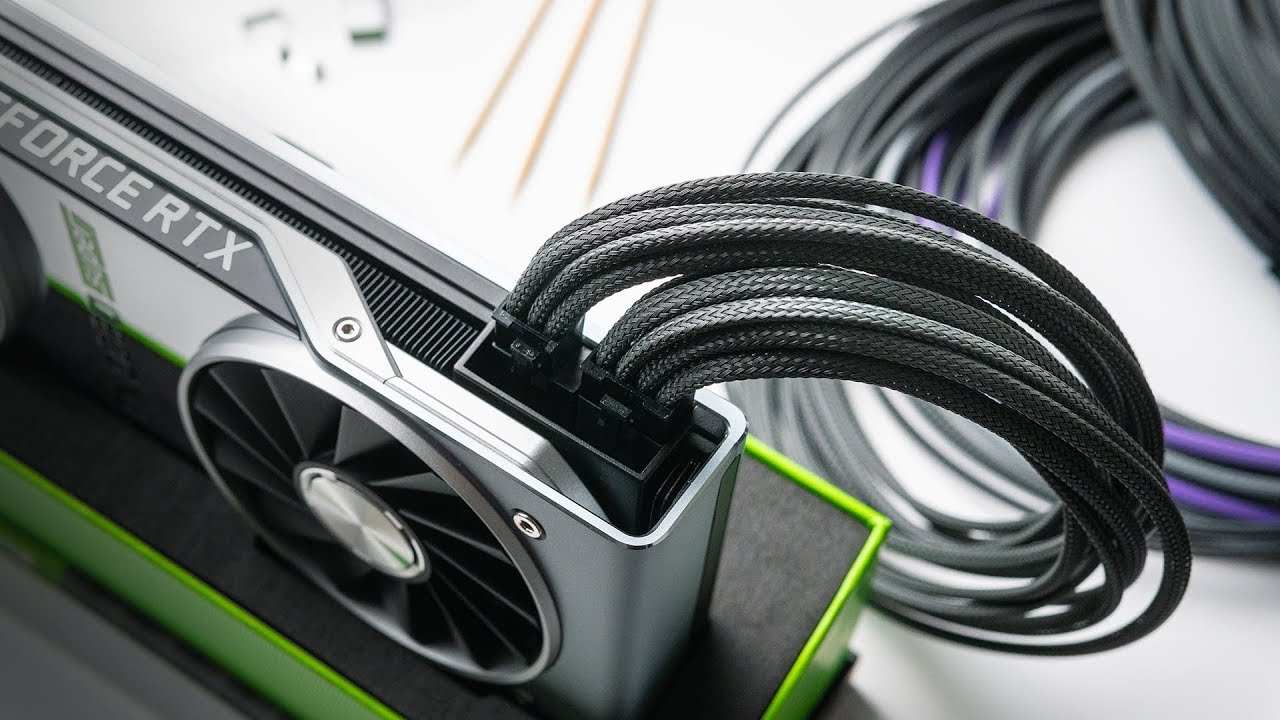
- Power supply unit (PSU) cables: These are the cables that need to be sleeved. Depending on your PSU model, you may have cables like 24-pin ATX, 8-pin EPS, PCIe power cables, SATA power cables, and more.
- Sleeving material: There are various options available for sleeving material, such as nylon sleeving, paracord, or PET sleeving. Choose a material that suits your preferences in terms of flexibility, durability, and aesthetics.
- Heat shrink tubing: Heat shrink tubing is used to secure the ends of the sleeving and provide a clean finish. Make sure to select heat shrink tubing with a diameter suitable for your sleeving material.
- Cable cutters: These will be used to cut the cables to the desired length during the sleeving process. Make sure to use a sharp and reliable pair of cable cutters for clean and precise cuts.
- Wire strippers: Wire strippers are necessary to remove the insulation from the cables before sleeving. Look for a wire stripper that can accommodate the different gauge sizes of your cables.
- Heat gun: A heat gun is essential for heating and shrinking the heat shrink tubing, ensuring a secure and professional-looking finish.
- Electrical tape: Electrical tape can be used to secure the sleeving in place temporarily while working on the cables. It can also be used to insulate exposed wires if needed.
- Zip ties and cable combs: These accessories are handy for organizing and managing the sleeved cables once they are connected to the components. They help to keep the cables in order and prevent them from tangling.
- Optional: Cable management accessories: Depending on your preferences and needs, you may want to consider additional cable management accessories such as cable management clips, Velcro straps, or cable sleeves for further organization and tidiness.
Gathering these tools and materials beforehand will ensure that you have everything you need to complete the sleeving process efficiently. Now that you’re prepared let’s move on to the step-by-step process of sleeving PSU cables.
Step 1: Removing the PSU Cables
Before you can start sleeving PSU cables, you need to remove them from the power supply unit (PSU). Follow these steps to safely detach the cables:
- Turn off and unplug your PC: Ensure that your PC is powered off and unplugged from the mains to avoid any electrical hazards during the cable removal process.
- Open the PC case: Remove the side panel of your PC case to gain access to the internal components. Refer to your case’s documentation or manual for specific instructions on how to open it.
- Identify the PSU cables: Take note of the various cables connected to the PSU. Common PSU cables include the 24-pin ATX, 8-pin EPS, PCIe power cables, SATA power cables, and more.
- Disconnect the cables: Carefully disconnect each cable from the PSU. Depending on the connector type, you may need to press and hold the release tab before gently pulling out the cable. Take your time and avoid pulling on the cables themselves, as this can damage the connectors.
- Organize the cables: As you remove each cable, take the opportunity to organize and label them if desired. This will make it easier to identify and reconnect the cables correctly after sleeving.
- Set the cables aside: Once you have removed all the necessary cables, set them aside in a safe and organized manner. Keep them away from any potential hazards or obstructions to prevent damage.
By following these steps, you can safely remove the PSU cables from your PC. Remember to exercise caution and take your time to avoid any accidental damage. With the cables now detached, you are ready to move on to the next step of sleeving PSU cables.
Step 2: Preparing the Sleeving Materials
With the PSU cables removed, it’s time to prepare the sleeving materials for the sleeving process. Follow these steps to get the sleeving materials ready:
- Select the sleeving material: Choose the sleeving material that best suits your preferences in terms of flexibility, durability, and aesthetics. Nylon sleeving and paracord are popular options due to their resilience and wide range of color choices.
- Measure the sleeving: Determine the length of sleeving required for each cable. Measure the cables individually, leaving a bit of extra length at both ends for a clean finish. It’s better to have slightly more sleeving than needed rather than falling short.
- Cut the sleeving: Use a sharp pair of cable cutters to cut the sleeving material to the desired lengths. Ensure that your cuts are clean and straight for a professional-looking result.
- Prepare the heat shrink tubing: Depending on your sleeving material, you may need to use heat shrink tubing to secure the ends of the sleeving. Cut the heat shrink tubing into appropriate lengths, ensuring that they are slightly longer than the sleeving.
- Slide the heat shrink tubing onto the sleeving: Slide the cut pieces of heat shrink tubing onto the sleeving material. Position them close to the ends of the sleeving, as they will secure the sleeving in place once heated.
- Arrange the sleeving: Straighten out the sleeving material and ensure that it is free from any twists or tangles. Neatly organize the sleeving, keeping it easily accessible for the next steps of the sleeving process.
By following these steps, you can properly prepare the sleeving materials for the upcoming process. Take your time to measure and cut the sleeving accurately, ensuring that it aligns with the desired cable lengths. With the sleeving materials prepared, you are now ready to move on to the next step of measuring and cutting the sleeving.
Step 3: Measuring and Cutting the Sleeving
Now that you have the sleeving materials prepared, it’s time to measure and cut the sleeving to fit your PSU cables. Follow these steps for accurate measuring and cutting:
- Choose a cable to start with: Select one of the PSU cables that you removed earlier to begin sleeving. It’s recommended to start with cables like the 24-pin ATX or the 8-pin EPS, as they are commonly sleeved.
- Remove any existing sleeving: If the cable already has sleeving on it, carefully remove it by cutting or sliding it off. Make sure to remove all remnants of the old sleeving to ensure a clean and proper fit for the new sleeving.
- Measure the length of the sleeving: Take the chosen cable and measure the length of sleeving required. Place one end of the cable against the sleeving and mark the point where you want the sleeving to end. Remember to leave a bit of extra length for a clean finish.
- Cut the sleeving: Using a sharp pair of cable cutters, cut the sleeving at the marked point. Make the cut as straight as possible to ensure a clean and even result.
- Check the length and adjust if needed: After cutting the sleeving, slide it onto the cable and check if the length is appropriate. If necessary, make any adjustments by trimming the sleeving slightly until it fits perfectly. It’s better to take your time to get the measurements right rather than rushing through this step.
- Repeat for the remaining cables: Repeat the measuring and cutting process for each of the other PSU cables that you plan to sleeve. Take care to measure and cut the sleeving accurately for a consistent and professional look.
By following these steps, you can accurately measure and cut the sleeving materials to fit your PSU cables. Take your time to ensure precise measurements and clean cuts. With the sleeving now measured and cut, you are ready to move on to the next step of sliding the sleeving onto the cables.
Step 4: Sliding the Sleeving onto the Cables
With the sleeving materials measured and cut, it’s time to slide the sleeving onto the PSU cables. Follow these steps to correctly slide the sleeving onto the cables:
- Choose a cable to start with: Select one of the PSU cables that you have measured and cut sleeving for. It’s recommended to start with a cable that does not have any connectors or tight bends.
- Prepare the cable: If the cable has any connectors or unwieldy bends, straighten it out as best as possible. This will make it easier to slide the sleeving onto the cable smoothly.
- Insert the cable into the sleeving: Take one end of the sleeving and carefully guide the cable into it. Slowly slide the sleeving along the cable, ensuring that it covers the entire length. Use gentle twisting or back-and-forth motions if needed to help the sleeving slide on smoothly.
- Adjust the sleeving: Once the sleeving is on the cable, adjust it as necessary to ensure an even and clean appearance. Make sure the sleeving extends from one end of the cable to the other, covering it completely without any gaps.
- Repeat for the remaining cables: Repeat the process of sliding the sleeving onto the other PSU cables that you have prepared. Take care to slide the sleeving on straight and evenly for a consistent and professional result.
It’s important to take your time and be patient when sliding the sleeving onto the cables. If you encounter any resistance or difficulty, double-check the alignment of the sleeving and make any necessary adjustments. By following these steps, you can successfully slide the sleeving onto your PSU cables, bringing you one step closer to a clean and organized cable setup.
Step 5: Shrinking the Heat Shrink
After sliding the sleeving onto the cables, the next step is to shrink the heat shrink tubing to secure the sleeving in place. Follow these steps to properly shrink the heat shrink tubing:
- Ensure correct positioning: Before proceeding with heat shrinking, make sure that the heat shrink tubing is positioned properly. It should be covering the ends of the sleeving with a bit of overlap on the cable.
- Apply heat: Use a heat gun or a hairdryer set to the hottest setting to apply heat to the heat shrink tubing. Hold the heat gun several inches away from the tubing and move it back and forth in a steady motion, evenly distributing the heat.
- Observe the tubing: As the heat is applied, you will notice the heat shrink tubing beginning to shrink and conform around the sleeving and cable. It should tighten and create a secure bond.
- Check for proper shrinkage: Keep a close eye on the tubing as it shrinks. Make sure it fully conforms to the sleeving and cable without any loose or wrinkled areas. The tubing should be tight and smooth after shrinking.
- Allow time to cool: Once the heat shrink tubing has fully shrunken, give it a few seconds to cool down. This will ensure that it sets in its shrunken state and provides a secure and clean finish.
- Repeat as needed: Repeat the process of heat shrinking for each heat shrink tubing that you have placed on the sleeving. Take your time to ensure proper shrinkage for a professional-looking result.
It’s important to use caution when applying heat to the heat shrink tubing. Make sure to keep the heat gun or hairdryer moving and at a safe distance to avoid overheating or burning the tubing. By following these steps, you can effectively shrink the heat shrink tubing and secure the sleeving in place, creating a tidy and professional appearance.
Step 6: Reconnecting the Cables to the PSU
After sleeving the PSU cables and securing the sleeving with heat shrink tubing, it’s time to reconnect the cables to the power supply unit (PSU). Follow these steps to properly reconnect the cables:
- Identify the connectors: Take a moment to review the PSU cables and identify their respective connectors. Check the color coding or labels on the connectors to ensure you connect them correctly.
- Orient the cables: Align the connectors on the cables with their corresponding ports on the PSU. Make sure the connectors are facing the right way and line up properly before inserting them.
- Insert the cables: Gently push the connectors into their respective ports on the PSU. The connectors should fit snugly but should not require excessive force to insert. Double-check that each cable is securely connected.
- Arrange the cables: Once the cables are reconnected, take a moment to organize and manage them inside the PC case. Use cable combs, zip ties, or other cable management accessories to keep them neat and tidy.
- Ensure proper cable routing: Verify that the cables are routed in a way that allows for proper airflow and doesn’t obstruct any components. Avoid bending the cables too tightly, as this can strain the connectors and affect performance.
- Secure any loose cables: If you have excess cable length, use zip ties or cable management clips to secure any loose cables. This not only improves cable management but also enhances airflow and aesthetics.
Take your time when reconnecting the PSU cables to ensure they are properly aligned and inserted. Avoid forcing any connections, as this can lead to damage or poor performance. By following these steps, you can successfully reconnect the PSU cables and have them ready for use in your PC.
Step 7: Testing the PSU and Managing the Cables
After reconnecting the PSU cables and organizing them inside the PC case, it’s crucial to test the power supply unit (PSU) and ensure everything is functioning properly. Follow these steps for testing and managing the cables:
- Double-check connections: Before testing the PSU, recheck all the cable connections, both at the PSU end and component end. Ensure that all cables are securely plugged in and seated properly.
- Plug in and power on: Connect the power cord to the PSU, and then plug it into a power outlet. Switch on the PSU using its power switch.
- Check for proper startup: Press the power button on your PC case to start the system. Monitor the startup process to ensure that the PC boots up normally without any issues or error messages.
- Monitor cable functionality: Once the system is running, check the functionality of each cable. Ensure that the components receiving power from the PSU, such as the motherboard, storage drives, and graphics card, are functioning correctly.
- Review cable management: Take a final look at the cable management inside the PC case. Ensure that the cables are arranged neatly and not obstructing any airflow pathways. Make any necessary adjustments to optimize cable routing and improve aesthetics.
- Secure loose cables: If you notice any cables becoming loose during the testing process, use additional zip ties or cable management clips to secure them in place. This will prevent them from interfering with components or affecting airflow over time.
- Perform stress tests (optional): If desired, you can run stress tests or benchmarks on the system to further ensure stability and performance. This will help identify any potential issues caused by cable connections or power delivery.
By following these steps, you can test the PSU and verify the functionality of your system. Additionally, managing the cables inside the PC case will improve airflow, reduce cable clutter, and create a clean and professional appearance. Take your time to ensure all connections are secure and cables are properly managed before considering the task complete.
Conclusion
By following the step-by-step process outlined in this guide, you can successfully sleeve PSU cables and transform the look of your PC. Sleeving PSU cables offers numerous benefits, including improved aesthetics, better cable management, customization options, and added protection for your cables.
Starting with removing the cables from the power supply unit, you moved on to preparing the sleeving materials, measuring and cutting the sleeving, sliding it onto the cables, and shrinking the heat shrink tubing to secure it in place. Reconnecting the cables to the PSU and testing the system ensures everything is functioning properly. Finally, managing the cables inside the PC case promotes better airflow and ensures a clean and organized appearance.
Remember to exercise patience throughout the sleeving process, taking your time to measure accurately, cut cleanly, and slide the sleeving and heat shrink tubing onto the cables with care. Additionally, always prioritize safety by powering off and unplugging your PC before beginning any work on the cables.
Whether you’re aiming for a sleek and professional look or a unique and customized design, sleeving PSU cables can greatly enhance the overall aesthetics and functionality of your PC. So, roll up your sleeves and give your PC a personal touch by sleeving its cables.