Introduction
Welcome to the world of quiet computing! If you’re tired of the incessant buzzing and whirring noises coming from your PC case, you’re in the right place. In this article, we will explore the various steps you can take to silence your PC case and create a more peaceful computing environment.
Whether you’re a gamer, a content creator, or simply use your PC for everyday tasks, having a quiet PC case can greatly enhance your overall experience. Not only does it reduce distractions and improve concentration, but it also contributes to a more comfortable and enjoyable environment.
Before we dive into the various techniques and solutions, it’s essential to understand that achieving complete silence might be challenging. However, by implementing the following steps, you can significantly reduce noise levels and create a much quieter PC case.
From choosing the right case to upgrading fans and optimizing cable management, there’s a range of methods you can employ to achieve a quieter PC case. The goal is to strike a balance between performance and noise reduction, ensuring your PC remains cool and quiet.
Are you ready to silence your PC case and embark on a journey towards noise-free computing? Let’s get started with our step-by-step guide!
Step 1: Choose a Silent PC Case
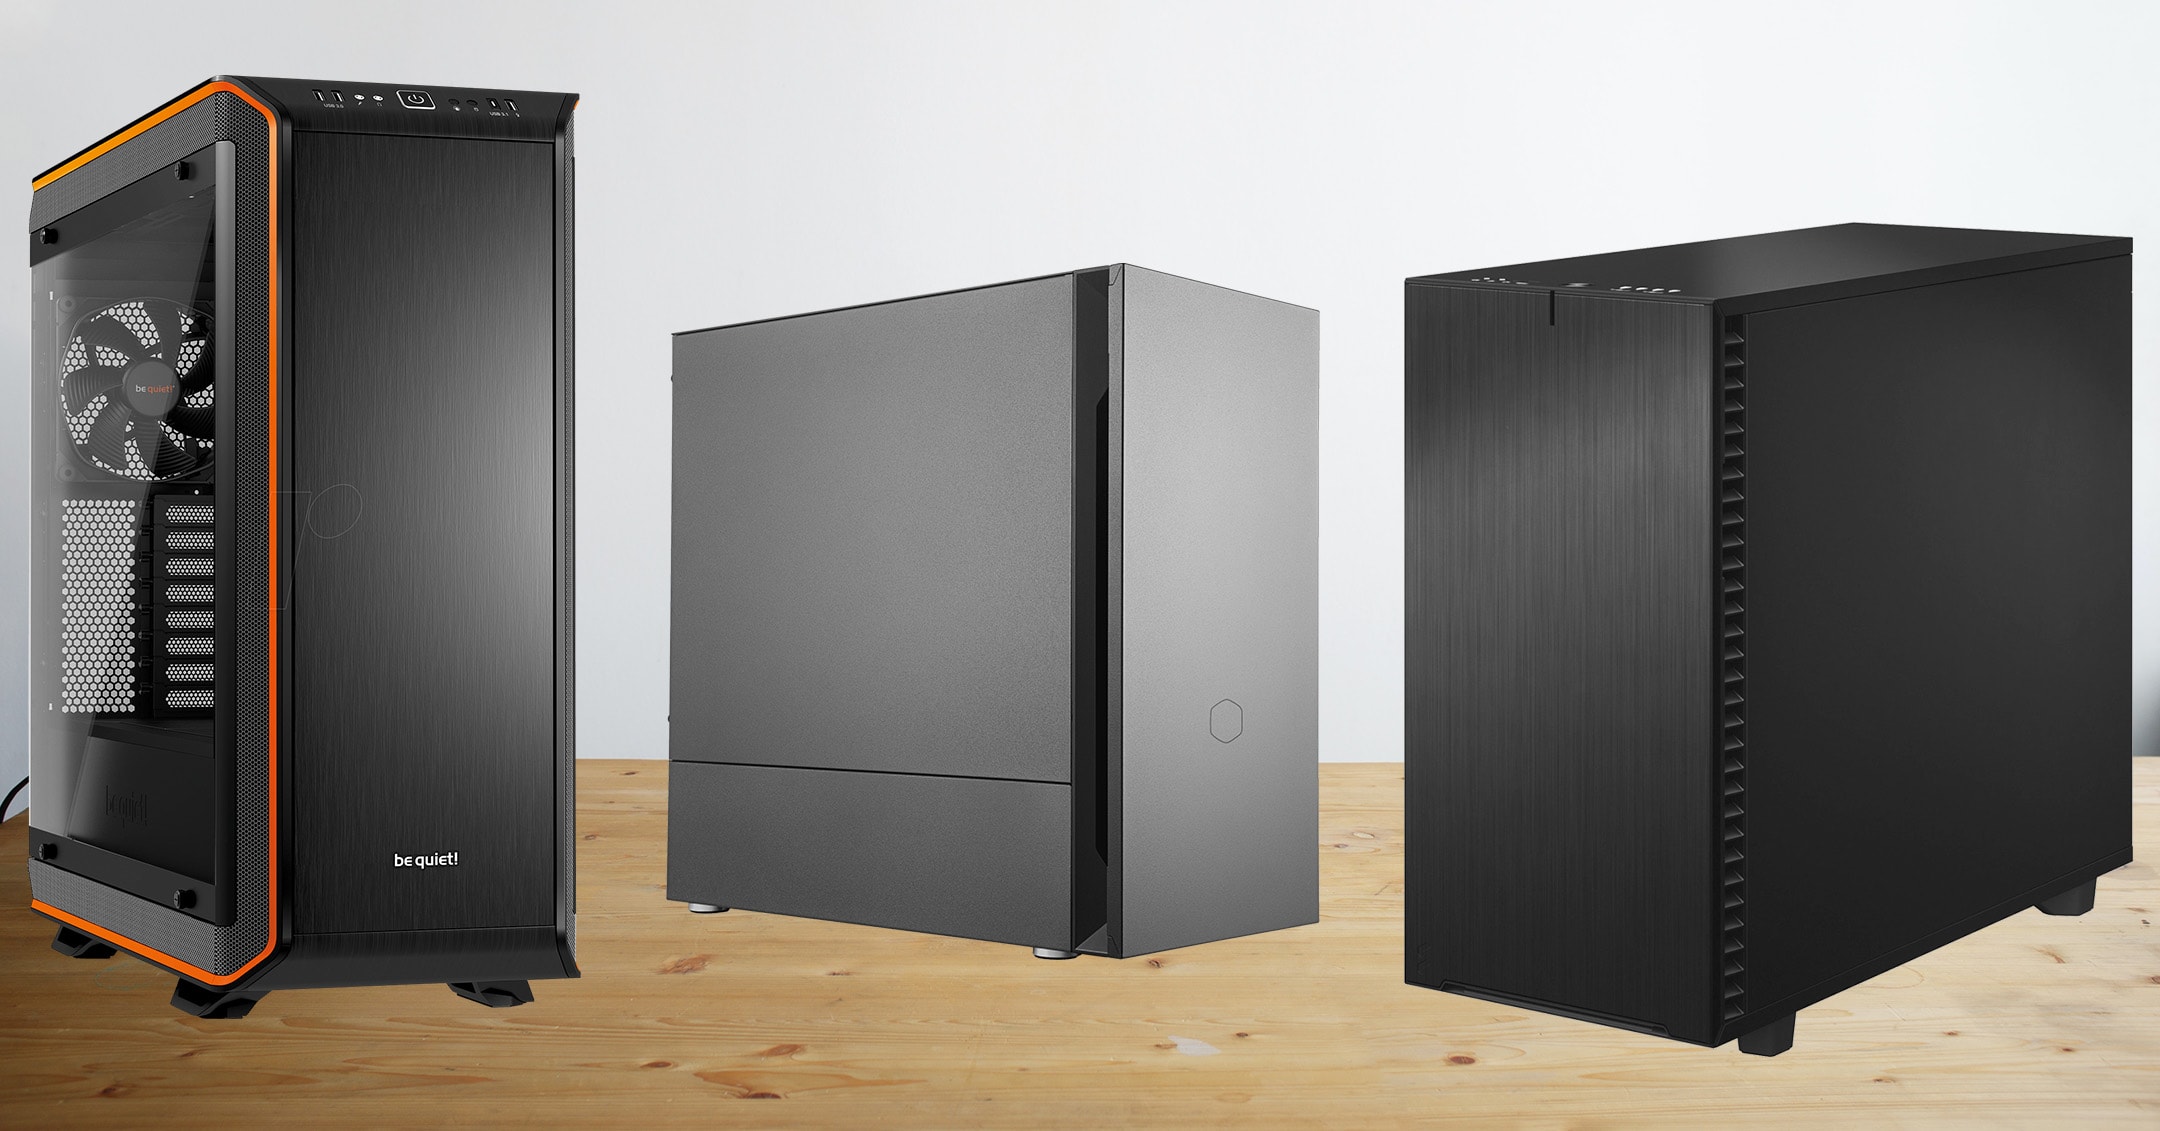
The first step towards silencing your PC case is to choose a case specially designed for reducing noise. Not all cases are created equal when it comes to noise reduction, so it’s important to look for specific features that can help dampen the sound.
When selecting a silent PC case, consider the following factors:
Noise-Dampening Material:
Look for cases that use noise-dampening material such as foam or rubber padding on the interior panels. These materials help absorb and reduce vibrations and noise generated by the components inside the case.
Airflow Design:
Opt for a case with a well-thought-out airflow design that focuses on moving air efficiently while minimizing noise. Look for features like strategically placed ventilation holes and quiet fans.
Cable Management:
A case with good cable management options can help keep your cables organized and minimize the potential for airflow obstruction. This leads to better cooling and reduces the need for fans to work harder and create more noise.
Size and Expansion Options:
Consider the size and expansion options of the case. Larger cases tend to have more space, allowing for better airflow and the possibility of adding additional noise-dampening materials or larger, quieter fans.
Research various brands and models, read reviews, and check for noise level ratings to help guide your decision. Keep in mind that a silent PC case may come with a higher price tag, but the investment is worth it if noise reduction is a top priority for you.
By selecting a silent PC case that incorporates noise reduction features, you’re setting a solid foundation for a quieter computing experience. Now let’s move on to the next step: opting for noise-dampening panels.
Step 2: Opt for Noise-Dampening Panels
Once you’ve chosen a silent PC case, the next step is to further reduce noise levels by opting for noise-dampening panels. These panels are specifically designed to absorb and dampen sound waves, minimizing noise transmission from within the case.
Noise-dampening panels are typically made of materials like foam or rubber, which have excellent sound absorption properties. They are usually placed on the side panels, top, and front of the case, where the majority of noise escapes from.
When selecting a case with noise-dampening panels, pay attention to the thickness and quality of the materials used. Thicker panels tend to provide better noise reduction. Additionally, ensure that the panels don’t obstruct proper airflow and ventilation within the case.
With noise-dampening panels in place, the sound produced by the components inside the case, such as fans and hard drives, will be significantly reduced. This ultimately leads to a quieter computing experience, allowing you to focus on your work or enjoy your favorite games without distraction.
It’s important to note that noise-dampening panels alone might not eliminate all the noise generated by your PC components. However, when combined with other noise-reducing techniques discussed in this guide, they contribute to a significant reduction in overall noise levels.
Now that you’ve optimized your case with noise-dampening panels, it’s time to move on to the next step: considering fan placement and configuration.
Step 3: Consider Fan Placement and Configuration
Proper fan placement and configuration play a crucial role in maintaining optimal airflow and reducing noise in your PC case. By strategically positioning your fans and adjusting their settings, you can achieve better cooling efficiency and a quieter computing environment.
Case Fans:
Start by ensuring that your case has sufficient fans for proper airflow. Most cases come with pre-installed fans, but you may need to add additional ones depending on the size of your case and the components you have. Aim for a balanced intake and exhaust setup to create a steady flow of cool air into the case and expel hot air efficiently.
Fan Placement:
Consider the placement of your case fans to optimize airflow and noise reduction. Place intake fans at the front or bottom of the case to draw cool air from outside, while exhaust fans should be positioned at the rear or top to expel hot air from inside the case. This setup helps prevent heat buildup and maintains a cooler operating environment for your components.
Fan Speeds and PWM:
Configure your fans to run at optimal speeds for efficient cooling and noise reduction. Many modern fans come with PWM (Pulse Width Modulation), which allows for dynamic control of fan speeds based on temperature. Use software or BIOS settings to adjust the fan speeds according to your needs, striking a balance between cooling performance and noise levels.
Fan Orientation:
Pay attention to fan orientation and airflow direction. Fans should push air towards components that generate heat and exhaust it from the case. Also, ensure that fans are not obstructed by cables or other components, as this can create unnecessary noise and hinder airflow.
Remember, every PC setup is unique, so it’s important to experiment with fan placement and configuration to find the optimal setup for your specific case and components. By taking the time to assess and adjust your fan setup, you can achieve better cooling efficiency and significantly reduce noise levels.
Now that you’ve considered fan placement and configuration, let’s move on to the next step: upgrading to quiet fans.
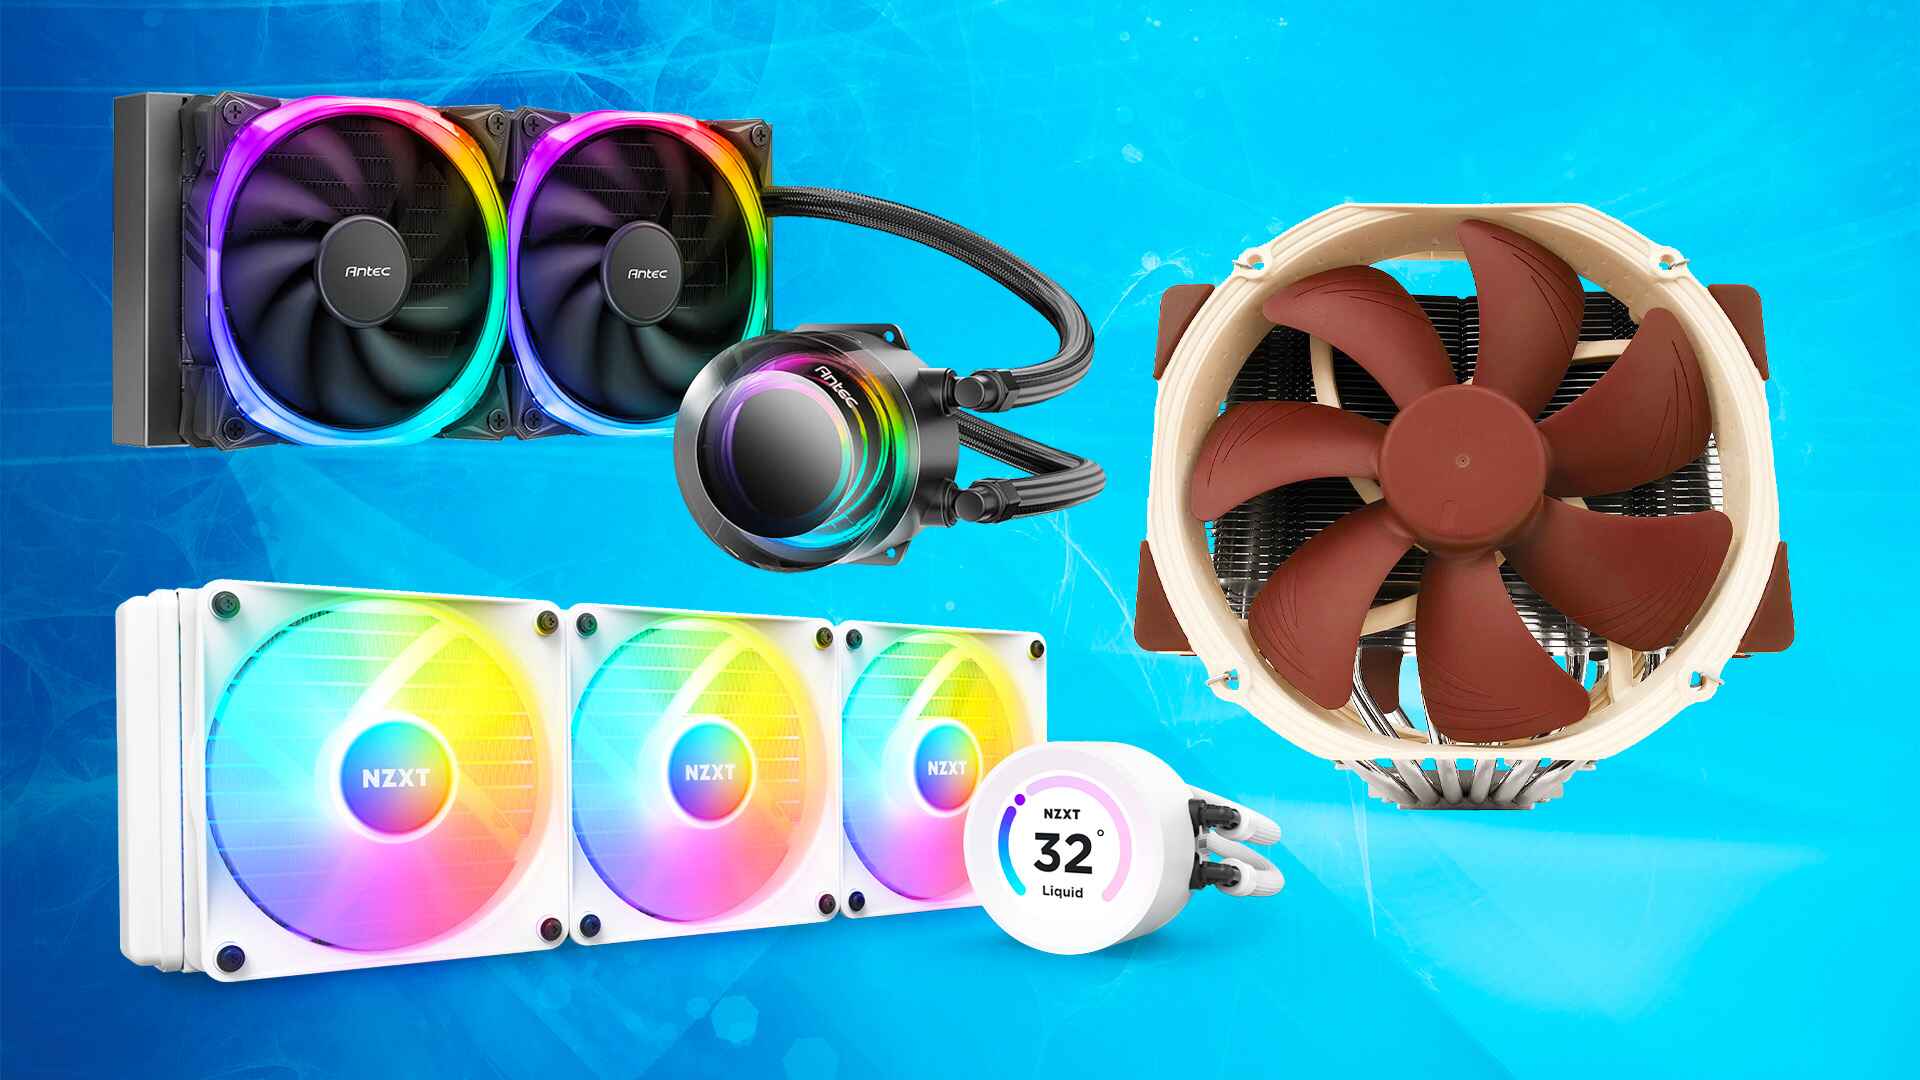
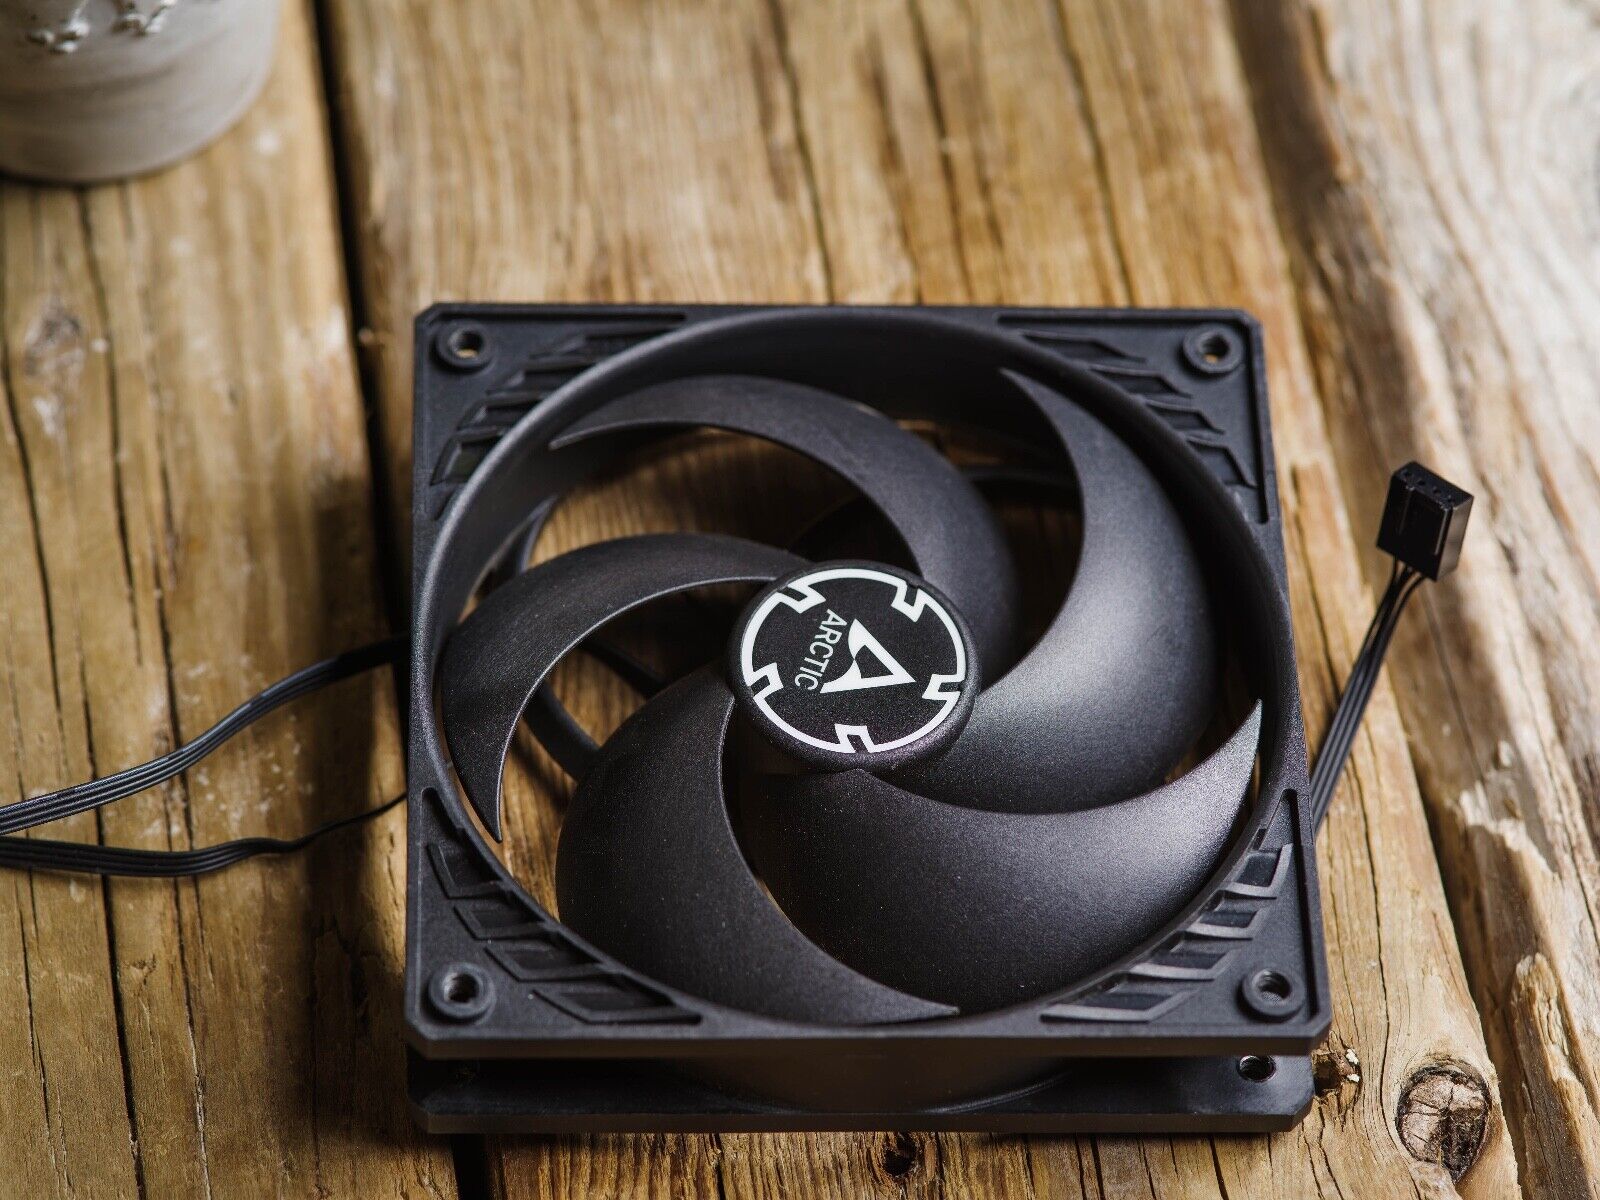
Step 4: Upgrade to Quiet Fans
If the existing fans in your PC case are causing excessive noise, it may be worth considering an upgrade to quieter fans. Quiet fans are specifically designed to operate at lower noise levels while still delivering adequate airflow and cooling performance.
When selecting quiet fans, there are a few key factors to consider:
Noise Levels:
Look for fans that are specifically advertised as quiet or silent. Manufacturers often provide noise ratings in decibels (dB) for their fans, allowing you to compare different models and choose the quietest option for your needs. Lower dB ratings indicate quieter operation.
Fan Size and Compatibility:
Ensure that the quiet fans you choose are compatible with your case and can be mounted in the desired locations. Different case sizes and fan configurations may require specific sizes such as 120mm or 140mm fans. Check the specifications of your case to determine the appropriate fan sizes.
Airflow and Static Pressure:
Consider the airflow and static pressure capabilities of the fans. Look for fans that have a good balance between airflow (measured in cubic feet per minute or CFM) and static pressure (measured in millimeters of water or mmH2O). Higher airflow helps in efficient cooling, while higher static pressure is beneficial for pushing air through restrictive areas like radiator fins or dense heatsinks.
Bearing Type:
Pay attention to the bearing type of the fans. Fans with fluid dynamic bearings (FDB) or magnetic levitation (ML) bearings tend to offer quieter operation and longer lifespans compared to fans with sleeve bearings or ball bearings.
By upgrading to quiet fans, you can significantly reduce the overall noise produced by your PC case. The lower noise levels create a more pleasant computing environment, allowing you to focus on your tasks without unnecessary distractions.
Now that you’ve upgraded your fans for quieter operation, let’s proceed to the next step: installing anti-vibration mounts.
Step 5: Install Anti-Vibration Mounts
Vibrations caused by the operation of PC components, such as fans and hard drives, can contribute to the overall noise level and disrupt the quietness of your PC case. Installing anti-vibration mounts is an effective way to minimize vibrations and reduce noise.
Anti-vibration mounts are rubber or silicone pads or grommets that act as shock absorbers. They help dampen vibrations and isolate components from the case, preventing the transmission of noise to the surrounding structure.
Here are a few areas where you can install anti-vibration mounts:
Fans:
Attach anti-vibration mounts to the corners or mounting points of your case fans. This helps reduce the transfer of vibrations from the fans to the case, minimizing noise resonance. Anti-vibration screws or rubber grommets are commonly used for this purpose.
Hard Drives and SSDs:
If you have traditional mechanical hard drives or solid-state drives (SSDs) mounted directly to the case, consider using anti-vibration mounting brackets or silicone pads. These help absorb vibrations and prevent them from transmitting to the case, resulting in quieter operation.
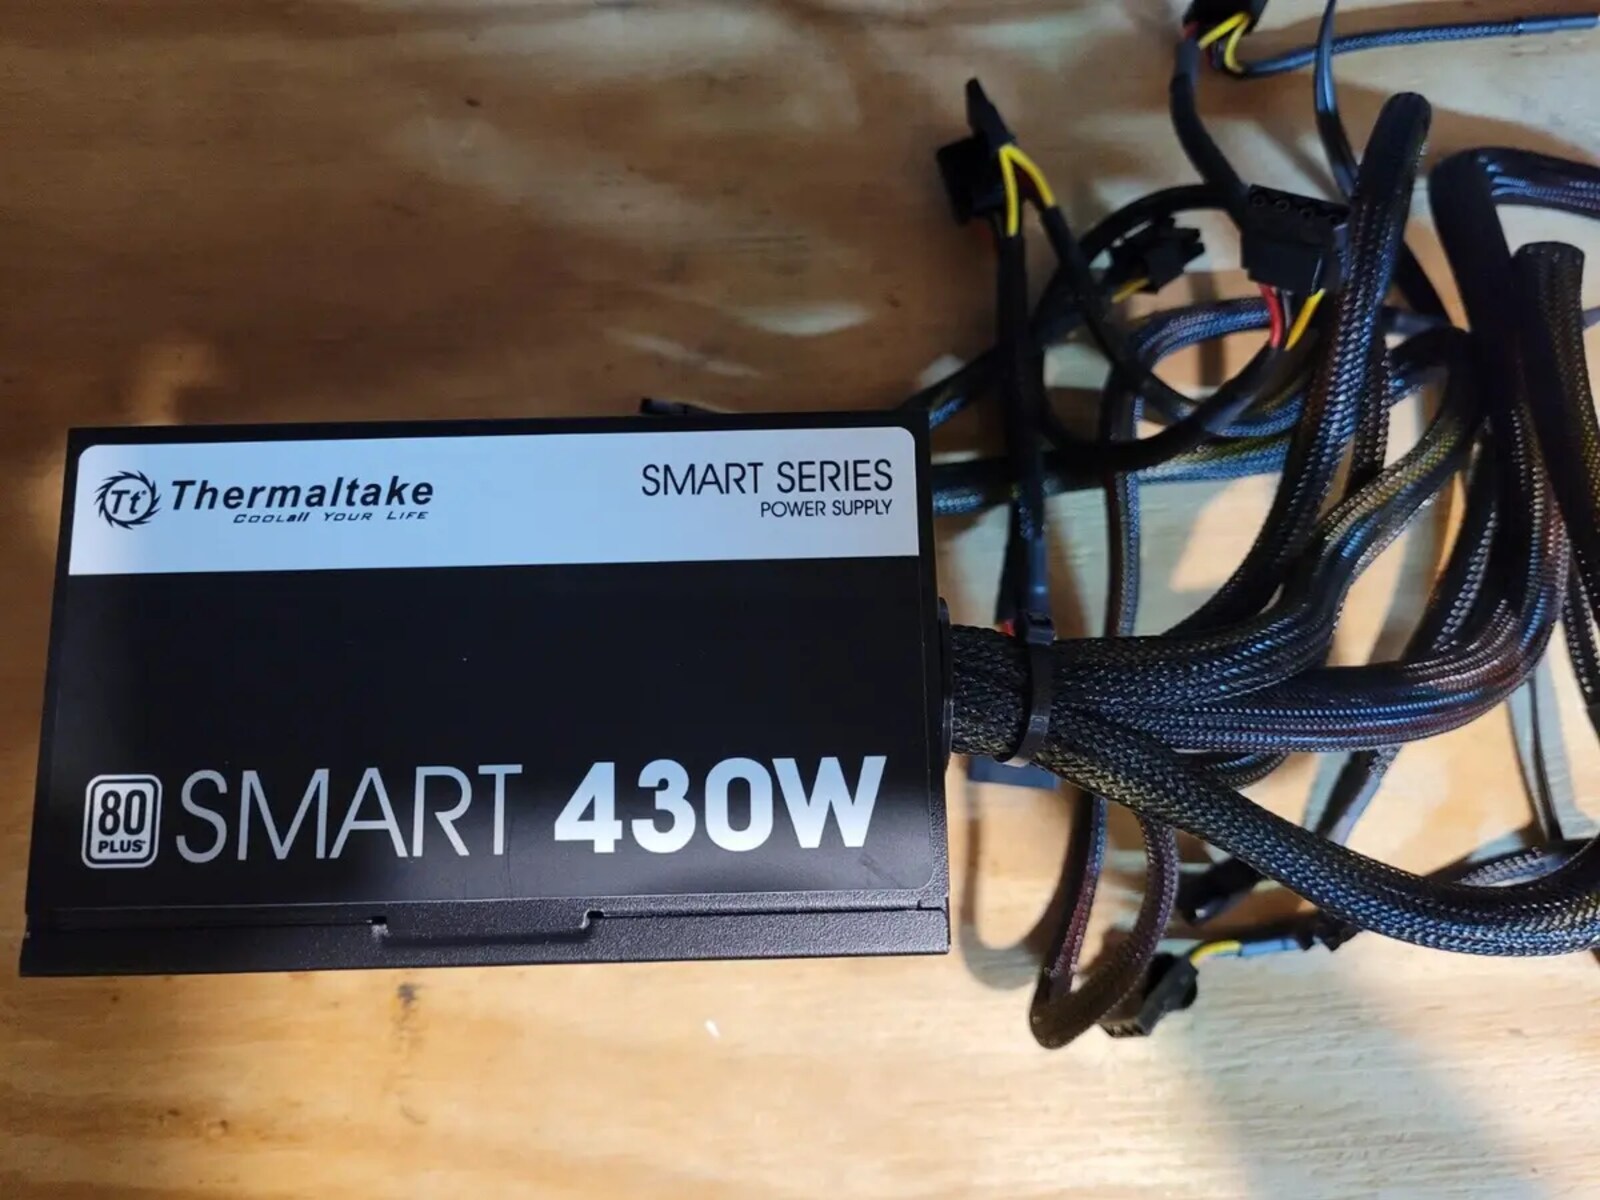
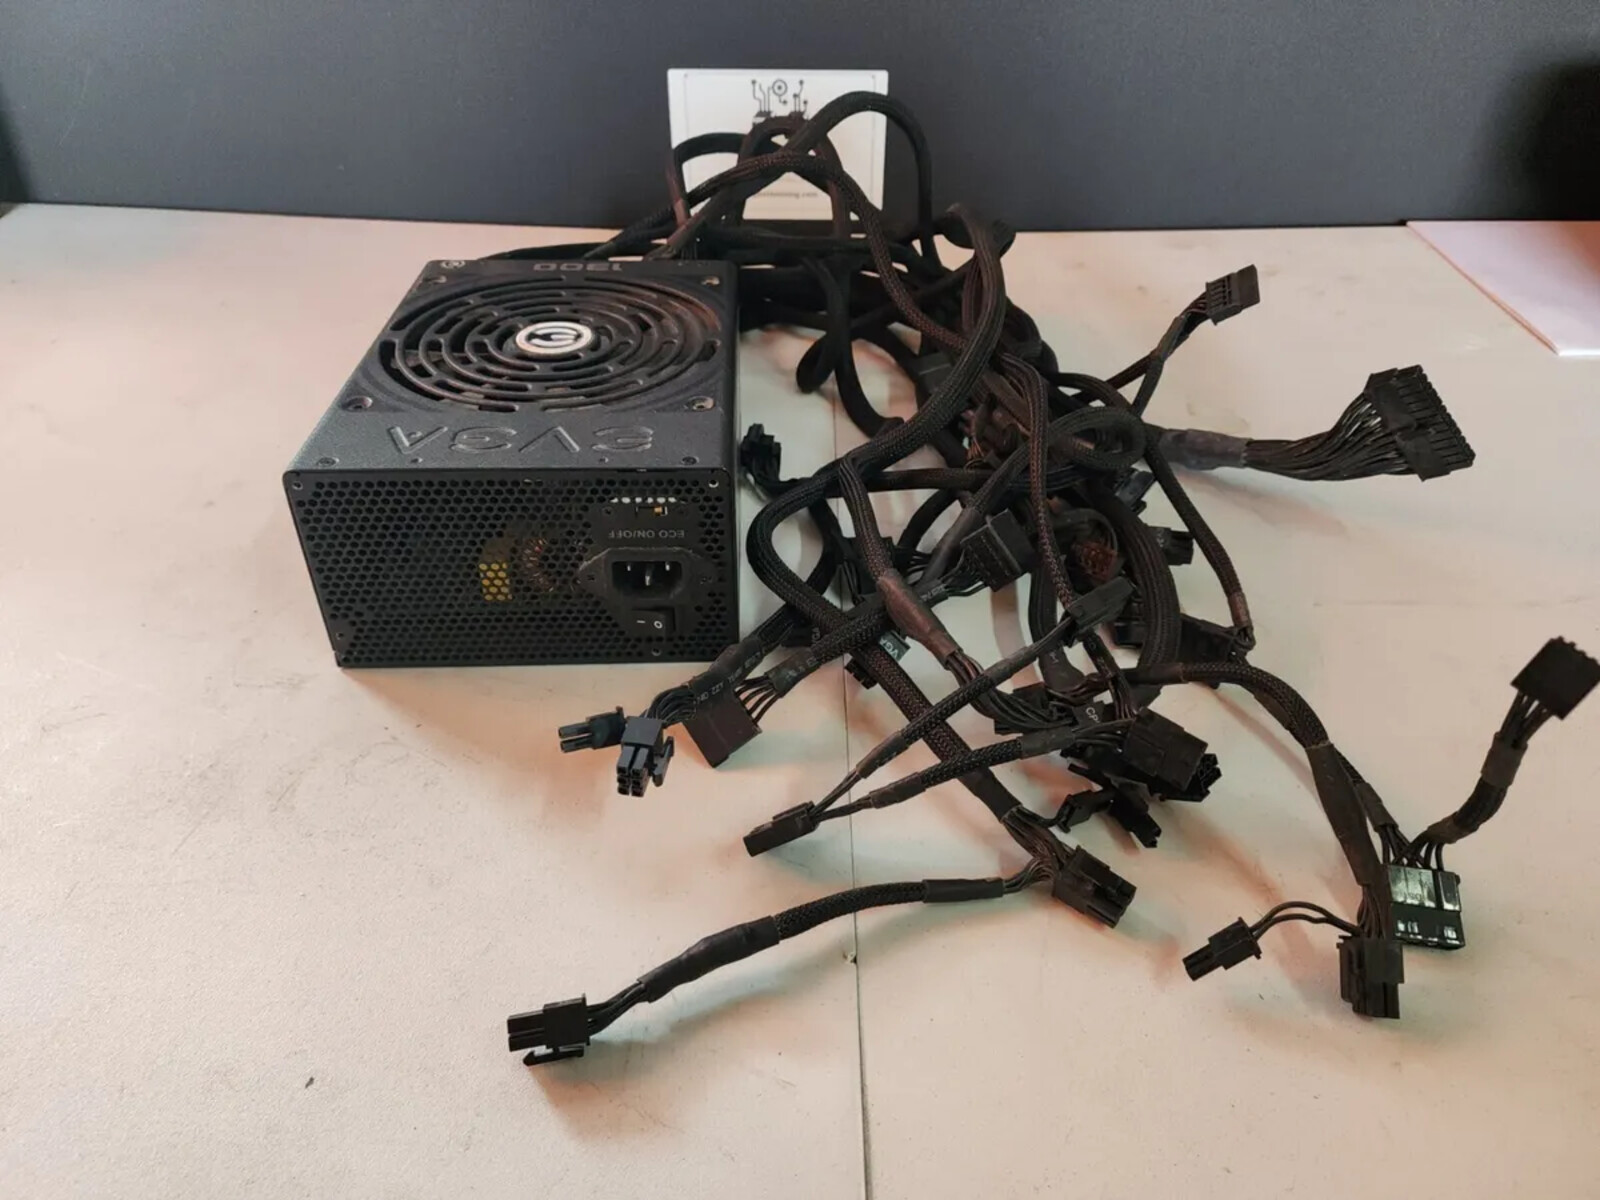
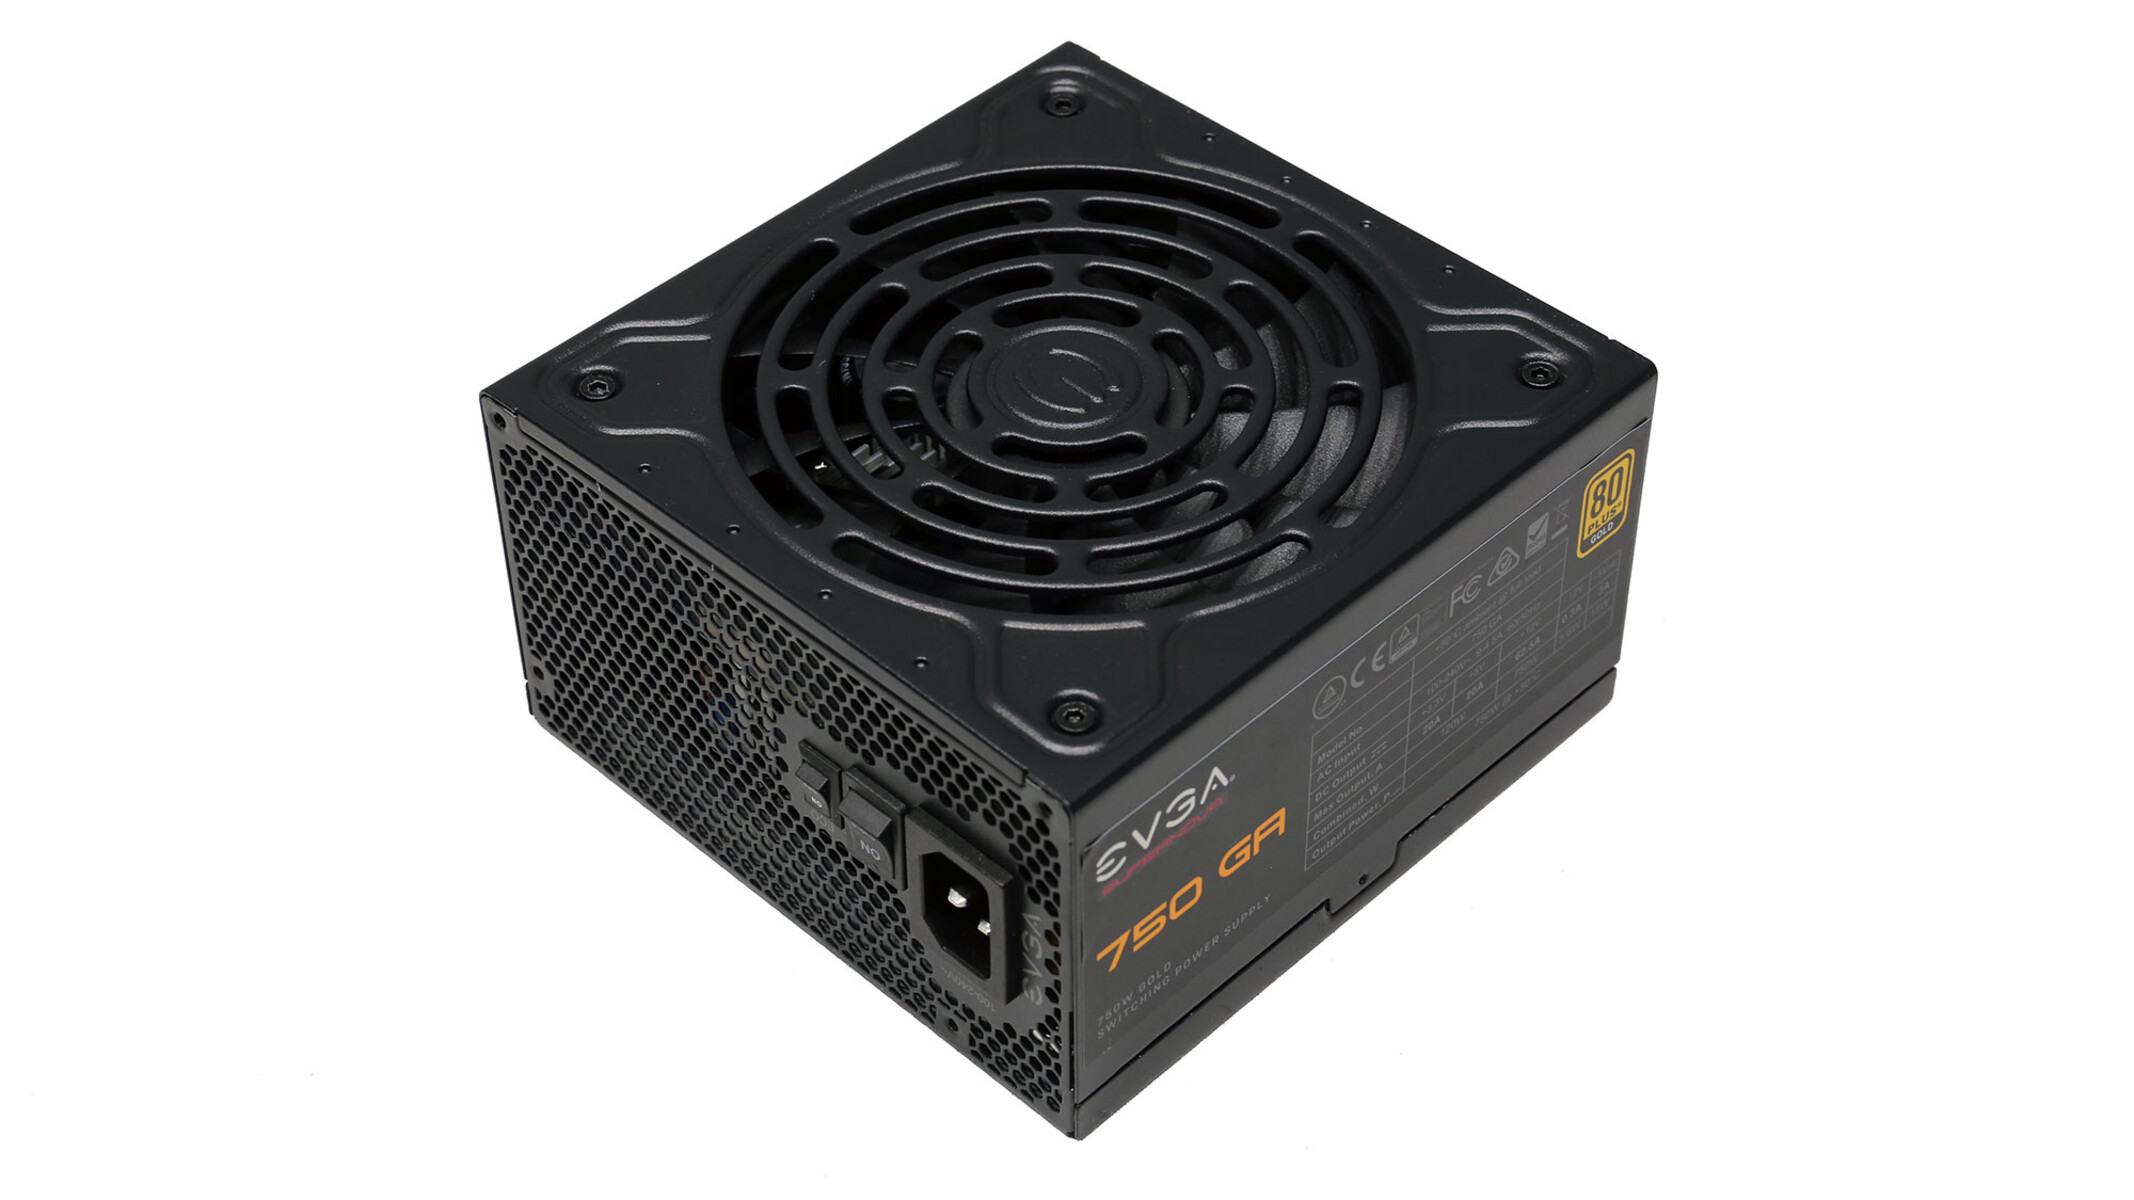
Power Supply Unit (PSU):
Anti-vibration PSU mounts can be used to isolate the power supply unit from the case. These mounts typically consist of rubber pads or gaskets that minimize vibrations and noise caused by the PSU fan or operation.
By installing anti-vibration mounts in strategic areas within your PC case, you can enjoy a significant reduction in overall noise levels. The anti-vibration properties of these mounts help create a more stable and quieter computing experience.
Now that you’ve tackled the issue of vibrations, it’s time to move on to the next step: insulating the PC case.
Step 6: Insulate the PC Case
Insulating your PC case can further contribute to noise reduction by minimizing the transmission of sound waves and eliminating rattling noises from the case panels. This step involves adding additional layers of insulation material to create a more soundproof environment inside the case.
There are a few options for insulating your PC case:
Sound-Dampening Foam:
Sound-dampening foam, also known as acoustic foam, is a popular choice for insulating PC cases. It is adhesive-backed and can be easily applied to the inside surfaces of the case panels. The foam absorbs and dampens sound waves, reducing overall noise levels.
Sound-Insulating Mats:
Sound-insulating mats, often made of materials like rubber or silicone, can be placed inside the case to further dampen vibrations and reduce noise transmission. These mats can be cut to size and easily mounted onto the interior surfaces of the case.
When insulating your case, pay attention to the proper installation of the insulation materials. Ensure that the insulation does not obstruct airflow or cover any ventilation areas, as this can lead to overheating. Take note of the locations of components that may generate a significant amount of heat, such as the CPU and GPU, and avoid adding insulation directly around them.
Insulating your PC case helps create a more controlled and quiet computing environment. The added layers of insulation material absorb sound waves and prevent rattles, resulting in a significant reduction in overall noise levels.
Now that you’ve insulated your case, let’s move on to the next step: using soundproofing foam.
Step 7: Use Soundproofing Foam
Soundproofing foam is a highly effective method to further reduce noise levels inside your PC case. This foam is specifically designed to absorb and dampen sound waves, providing an additional layer of noise insulation.
Here’s how you can use soundproofing foam in your PC case:
Interior Panel Application:
Cut soundproofing foam sheets to fit the interior surfaces of the case panels. Typically, the foam is placed on the side panels, top, and bottom of the case. The adhesive backing on the foam makes it easy to stick securely to the panels.
Component Specific Application:
For components that generate a significant amount of noise, such as the CPU cooler or GPU, you can use smaller pieces of soundproofing foam to dampen vibrations and further reduce noise. Apply the foam directly onto the component or the surrounding area to absorb any sound waves generated.
Ensure that the soundproofing foam does not obstruct ventilation areas or impede the proper cooling of your components. Check the temperature of your components during stress tests to verify that the foam does not cause overheating.
By using soundproofing foam, you create a quieter computing environment by absorbing and limiting the propagation of sound waves. This additional layer of noise insulation enhances the overall silence of your PC case.
Now that you’ve implemented soundproofing foam, let’s move on to the next step: utilizing cable management techniques.
Step 8: Utilize Cable Management Techniques
Proper cable management not only contributes to a clean and organized PC case but also plays a role in reducing noise levels. Tangled and messy cables can obstruct airflow and create unwanted vibrations, leading to increased noise. By utilizing cable management techniques, you can improve airflow, reduce vibration, and ultimately achieve a quieter PC case.
Here are some cable management techniques to consider:
Use Cable Ties and Velcro Straps:
Gather and secure cables together using cable ties or velcro straps. This helps to keep them neatly organized and prevents them from interfering with fans or other components. Bundle cables together in a way that allows for optimal airflow and minimizes the chances of them vibrating against other parts of the case.
Many modern PC cases have ample space behind the motherboard tray for cable routing. Take advantage of this space to run cables and keep them hidden from view. This not only improves aesthetics but also enhances airflow and reduces the chances of cables vibrating against components.
Ensure that cables are kept well away from fans, particularly case fans and CPU fans. This prevents cables from impeding airflow or coming into contact with moving parts that can cause vibrations. Secure cables in a position where they are least likely to interfere with the operation of your PC components.
Cable sleeves or channels are readily available for cable management. These sleeves can be used to cover and bundle cables together, providing a clean and organized appearance. The sleeves also help reduce cable movement and minimize vibrations within the case.
By implementing effective cable management techniques, you can improve airflow, reduce vibration, and minimize noise in your PC case. A clutter-free and well-organized case not only contributes to a quieter environment but also makes future maintenance and upgrades easier.
Now that you’ve optimized your cable management, let’s proceed to the next step: replacing noisy components.
Step 9: Replace Noisy Components
If you’ve taken all the previous steps and are still experiencing excessive noise from specific components, it may be necessary to replace them with quieter alternatives. Some components, such as fans or hard drives, are notorious for generating noise, and upgrading to quieter options can significantly reduce overall noise levels in your PC case.
Here are a few components you may consider replacing:
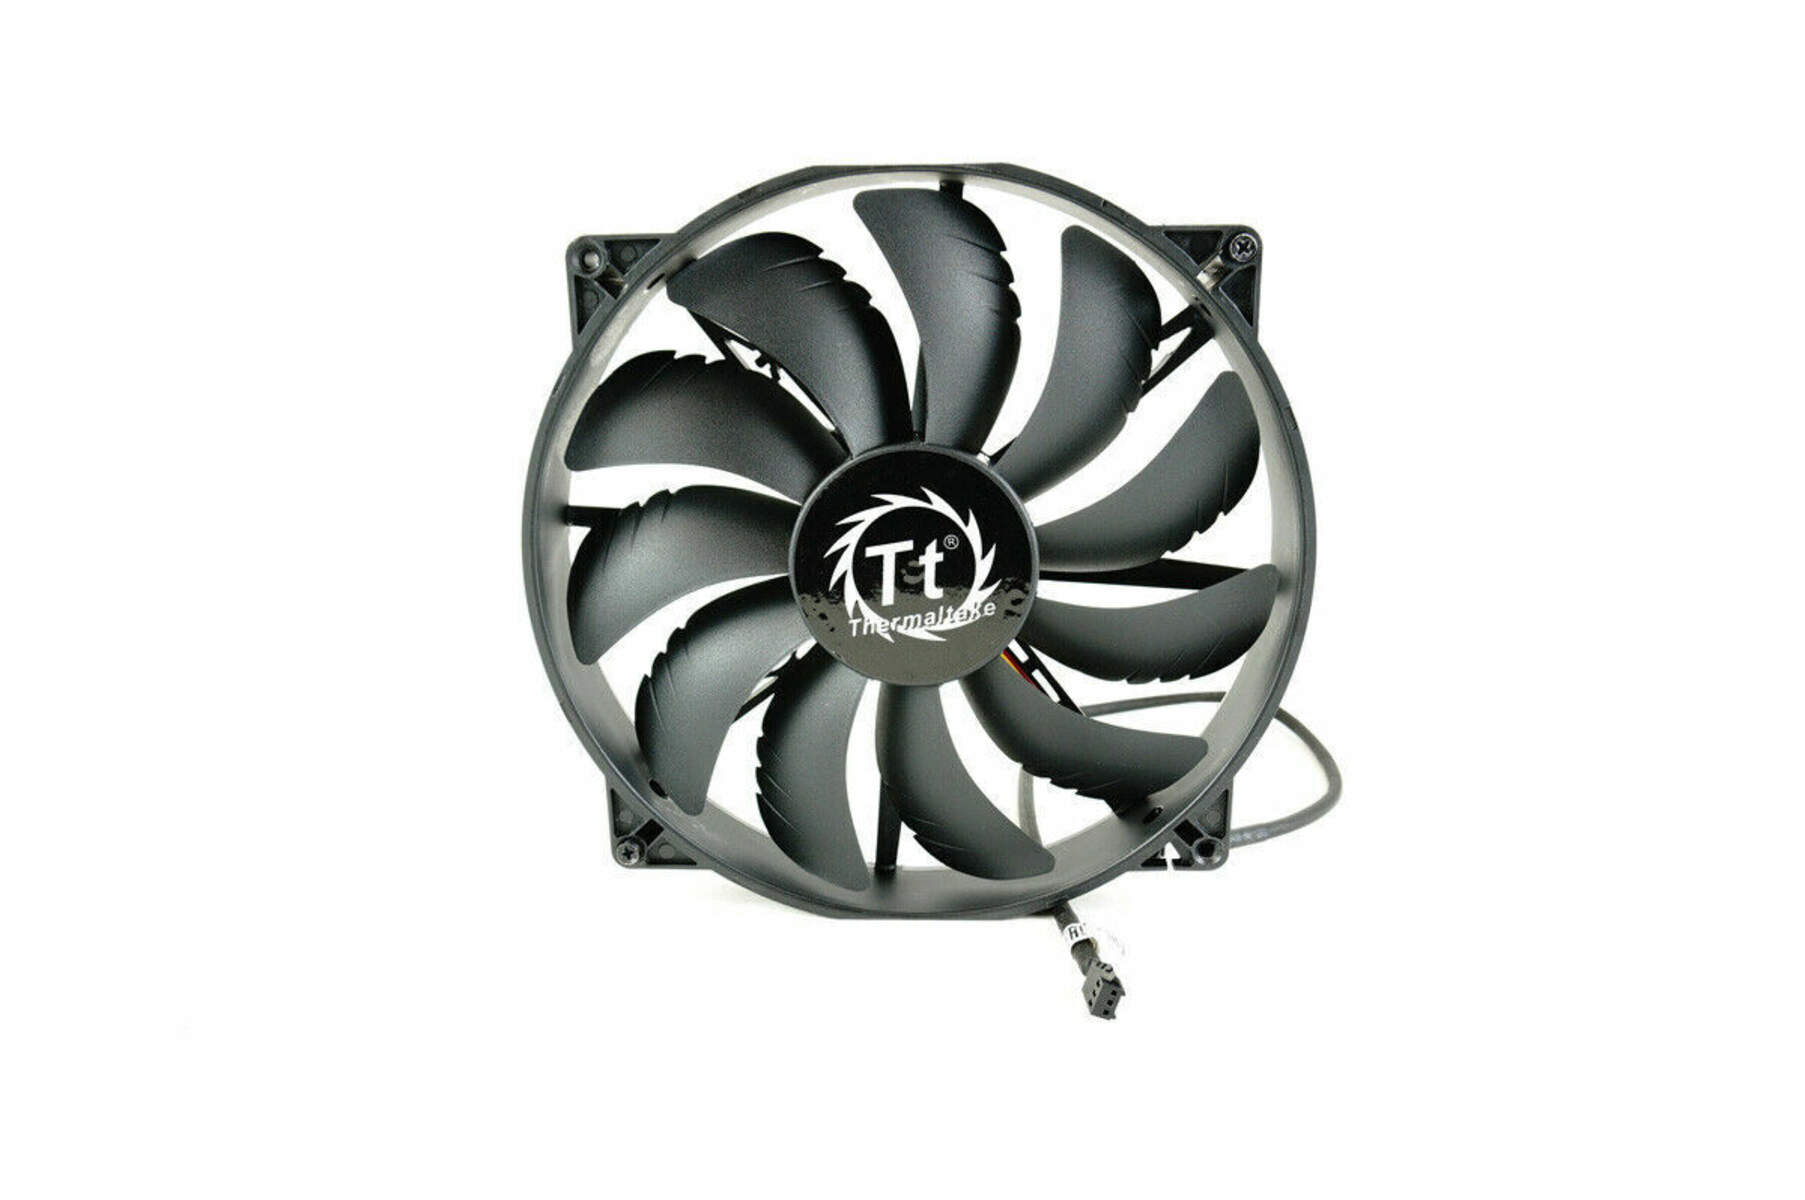
Fans:
If the fans in your PC case are still producing excessive noise, even after adjusting their settings or using quiet fan options, it might be time to consider replacing them. Look for fans that are known for their low noise levels while still providing adequate cooling performance. Fans with larger diameters tend to run at lower RPM, resulting in quieter operation.
Hard Drives:
Traditional mechanical hard drives often generate noticeable noise due to their spinning platters and moving parts. Consider replacing them with solid-state drives (SSDs), which are entirely silent as they have no moving parts. SSDs not only offer faster read and write speeds but also help eliminate the noise produced by traditional hard drives.
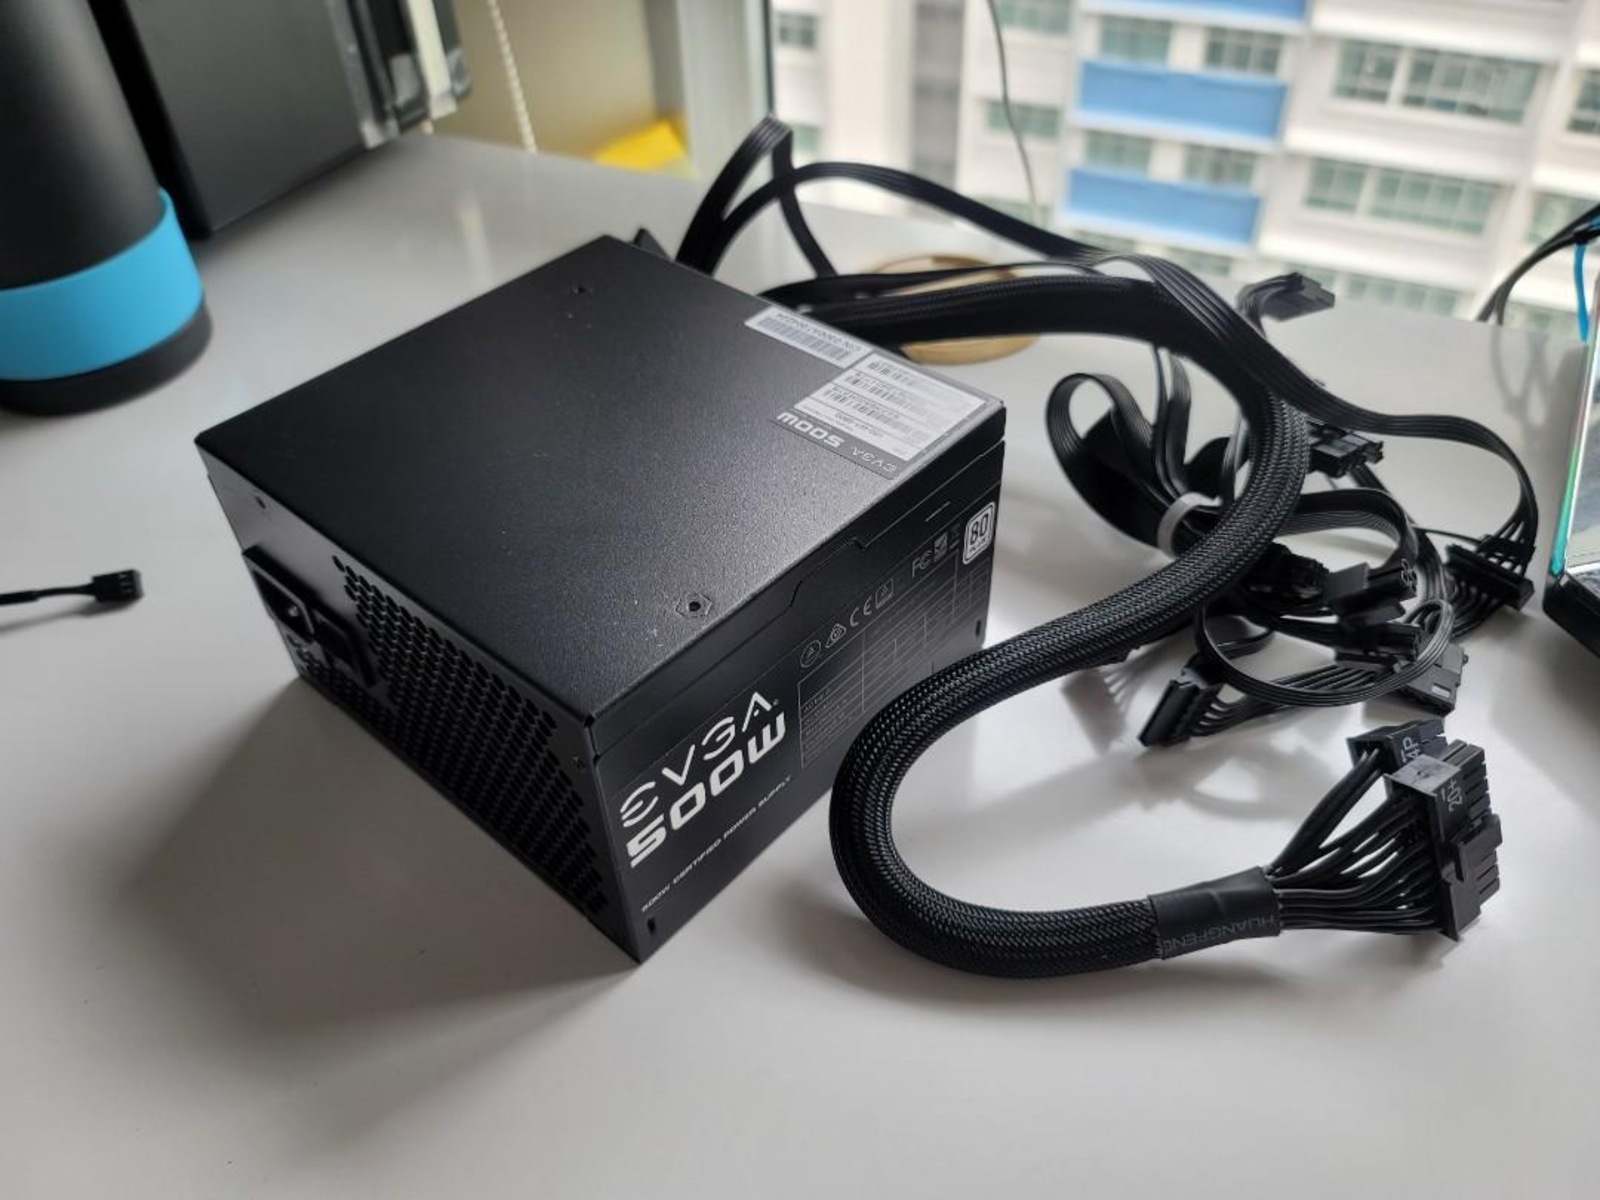
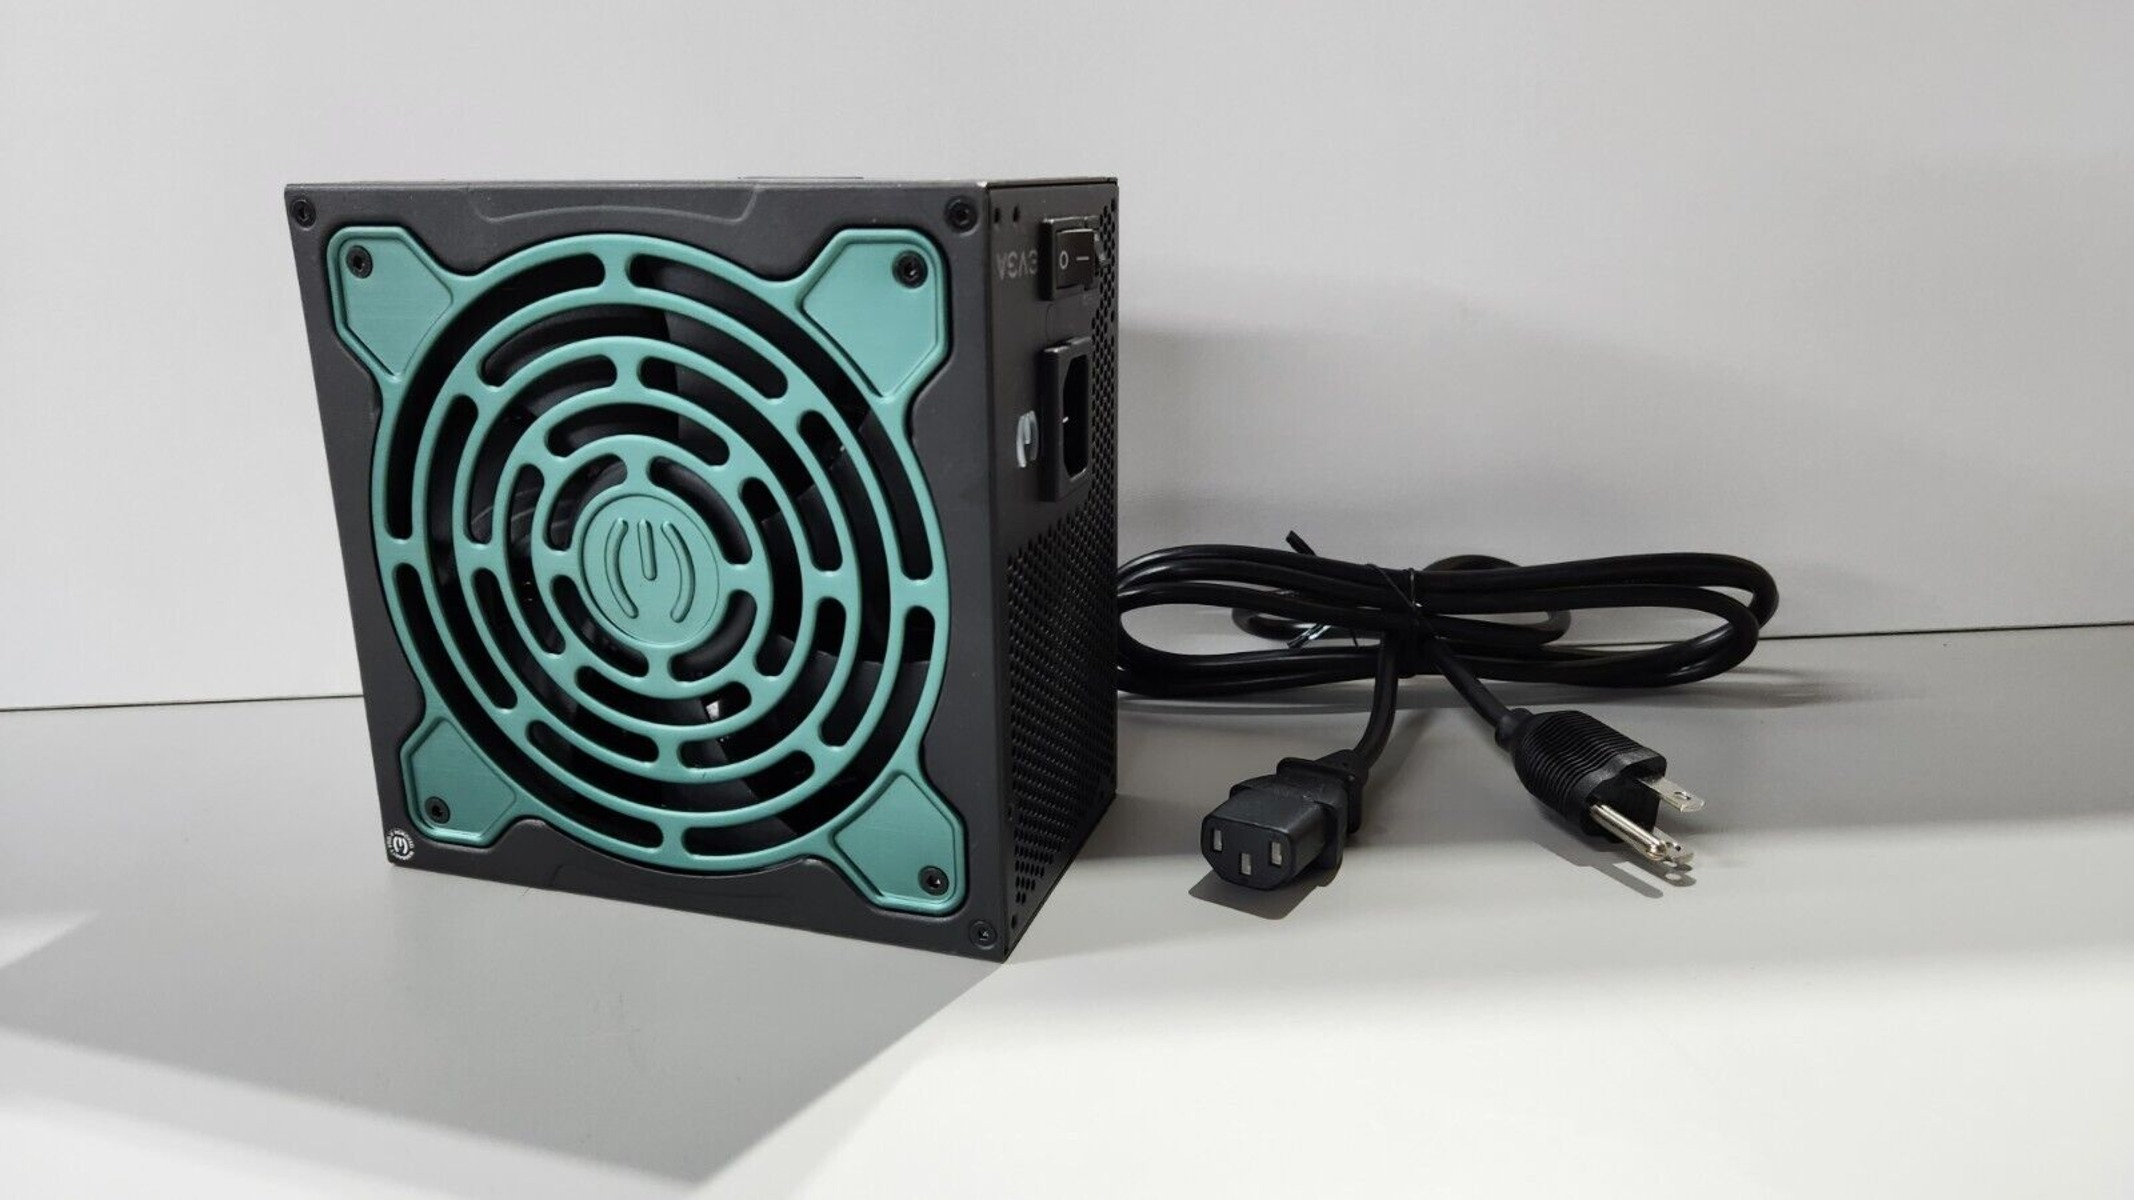
Power Supply Unit (PSU):
The power supply unit can be another source of noise in your PC case. Investing in a high-quality power supply with a reputation for quiet operation can make a noticeable difference in reducing noise. Look for power supplies with quiet fan technology or even fan-less options if your power requirements allow for it.
Replacing noisy components with quieter alternatives can significantly contribute to reducing overall noise levels in your PC case. However, before making any replacements, ensure that the components are indeed the source of the noise by actively listening and pinpointing the culprit.
Now that you’ve addressed the issue of potentially noisy components, let’s move on to the final step: maintaining regular cleaning and maintenance.
Step 10: Maintain Regular Cleaning and Maintenance
Maintaining a clean and well-maintained PC case is essential for optimal performance and noise reduction. Over time, dust and debris can accumulate inside the case, obstructing airflow and causing fans to work harder and produce more noise. By practicing regular cleaning and maintenance, you can ensure that your PC case remains quiet and efficient.
Here are some maintenance tips to follow:
Dust Removal:
Regularly clean the inside of your PC case to remove dust and debris. Use compressed air or a soft brush to carefully blow or brush away dust from components, fans, and ventilation areas. Pay close attention to areas where dust tends to accumulate, such as heatsinks, fan blades, and filters. Removing dust helps maintain proper airflow and prevents fans from working unnecessarily harder.
Heat Sink Cleaning:
If you have a CPU or GPU with a heat sink, periodically clean it to ensure optimal cooling. Over time, heat sinks can become clogged with dust, hindering their efficiency and causing components to run hotter. Use compressed air or a brush to gently remove any dust or debris from the heat sinks to maintain efficient heat dissipation.
Cable Management Maintenance:
Check your cable management regularly and make sure cables haven’t come loose or become tangled. Proper cable management prevents cables from interfering with fans or other components, reducing the chances of noise caused by vibration or obstruction. Re-secure any loose cables and adjust cable ties or velcro straps as needed for optimal organization.
Fan Maintenance:
Inspect your case fans regularly to ensure they are functioning properly and not making any abnormal noises. If you notice any grinding or rattling sounds, it may indicate that a fan is failing and needs to be replaced. Additionally, clean the fan blades and bearings using compressed air or a soft cloth to remove any accumulated dust or dirt.
By incorporating regular cleaning and maintenance into your PC care routine, you can extend the lifespan of your components and maintain a quiet and efficient computing experience. A clean and well-maintained PC case not only reduces noise but also helps prevent overheating and ensures optimal performance.
With Step 10 completed, you have successfully gone through all the necessary steps to silence your PC case and create a more peaceful computing environment. Enjoy your newfound quietness!
Conclusion
Congratulations on successfully silencing your PC case! By following the ten steps outlined in this guide, you have significantly reduced noise levels and created a more peaceful computing environment.
Throughout this process, you learned about the importance of choosing a silent PC case, opting for noise-dampening panels, considering fan placement and configuration, upgrading to quiet fans, installing anti-vibration mounts, insulating the PC case, using soundproofing foam, utilizing cable management techniques, replacing noisy components, and maintaining regular cleaning and maintenance.
Each step played a critical role in reducing noise and creating a more enjoyable computing experience. You strategically selected components, optimized airflow, minimized vibrations, and eliminated unnecessary noise sources.
Remember that achieving complete silence in a PC case may be challenging. However, by implementing the techniques and strategies discussed in this guide, you have taken significant strides towards a quieter PC environment.
Enjoy the benefits of a quieter PC case – improved concentration, reduced distractions, and a more comfortable computing experience. Whether you’re gaming, working, or simply enjoying media, the quietness of your PC case will enhance your overall enjoyment.
Regularly reassess your PC case and make minor adjustments as needed. As technology advances, new solutions and techniques may emerge to further improve noise reduction. Stay informed and continue to explore ways to keep your PC case as quiet as possible.
Thank you for following this guide, and we hope that you now have a beautifully silent PC case that allows you to focus on what matters most – your work, your creativity, and your enjoyment.