Introduction
Welcome to the exciting world of Toshiba Smart TVs! With their advanced features and easy-to-use interface, Toshiba Smart TVs offer a seamless entertainment experience right in the comfort of your own home.
Designed to bring your favorite shows, movies, and games to life, setting up your Toshiba Smart TV is a straightforward process that you can easily accomplish. In this guide, we will walk you through the essential steps to get your Toshiba Smart TV up and running in no time.
Whether you are a tech enthusiast or a casual user, this guide will provide you with all the information you need to unleash the full potential of your Toshiba Smart TV. From connecting to the internet and navigating the menu to customizing picture and sound settings, we’ve got you covered.
By the end of this guide, you will have a fully set up and personalized Toshiba Smart TV that delivers an immersive viewing experience for you and your family.
So, let’s get started on this exciting journey of setting up your very own Toshiba Smart TV!
Step 1: Unpack and Setup the TV
Congratulations on your new Toshiba Smart TV! The first step is to carefully unpack and set up your TV in the desired location. Here’s how:
1. Remove the TV from its packaging, making sure to keep all the accessories, such as the remote control and power cord, together.
2. Find a suitable spot for your TV, taking into consideration factors like viewing angle, distance from seating area, and room lighting. Ensure that the surface is sturdy and can support the weight of the TV.
3. Carefully place the TV screen-side up on the chosen surface, taking care not to scratch or damage the screen.
4. Attach the stand to the TV, following the instructions provided in the user manual. Make sure the stand is securely fastened to the TV to prevent any accidents or instability.
5. If you prefer to mount your TV on the wall, refer to the user manual for specific instructions on wall-mounting your Toshiba Smart TV. Follow these instructions carefully to ensure proper installation and safety.
6. Once the TV is set up, connect the power cord to the back of the TV and plug the other end into a power outlet. Ensure that the power outlet is easily accessible and provides a stable power source.
7. Turn on the TV using the power button located either on the TV itself or on the remote control. Follow any on-screen prompts or instructions to complete the initial setup process.
8. Congratulations! Your Toshiba Smart TV is now unpacked and set up, ready to be connected to the internet and customized to your preferences. In the following steps, we will guide you through the process of connecting to the internet and navigating the menu.
Setting up your Toshiba Smart TV is an exciting first step towards enjoying a whole new level of entertainment. Let’s move on to the next step and get your TV connected to the internet.
Step 2: Connect to Power Source
Now that your Toshiba Smart TV is unpacked and set up, the next step is to connect it to a power source. This will provide the necessary electricity to power up and operate your TV. Follow these simple steps to connect your Toshiba Smart TV to a power source:
1. Locate the power cord that came with your TV. It should be included in the accessories that were provided with your TV.
2. Take one end of the power cord and insert it into the power input on the back of your Toshiba Smart TV. The power input will be clearly labeled and located on the rear panel of the TV.
3. Once you have inserted the power cord into the TV, take the other end of the cord and plug it into a nearby power outlet. Ensure that the power outlet is easily accessible and provides a stable electrical connection.
4. Before powering on your Toshiba Smart TV, double-check that the power cord is securely plugged into both the TV and the power outlet.
5. Once you have confirmed the secure connection, use the power button on either the TV itself or the remote control to turn on your Toshiba Smart TV.
6. You may need to wait for a few moments as your TV powers up and initializes. Follow any on-screen prompts or instructions to complete the initial setup process, such as selecting your language and connecting to the internet.
7. Congratulations! Your Toshiba Smart TV is now successfully connected to a power source, and you can begin exploring the various features and functions of your TV.
Remember to keep the power cord and power outlet easily accessible in case you need to disconnect your TV in the future. Additionally, make sure to follow any safety precautions provided in the user manual regarding the use of electricity and power sources.
Now that your TV is powered up, let’s move on to the next step and connect your Toshiba Smart TV to the internet for a truly connected entertainment experience.
Step 3: Connect to the Internet
One of the key features of a Toshiba Smart TV is its ability to connect to the internet, giving you access to a wide range of online content and streaming services. To enjoy this feature, you need to connect your Toshiba Smart TV to the internet. Here’s how:
1. Press the “Menu” button on your Toshiba Smart TV remote control to open the menu.
2. Using the arrow keys on the remote, navigate to the “Network” or “Settings” option and select it.
3. In the network settings menu, select the option for “Wireless” or “Wi-Fi” connection.
4. Your Toshiba Smart TV will now scan for available Wi-Fi networks in your vicinity. Wait for the TV to display the list of networks.
5. Using the arrow keys on the remote, select your Wi-Fi network from the list. If your network is password-protected, you will be prompted to enter the password. Use the on-screen keyboard to enter the password and press “Enter” or “OK.”
6. After entering the password, your Toshiba Smart TV will attempt to connect to the Wi-Fi network. Wait for a few moments as the TV establishes a connection.
7. Once the connection is established, your Toshiba Smart TV will display a confirmation message. You are now successfully connected to the internet.
8. To test your internet connection, navigate to a streaming app or open a web browser on your Toshiba Smart TV. If you can access online content or browse the web, it means your internet connection is working correctly.
By connecting your Toshiba Smart TV to the internet, you can now access streaming services, browse the web, and enjoy a vast array of online content directly from your TV. Make sure to test your internet connection periodically to ensure consistent performance.
Now that your Toshiba Smart TV is connected to the internet, let’s move on to the next step and explore how to navigate the TV’s menu for easy access to various settings and functions.
Step 4: Navigate the Menu
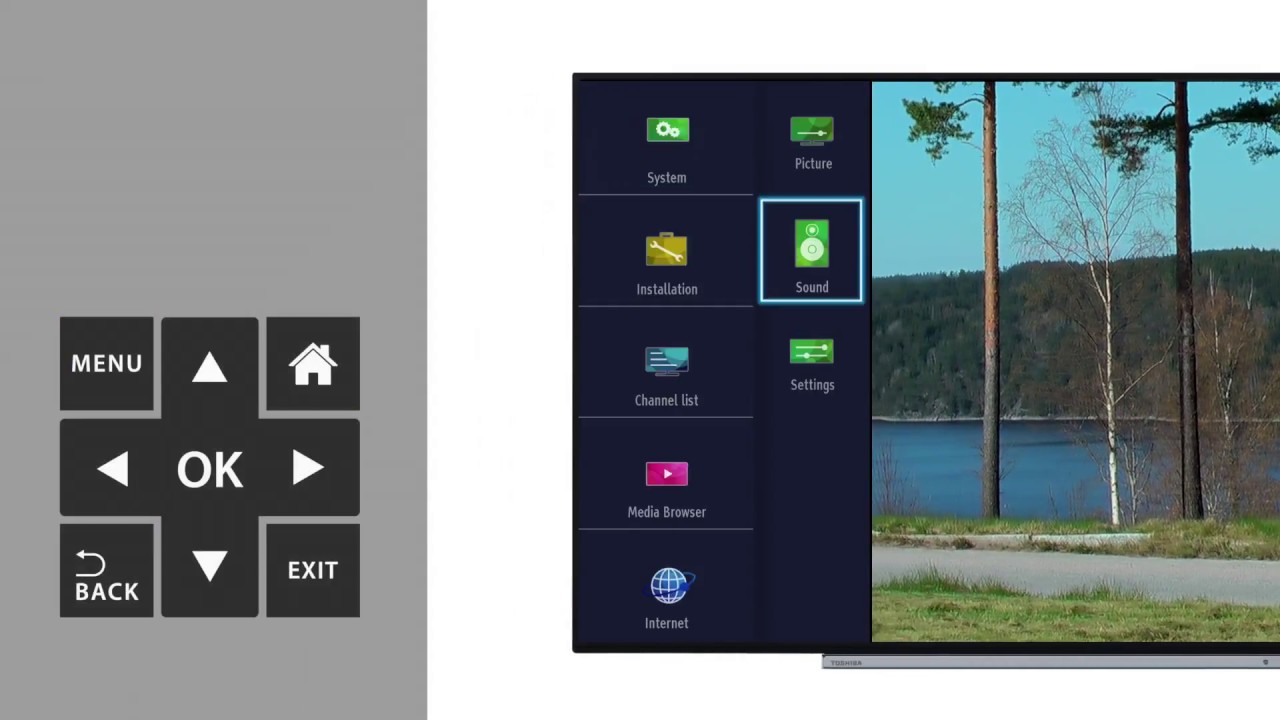
Once your Toshiba Smart TV is connected to the internet, you can begin exploring its features and settings by navigating through the TV’s menu. The menu provides easy access to various settings, apps, and functions. Here’s how to navigate the menu on your Toshiba Smart TV:
1. Use the arrow keys on your remote control to navigate through the menu options. The up and down arrows allow you to move through the menu vertically, while the left and right arrows let you navigate horizontally.
2. The menu options are typically displayed as icons or text labels on the screen. Move the arrow keys to highlight the desired option.
3. Press the “Enter” or “OK” button on the remote control to select the highlighted option and access its sub-menu or settings.
4. To go back to the previous menu or exit a sub-menu, look for a “Back” or “Return” button on your remote control. Press this button to return to the previous screen.
5. Some Toshiba Smart TVs also support voice commands or gesture controls. Refer to your TV’s user manual to learn more about these additional navigation options.
6. Within the menu, you will find a range of options and settings that allow you to customize your TV’s picture and sound settings, adjust network and connectivity settings, manage apps and input devices, and much more. Take your time to explore and familiarize yourself with the different menu options.
7. If you are unsure about the function or purpose of a specific menu option, refer to the TV’s user manual or on-screen help prompts for detailed information.
Navigating the menu on your Toshiba Smart TV is essential to accessing and customizing the various features and settings. Take some time to experiment with different settings and options to personalize your TV’s viewing experience.
Now that you know how to navigate the menu, let’s proceed to the next step and set up your Toshiba account for enhanced functionality and exclusive benefits.
Step 5: Set up Your Toshiba Account
To fully enjoy the features and benefits of your Toshiba Smart TV, it is recommended to set up a Toshiba account. A Toshiba account allows you to access and personalize various settings, sync data across devices, and enjoy exclusive content and offers. Here’s how you can set up your Toshiba account:
1. On your Toshiba Smart TV, navigate to the menu and select the “Settings” or “Account” option. The exact location and naming of the option may vary depending on your specific Toshiba Smart TV model.
2. Look for the “Sign In” or “Create Account” option and select it. This will take you to the account setup page.
3. On the account setup page, you will be presented with the option to either sign in with an existing Toshiba account or create a new account. If you already have a Toshiba account, enter your login credentials and proceed to the next step. If you don’t have an account, select the option to create a new account.
4. Fill in the required information to create your Toshiba account. This typically includes your name, email address, and a password. Make sure to choose a secure password that you can easily remember.
5. Once you have entered the necessary information, review the terms and conditions, and privacy policy. If you agree to these terms, check the box to accept them.
6. Click on the “Create Account” or “Sign Up” button to create your Toshiba account. You may be required to verify your email address by clicking on a confirmation link sent to the entered email address.
7. After successfully creating your Toshiba account, you will be prompted to sign in with your newly created credentials. Enter your email address and password to sign in.
8. Congratulations! You have successfully set up your Toshiba account. With a Toshiba account, you can now personalize your Toshiba Smart TV experience, access additional features, and enjoy exclusive benefits.
Remember to keep your Toshiba account credentials secure and avoid sharing them with unauthorized individuals. Regularly update your account password for added security.
Now that your Toshiba account is set up, you can proceed to the next step and customize the picture and sound settings of your Toshiba Smart TV to enhance your viewing experience.
Step 6: Customize Picture and Sound Settings
Customizing the picture and sound settings on your Toshiba Smart TV allows you to tailor the viewing experience to your preferences and optimize the audiovisual quality. Here’s how you can customize the picture and sound settings:
1. On your Toshiba Smart TV remote control, locate and press the “Menu” button to open the menu.
2. Using the arrow keys on your remote, navigate to the “Settings” option and select it.
3. In the settings menu, look for options related to picture and sound settings. These options may be labeled as “Picture,” “Audio,” or “Display.” Select the desired option to access the corresponding settings.
4. Within the picture settings, you can adjust parameters such as brightness, contrast, color saturation, sharpness, and backlight. Use the remote’s arrow keys to navigate through the options and make adjustments according to your preference. Take the time to find the balance that provides the best visual experience for you.
5. In the sound settings, you can customize parameters such as volume, treble, bass, and audio presets. Explore the different audio options to find the perfect sound profile that suits your preferences and enhances your TV viewing experience.
6. Some Toshiba Smart TVs also offer advanced features like Dolby Atmos, surround sound, or equalizer settings. If your TV supports these features, you can access them in the sound settings menu and adjust them to your liking.
7. While customizing the settings, it is recommended to use test patterns or reference content to ensure accurate adjustments for brightness, contrast, and color settings. This will help you achieve a more precise picture quality.
8. Once you have made the desired adjustments, navigate to the “Save” or “Apply” option to apply the changes and exit the settings menu.
By customizing the picture and sound settings on your Toshiba Smart TV, you can enhance the overall viewing and listening experience, making it more immersive and enjoyable.
Remember, you can always revisit these settings and make further adjustments based on your preferences as well as the content you are watching.
Now that you have customized the picture and sound settings, let’s move on to the next step and learn how to connect external devices to your Toshiba Smart TV.
Step 7: Connect External Devices
Connecting external devices to your Toshiba Smart TV allows you to expand its capabilities and enjoy a wider range of entertainment options. Whether you want to connect a gaming console, Blu-ray player, soundbar, or any other device, the process is simple. Here’s how you can connect external devices to your Toshiba Smart TV:
1. Identify the available ports on your Toshiba Smart TV. Common ports include HDMI, USB, Ethernet, and audio/video input/output ports. Refer to your TV’s user manual to locate the ports.
2. Determine which external device you want to connect and check if it has a matching port on your TV.
3. Take the necessary cables for the device you want to connect. For example, if you want to connect a gaming console, you will need an HDMI cable. If you want to connect a soundbar, you may need an optical cable or HDMI ARC cable.
4. Connect one end of the cable to the corresponding port on your Toshiba Smart TV. Ensure a secure connection by gently inserting the cable straight into the port.
5. Connect the other end of the cable to the corresponding port on the external device. Again, make sure the connection is secure.
6. Repeat the process if you have multiple devices to connect. Use the available ports on your TV accordingly.
7. Once all the devices are connected, turn on your Toshiba Smart TV and switch to the appropriate input source to view the content from the connected device. Use the “Input” or “Source” button on your remote control to access the input selection menu and choose the desired device.
8. Depending on the devices you have connected, you may need to adjust settings on both the TV and the external device to ensure optimal performance and compatibility. Refer to the user manuals of the connected devices for specific instructions.
By connecting external devices to your Toshiba Smart TV, you can enjoy gaming, watch movies, stream content, and experience enhanced audio through external speakers or sound systems.
Remember to select the appropriate input source on your TV each time you want to use a connected device. This will allow you to seamlessly switch between different devices and enjoy the content on your Toshiba Smart TV.
Now that you have successfully connected external devices, let’s move on to the next step and explore how to install and update apps on your Toshiba Smart TV.
Step 8: Install and Update Apps
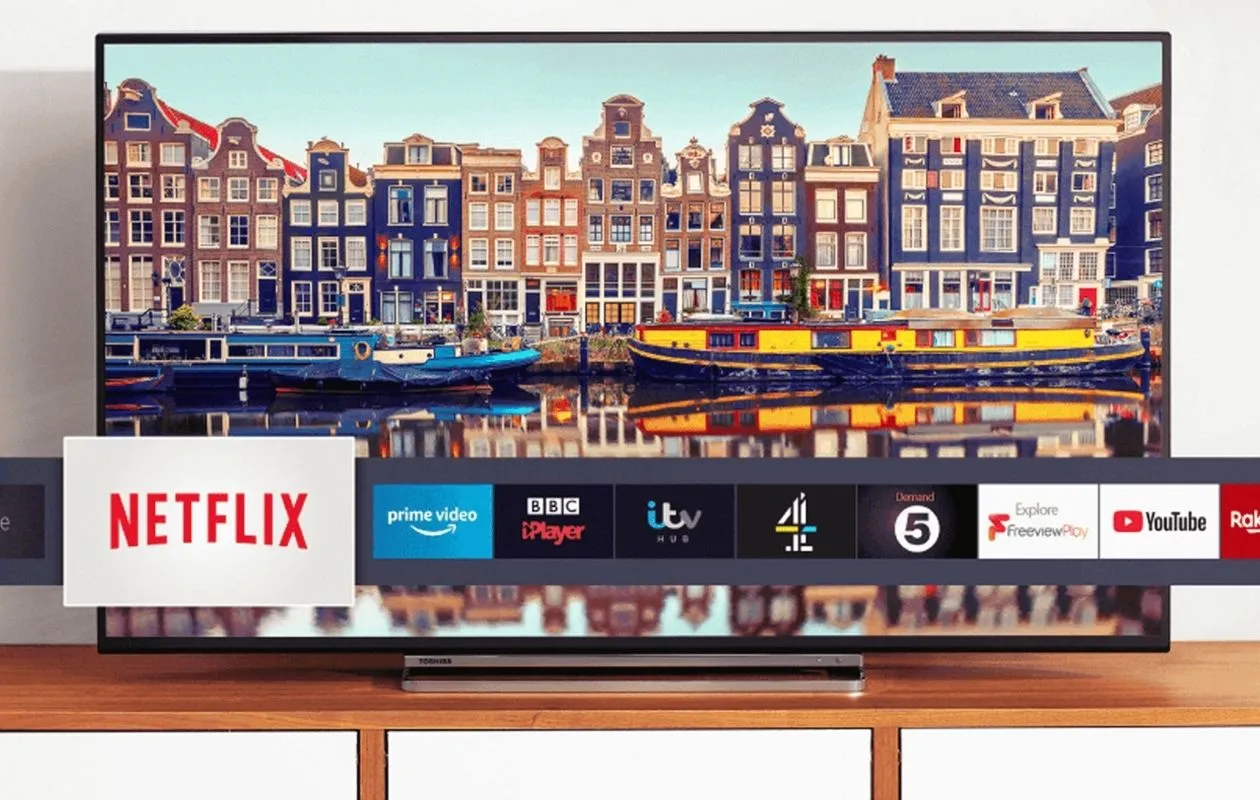
One of the great features of Toshiba Smart TVs is the ability to install and update various apps, giving you access to a wide range of streaming services, games, and other content. Here’s how you can install and update apps on your Toshiba Smart TV:
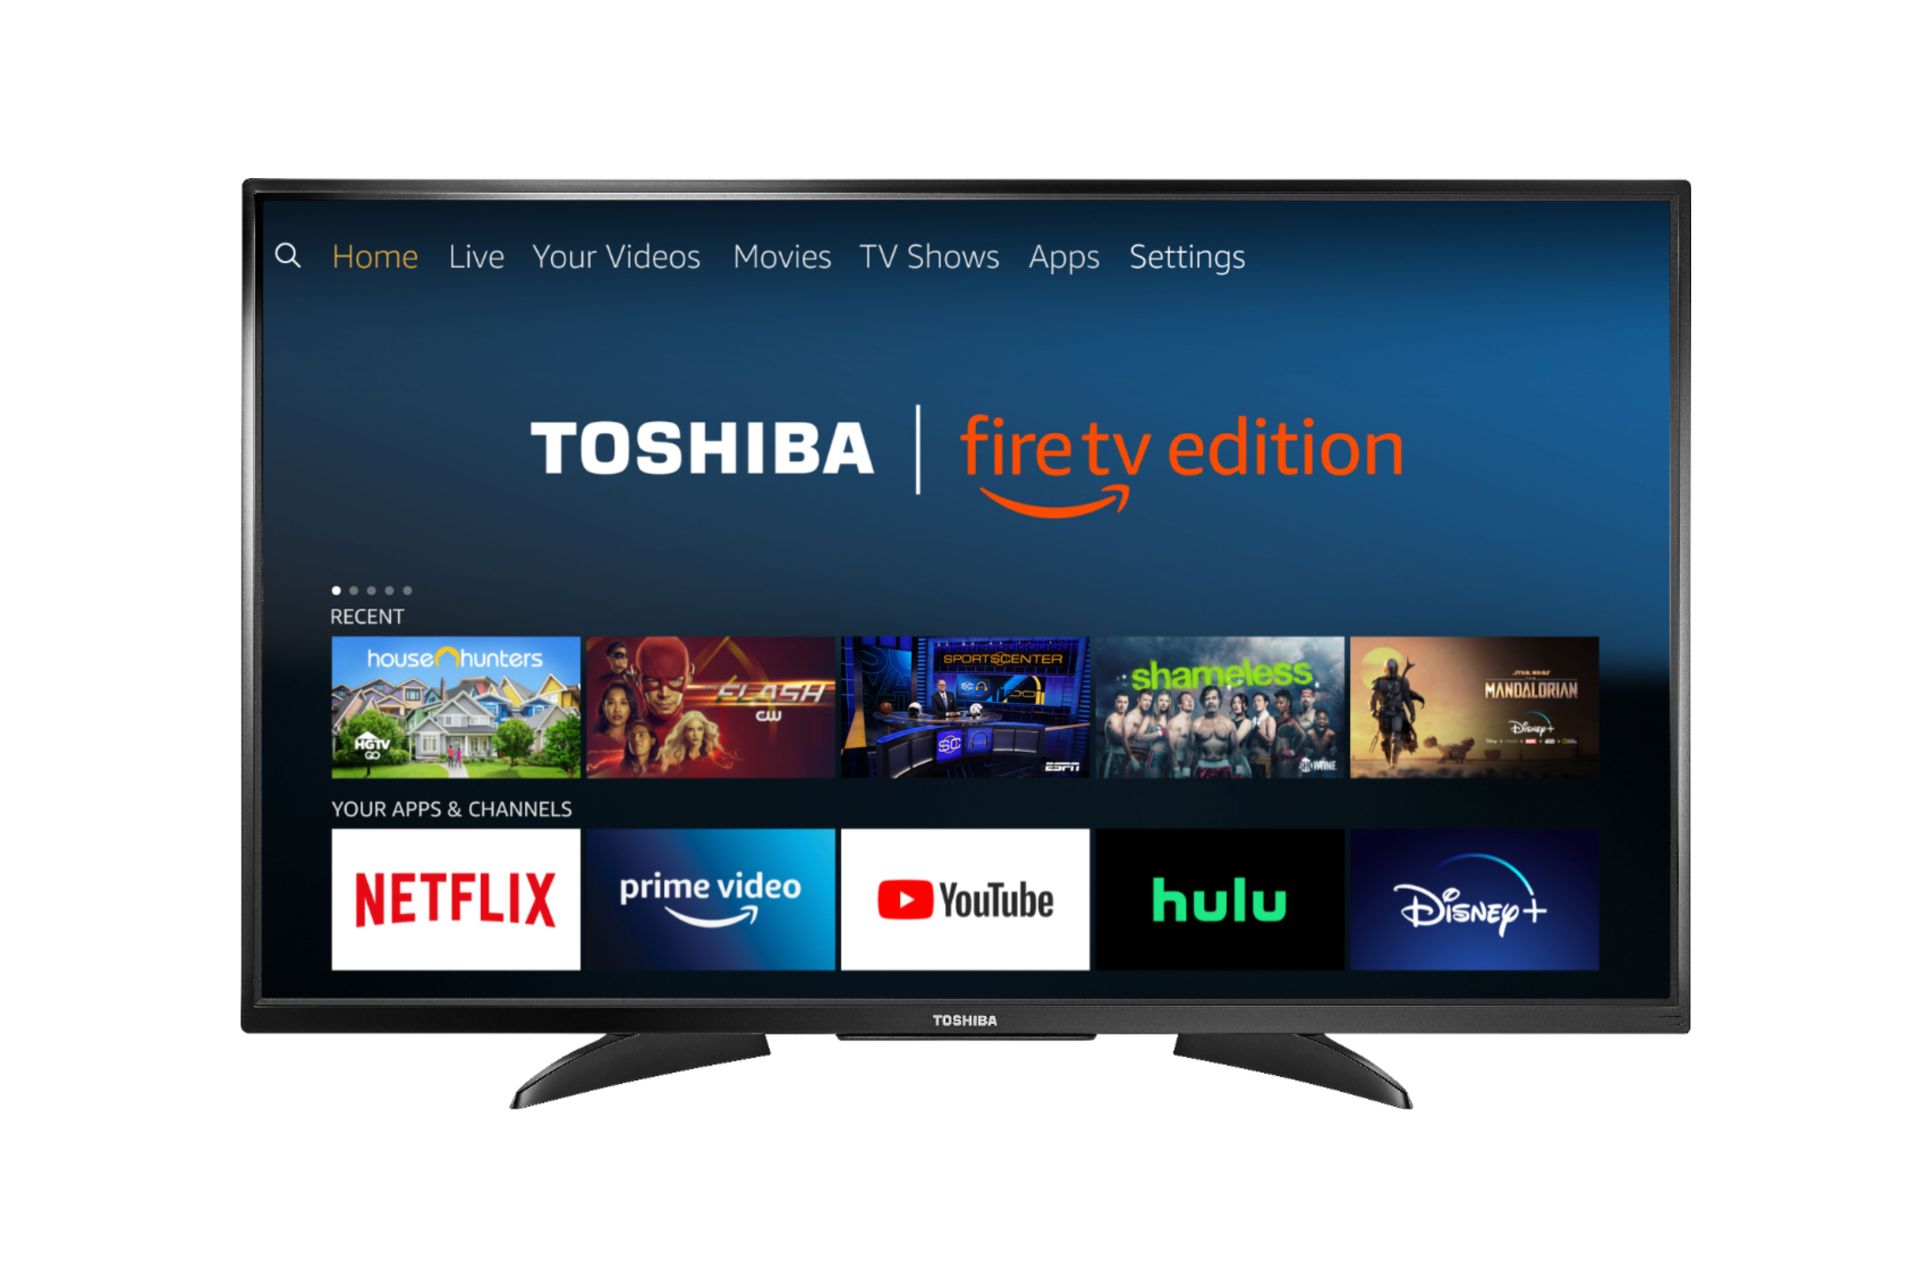
1. On your Toshiba Smart TV, navigate to the home screen or main menu by pressing the “Home” button on your remote control.
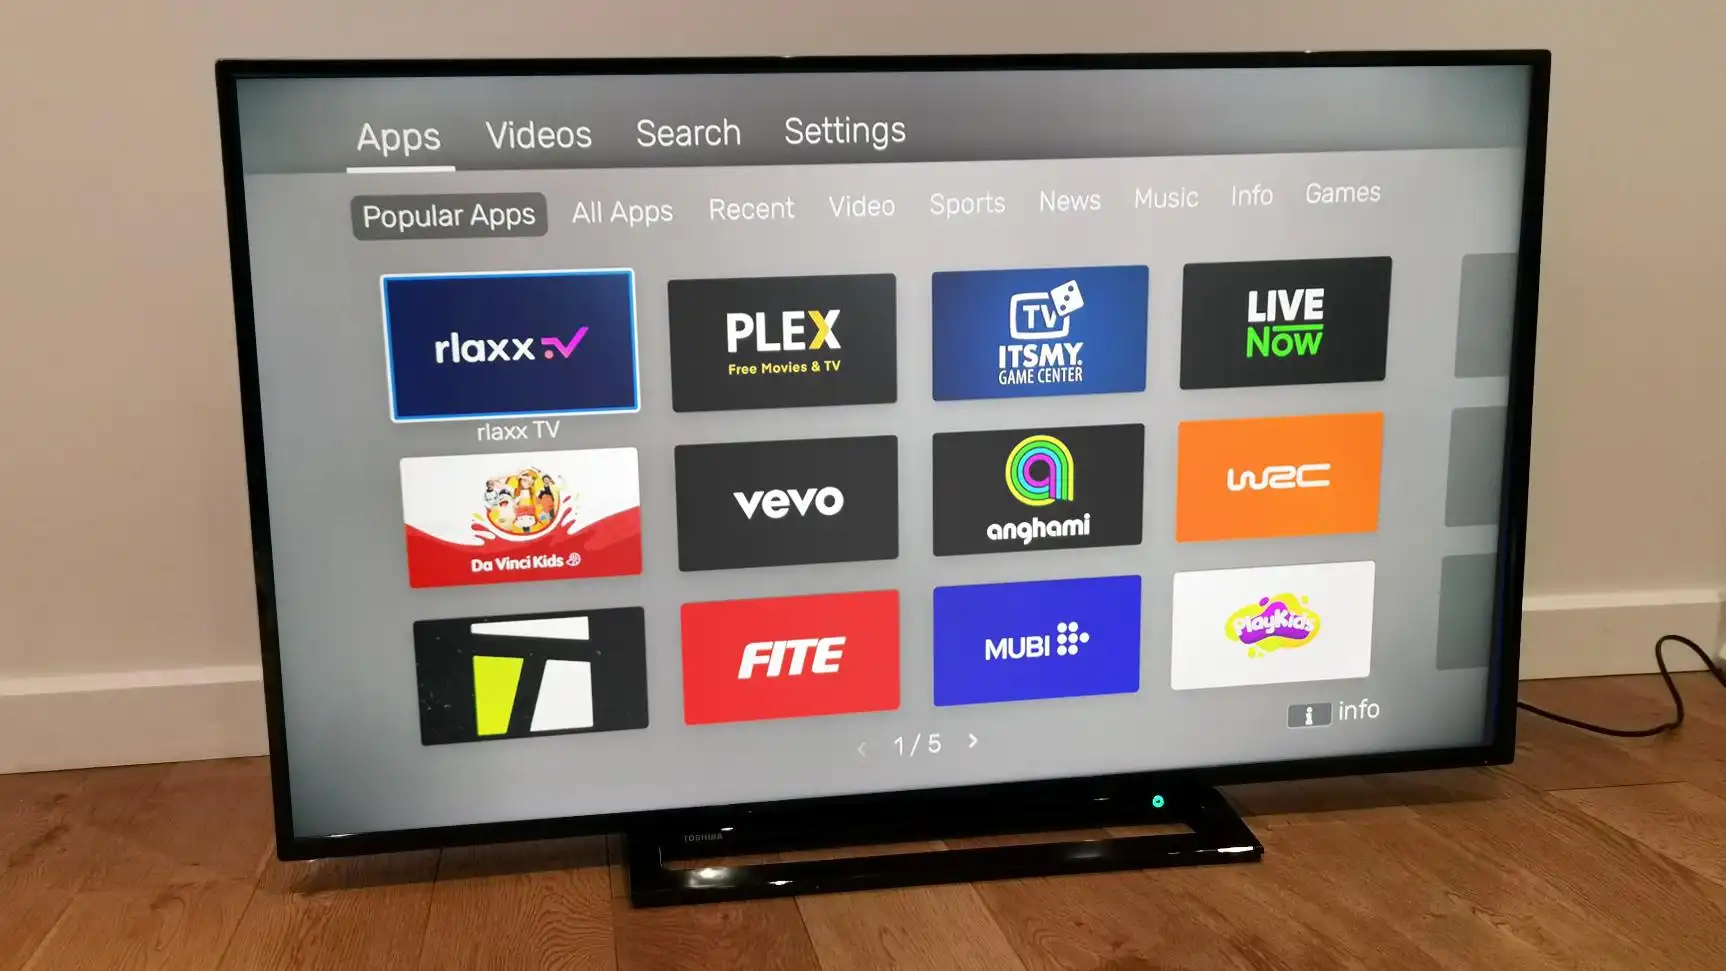
2. Look for the “Apps” or “App Store” icon and select it. This will take you to the app store where you can browse and download new apps.
3. Use the arrow keys on your remote control to navigate through the available apps. You can choose from popular apps, recommended apps, or browse through different categories.
4. Once you have found an app you want to install, highlight it and select “Install” or “Download.” Wait for the app to download and install on your Toshiba Smart TV. The time it takes to install an app may vary depending on its size and your internet connection speed.
5. After the app is installed, you can launch it directly from the app store or find it in the list of installed apps on your home screen menu.
6. To update apps on your Toshiba Smart TV, follow similar steps. Navigate to the app store and select “Updates” or “My Apps.” This will display a list of apps that have available updates. Select the apps you want to update and follow the on-screen instructions to initiate the update process.
7. You can also set your Toshiba Smart TV to automatically update apps. To do this, go to the settings menu and look for the “App Updates” or “Auto Update” option. Enable this option to ensure that your apps are always up to date.
8. Additionally, you may need to sign in or create accounts within certain apps to access their content and features. Follow the on-screen instructions to sign in or create an account for the specific app.
With the ability to install and update apps on your Toshiba Smart TV, you can personalize your entertainment experience by accessing your favorite streaming services, games, and other apps directly from your TV.
Remember to regularly check for app updates to enjoy the latest features and improvements. Keep in mind that some apps may require a subscription or additional fees to access their content.
Now that you know how to install and update apps, let’s move on to the next step and learn how to adjust parental controls for a safe and secure viewing experience.
Step 9: Adjust Parental Controls
Adjusting parental controls on your Toshiba Smart TV allows you to restrict access to certain content and features, ensuring a safe and secure viewing experience for your family. Here’s how you can adjust parental controls on your Toshiba Smart TV:
1. On your Toshiba Smart TV, navigate to the settings menu by pressing the “Menu” button on your remote control and selecting “Settings.”
2. Look for the “Parental Controls” or “Security” option and select it. This will take you to the parental control settings.
3. Within the parental control settings, you will find various options to customize the level of restrictions. You can set up a PIN code to prevent unauthorized changes to the parental control settings.
4. Explore the different categories and options available for parental controls, such as blocking specific channels, restricting access to certain apps or content, setting time limits, or enabling age restrictions.
5. Use the arrow keys on your remote control to navigate through the options and make adjustments according to your preferences. Follow the on-screen prompts or instructions to apply the changes.
6. Some Toshiba Smart TVs also offer pre-defined filters or content ratings that you can select to automatically apply appropriate restrictions based on the age of the user.
7. Once you have adjusted the parental control settings to your satisfaction, exit the settings menu and test the restrictions by attempting to access the restricted content or features. Use the PIN code you set up to override the restrictions when necessary.
8. It is recommended to periodically review and update the parental control settings as your family’s needs and preferences may change over time. Regularly communicate with your family members about the rules and guidelines for TV viewing.
By adjusting parental controls on your Toshiba Smart TV, you can ensure that your family members, especially children, are exposed to age-appropriate content and enjoy a safer and more controlled viewing experience.
Remember to keep your PIN code confidential and share it only with trusted individuals.
Now that you have adjusted the parental controls, let’s move on to the final step and explore some troubleshooting tips to help you resolve common issues with your Toshiba Smart TV.
Step 10: Troubleshooting Tips
While Toshiba Smart TVs are designed to provide a seamless viewing experience, you may encounter occasional technical issues or glitches. Here are some troubleshooting tips to help you resolve common issues with your Toshiba Smart TV:
1. Restart your TV: A simple restart can often resolve common issues. Press the power button on your TV or remote control to turn off your Toshiba Smart TV. Wait for a few seconds and then turn it back on.
2. Check the connections: Ensure that all cables, including the power cord and any connected devices, are properly plugged in and securely connected to the appropriate ports on your Toshiba Smart TV.
3. Update firmware: Regularly check for firmware updates for your Toshiba Smart TV. Firmware updates can provide bug fixes, performance improvements, and new features. Go to the settings menu and look for the “Software Update” or “Firmware Update” option to check for updates and follow the on-screen instructions to install them.
4. Reset to factory settings: If you are experiencing persistent issues, you may consider resetting your Toshiba Smart TV to its factory settings. However, be aware that this will erase all customized settings and preferences. To perform a factory reset, go to the settings menu and look for the “System” or “Reset” option. Follow the on-screen instructions to initiate the reset process.
5. Check network connection: If you are having trouble with internet connectivity, verify that your Toshiba Smart TV is properly connected to your Wi-Fi network. Restart your router and try reconnecting your TV to the network. You can also check for any software updates for your router that may improve compatibility with your TV.
6. Adjust picture and sound settings: If you find that the picture quality or sound performance is not optimal, you can revisit the picture and sound settings on your TV. Experiment with different settings and adjustments to find the best balance for your viewing experience.
7. Contact Toshiba support: If the above troubleshooting tips do not resolve the issue, consider contacting Toshiba customer support. They can provide further assistance and guidance specific to your Toshiba Smart TV model.
Remember to refer to your TV’s user manual for additional troubleshooting tips and specific instructions based on your Toshiba Smart TV model.
By following these troubleshooting tips, you can effectively resolve common issues and ensure a smooth and enjoyable viewing experience with your Toshiba Smart TV.
Now that we have covered the troubleshooting tips, you have successfully set up and resolved common issues with your Toshiba Smart TV. Enjoy your immersive viewing experience and explore all the exciting features and content it has to offer!
Conclusion
Congratulations! You have successfully set up your Toshiba Smart TV and are now equipped to enjoy a world of entertainment and convenience right from your living room. Throughout this guide, we have covered the essential steps to help you unpack and set up your TV, connect to the internet, navigate the menu, set up your Toshiba account, customize picture and sound settings, connect external devices, install and update apps, adjust parental controls, and troubleshoot common issues.
By following these steps, you have unlocked the full potential of your Toshiba Smart TV and can now enjoy a personalized and immersive viewing experience with access to a wide range of apps and content. Whether you want to stream your favorite shows and movies, connect gaming consoles for interactive gaming, or explore new apps and features, your Toshiba Smart TV has you covered.
Remember to regularly update your TV’s firmware, review and adjust settings based on your preferences, and keep up with the latest app updates to ensure you are always experiencing the best performance and functionality. Stay connected to the internet for access to a wealth of online content and take advantage of the customization options available to tailor your viewing experience.
If you encounter any issues or have further questions, consult your Toshiba Smart TV’s user manual or reach out to the Toshiba customer support team for assistance. They are there to help you make the most of your Toshiba Smart TV.
Thank you for choosing Toshiba Smart TV and happy watching!