Introduction
Welcome to the world of smart home automation! With the rapid advancements in technology, our homes are becoming smarter than ever before. One of the key components of a smart home is a smart plug. In this article, we will guide you through the process of setting up a smart plug with the Smart Life app.
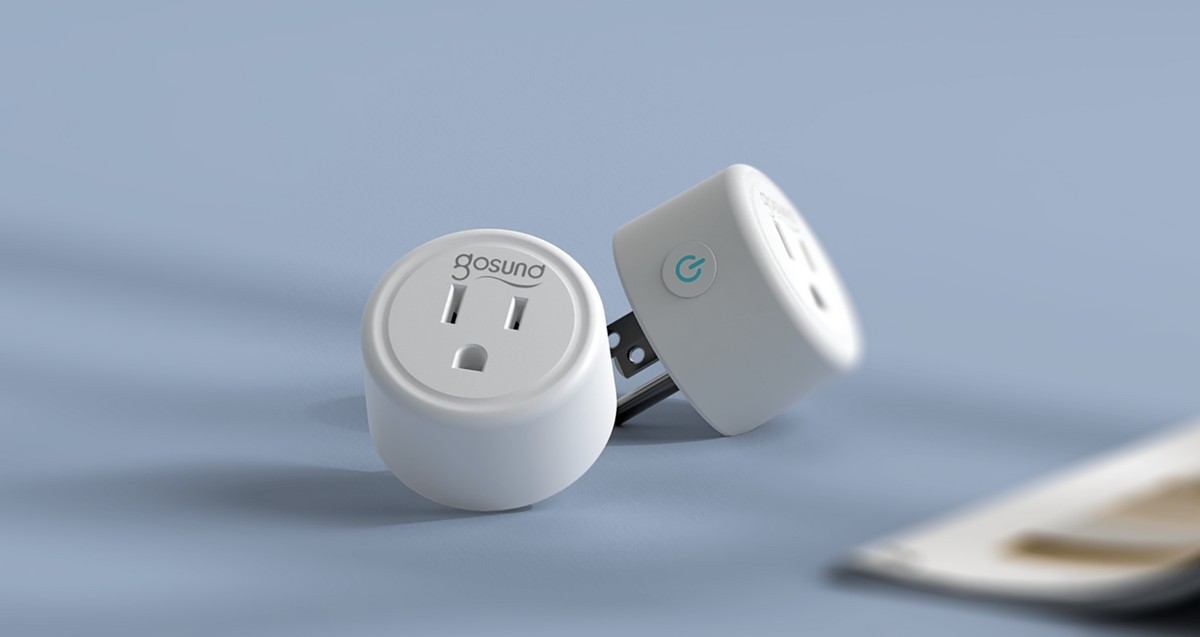
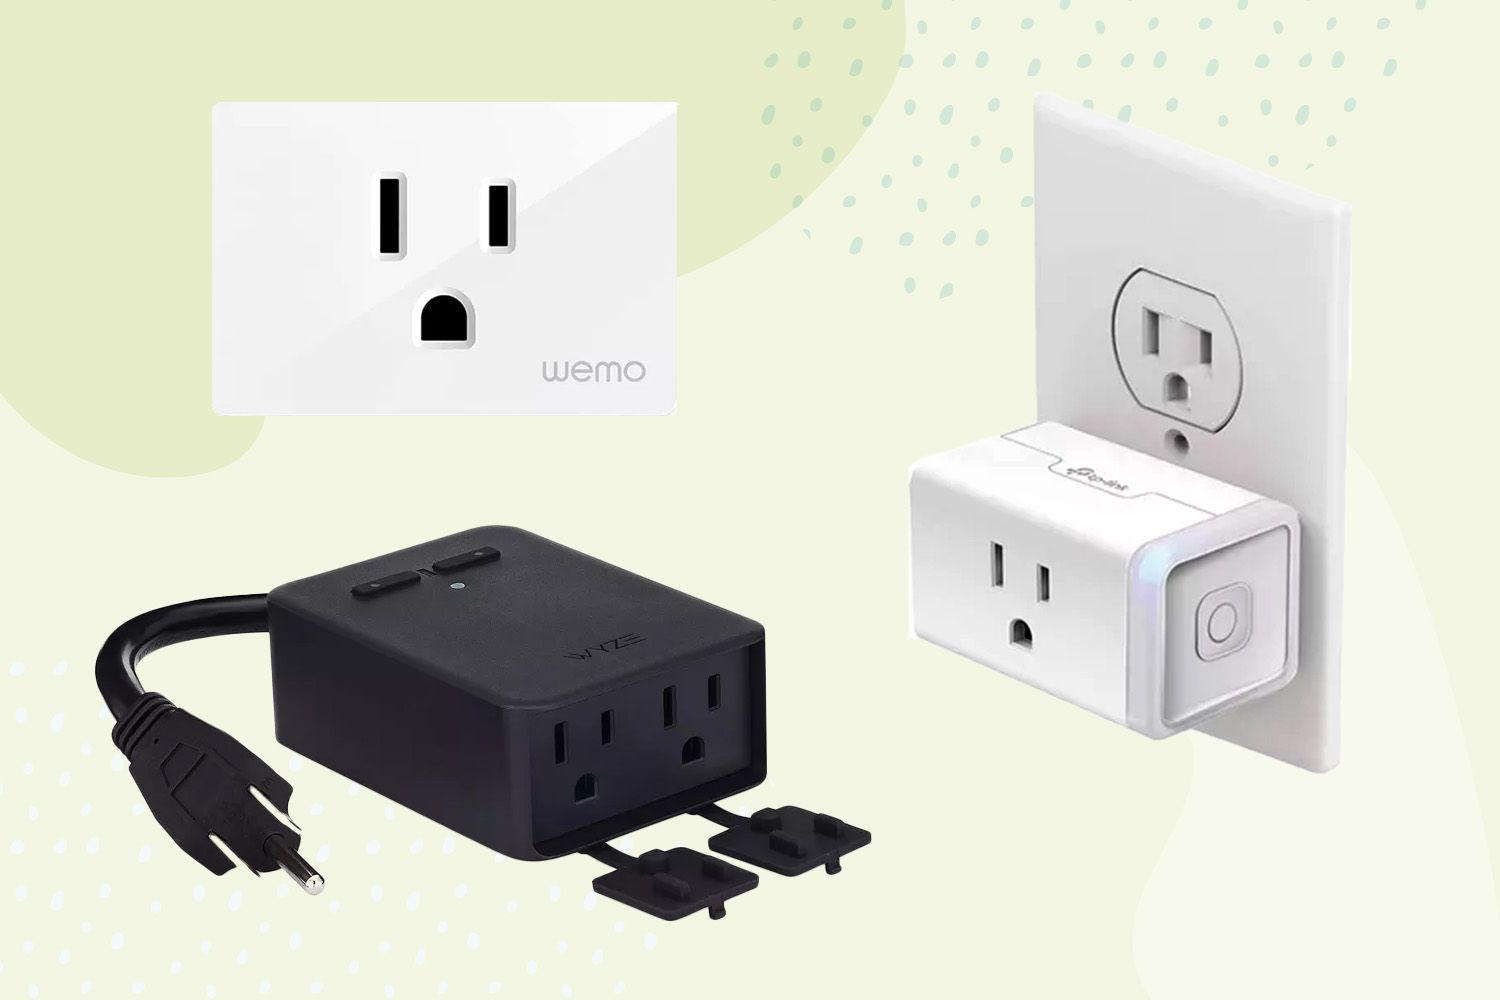
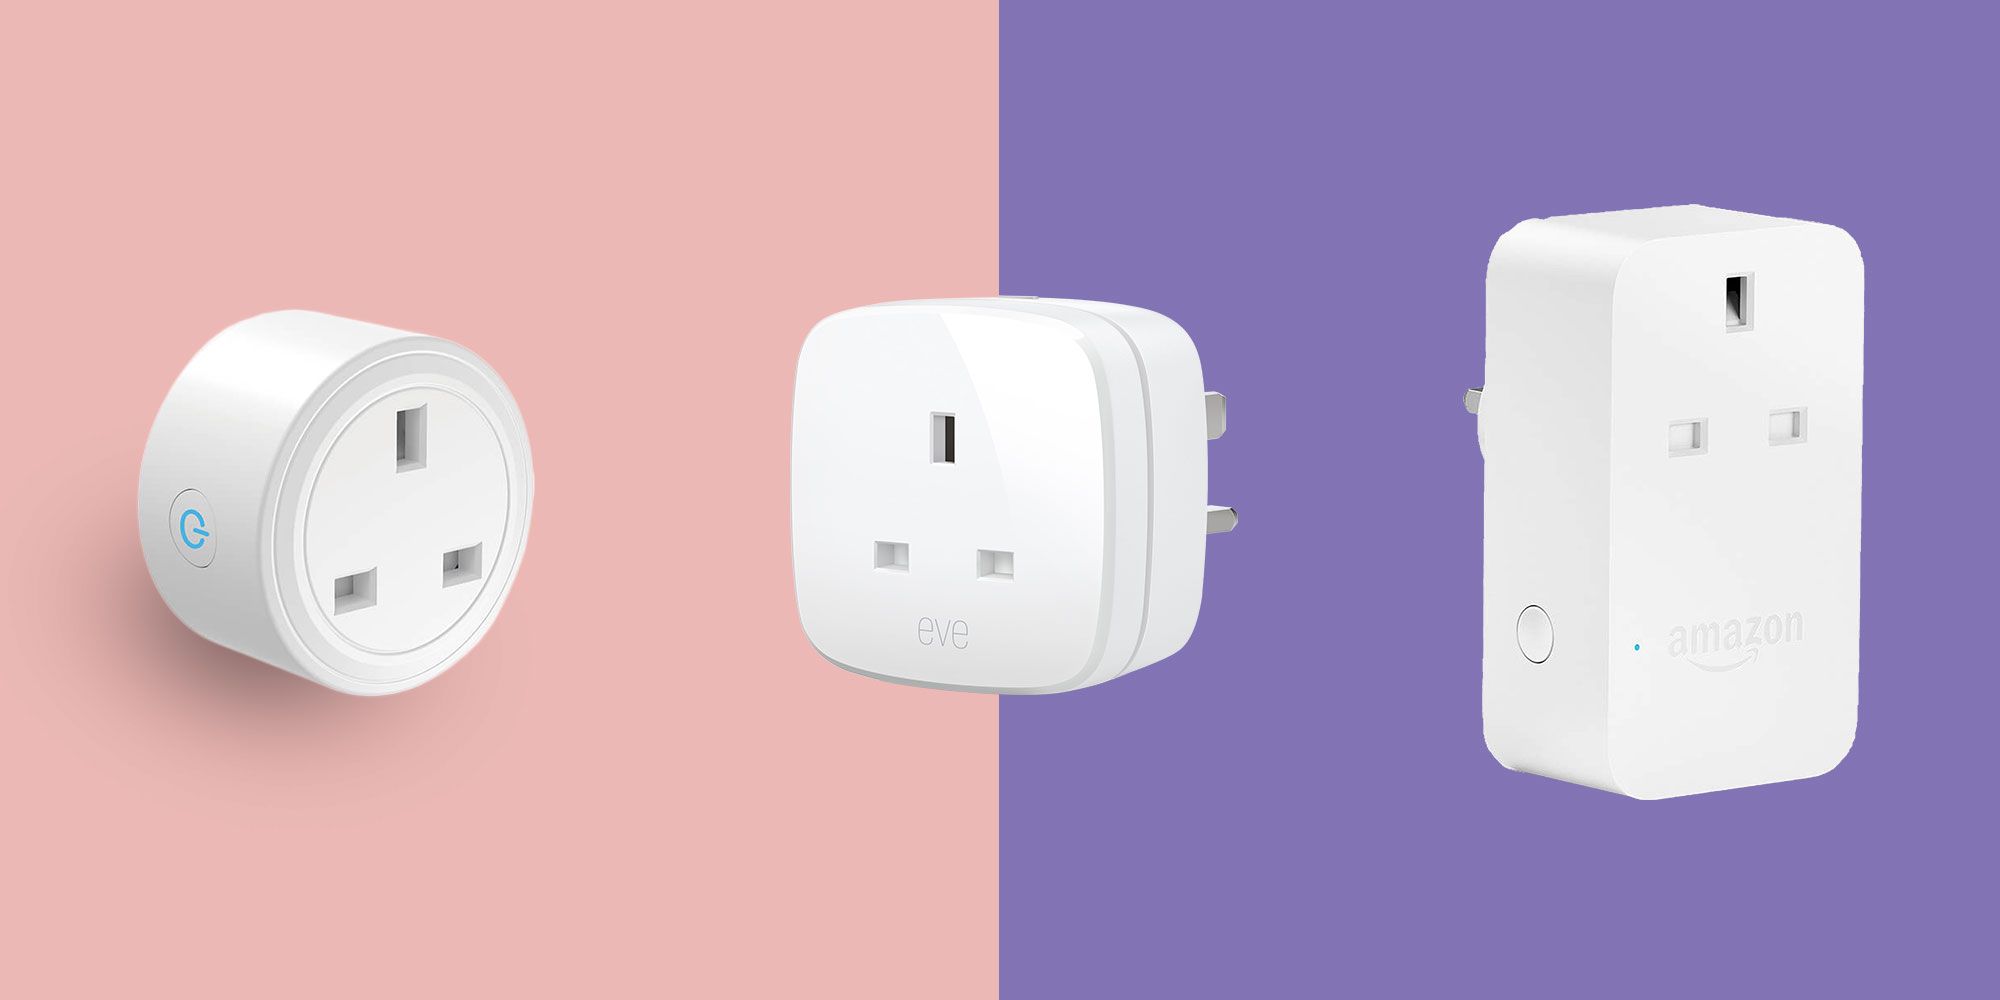
A smart plug is a device that allows you to control your electronic devices remotely using your smartphone or voice commands. By simply plugging your devices into a smart plug, you can turn them on or off, set schedules, monitor energy usage, and even control them through virtual assistants like Amazon Alexa or Google Assistant.
The Smart Life app is a popular choice for managing smart plugs and other smart devices. It provides a user-friendly interface that allows you to easily connect, control, and customize your smart home devices from anywhere at any time.
In this guide, we will walk you through the step-by-step process of setting up a smart plug with the Smart Life app. Whether you are a tech-savvy individual or new to the world of home automation, our instructions will help you get started in no time.
We understand that each home setup is unique, so we will also cover common troubleshooting tips to ensure a smooth setup and operation of your smart plug. So let’s jump right in and turn your ordinary home appliances into smart devices with the Smart Life app!
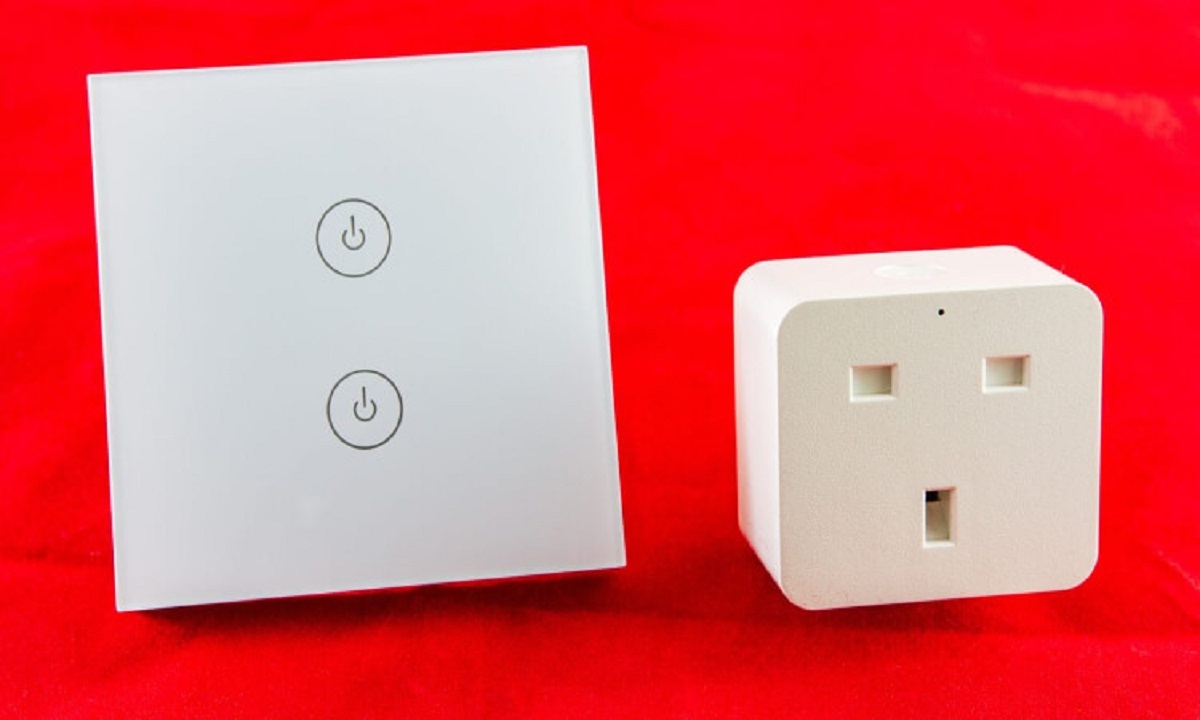
What is a Smart Plug?
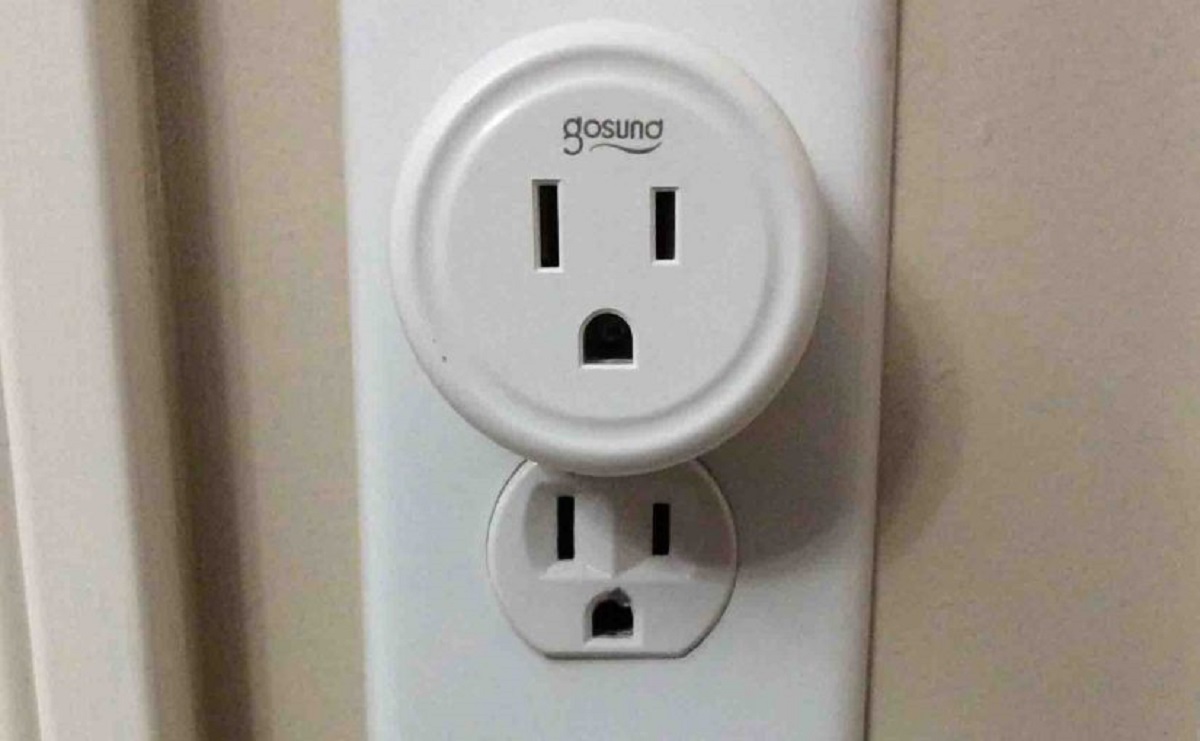
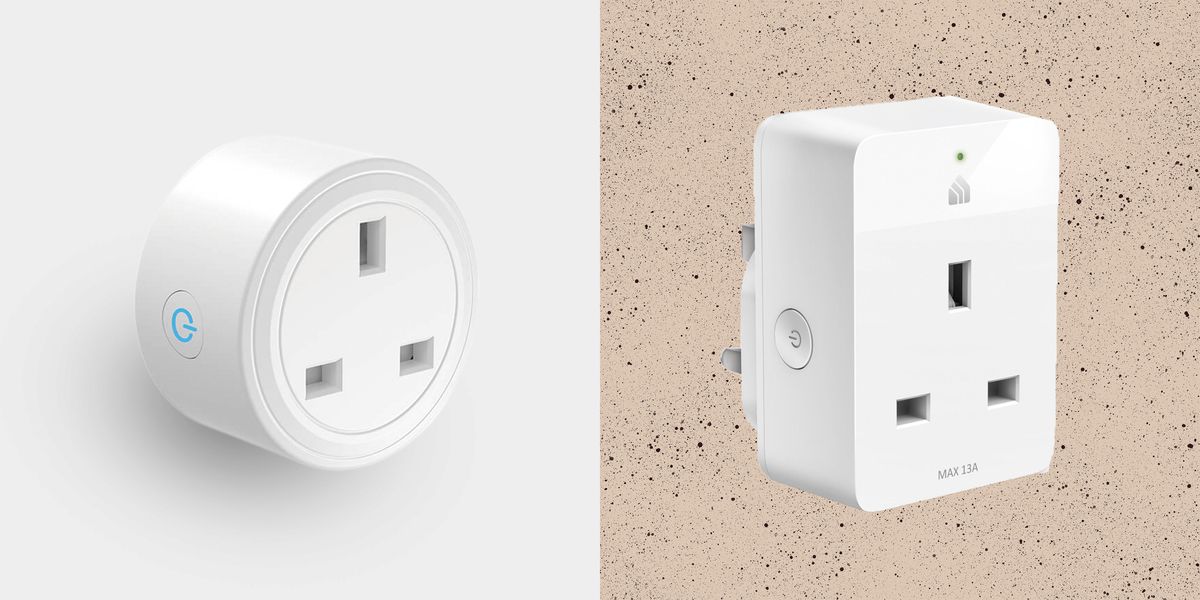
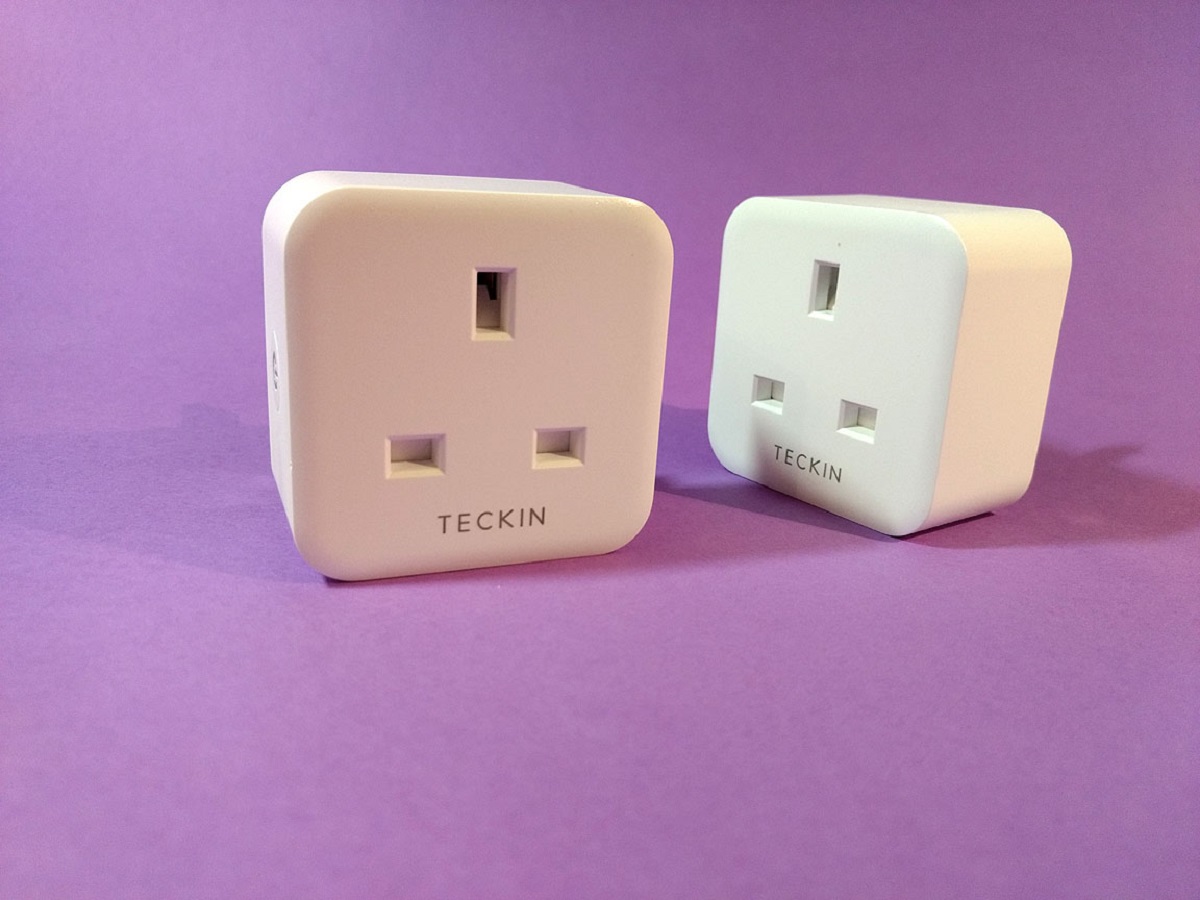
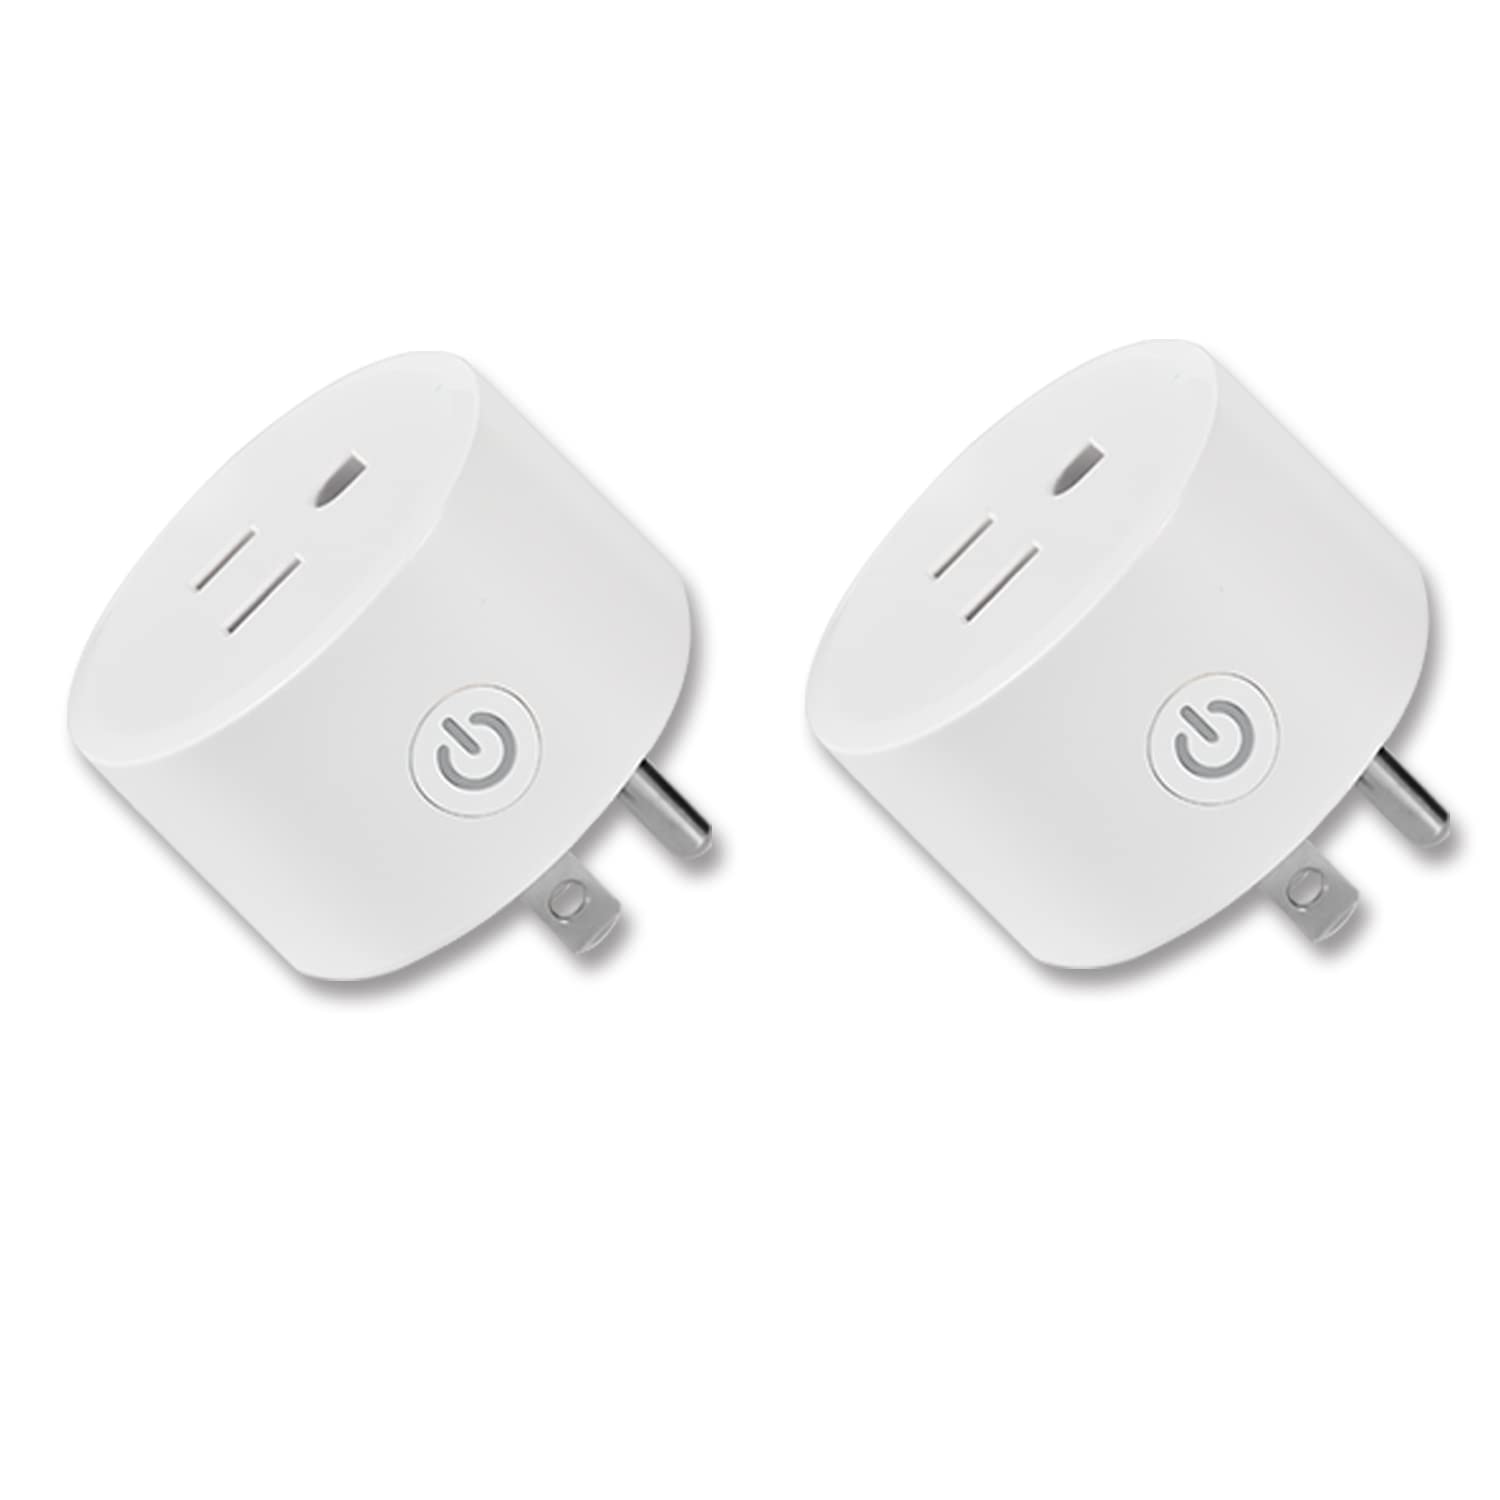
Before we delve into the setup process, let’s take a moment to understand what a smart plug actually is and how it can benefit you in your daily life. A smart plug is a small device that plugs into a standard electrical outlet and gives you the power to control your electrical appliances remotely.
Imagine being able to turn off your coffee maker from the comfort of your bed or schedule your air conditioner to turn on just before you arrive home on a hot summer day. That’s the magic of a smart plug. It allows you to automate and control your devices through a smartphone app, giving you ultimate convenience and energy efficiency.
One of the key features of a smart plug is its ability to connect to your home’s Wi-Fi network. This enables seamless communication between the smart plug and your smartphone, allowing you to monitor and control your devices from anywhere in the world, as long as you have an internet connection.
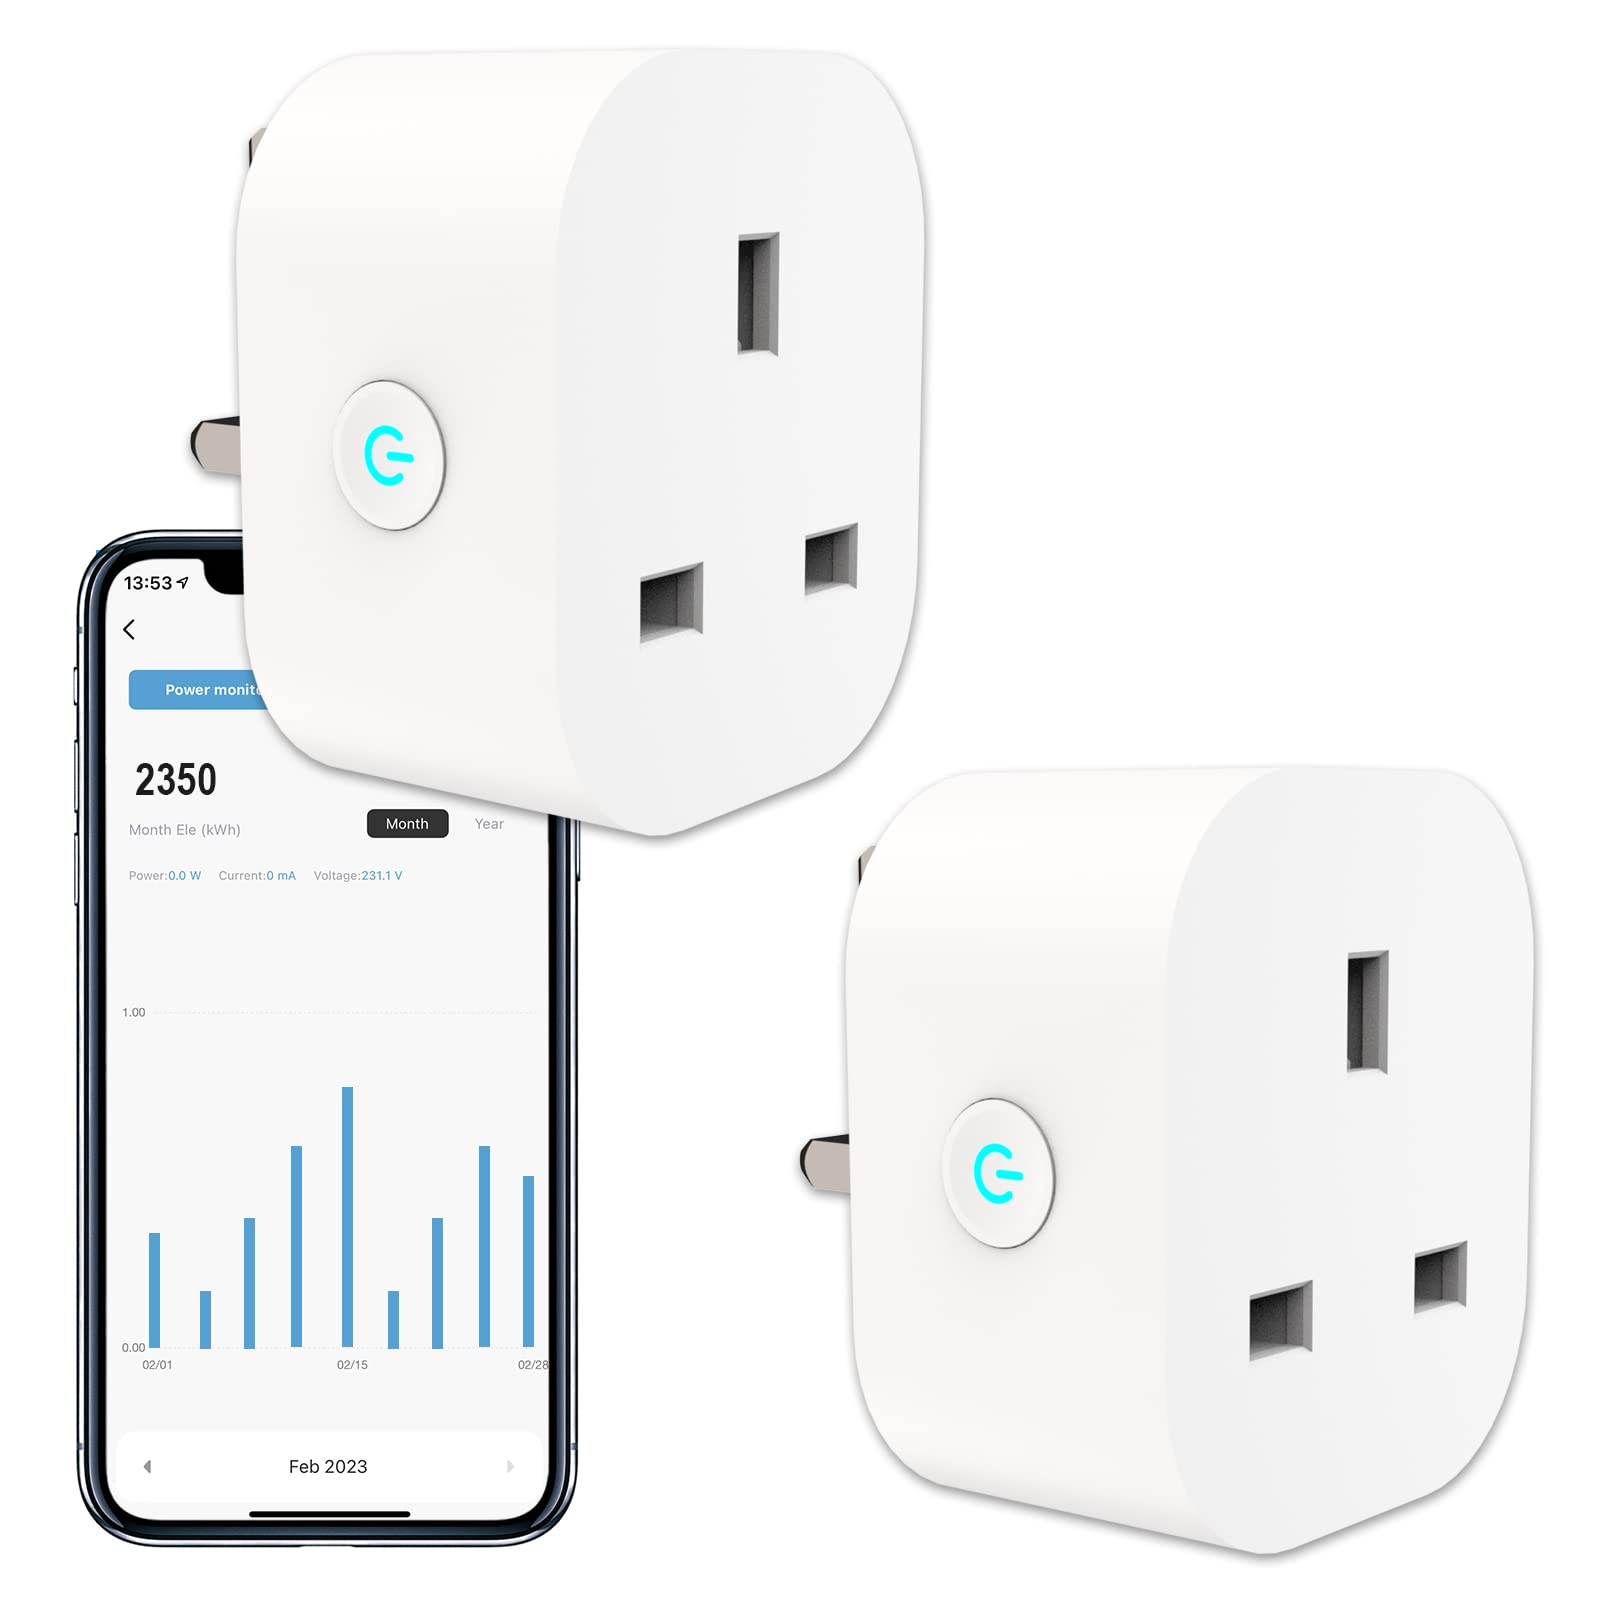
In addition to remote control, smart plugs often come with other handy features. They can provide you with real-time energy usage data, helping you keep track of how much power your devices are consuming. This information allows you to make informed decisions about energy conservation and potentially lower your electricity bills.
Smart plugs are also compatible with virtual assistants like Amazon Alexa and Google Assistant. This means you can control your devices using voice commands, adding an extra layer of convenience and hands-free control to your smart home setup.
Overall, a smart plug is a versatile and essential component of any smart home. Its ability to give you remote control, automate schedules, and monitor energy usage provides both convenience and cost savings. Now that you have a good understanding of what a smart plug is, let’s dive into the process of setting it up with the Smart Life app.
Getting Started with Smart Life
Before we begin setting up our smart plug, we need to ensure that we have everything we need to get started. Here’s a quick checklist:
- Smart plug(s)
- Wi-Fi network with a stable internet connection
- Smartphone or tablet
- Power source for the smart plug
Once we have all the necessary items, we can proceed with setting up the Smart Life app and connecting our smart plug. Follow the step-by-step guide below to get started:
Step 1: Download and Set Up the Smart Life App
To begin, open the app store on your smartphone or tablet and search for the Smart Life app. Download and install the app on your device. Once installed, launch the app and create a new account if you don’t have one already. Sign in to the app using your account credentials.
Step 2: Connect the Smart Plug to Wi-Fi
Make sure the smart plug is plugged into a power source and the indicator light is flashing. Usually, this means the smart plug is ready to be paired with your Wi-Fi network. Check the user manual or the manufacturer’s instructions for specific details on how to put your smart plug into pairing mode.
On the Smart Life app, tap on the “+” button to add a new device. Select “Electrical Outlet” or a similar option, depending on the type of smart plug you have. The app will search for nearby devices, so make sure your smartphone or tablet is connected to the same Wi-Fi network you want to connect the smart plug to.
Step 3: Add the Smart Plug to the Smart Life App
Once the app detects your smart plug, follow the on-screen instructions to complete the pairing process. You may be prompted to enter your Wi-Fi network password or scan a QR code on the device. Be patient during this step, as it may take a few moments for the app to establish a connection with the smart plug.
Step 4: Customize Settings and Control the Smart Plug
Congratulations! You have successfully added your smart plug to the Smart Life app. Now, you can customize the settings according to your preferences. Give your smart plug a unique name, such as “Living Room Lamp” or “Bedroom Fan,” to easily identify it in the app. You can also create schedules to automate when the plug turns on or off, set timers, and even group multiple smart plugs together for simultaneous control.
To control your devices, simply open the Smart Life app and select the smart plug you want to control. From here, you can toggle the power on or off, adjust settings, and monitor energy usage. Additionally, if you have integrated the app with a virtual assistant like Amazon Alexa or Google Assistant, you can control your smart plug using voice commands.
That’s it! You are now ready to enjoy the convenience and control of your smart home devices using the Smart Life app. If you encounter any issues during setup or operation, refer to the troubleshooting section or consult the manufacturer’s support resources provided with your smart plug.
Now that we have successfully set up our smart plug with the Smart Life app, let’s explore some common troubleshooting tips in case you encounter any issues along the way.
Step 1: Download and Set Up the Smart Life App
The first step in setting up your smart plug is to download and install the Smart Life app on your smartphone or tablet. The Smart Life app is available for both iOS and Android devices and can be found in the respective app stores.
To begin, open the app store on your device and search for “Smart Life”. Once you find the app, tap on the “Install” or “Get” button to download and install it. Once the installation is complete, locate the Smart Life app on your device and tap on it to launch it.
Upon launching the Smart Life app, you will be prompted to create a new account. Tap on the “Register” or “Sign up” button to create a new account. You will need to provide a valid email address and create a password for your account. Alternatively, you can sign up using your Google or Facebook account.
After creating your account, you will be directed to the main screen of the Smart Life app. Here, you will find various options and settings to manage your smart home devices. Take a moment to familiarize yourself with the app’s interface and navigation.
Before proceeding to the next step, ensure that your smartphone or tablet is connected to the Wi-Fi network that you wish to connect your smart plug to. This is important as your smart plug will also need to be connected to the same Wi-Fi network in order for them to communicate with each other.
That’s it for step 1! You have successfully downloaded and set up the Smart Life app on your device. Now, let’s move on to step 2, where we will connect the smart plug to your Wi-Fi network.
Step 2: Connect the Smart Plug to Wi-Fi
In this step, we will connect your smart plug to your Wi-Fi network, allowing it to communicate with the Smart Life app and other smart devices in your home. Follow the instructions below to connect your smart plug to Wi-Fi:
- Ensure that your smart plug is plugged into a power outlet and turned on.
- Open the Smart Life app on your smartphone or tablet. Make sure you are logged in to your account.
- In the app, tap on the “+” or “Add Device” button to start the device pairing process.
- From the list of device categories, select “Electrical Outlet” or a similar option, depending on the type of smart plug you have.
- The app will now search for available devices. Make sure you are in close proximity to the smart plug and that your smartphone or tablet is connected to the Wi-Fi network you want to connect the smart plug to.
- Once the app detects the smart plug, follow the on-screen instructions to complete the pairing process. This may involve entering your Wi-Fi network password or scanning a QR code on the smart plug.
- Be patient during this step, as it may take a few moments for the app to establish a connection with the smart plug.
- Once the connection is established, you will receive a notification or prompt confirming that the smart plug is successfully connected to your Wi-Fi network.
It’s important to note that the instructions may vary slightly depending on the brand and model of your smart plug. Refer to the user manual or the manufacturer’s website for specific instructions tailored to your device.
Once your smart plug is connected to Wi-Fi, it will be ready to be controlled and managed through the Smart Life app. You can now move on to the next step to add the smart plug to the app and customize its settings according to your preferences.
In case you encounter any issues during the Wi-Fi connection process, make sure that your Wi-Fi network is stable and that you are using the correct password. If the problem persists, try restarting your smart plug and smartphone or tablet before attempting the connection again.
Now that your smart plug is connected to Wi-Fi, let’s proceed to step 3, where we will add the smart plug to the Smart Life app.
Step 3: Add the Smart Plug to the Smart Life App
Now that you have successfully connected your smart plug to your Wi-Fi network, it’s time to add it to the Smart Life app. This step will allow you to control and manage your smart plug directly from your smartphone or tablet. Follow these instructions to add your smart plug to the app:
- Launch the Smart Life app on your device and ensure that you are logged in to your account.
- In the app’s main screen, tap on the “+” or “Add Device” button to start the device pairing process.
- Select the category “Electrical Outlet” or a similar option that corresponds to your smart plug.
- The app will start searching for nearby devices. Wait for a moment until your smart plug is detected.
- Once your smart plug is detected, follow the on-screen instructions to complete the pairing process. This may involve confirming the Wi-Fi network you want to connect the smart plug to and entering any necessary credentials.
- During the pairing process, you may be required to press a physical button on the smart plug or perform a specific action to finalize the connection.
- After successfully adding your smart plug, you will be prompted to give it a name for easy identification within the app. Choose a descriptive name like “Living Room Lamp” or “Bedroom Fan”.
Once you have completed these steps, the smart plug will appear in the Smart Life app’s device list, ready to be controlled. From the app, you can easily toggle the power on or off, schedule usage times, and monitor energy consumption.
It’s worth noting that the Smart Life app provides additional features for customization and automation. You can create scenes to control multiple devices simultaneously with a single command, set timers for specific actions, and even integrate your smart plug with voice assistants like Amazon Alexa or Google Assistant for hands-free control.
If you encounter any issues during the pairing process, make sure that your smart plug is within range of your Wi-Fi router and that your smartphone or tablet is connected to the same Wi-Fi network. Restarting both your smart plug and your device can also resolve any connection inconsistencies.
With your smart plug successfully added to the Smart Life app, you are now ready to customize its settings and start enjoying the convenience of remotely controlling your devices. In the next step, we will explore how to customize settings and control your new smart plug within the Smart Life app.
Step 4: Customize Settings and Control the Smart Plug
Now that you have added your smart plug to the Smart Life app, it’s time to customize its settings and take control of your connected devices. The Smart Life app provides a range of features and options to maximize the functionality of your smart plug. Follow the steps below to customize settings and control your smart plug:
- Open the Smart Life app on your smartphone or tablet.
- Tap on the device list to view all the devices connected to the app, including your smart plug.
- Select your smart plug from the list to access its settings and controls.
- From the smart plug’s control screen, you can toggle the power on or off by tapping the respective button.
- To customize settings for your smart plug, tap on the gear or settings icon.
- Within the settings, you will find options to set schedules, timers, and automation rules for your connected devices.
- For example, you can create a schedule to automatically turn on your coffee maker every morning or set a timer to turn off your bedroom lamp after a specific duration.
- Additionally, you may have the option to monitor the energy consumption of your devices, allowing you to track and optimize their usage.
- Explore the app’s interface to discover other features and options available for your smart plug.
Aside from the app interface, you may also have the ability to control your smart plug using voice commands. If you have integrated your Smart Life app with virtual assistants like Amazon Alexa or Google Assistant, you can simply ask your voice assistant to turn on or off the connected devices. Make sure to follow the specific instructions provided by the voice assistant integration settings within the Smart Life app to set up voice control.
Remember, the customization options and features may vary depending on the brand and model of your smart plug. You may find additional settings related to brightness control for smart bulbs, energy-saving modes, or even compatibility with other smart home systems. Check the user manual or the manufacturer’s website for more information on your specific device.
With the ability to customize settings and control your smart plug, you have transformed your regular devices into smart, connected devices. Explore the possibilities of automation, energy efficiency, and convenience that your new smart plug brings to your everyday life.
If you encounter any issues or need further assistance with customizing settings or controlling your smart plug, refer to the app’s help documentation or contact the manufacturer’s support team for guidance. Enjoy the convenience and control of your smart plug!
Troubleshooting Common Issues
While setting up and using your smart plug, you may encounter certain issues or face challenges. Don’t worry, as most problems have simple solutions. Here are some common troubleshooting steps you can take to resolve any issues you may encounter:
- No Wi-Fi Connection: If your smart plug is not connecting to your Wi-Fi network, ensure that your Wi-Fi router is functioning properly. Check if other devices can connect to the network and try restarting both your router and smart plug.
- Weak Signal or Range Issues: If you experience a weak or intermittent signal, make sure that your smart plug is within the range of your Wi-Fi router. If the signal is still weak, consider moving your router closer to the smart plug or using Wi-Fi extender devices.
- Firmware Updates: Occasionally, manufacturers release firmware updates to enhance the performance and stability of smart devices. Check for firmware updates in the Smart Life app or visit the manufacturer’s website for any available updates that can address compatibility issues or add new features.
- App Connectivity Issues: If you’re facing issues with the Smart Life app, ensure that you have the latest version installed on your device. If problems persist, try closing and relaunching the app or clearing app cache and data. If the issue still persists, uninstall and reinstall the app.
- Device Not Responding: If your smart plug is not responding to commands from the app or voice assistant, ensure that the smart plug is powered on and connected to the Wi-Fi network. Restart the smart plug and ensure that you have a stable internet connection.
- Incorrect Device Name or Configuration: If you’re experiencing difficulty identifying or controlling your smart plug, double-check that you have correctly named the device in the Smart Life app. Additionally, review the device configuration within the app to ensure that it is accurately set up for your specific model.
- Conflicting Device Settings: If you have configured alternative schedules, timers, or automation rules for your smart plug, ensure that there are no conflicting settings that may be causing unexpected behavior. Check all the configured settings to eliminate any conflicts that may affect the performance.
- Factory Reset: If all else fails, you can perform a factory reset on your smart plug. Refer to the user manual or the manufacturer’s instructions for the appropriate steps to reset the device to its factory settings. After the reset, you can start the setup process again from scratch.
Remember, each smart plug may have its own unique troubleshooting steps, so it’s essential to consult the user manual or the manufacturer’s support resources for more specific guidance. Additionally, reaching out to the manufacturer’s customer support team can provide valuable assistance in resolving any persistent issues.
By following these troubleshooting steps and seeking the necessary support, you can overcome common challenges and ensure the optimal performance of your smart plug. Enjoy the convenience and control of your smart home devices!
Conclusion
Congratulations on successfully setting up your smart plug with the Smart Life app! You now have the power to control and automate your devices, enhancing the convenience and efficiency of your home. By following the steps outlined in this guide, you were able to download and set up the Smart Life app, connect your smart plug to Wi-Fi, add the smart plug to the app, customize settings, and troubleshoot common issues.
With the Smart Life app, you can now easily control your smart plug from anywhere using your smartphone or tablet. Whether you want to turn off a device remotely, create schedules for automated operation, or monitor energy usage, the app provides a user-friendly interface to manage all these features.
Remember to explore additional functionality of the Smart Life app, such as integrating with virtual assistants like Amazon Alexa or Google Assistant for voice control, and creating scenes or automation rules to control multiple devices with a single command.
If you encountered any challenges or issues during the setup process, refer back to the troubleshooting section for guidance. And don’t hesitate to reach out to the manufacturer’s support team for assistance if needed.
Now that you have the necessary knowledge to successfully set up and manage your smart plug, enjoy the convenience and control it brings to your life. Embrace the possibilities of a smarter and more connected home, where you can effortlessly manage your devices and optimize your energy consumption. Welcome to the world of smart living!