Introduction
Setting up the internet on your Hisense Smart TV opens up a world of possibilities, allowing you to stream your favorite shows and movies, browse the web, and access a wide range of online content. Whether you’re a tech-savvy individual or new to the smart TV world, this guide will walk you through the steps to get your Hisense Smart TV connected to the internet with ease.
With its sleek design and advanced features, Hisense Smart TVs have become increasingly popular. However, without a stable internet connection, you won’t be able to maximize their capabilities.
In this guide, we’ll cover the steps involved in setting up your Hisense Smart TV for internet access. We’ll also provide troubleshooting tips to help you resolve any connectivity issues that may arise.
Before we delve into the detailed steps, it’s essential to ensure that you have a reliable internet connection in your home. If you haven’t already set up an internet service, contact your internet service provider to get the necessary equipment and set up a connection.
Once you have your internet connection up and running, you’ll be ready to start the process of connecting your Hisense Smart TV to Wi-Fi. This process will involve navigating the settings menu on your TV and selecting the appropriate network. Don’t worry – it’s easier than it sounds!
Now, let’s get started and learn how to set up the internet on your Hisense Smart TV!
Step 1: Check your internet connection
Before proceeding with the setup process, it’s essential to ensure that your internet connection is stable and functioning correctly. Here are a few steps to follow to check your internet connection:
1. Check other devices: Start by confirming if other devices in your home, such as smartphones, tablets, or laptops, are able to connect to the internet. If they are experiencing connectivity issues as well, it could indicate a problem with your internet service provider.
2. Restart your router/modem: Sometimes, a simple restart can resolve connectivity issues. Power off your router/modem, wait for a few seconds, and then power it back on. Allow a couple of minutes for it to fully reboot and establish a connection.
3. Check the cables: Ensure that all the cables connecting your modem/router are securely plugged in. Sometimes, loose cables can cause connectivity problems. If you have a separate modem and router, make sure the cable connecting them is firmly connected.
4. Signal strength: If you’re using Wi-Fi, check the signal strength on your Hisense Smart TV. A weak signal can affect the performance and stability of your internet connection. If possible, move the router closer to your TV or consider using a Wi-Fi range extender.
5. Contact your internet service provider: If you have followed the above steps and are still experiencing connectivity issues, contact your internet service provider for further assistance. They can help troubleshoot and diagnose any issues with your internet connection.
By ensuring that your internet connection is working properly, you can proceed confidently with the setup process for your Hisense Smart TV. Now that you’ve checked your internet connection, it’s time to move on to the next step: connecting your Hisense Smart TV to Wi-Fi.
Step 2: Connect your Hisense Smart TV to Wi-Fi
Once you have confirmed that your internet connection is stable, it’s time to connect your Hisense Smart TV to Wi-Fi. Follow these steps to establish a wireless connection:
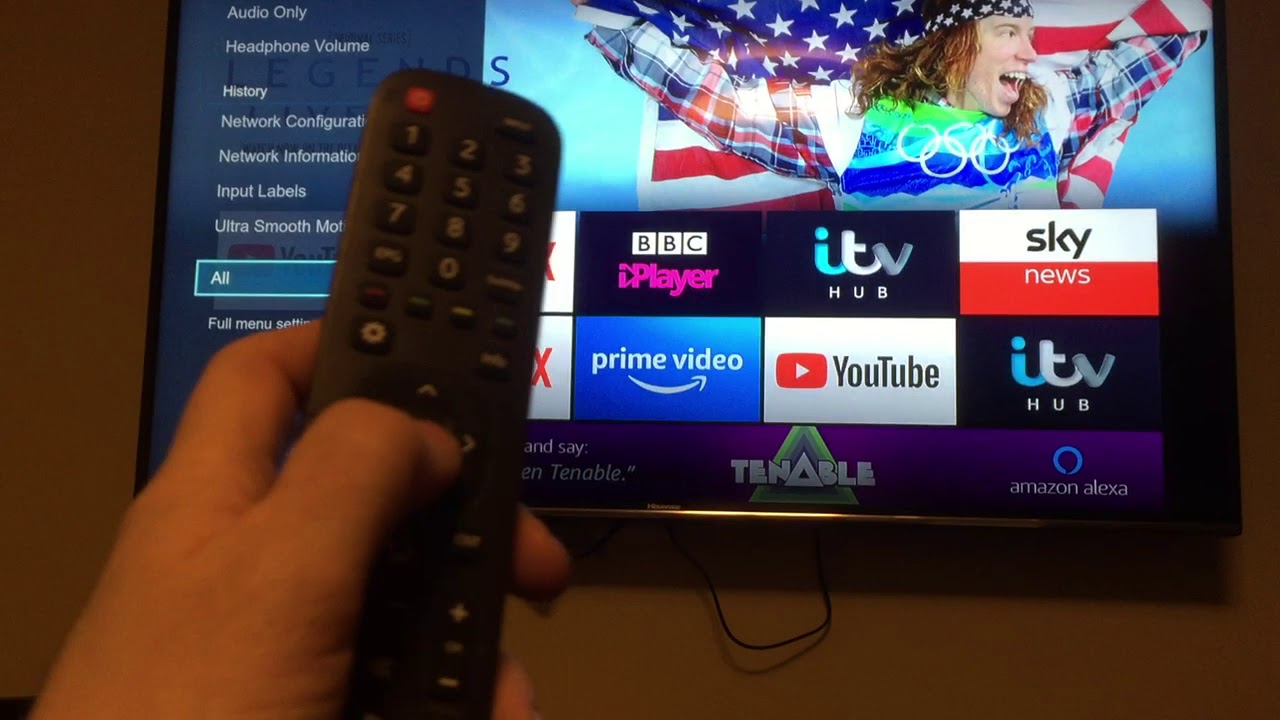
1. Turn on your Hisense Smart TV: Press the power button on your TV or use the remote control to turn it on.
2. Navigate to the Settings menu: Use the arrow buttons on your remote control to navigate to the Settings menu. It is usually represented by a gear or cog icon.
3. Select Network settings: In the Settings menu, locate and select the “Network” or “Network & Internet” option. This will open the network settings for your Hisense Smart TV.
4. Choose the Wi-Fi network: Look for the option to “Set up a new connection” or “Connect to a network.” Select this option to proceed with connecting to Wi-Fi.
5. Scan for available networks: Your Hisense Smart TV will scan for available Wi-Fi networks in the vicinity. Wait for the scan to complete and display a list of networks.
6. Select your Wi-Fi network: From the list of available networks, locate your Wi-Fi network name (SSID) and select it. If you have a dual-band router, make sure to choose the appropriate frequency (2.4GHz or 5GHz) that your TV supports.
7. Enter the Wi-Fi password: If your Wi-Fi network is secured, you’ll be prompted to enter the password. Use your remote control or the on-screen keyboard to enter the password correctly. Double-check for any typing errors as passwords are case-sensitive.
8. Connect to the network: After entering the password, select the “Connect” button to establish a connection to your Wi-Fi network. Your Hisense Smart TV will attempt to establish a connection to the network.
9. Verify the connection: Once the connection is established, your Hisense Smart TV will display a confirmation message or a wireless signal icon indicating a successful connection. You can now enjoy the internet-enabled features of your TV.
Congratulations! You have successfully connected your Hisense Smart TV to Wi-Fi. Now you can take full advantage of the numerous online streaming services and other smart features of your TV. In the next step, we’ll test the internet connection to ensure everything is working correctly.
Step 3: Navigate to the Settings menu
In order to configure the network settings on your Hisense Smart TV, you’ll need to navigate to the Settings menu. Here’s how you can do it:
1. Turn on your Hisense Smart TV: Press the power button on your TV or use the remote control to turn it on.
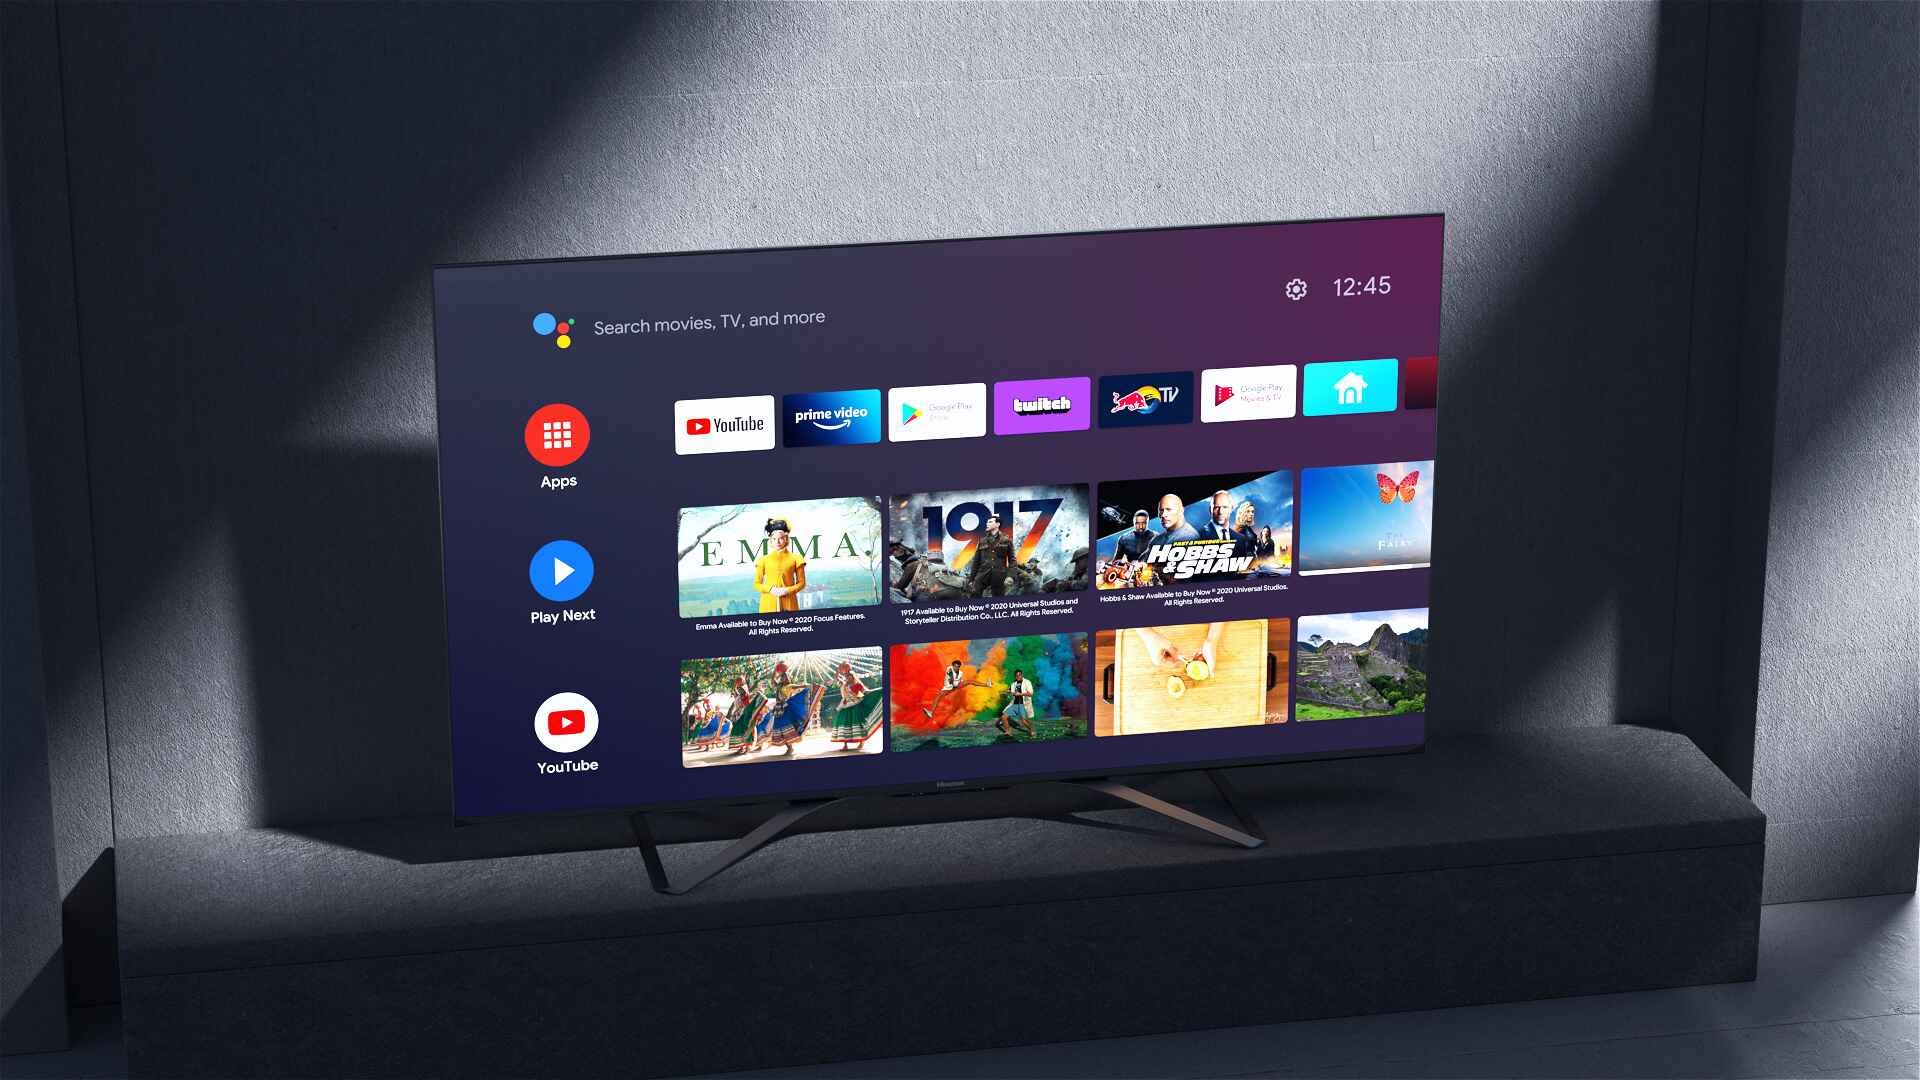
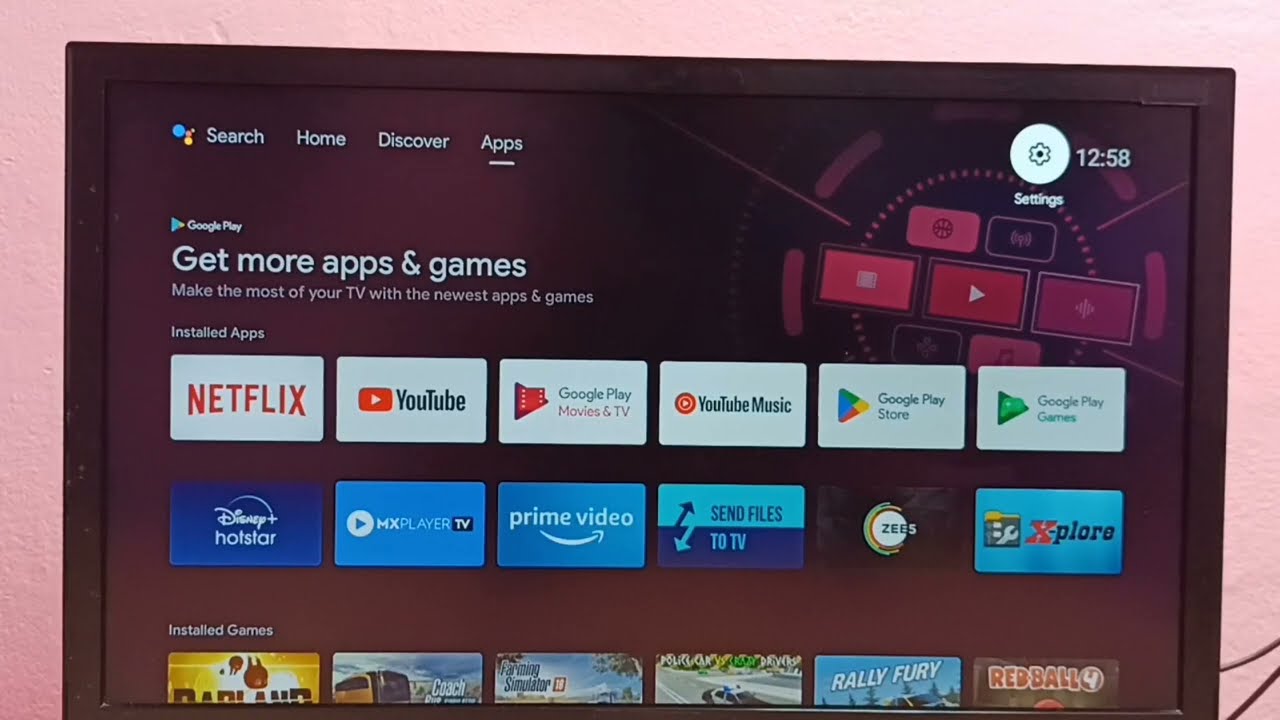
2. Access the Home screen: From the main screen of your TV, press the “Home” or “Smart” button on your remote control. This will bring up the Home screen with various options and apps.
3. Find the Settings app: Use the arrow buttons on your remote control to navigate through the Home screen. Look for the “Settings” app, which is usually represented by a gear or cog icon. When you find it, press the “OK” or “Enter” button on your remote control to select it.
4. Navigate within the Settings menu: Once you’ve entered the Settings menu, you’ll see a variety of options and settings available for customization. Use the arrow buttons on your remote control to navigate through the different options.
5. Select Network settings: Within the Settings menu, you’ll need to find the “Network” or “Network & Internet” option. This option may be located within a “General” or “System” sub-menu. Once you locate it, press the “OK” or “Enter” button on your remote control to select it.
6. Explore network settings: The Network settings menu will provide you with various options related to network connectivity. Here, you can configure Wi-Fi settings, set up a wired connection, and more. Take your time to familiarize yourself with the available options.
By navigating to the Settings menu on your Hisense Smart TV, you can access the network settings and make the necessary configurations to establish a connection to your Wi-Fi network. Once you’re in the Network settings menu, you’re ready to proceed to the next step of selecting your Wi-Fi network.
Step 4: Select Network settings
Once you have accessed the Settings menu on your Hisense Smart TV, the next step is to select the Network settings option. Follow these steps to proceed:
1. Navigate within the Settings menu: Use the arrow buttons on your remote control to navigate through the different options within the Settings menu. Look for the “Network” or “Network & Internet” option. This option is typically located under a “General” or “System” sub-menu.
2. Select Network settings: Once you have located the Network settings option, press the “OK” or “Enter” button on your remote control to select it. This will bring you to the Network settings menu, where you can configure your network connection.
3. Explore network settings: Within the Network settings menu, you’ll find various options related to network connectivity. These options may include Wi-Fi settings, Ethernet settings (for a wired connection), and more. Take your time to explore these settings and familiarize yourself with the available options.
4. Wi-Fi settings: If you want to connect your Hisense Smart TV to a Wi-Fi network, look for the Wi-Fi settings option within the Network settings menu. Here, you can scan for available networks, select your desired network, and enter the Wi-Fi password, if required.
5. Wired connection: If you prefer a wired connection, look for the Ethernet settings option within the Network settings menu. You will need to connect an Ethernet cable from your router to the Ethernet port on your Hisense Smart TV. Once connected, follow the on-screen instructions to complete the setup process.
6. Additional settings: Depending on your specific TV model and firmware version, you may find additional network settings such as IP settings, DNS settings, or proxy settings. These settings are usually optional and can be left at their default values unless you have specific requirements.
By selecting the Network settings option in the Settings menu, you can access the necessary configurations to establish your network connection. Take your time to explore the available options and select the appropriate settings for your preferred network connection method. Once you have selected the network settings, you’re ready to proceed to the next step of choosing your Wi-Fi network.
Step 5: Choose the Wi-Fi network
After accessing the Network settings menu on your Hisense Smart TV, the next step is to choose the Wi-Fi network you want to connect to. Follow these steps to proceed:
1. Access the Wi-Fi settings: Within the Network settings menu, locate the Wi-Fi settings option. This option may be labeled as “Wireless” or “Wi-Fi.” Use the arrow buttons on your remote control to navigate to this option and press the “OK” or “Enter” button to select it.
2. Scan for available networks: Once you are in the Wi-Fi settings menu, your Hisense Smart TV will scan for available Wi-Fi networks in your vicinity. This process may take a few moments as it searches for networks to display.
3. View the available networks: After the scan is complete, your TV will display a list of available Wi-Fi networks. The display may show the network names (SSIDs) along with signal strength indicators.
4. Select your Wi-Fi network: From the list of available networks, use the arrow buttons on your remote control to highlight your desired Wi-Fi network. Once you have selected the network, press the “OK” or “Enter” button to proceed.
5. Confirm network selection: After selecting your Wi-Fi network, your Hisense Smart TV may prompt you to confirm the selection. Review the network name to ensure it matches your intended selection, and then press the “OK” or “Enter” button to confirm.
6. Wait for connection: Once you have confirmed your Wi-Fi network selection, your Hisense Smart TV will attempt to establish a connection to the network. This process may take a moment as the TV negotiates with your Wi-Fi router and authenticates the connection.
7. Successful connection: If the connection is successfully established, your Hisense Smart TV will display a confirmation message or a wireless signal icon, indicating that it is connected to the chosen Wi-Fi network.
Congratulations! You have successfully chosen your Wi-Fi network on your Hisense Smart TV. In the next step, we will guide you through entering the Wi-Fi password to complete the connection process.
Step 6: Enter the Wi-Fi password
Once you have chosen your desired Wi-Fi network on your Hisense Smart TV, the next step is to enter the Wi-Fi password. Follow these steps to complete the connection process:
1. Prompt for password entry: After selecting your Wi-Fi network, your Hisense Smart TV will prompt you to enter the Wi-Fi password. This is typically done through an on-screen keyboard that appears on your TV screen.
2. Use the remote control to enter the password: Using the arrow buttons and the “OK” or “Enter” button on your remote control, navigate through the on-screen keyboard to enter the Wi-Fi password. Take your time to double-check each character as you type, as passwords are case-sensitive.
3. Special characters: If your Wi-Fi password includes special characters, such as symbols or punctuation marks, look for the corresponding keys on the on-screen keyboard. The layout may vary, but most on-screen keyboards have a dedicated key or option to access special characters.
4. Hide/Show password: Some Hisense Smart TVs provide an option to hide or show the password as you type. If available, you can toggle this option to show the password on the screen, which can help you verify that you have entered it correctly.
5. Confirm password entry: Once you have entered the Wi-Fi password, navigate to the “Done” or “Connect” button on the on-screen keyboard. Press the “OK” or “Enter” button on your remote control to confirm the password entry.
6. Establish connection: After confirming the Wi-Fi password, your Hisense Smart TV will attempt to connect to the selected Wi-Fi network. It will negotiate with your Wi-Fi router and establish a secure connection.
7. Successful connection: If the Wi-Fi password was correct and the connection process was successful, your Hisense Smart TV will display a confirmation message or a wireless signal icon indicating a successful connection to the Wi-Fi network.
By entering the Wi-Fi password correctly, you have completed the final step in establishing a connection between your Hisense Smart TV and your chosen Wi-Fi network. Now you can enjoy the benefits of internet access on your TV. In the next step, we will test the internet connection to ensure everything is working as expected.
Step 7: Test the internet connection
After successfully connecting your Hisense Smart TV to your Wi-Fi network, it’s essential to test the internet connection to ensure everything is working correctly. Here’s how to test the internet connection on your TV:
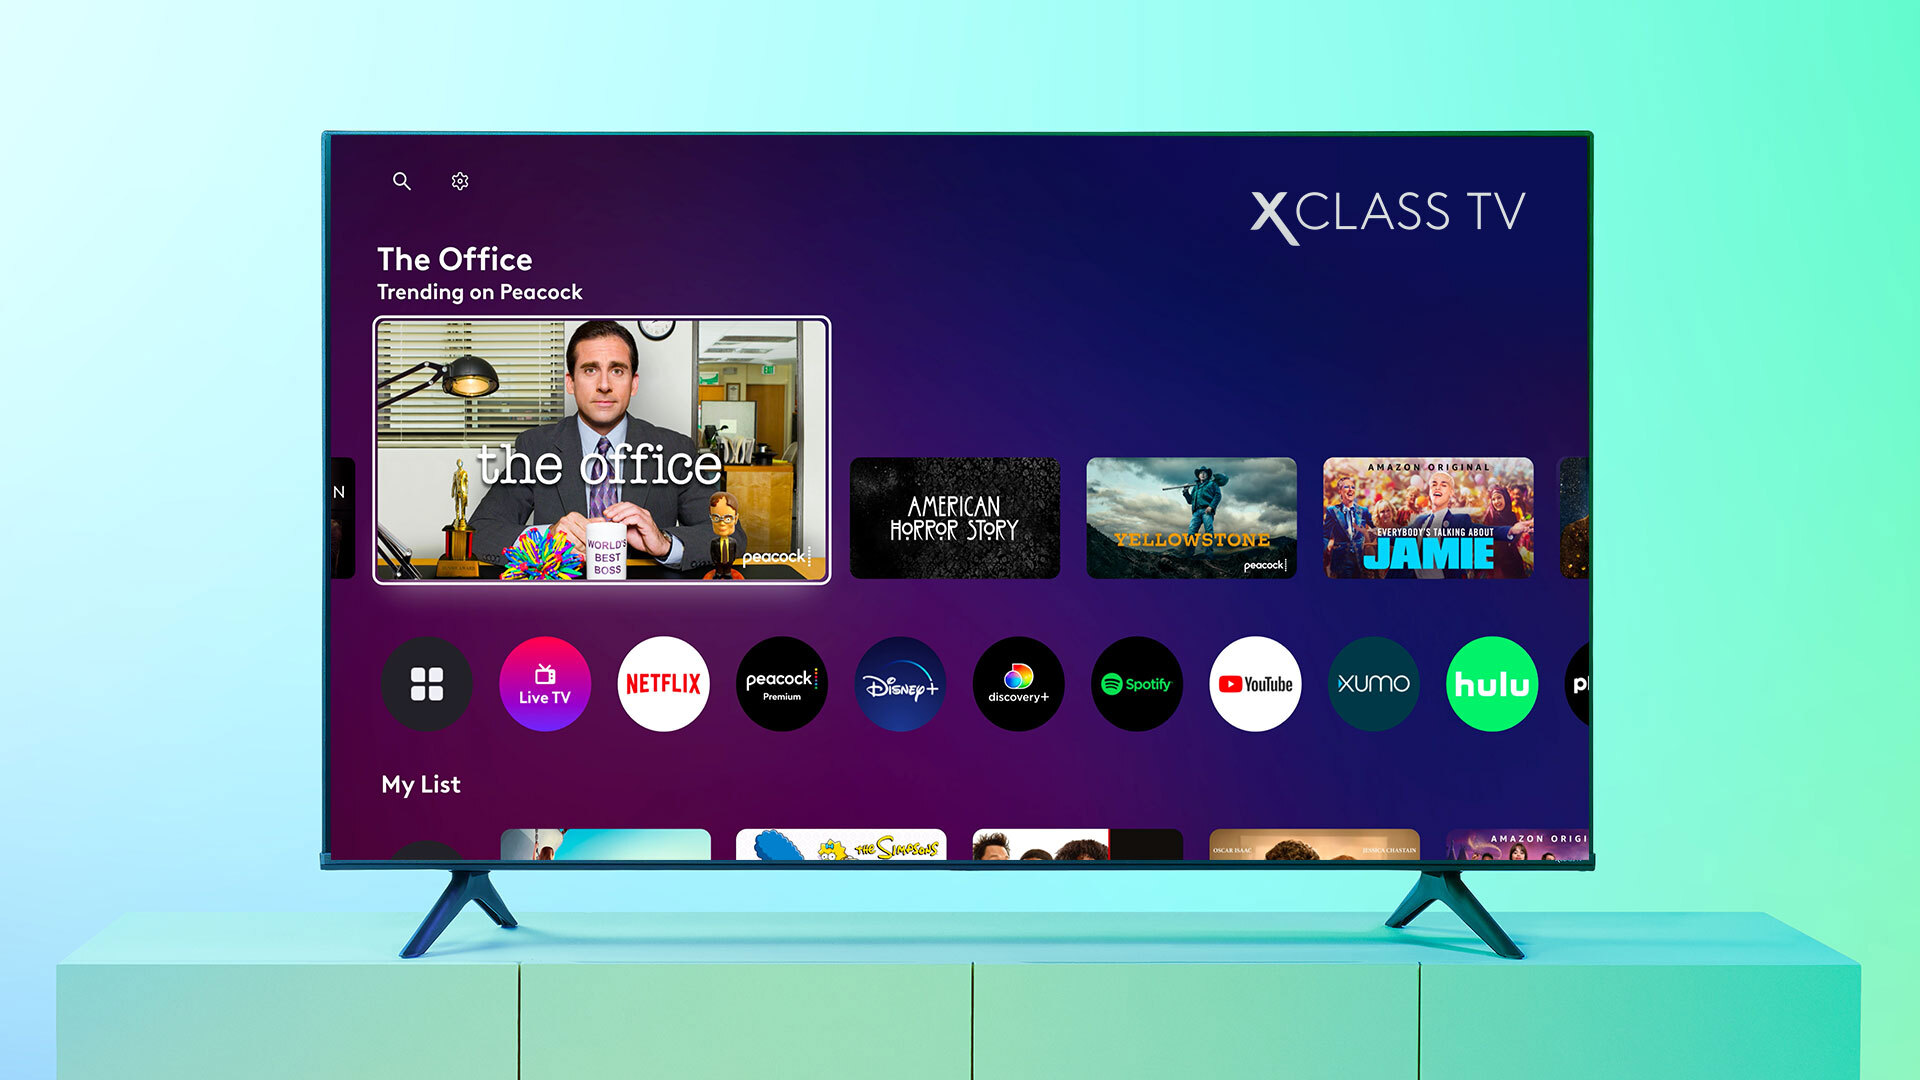
1. Return to the Home screen: Press the “Home” or “Smart” button on your remote control to go back to the Home screen of your Hisense Smart TV.
2. Launch an internet-enabled app: Select an app that requires an internet connection, such as a streaming service app or a web browser. This will give you the opportunity to test the internet connectivity of your TV.
3. Access a website or stream a video: Once you’re in the app, choose a website to browse or select a video to stream. This will initiate a connection to the internet and test the speed and stability of your connection.
4. Check for smooth playback: While browsing a website or streaming a video, observe the performance of the content. Pay attention to factors such as loading time, buffering, and the quality of the stream. If everything runs smoothly without interruptions, it indicates a good internet connection.
5. Test multiple apps: To further ensure the reliability of your internet connection, consider testing multiple apps that require internet access. This will provide a more comprehensive assessment of the overall connectivity of your Hisense Smart TV.
6. Troubleshoot if necessary: If you encounter any issues during the testing process, such as buffering, poor video quality, or error messages, you may need to troubleshoot your internet connection. Refer to the next step for some troubleshooting tips and suggestions.
By testing the internet connection on your Hisense Smart TV, you can verify that the Wi-Fi connection is stable and capable of supporting various online activities. A successful test will enable you to enjoy a seamless streaming experience and access other internet-enabled features on your TV.
In the next step, we’ll provide some troubleshooting tips that can help you address common issues and ensure a smoother internet experience.
Step 8: Troubleshooting tips
While setting up the internet on your Hisense Smart TV is generally straightforward, you may encounter occasional issues or connectivity problems. Here are some troubleshooting tips to help you resolve common issues:
1. Restart your TV and router: Sometimes, a simple restart can resolve temporary connection issues. Power off both your TV and the router/modem, wait for a few seconds, and then power them back on. Allow them to fully reboot and establish a fresh connection.
2. Check your Wi-Fi signal strength: Weak Wi-Fi signals can cause connection problems. Ensure that your Hisense Smart TV is within a reasonable range of your Wi-Fi router. If possible, move the router closer to the TV or use a Wi-Fi range extender to improve the signal strength.
3. Check for firmware updates: Outdated firmware can sometimes cause compatibility issues or connectivity problems. Check the Hisense website for any available firmware updates for your specific TV model and follow the instructions to update your TV’s firmware if necessary.
4. Verify Wi-Fi password: Double-check that you have entered the correct Wi-Fi password during the setup process. Remember that Wi-Fi passwords are case-sensitive, so ensure that you have entered uppercase and lowercase letters correctly.
5. Verify router settings: Ensure that your Wi-Fi router is configured properly. Check that the SSID (network name) and password are correct. Also, make sure that the router is set to broadcast the Wi-Fi network and is not hidden or in a power-saving mode.
6. Reduce interference: Other electronic devices in your home, such as cordless phones, microwave ovens, or Bluetooth devices, can interfere with Wi-Fi signals. Try to keep your Hisense Smart TV and Wi-Fi router away from such devices to minimize interference.
7. Reset network settings: If all else fails, you can try resetting the network settings on your Hisense Smart TV. Navigate to the Network settings menu and choose the option to reset network settings. Keep in mind that this will remove any saved Wi-Fi networks, so you will need to set up your connection again.
If you have exhausted all troubleshooting options and are still experiencing issues with your internet connection on your Hisense Smart TV, it may be advisable to contact the Hisense support team or consult with your internet service provider for further assistance.
By following these troubleshooting tips, you can overcome most common connectivity issues and ensure a stable and reliable internet connection on your Hisense Smart TV.
Conclusion
Setting up the internet on your Hisense Smart TV is a relatively straightforward process that allows you to unlock the full potential of your TV’s smart features. By following the steps outlined in this guide, you can connect your Hisense Smart TV to your Wi-Fi network and enjoy seamless streaming, browsing, and access to online content.
Throughout the setup process, remember to check your internet connection, navigate to the Settings menu, select the Network settings, choose your Wi-Fi network, enter the Wi-Fi password, test the internet connection, and troubleshoot any issues that may arise.
Remember to ensure that your internet connection is stable by checking other devices and restarting your router if necessary. Navigate to the Settings menu on your Hisense Smart TV and select the Network settings option to configure your network connection. Choose your Wi-Fi network from the available options, enter the Wi-Fi password, and establish a secure connection.
Testing the internet connection by launching internet-enabled apps or browsing websites will confirm the successful setup. In case you encounter any issues, refer to the troubleshooting tips to address common problems. Resetting network settings may also be an option if all else fails.
By setting up the internet on your Hisense Smart TV, you’ll be able to enjoy a wide range of online content and services, including streaming platforms, social media apps, and web browsing. Stay connected with your favorite shows, movies, and online entertainment at your fingertips.
Now that you’re equipped with the knowledge to set up the internet on your Hisense Smart TV, you can enhance your viewing experience and explore the vast world of online entertainment.
So, grab your remote control, get your Wi-Fi connection ready, and dive into a world of endless possibilities with your Hisense Smart TV.