Introduction
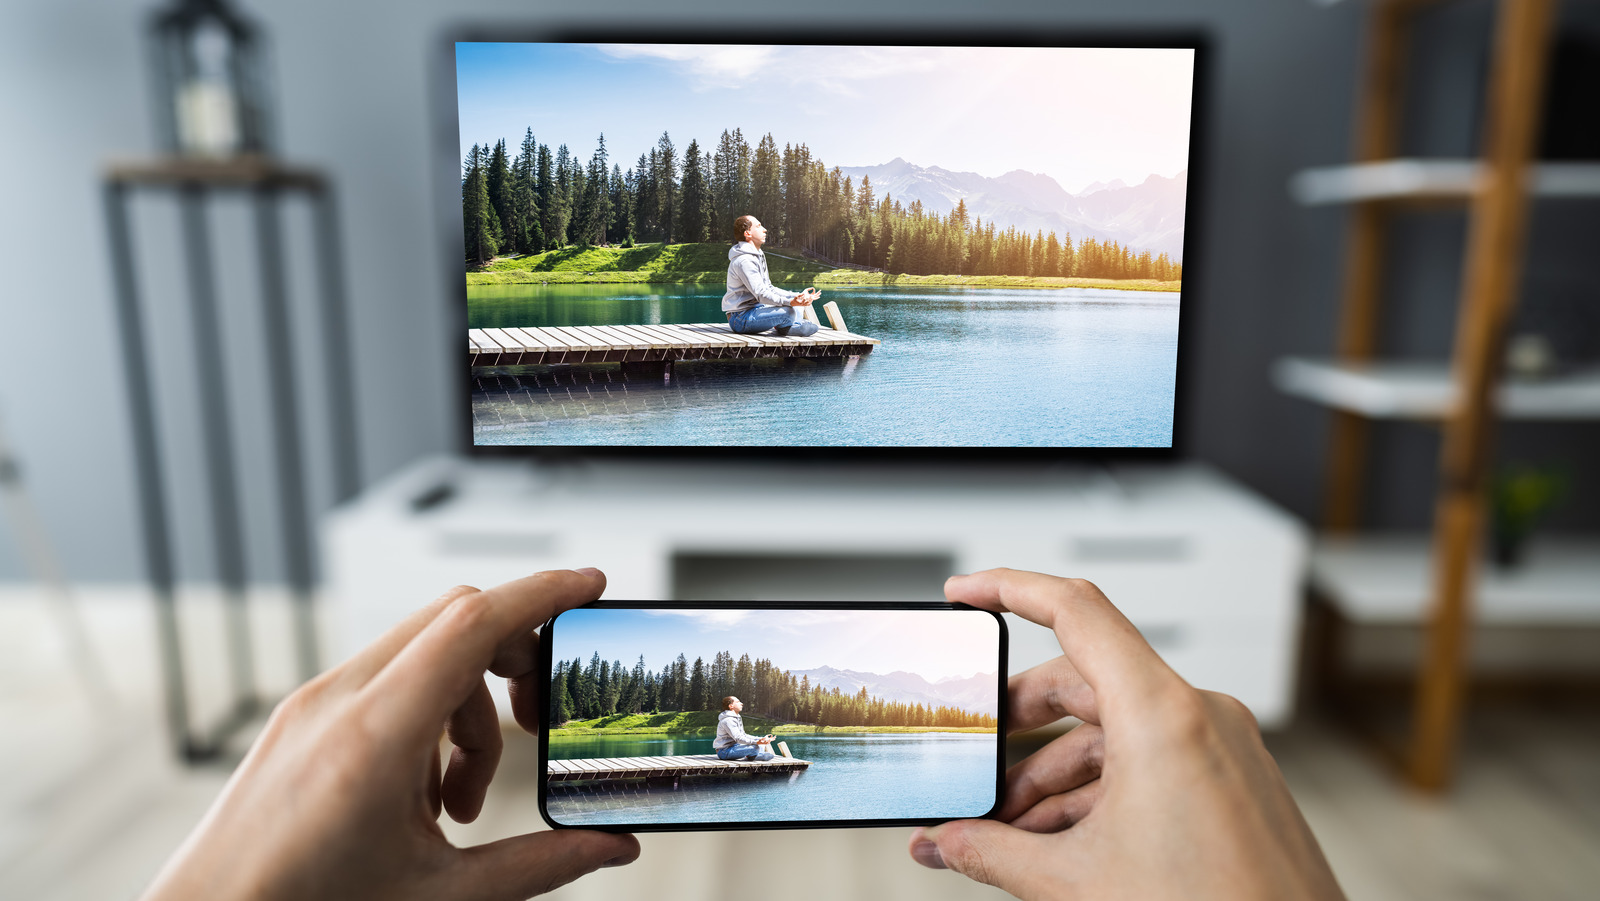
Screen sharing is a handy feature that allows you to display the screen of your iPhone on a larger Smart TV screen. Whether you want to share photos, videos, presentations, or even play games, screen sharing from your iPhone to a Smart TV can bring your content to life in a whole new way. With just a few simple steps, you can easily connect your iPhone to your Smart TV and start enjoying a bigger and more immersive viewing experience.
Gone are the days of huddling around a small screen to share content with friends and family. Now, you can effortlessly mirror your iPhone screen on a Smart TV and enjoy the convenience of a larger display. Whether you’re hosting a movie night, showcasing a presentation, or simply want to view your favorite apps on a bigger screen, screen sharing from your iPhone to a Smart TV opens up a world of possibilities.
In this article, we will guide you through the process of screen sharing from your iPhone to a Smart TV. We’ll cover everything you need to know, from checking compatibility to customizing your screen mirroring settings. So, grab your iPhone and Smart TV, and let’s get started!
Step 1: Check compatibility
Before you dive into screen sharing from your iPhone to a Smart TV, it’s important to ensure that both devices are compatible. Check if your Smart TV supports screen sharing or has built-in features like AirPlay, Chromecast, or Miracast. Additionally, make sure that your iPhone is running on the latest operating system version to ensure compatibility with your Smart TV.
To check if your Smart TV supports screen sharing, refer to the user manual or visit the manufacturer’s website for detailed specifications. Look for terms like “screen mirroring,” “wireless display,” or “casting” in the TV’s settings or connectivity options.
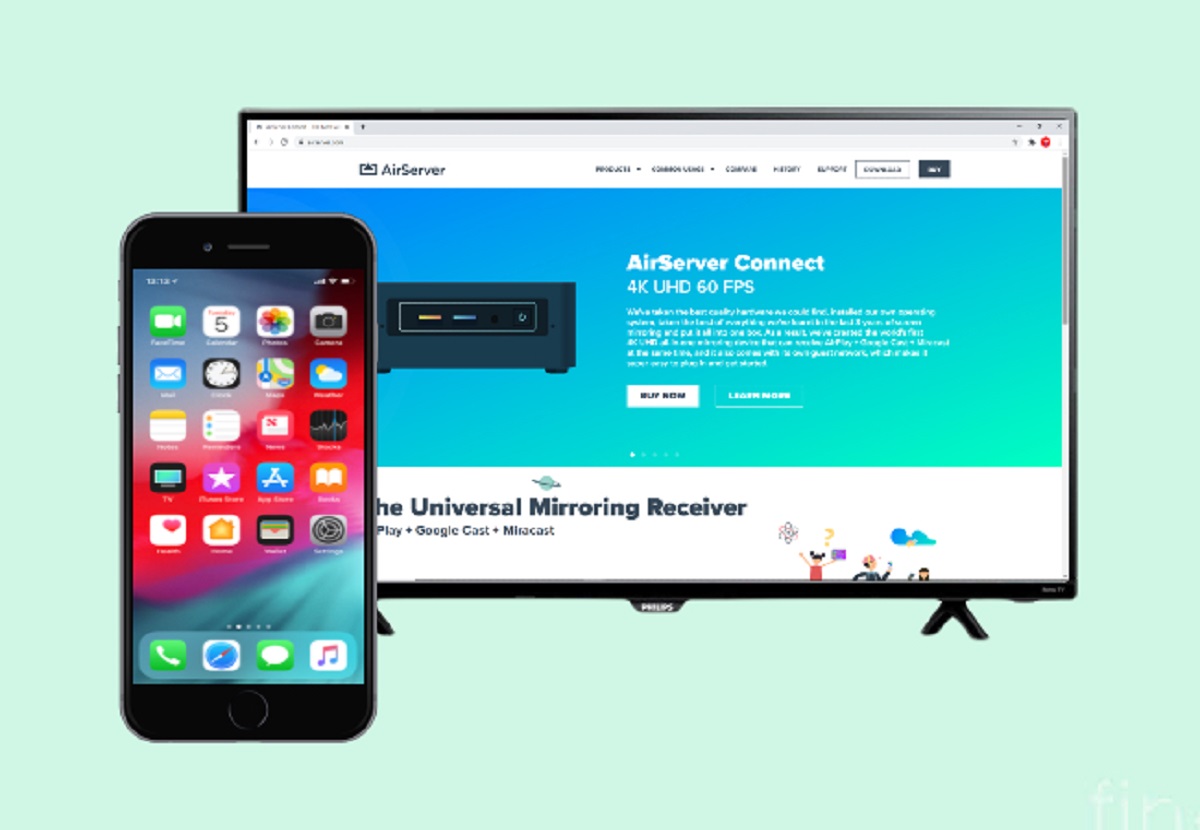
If your Smart TV does not have built-in screen sharing capabilities, don’t worry. You can still utilize external devices like Apple TV, Google Chromecast, or Roku to enable screen sharing from your iPhone. These devices act as intermediaries between your iPhone and Smart TV, allowing you to mirror your iPhone screen seamlessly.
Once you have confirmed that both your iPhone and Smart TV are compatible, proceed to the next step to connect them to the same Wi-Fi network.
Step 2: Connect your iPhone to the same Wi-Fi network as your Smart TV
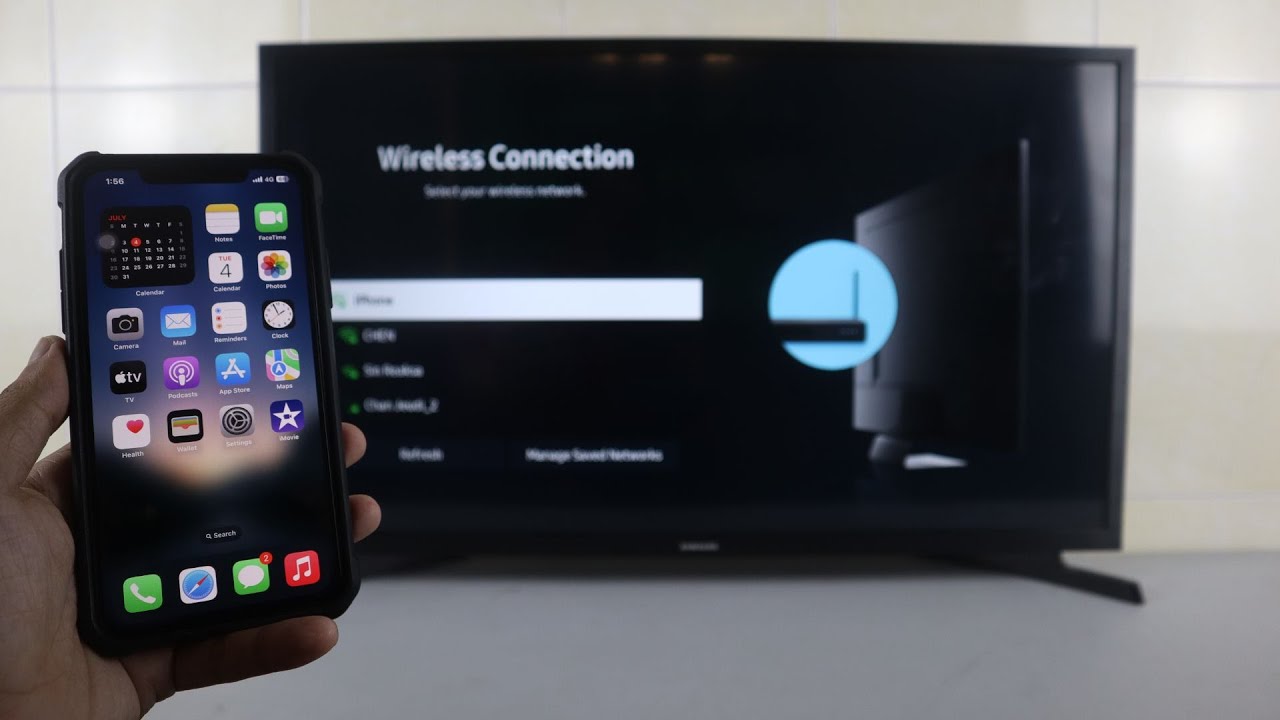
To successfully screen share from your iPhone to your Smart TV, both devices need to be connected to the same Wi-Fi network. This allows them to communicate with each other and establish a connection for screen mirroring.
Start by ensuring that your iPhone is connected to a Wi-Fi network. Go to the Settings app on your iPhone, tap on “Wi-Fi,” and make sure it is turned on. Select the Wi-Fi network you want to connect to and enter the password if prompted.
Next, turn on your Smart TV and access its settings menu. Look for the network or Wi-Fi settings and connect it to the same Wi-Fi network as your iPhone. This step may vary depending on the brand and model of your Smart TV, so refer to the user manual if you encounter any difficulties.
Once both devices are connected to the same Wi-Fi network, they are ready for screen sharing. Proceed to the next step to enable AirPlay on your iPhone.
Step 3: Enable AirPlay on your iPhone
AirPlay is a built-in feature on iPhones that allows you to stream or mirror content wirelessly to compatible devices, including Smart TVs. To screen share from your iPhone to your Smart TV, you need to enable AirPlay.
First, ensure that your iPhone is connected to the same Wi-Fi network as your Smart TV, as mentioned in the previous step. Once the connection is established, swipe up from the bottom of your iPhone screen to open the Control Center.
In the Control Center, you will see various options, including AirPlay. Tap on the AirPlay icon, which looks like a rectangle with a triangle at the bottom. This will open the AirPlay menu, displaying a list of available devices for screen sharing.
If your Smart TV is compatible with AirPlay, it should appear in the list of available devices. Tap on your Smart TV’s name to select it for screen sharing. You may be prompted to enter a code or password displayed on your Smart TV to establish the connection. Follow the on-screen instructions to complete the pairing process.
In case your Smart TV does not support AirPlay, you can use an external device like Apple TV, Google Chromecast, or Roku as a bridge for screen sharing. Simply connect the external device to your Smart TV, ensure that it is on the same Wi-Fi network, and follow the respective instructions for screen sharing from your iPhone.
Once you have successfully enabled AirPlay and connected your iPhone to your Smart TV, you are ready to initiate the screen sharing process. Refer to the next step for further guidance on starting the screen sharing session.
Step 4: Start the screen sharing process
After enabling AirPlay on your iPhone and connecting it to your Smart TV, it’s time to initiate the screen sharing process. This step varies slightly depending on the type of Smart TV or external device you are using.
If you are using a Smart TV with built-in screen sharing capabilities, follow these steps:
- Open an app or content that you want to screen share on your iPhone.
- Once the app or content is open, swipe up from the bottom of your iPhone screen again to access the Control Center.
- In the Control Center, tap on the AirPlay icon.
- Select your Smart TV from the list of available devices.
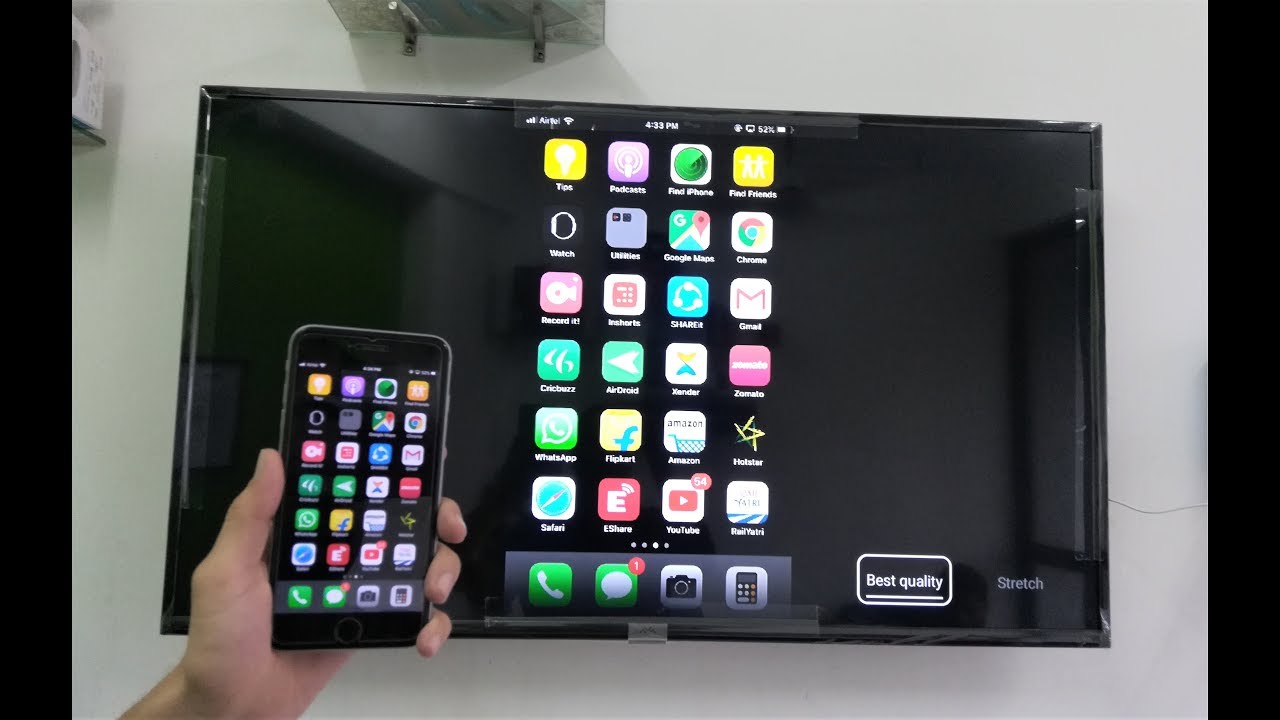
- Your iPhone screen will now mirror on your Smart TV screen, displaying the same content.
On the other hand, if you are using an external device such as Apple TV, Google Chromecast, or Roku, follow these general steps:
- Connect the external device to your Smart TV and ensure it is turned on.
- Open a compatible app or content on your iPhone that supports screen sharing with the respective external device (e.g., Netflix, YouTube).
- Look for the screen sharing icon within the app and tap on it.
- Select your external device from the list of available devices.
- Your iPhone screen will now be mirrored on your Smart TV screen through the external device.
Once the screen sharing session is active, you can navigate your iPhone and interact with apps or content as usual. Any actions you take on your iPhone will be displayed in real-time on your Smart TV, providing a seamless and immersive viewing experience.
Now that you have successfully started the screen sharing process, you can proceed to the next step to customize your screen mirroring settings according to your preferences.
Step 5: Select your Smart TV from the list of available devices
Once you have enabled AirPlay on your iPhone and initiated the screen sharing process, you need to select your Smart TV from the list of available devices. This step allows your iPhone to establish a connection with your Smart TV and begin mirroring the screen.
Depending on the device you are using, the process of selecting your Smart TV may vary slightly. Here are the general steps to follow:
- Ensure that both your iPhone and Smart TV are connected to the same Wi-Fi network.
- Open the Control Center on your iPhone by swiping up from the bottom of the screen.
- Tap on the AirPlay icon, which looks like a rectangle with a triangle at the bottom.
- A list of available devices for screen sharing will appear. Look for your Smart TV’s name in the list.
- Tap on your Smart TV’s name to select it as the destination for screen sharing.
If your Smart TV is not listed in the available devices, make sure that it is turned on and connected to the same Wi-Fi network as your iPhone. You may also need to double-check if your Smart TV supports AirPlay or if you have properly set up the external device (such as Apple TV, Google Chromecast, or Roku) for screen sharing.
Once you have successfully selected your Smart TV from the list of available devices, your iPhone screen will start mirroring on the larger Smart TV screen. You can now enjoy your apps, videos, photos, or any other content from your iPhone on a bigger and more immersive display.
If you wish to stop the screen sharing session, simply return to the Control Center and tap on the AirPlay icon again. From the list of available devices, select “iPhone” or “Stop Mirroring” to terminate the connection and revert back to your iPhone’s regular screen.
Now that you have successfully selected your Smart TV as the destination for screen sharing, you can proceed to the next step to customize your screen mirroring settings according to your preferences.
Step 6: Customize your screen mirroring settings
Once you have initiated the screen sharing process and selected your Smart TV as the destination, you have the option to customize your screen mirroring settings according to your preferences. These settings allow you to optimize the viewing experience and tailor it to your specific needs.
Here are some common screen mirroring settings that you can adjust:
- Resolution: You can adjust the resolution of the mirrored screen to match the capabilities of your Smart TV. Higher resolutions offer better clarity and detail, but may also require a stronger Wi-Fi connection.
- Orientation: Depending on your content or personal preference, you can change the orientation of the mirrored screen to portrait or landscape mode.
- Audio: By default, the audio from your iPhone is also mirrored on your Smart TV. If you prefer to play the audio through your iPhone’s speakers or use external speakers connected to your Smart TV, you can change the audio output settings accordingly.
- Screen timeout: To conserve battery life and prevent your iPhone from going to sleep during screen sharing, you can adjust the screen timeout settings. This ensures that the mirrored screen remains active for a longer duration.
To access and customize these settings, you can go to the Control Center on your iPhone and tap on the AirPlay icon once again. From the list of available devices, you can select your Smart TV or the active screen sharing session to view the available options. Depending on your device and software version, you may have additional settings and features to explore.
Keep in mind that the specific customization options may vary depending on your Smart TV model, external device, or the app you are using for screen sharing. Consult the user manual or online resources for your specific devices to explore all available settings.
Once you have customized your screen mirroring settings to your liking, you are ready to enjoy a personalized and immersive screen sharing experience. Whether you’re streaming videos, playing games, or showcasing presentations, these settings allow you to make the most out of the screen sharing functionality.
Now that you have customized your screen mirroring settings, you can proceed to the final step to start the screen sharing session and enjoy your content on the big screen.
Step 7: Start screen sharing and enjoy!
With all the necessary preparations and settings in place, it’s time to start the screen sharing session and immerse yourself in the content on your iPhone, now projected onto your Smart TV screen. Whether you’re watching your favorite movie, sharing a photo slideshow, or playing games, follow these final steps to kickstart your screen sharing experience.
Make sure both your iPhone and Smart TV are turned on and connected to the same Wi-Fi network. Open the app or content you want to screen share on your iPhone. Once it’s open and ready, swipe up from the bottom of your iPhone screen to access the Control Center. Locate the AirPlay icon, which resembles a rectangle with a triangle at the bottom, and tap on it.
A list of available devices for screen sharing will appear. Look for your Smart TV’s name and tap on it to select it as the destination for screen sharing. If prompted, enter any required codes or passwords displayed on your Smart TV to establish the connection.
Once connected, your iPhone screen will be mirrored on your Smart TV, allowing you to view your content on a larger display. You can now take advantage of the expansive screen size, better resolution, and enhanced audio capabilities of your Smart TV to enjoy a more immersive experience.
Navigate your iPhone as usual, and any actions you take on your phone—such as swiping, tapping, or typing—will be reflected on the Smart TV screen in real-time. This allows you to effortlessly share photos and videos with friends and family, display presentations to colleagues, or even stream content from your favorite apps directly on the big screen.
Remember, if you want to stop the screen sharing session, simply go back to the Control Center, tap on the AirPlay icon again, and select “iPhone” or “Stop Mirroring” to terminate the connection.
With screen sharing from your iPhone to your Smart TV, you can unlock a whole new level of entertainment and convenience. Enjoy the enhanced visuals, larger screen, and improved audio provided by your Smart TV as you indulge in your favorite content in a more immersive way.
Now that you have completed all the steps, you are ready to start screen sharing from your iPhone to your Smart TV. Sit back, relax, and enjoy the captivating experience offered by the combination of your iPhone and Smart TV.