Introduction
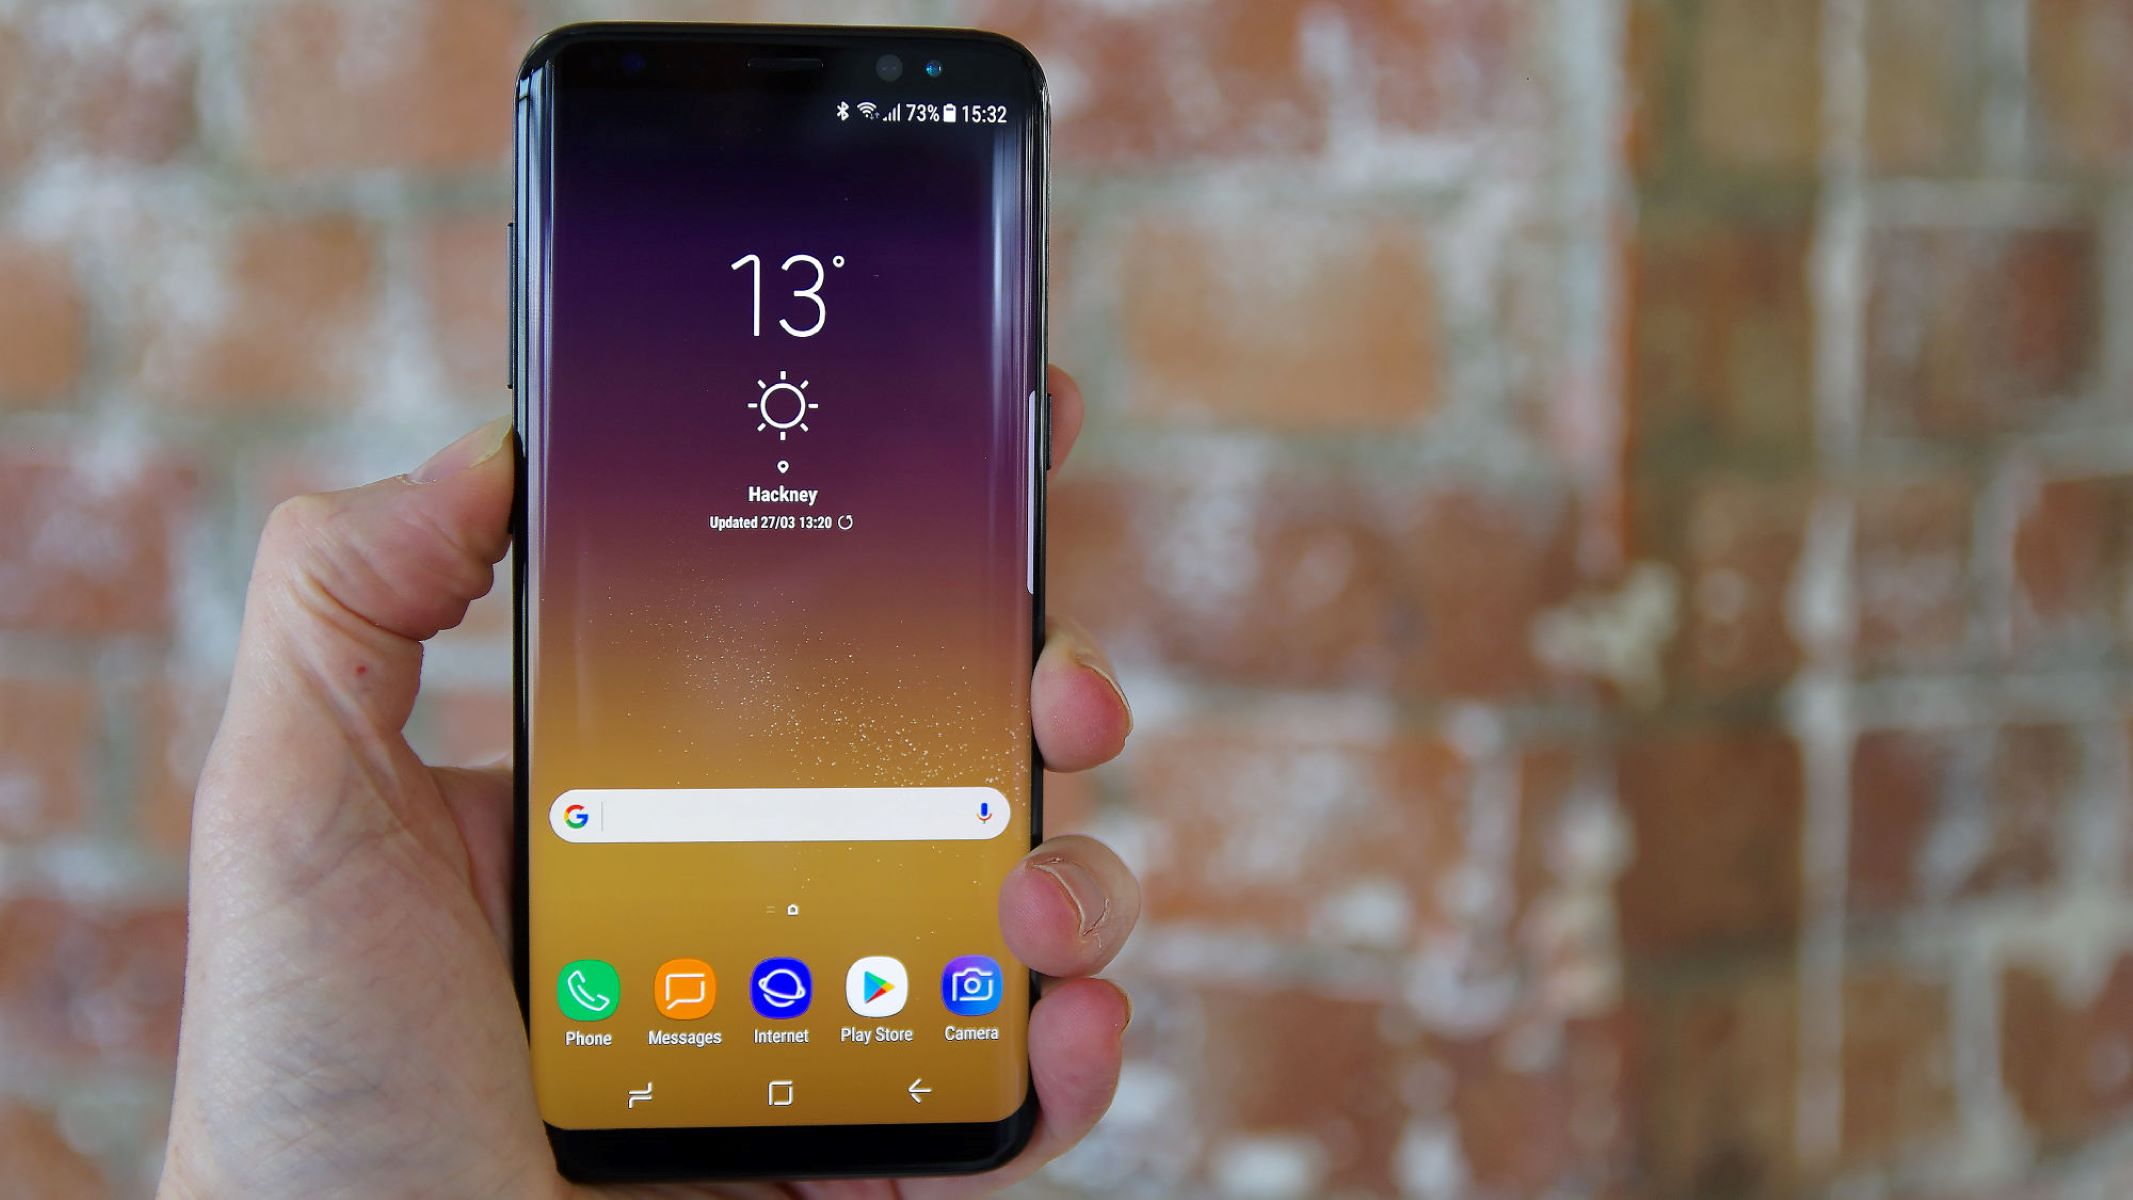
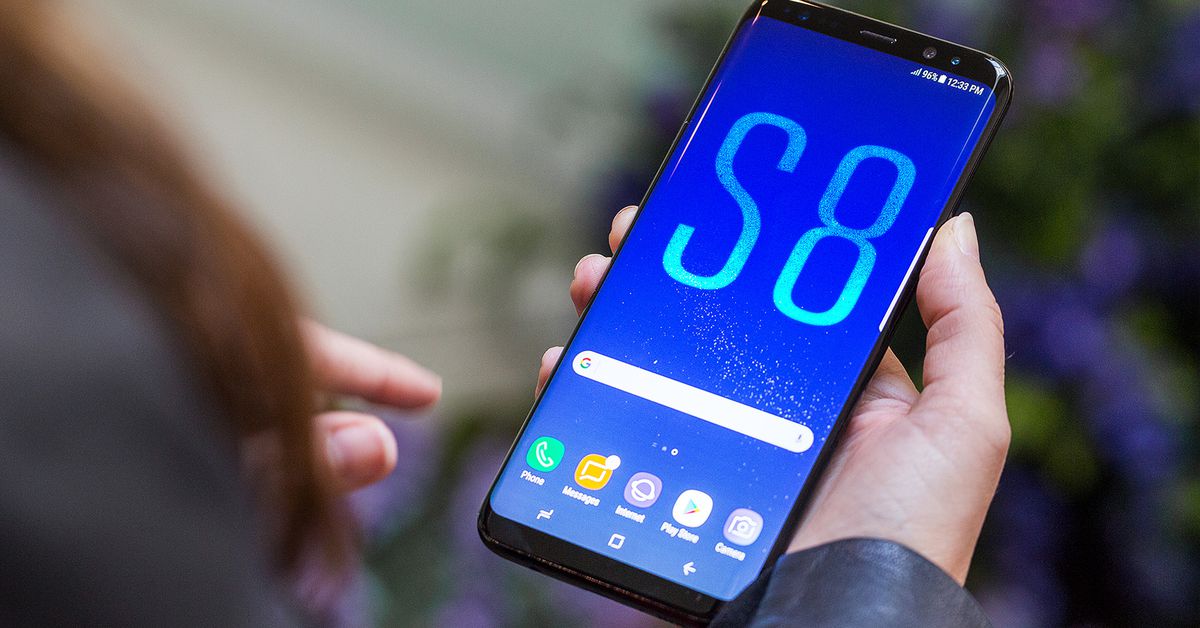
Welcome to the comprehensive guide on how to reset your Samsung Galaxy S8! Whether you’re experiencing software issues, want to sell your device, or simply want to start fresh, a factory reset can help resolve many problems and restore your smartphone to its original state. In this article, we will take you through the step-by-step process of resetting your Samsung Galaxy S8, ensuring that you have all the information you need to successfully complete the procedure.
Resetting your Samsung Galaxy S8 will erase all data on your device, including apps, settings, and personal files. Therefore, it is crucial to back up your important data before proceeding with the reset. Additionally, ensure that your device is sufficiently charged or connected to a power source during the process, as resetting can take some time.
By following the steps outlined in this guide, you can easily reset your Samsung Galaxy S8 and start with a clean slate. So, let’s dive in and learn how to reset your device!
Step 1: Back up your important data
Before you proceed with resetting your Samsung Galaxy S8, it is vital to back up any important data that you want to keep. This includes photos, videos, contacts, messages, and any other personal files that you don’t want to lose during the reset process.
There are various methods available to back up your data, depending on your preferences and needs. One convenient option is to use Samsung’s built-in backup feature, which allows you to store your data on the cloud. To do this, follow these steps:
- Go to the settings menu on your Samsung Galaxy S8.
- Select “Cloud and accounts” or “Accounts and backup,” depending on your device’s software version.
- Tap on “Backup and restore.”
- Enable the “Back up my data” and “Automatic restore” options.
- Tap on “Back up now” to initiate the backup process. Make sure you are connected to a stable internet connection to ensure a smooth backup.
Alternatively, you can use third-party backup applications available on the Google Play Store, such as Google Drive, Dropbox, or Samsung Smart Switch. These applications offer additional flexibility and customization options for backing up your data.
Take your time to ensure that all your important files and settings are successfully backed up. Double-check that you have made a copy of everything you need before proceeding with the reset process. This way, you can rest assured knowing that your valuable data is safe and accessible even after the device has been reset.
Step 2: Power off your device
Once you have secured a backup of your important data, the next step in resetting your Samsung Galaxy S8 is to power off your device. This is a crucial step as it ensures that the reset process is carried out effectively and without any interruptions.
To power off your Samsung Galaxy S8, follow these simple steps:
- Press and hold down the power button located on the right side of your device.
- A power options menu will appear on the screen.
- Tap on the “Power off” option.
- Confirm your decision to power off the device by selecting “OK.”
Your Samsung Galaxy S8 will now begin the shutdown process. Wait for a few seconds until the screen turns completely black and the device is powered off. It is important to ensure that your device is completely powered down before proceeding to the next step.
Powering off your device is a necessary precaution to avoid any potential data corruption or loss during the reset process. By following this step, you can ensure that your Samsung Galaxy S8 is ready for the next stages of the reset procedure.
Step 3: Press and hold specific buttons
Now that your Samsung Galaxy S8 is powered off, the next step in resetting your device is to press and hold specific buttons to enter the recovery mode. This mode allows you to perform various maintenance tasks on your device, including the factory reset.
- Press and hold the volume up button located on the left side of your device.
- While still holding the volume up button, press and hold the power button on the right side of your device.
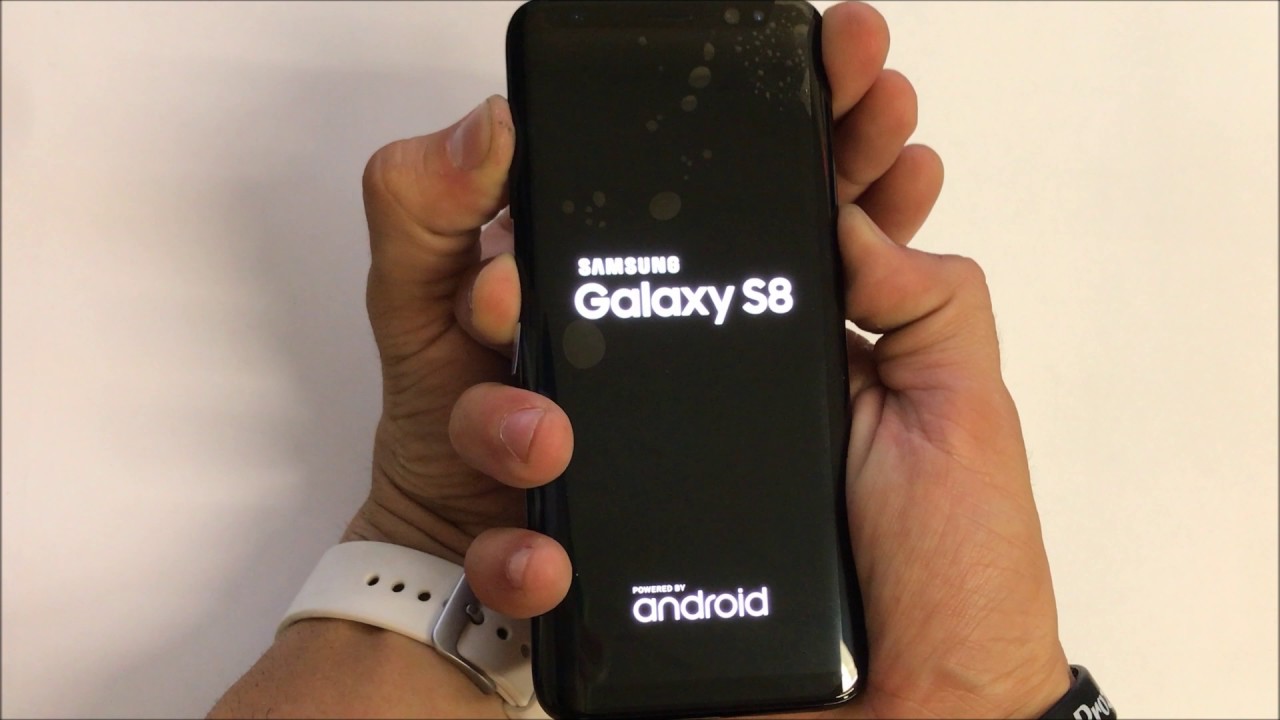
- Continue holding both buttons until the Samsung logo appears on the screen.
- Once you see the Samsung logo, release both the volume up and power buttons.
Your Samsung Galaxy S8 will now boot into the recovery mode. This mode provides a simplified interface that allows you to navigate through the available options using the volume up and down buttons, and the power button to select.
It is important to mention that the button combination to enter the recovery mode may vary slightly depending on your device’s software version. If the above method doesn’t work for you, try a different combination such as volume down + power or home + power, depending on your device.
Entering the recovery mode is a crucial step as it grants you access to the necessary functions to perform a factory reset and restore your Samsung Galaxy S8 to its original settings.
Step 4: Select the factory reset option
Once you have successfully entered the recovery mode on your Samsung Galaxy S8, the next step in resetting your device is to select the factory reset option. This option will erase all data and settings on your device, returning it to its original factory state.
To select the factory reset option, follow these steps:
- Use the volume down button to navigate through the available options on the screen.
- Highlight the “Wipe data/factory reset” or “Factory data reset” option. The exact wording may vary depending on your device’s software version.
- Once you have highlighted the factory reset option, press the power button to select it.
A confirmation screen will appear, informing you that all data on your device will be deleted. This includes apps, photos, videos, music, and any other personal files. Make sure you have backed up any important data before proceeding, as it cannot be recovered after the reset.
Take a moment to review the information on the screen and ensure that you are selecting the correct option. If you are sure about proceeding with the factory reset, use the volume down button to highlight the “Yes” or “Confirm” option, and then press the power button to confirm.
Your Samsung Galaxy S8 will now begin the factory reset process. Be patient, as it may take a few minutes to complete. The device will automatically restart once the reset is finished.
Step 5: Confirm the reset
After selecting the factory reset option on your Samsung Galaxy S8, the next step is to confirm your decision to proceed with the reset. This step ensures that you are aware of the consequences and have the opportunity to change your mind if needed.
Follow these steps to confirm the reset:
- On the confirmation screen, review the information displayed to ensure that you are selecting the correct option.
- Use the volume down button to navigate to the “Yes” or “Confirm” option.
- Press the power button to confirm your decision.
By confirming the reset, you acknowledge that all data and settings on your Samsung Galaxy S8 will be permanently deleted. This includes personal files, apps, customizations, and account logins. Once the reset is complete, you will need to set up your device from scratch.
Take a moment to consider your decision and double-check that you have backed up any important data. Once the reset is initiated, there is no turning back.
Once you have confirmed the reset, the Samsung Galaxy S8 will proceed with the erasing process. The screen may display a progress bar or an indicator to show the status of the reset. Do not interrupt the process or power off your device during this time as it may lead to unexpected issues.
After the reset is complete, your Samsung Galaxy S8 will automatically restart and boot into the initial setup screen, indicating that the device has been successfully reset to its factory settings.
Step 6: Wait for the device to reset
After confirming the reset on your Samsung Galaxy S8, it is time to wait for the device to complete the resetting process. This step requires patience as the time it takes for the reset to finish can vary depending on your device and the amount of data being erased.
Once the reset is initiated, your Samsung Galaxy S8 will display a progress bar or an indicator on the screen. This indicates the status of the reset and shows the progress being made. Do not interrupt the process or power off your device during this time as it may lead to unexpected issues.
It is normal for the device to take several minutes to complete the reset. The duration can range from a few minutes to even longer, depending on various factors. It is important to note that the screen may go black or display the Samsung logo during the process. This is all part of the normal resetting procedure.
During this waiting period, take the opportunity to prepare for the next step, which is setting up your device again. Ensure that you have any necessary information or credentials ready, such as your Wi-Fi network details and Google account login information.
Once the device has finished resetting, it will automatically restart and boot into the initial setup screen. At this point, you can proceed to the final step of setting up your Samsung Galaxy S8 and start using your refreshed device.
Step 7: Set up your device again
After the reset process is complete on your Samsung Galaxy S8, the final step is to set up your device again. This involves going through the initial setup process as if you were setting up a brand new smartphone.
Here’s how you can set up your device again:
- On the initial setup screen, select your preferred language and tap “Next”.
- Connect to a Wi-Fi network by selecting your network from the available options. Enter the password if prompted and tap “Next”.
- Read and accept the terms and conditions presented on the screen.
- Sign in with your Google account or create a new account if you don’t have one.
- Follow the on-screen prompts to customize your device settings, such as enabling location services and setting up a lock screen PIN or fingerprint recognition.
- Install your preferred apps from the Google Play Store and set up any additional accounts or services.
- Restore your backed-up data, if applicable, from your cloud backup or using a third-party app like Samsung Smart Switch.
During the setup process, take your time to personalize your device settings according to your preferences. This includes selecting app permissions, display settings, notification preferences, and more. Explore the various options available to make your Samsung Galaxy S8 tailored to your needs.
Once you have completed the setup process, your Samsung Galaxy S8 will be ready for use. You will have a refreshed device with all data and settings erased, giving you a clean slate to start anew.
Congratulations! You have successfully reset your Samsung Galaxy S8 and set it up again. Enjoy exploring your refreshed device and make the most out of its features and capabilities.
Conclusion
Resetting your Samsung Galaxy S8 is a straightforward process that can resolve various software issues and provide a fresh start for your device. By following the steps outlined in this guide, you can easily navigate through the reset process and ensure a successful outcome.
Remember to back up your important data before initiating the reset to avoid any data loss. Take the time to power off your device and enter the recovery mode by pressing specific buttons. Confirm your decision to proceed with the factory reset and patiently wait for the device to complete the process.
Once the reset is finished, you can begin setting up your device again by going through the initial setup process. Take this opportunity to customize your device settings, install your preferred apps, and restore any backed-up data.
With your Samsung Galaxy S8 reset and set up again, you have a refreshed device that can provide optimal performance and a seamless user experience. It is now ready for you to explore and make the most out of its features and capabilities.
Remember to keep your device updated with the latest software updates and regularly back up your important data to ensure a smooth and hassle-free experience.
We hope this guide has been helpful in assisting you with resetting your Samsung Galaxy S8. If you have any further questions or encounter any issues during the process, don’t hesitate to reach out to Samsung support or consult the device’s user manual for additional guidance.
Enjoy your freshly reset Samsung Galaxy S8, and may it serve you well!