Introduction
Welcome to the guide on how to reset a Nook Tablet 7! Whether you are experiencing performance issues, software glitches, or simply want to start with a clean slate, resetting your Nook Tablet 7 can help resolve these problems. This comprehensive guide will walk you through the steps of backing up your data, performing different types of resets, restoring your data, and troubleshooting common issues that may arise after resetting.
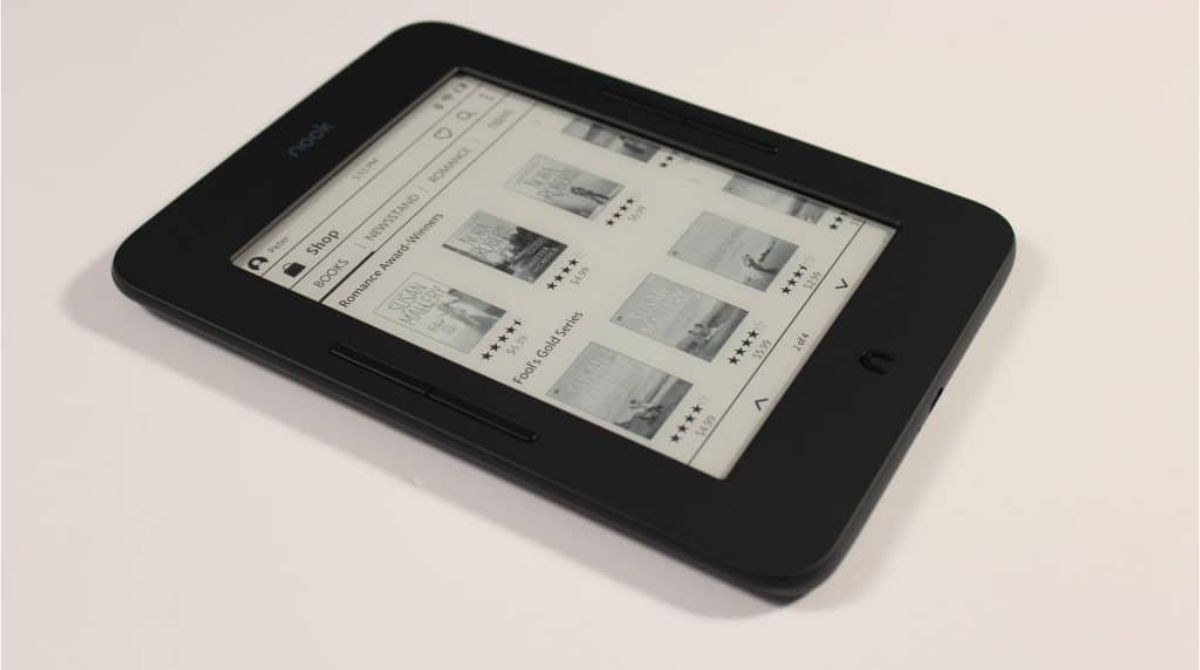
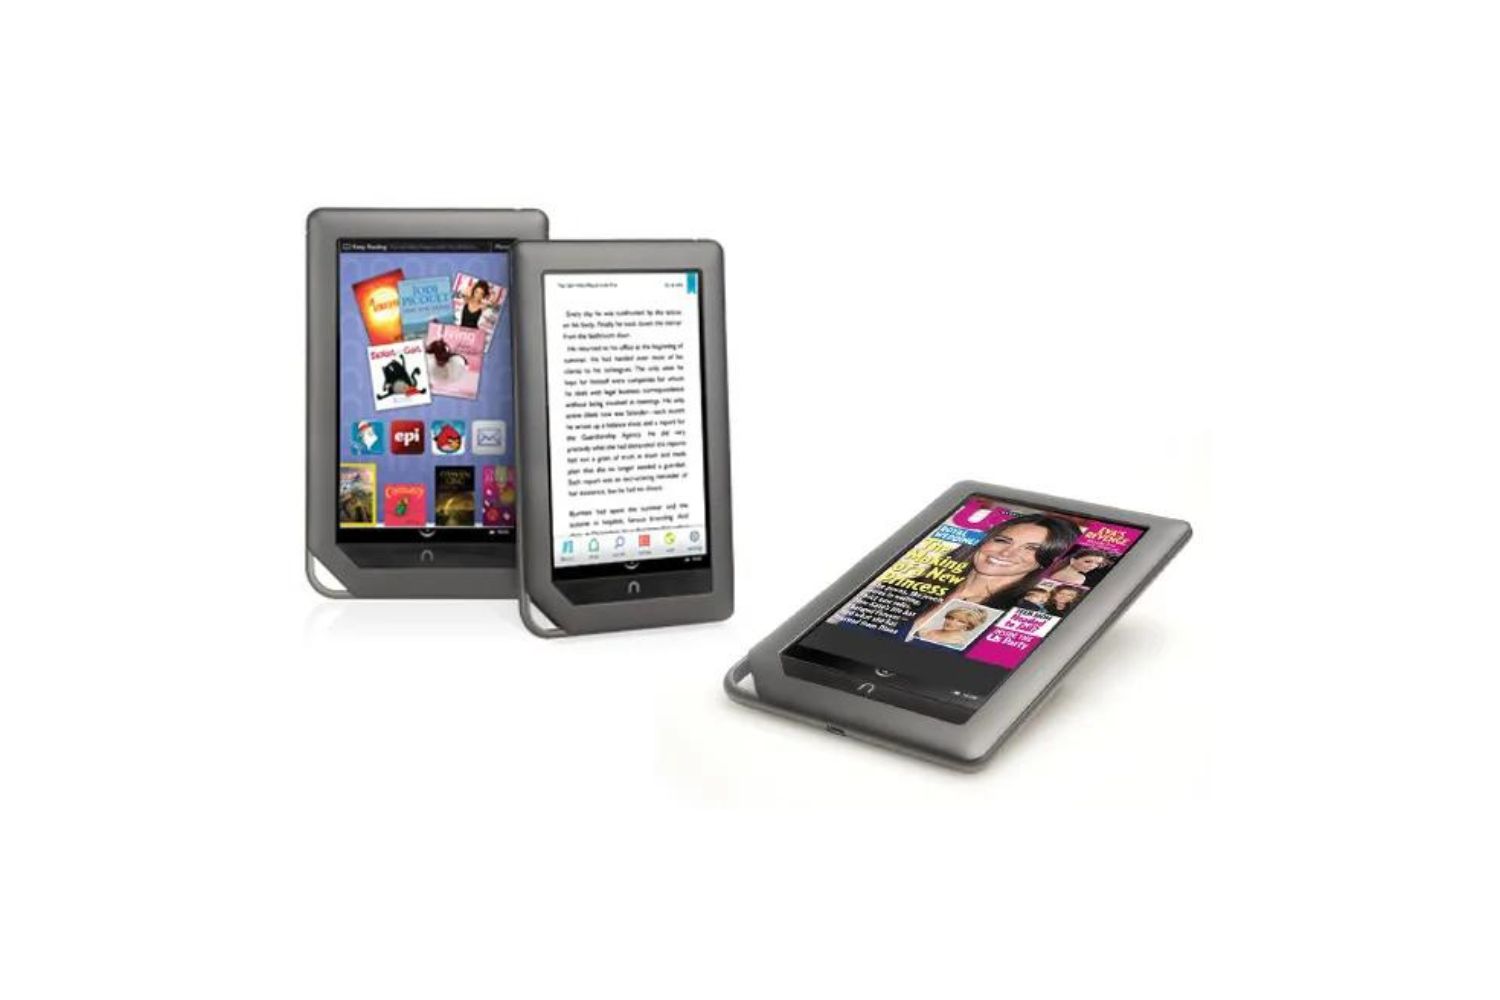
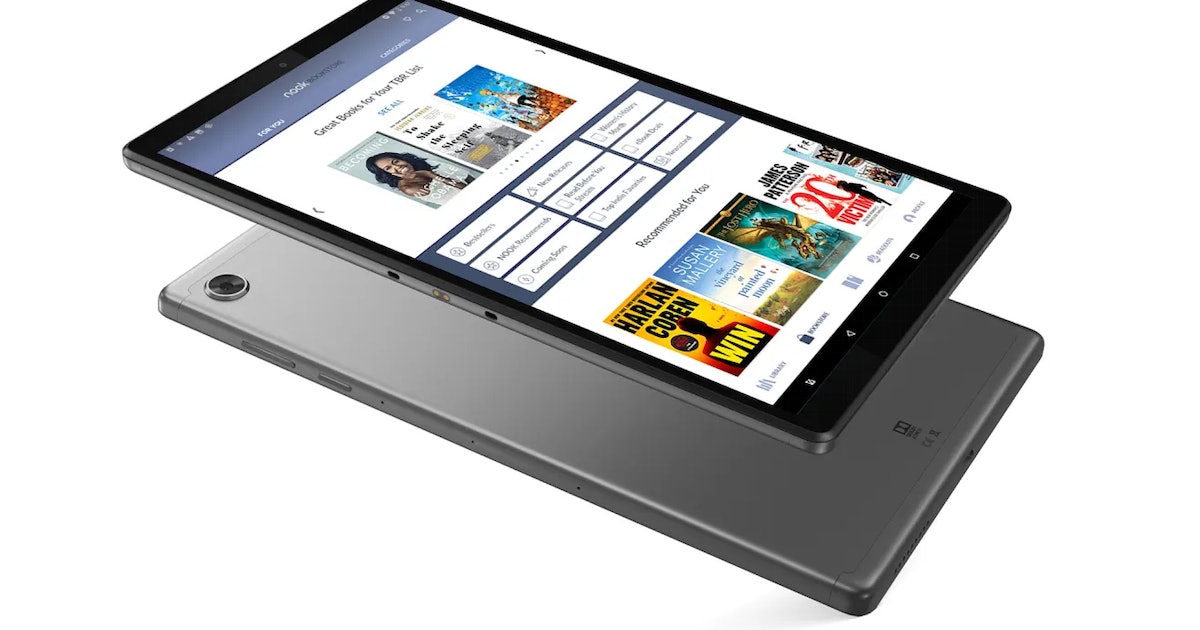
The Nook Tablet 7 is a versatile device that allows you to read eBooks, watch videos, browse the web, and much more. However, like any electronic device, it can encounter issues that impact its performance and functionality. Resetting your device can often alleviate these problems by clearing out any temporary files, cache, or misconfigured settings.
It’s important to note that resetting your Nook Tablet 7 will delete all the data and custom settings stored on the device. Therefore, it is crucial to backup any important files, documents, or media before proceeding with the reset. This guide will provide instructions on how to back up your data to ensure you don’t lose any valuable information.
There are two types of resets you can perform on your Nook Tablet 7: a soft reset and a factory reset. A soft reset is a quick and temporary solution that can help resolve minor issues without deleting your data. On the other hand, a factory reset is a more comprehensive reset that erases all data and settings, restoring the device to its original state.
After performing the reset, you will need to restore your data from the backup. This guide will outline the steps to safely restore your files, ensuring you don’t lose any important data. Additionally, we’ll address common issues that may arise after resetting, and provide troubleshooting tips to help you resolve them.
Let’s begin the process of resetting your Nook Tablet 7, ensuring a fresh start and optimal performance for your device. Follow the subsequent sections to learn how to back up your data, perform different types of resets, and troubleshoot any potential issues that may arise along the way.
Part 1: Why Resetting a Nook Tablet 7 is Necessary
Resetting a Nook Tablet 7 can be necessary for several reasons. Over time, your device may accumulate temporary files, cache, and outdated settings that can negatively impact its performance and responsiveness. Software glitches and compatibility issues with certain apps can also cause your device to freeze, lag, or crash. Resetting your Nook Tablet 7 can help resolve these issues and provide a fresh start for your device. Here are a few reasons why resetting may be necessary:
1. Performance Optimization:
As you use your Nook Tablet 7 over time, it can become slower and less responsive. This can happen due to the accumulation of temporary files, cache, and outdated settings. Resetting your device will clear out these unnecessary files and optimize its performance, making it faster and more efficient.
2. Software Glitches:
Software glitches can occur on any device, including the Nook Tablet 7. These glitches may result in apps freezing, crashing, or not functioning properly. Resetting your device can help resolve these software issues by restarting all the system processes and clearing out any misconfigured settings.
3. Compatibility Issues:
Sometimes, certain apps or updates may not be compatible with your Nook Tablet 7. This can cause compatibility issues, resulting in app crashes or other performance problems. Resetting your device can help resolve these compatibility issues by removing any conflicting settings, allowing a fresh start for app installations and updates.
4. Privacy and Security:
If you plan to sell or give away your Nook Tablet 7, resetting it is crucial to protect your privacy and security. Resetting your device will erase all your personal data, accounts, and settings, ensuring that no sensitive information remains on the device.
By resetting your Nook Tablet 7, you can address these issues and ensure that your device is running smoothly and efficiently. However, before performing a reset, it is important to back up your data to prevent any loss of valuable information. In the next section, we will guide you through the process of backing up your data on a Nook Tablet 7.
Part 2: Backing Up Your Data
Before you proceed with resetting your Nook Tablet 7, it is essential to back up your data to ensure that you don’t lose any important files, documents, or media. By creating a backup, you can restore your files after the reset and continue using your device seamlessly. Here are the steps to back up your data on a Nook Tablet 7:
1. Connect to Wi-Fi:
Make sure your Nook Tablet 7 is connected to a Wi-Fi network. This will ensure that you have access to the necessary online services and cloud storage to back up your data.
2. Sync Your Accounts:
Go to the Settings menu on your device and select “Accounts.” Here, you will find a list of accounts that are connected to your Nook Tablet 7, such as your Google account. Tap on each account and select “Sync Now” to ensure that all your account data is up to date and backed up.
3. Transfer Files to Cloud Storage:
If you have important files or documents stored on your device, consider transferring them to a cloud storage service like Google Drive or Dropbox. Download the respective app from the Google Play Store, sign in to your account, and upload the files to the cloud storage platform. This will ensure that your files are securely stored and can be accessed after the reset.
4. Back Up Media Files:
If you have media files, such as photos, videos, or music, consider transferring them to a computer or an external storage device. Connect your Nook Tablet 7 to your computer using a USB cable, and copy the media files to a folder on your computer. This will ensure that you can easily transfer them back to your device after the reset.
5. Note Down App Preferences and Settings:
If there are specific app preferences or settings that you want to remember after the reset, take note of them. This can include settings like customized themes, notification preferences, or saved passwords. Having this information will make it easier to set up your apps exactly as you had them before.
By following these steps, you can back up your data on a Nook Tablet 7, ensuring that you can restore your files and settings after the reset. In the next section, we will cover the steps to perform a soft reset on your device, which can help resolve minor issues without deleting your data.
Part 3: Performing a Soft Reset
If you’re experiencing minor issues with your Nook Tablet 7 and want to try a quick fix without deleting your data, a soft reset is the way to go. Unlike a factory reset, a soft reset restarts your device without erasing any data. It can help resolve temporary software glitches and restore your device to its normal functioning. Here’s how you can perform a soft reset on your Nook Tablet 7:
1. Press and Hold the Power Button:
Locate the power button on your Nook Tablet 7. Press and hold it down for about 10 seconds until the device turns off. This will force the device to shut down.
2. Wait and Restart:
Once your device is turned off, wait for a few seconds to ensure it has completely powered down. Afterward, press and hold the power button again for a few seconds until the device restarts. You will see the Nook logo appear on the screen, indicating that the soft reset is in progress.
3. Verify Successful Reset:
Once your Nook Tablet 7 has restarted, check if the issues you were experiencing have been resolved. Test various features and apps to ensure everything is functioning as expected. If the issues persist, you may need to consider a factory reset as a more comprehensive solution.
A soft reset is a simple and effective way to address minor software issues without deleting any of your data. It can help refresh your device’s performance and responsiveness. However, if you’re dealing with more persistent issues or want to start fresh with your device, a factory reset might be the best option. In the next section, we’ll walk you through the steps to perform a factory reset on your Nook Tablet 7.
Part 4: Performing a Factory Reset
If you’re experiencing persistent issues with your Nook Tablet 7 or want to start fresh with your device, a factory reset is the recommended solution. A factory reset erases all the data and settings on your device, restoring it to its original state. It can help resolve major software issues, improve device performance, and ensure a clean slate for your Nook Tablet 7. Here’s how you can perform a factory reset:
1. Backup Your Data:
Before proceeding with a factory reset, make sure you have backed up all your important data and files. Refer to Part 2 of this guide for instructions on how to perform a backup on your Nook Tablet 7. This will prevent any loss of valuable information during the reset process.
2. Access the Settings Menu:
On your Nook Tablet 7, go to the Settings menu. You can access this by swiping down from the top of the screen and tapping the gear icon.
3. Select “Device Options”:
In the Settings menu, scroll down and tap on “Device Options.” This will open a submenu with various device-related settings.
4. Tap “Reset to Factory Defaults”:
In the Device Options submenu, locate and tap on “Reset to Factory Defaults.” This will initiate the factory reset process.
5. Confirm the Reset:
A confirmation prompt will appear, warning you that all data and settings will be erased. Read the prompt carefully and make sure you have backed up your data. If you are ready to proceed, tap on “Reset” to confirm the factory reset.
6. Wait for the Reset:
Your Nook Tablet 7 will now begin the factory reset process. It may take a few minutes for the device to erase all data and restore to its original settings. Allow the process to complete without interrupting or turning off your device.
7. Set Up Your Device:
Once the factory reset is complete, your Nook Tablet 7 will restart and prompt you to set up the device as if it were new. Follow the on-screen instructions to configure your device settings, connect to Wi-Fi, and sign in to your accounts.
A factory reset can help resolve persistent software issues and provide a fresh start for your Nook Tablet 7. Make sure to only perform a factory reset if you have backed up your data and are prepared to lose all your settings. In the next section, we will discuss how to restore your data after the factory reset is complete.
Part 5: Restoring your Data
After performing a factory reset on your Nook Tablet 7, it’s time to restore your data and settings. This process will help you bring back your personal files, apps, and preferences, ensuring a seamless transition back to using your device. Here’s how you can restore your data after a factory reset:
1. Connect to Wi-Fi:
Make sure your Nook Tablet 7 is connected to a Wi-Fi network. This will allow you to download apps and restore your data from online storage or backup services.
2. Sign In to Your Accounts:
Start by signing in to your accounts, such as your Google or Microsoft account, to access your stored data and settings. Go to the Settings menu and select “Accounts.” Tap on each account and enter your login credentials to sync your data with the device.
3. Restore from Cloud Storage:
If you stored your files on a cloud storage service like Google Drive or Dropbox, download the respective app from the Google Play Store. Sign in to your account and access your files. You can then download and open them on your Nook Tablet 7, ensuring your important documents, photos, and other media are restored.
4. Reinstall Apps:
To restore your previously installed apps, go to the Google Play Store and access the “My apps & games” section. Here, you will find a list of all the apps you previously had installed on your device. Simply select the apps you want to reinstall and tap on the “Install” button.
5. Set Up App Preferences and Settings:
As you reinstall your apps, you may need to reconfigure their preferences and settings. Take note of any customization you had previously made and set up the apps accordingly. This can include notification preferences, themes, saved passwords, and other personalized settings.
6. Transfer Media Files:
If you had previously transferred media files to a computer or external storage device, you can now transfer them back to your Nook Tablet 7. Connect your device to the computer using a USB cable and copy the media files to the appropriate folders on your device.
By following these steps, you can successfully restore your data after performing a factory reset on your Nook Tablet 7. Take your time to restore your settings and apps to ensure a smooth and personalized experience with your device. In the next section, we will address common issues that may arise after resetting and provide troubleshooting tips to help you resolve them.
Part 6: Troubleshooting Common Issues after Resetting
After resetting your Nook Tablet 7, you may encounter some common issues that can hinder your device’s performance or functionality. However, with a few troubleshooting steps, you can effectively resolve these problems and restore your device to optimal working condition. Here are some common issues you may face after resetting and their corresponding troubleshooting tips:
1. Slow Performance:
If you notice that your device is still running slow after the reset, try closing any unused apps running in the background. You can do this by accessing the Recent Apps menu and swiping away unnecessary ones. Additionally, clearing the cache for specific apps or performing a system cache wipe can help improve overall performance.
2. Wi-Fi Connectivity Issues:
If you’re having trouble connecting to Wi-Fi networks, ensure that you have entered the correct login details and that the network is functioning properly. Restarting your router or forgetting the Wi-Fi network on your device and reconnecting can also help resolve connectivity issues.
3. App Crashes or Freezing:
If certain apps continue to crash or freeze after the reset, try updating them to the latest versions available in the Google Play Store. If the problem persists, uninstalling and reinstalling the app can often resolve the issue by ensuring a fresh installation.
4. Battery Drain:
If you notice that your device’s battery is draining faster than usual, check for any apps running in the background that may be consuming excessive power. Adjusting your device’s display brightness, turning off unnecessary push notifications, and using power-saving modes can also help extend battery life.
5. Screen Responsiveness Issues:
If you’re experiencing touch screen responsiveness issues, make sure your device’s screen is clean and free from any dirt or smudges. If the problem persists, recalibrating the touch screen or performing a factory reset again might be necessary. However, before doing so, ensure that you have backed up your data.
6. Audio or Speaker Problems:
If you’re facing audio or speaker-related issues, such as no sound or distorted audio, check the volume settings and ensure that the device is not on silent mode. Restarting your device or plugging in and unplugging any connected headphones or speakers can also help resolve audio problems.
By following these troubleshooting tips, you can address common issues that may arise after resetting your Nook Tablet 7. Remember to perform backups regularly, keep your device’s software up to date, and maintain good device hygiene to prevent any future issues. If the problems persist or are more complex, reaching out to Nook support or seeking professional assistance may be necessary.
Conclusion
Resetting a Nook Tablet 7 can be a powerful solution to address performance issues, software glitches, and compatibility problems. Whether you choose a soft reset or a factory reset, it is important to back up your data beforehand to prevent any loss of valuable information. Understanding the need for a reset and following the appropriate steps can help ensure a seamless and successful process.
In this guide, we covered the importance of resetting your Nook Tablet 7, the process of backing up your data, performing a soft reset, and conducting a factory reset. We also discussed how to restore your data after the reset and provided troubleshooting tips for common issues that may arise. By following these steps and tips, you can bring your device back to optimal performance and enjoy a seamless user experience.
Remember, resetting your Nook Tablet 7 is a powerful tool, but it should only be used when necessary. Before resetting, try troubleshooting minor issues, clearing cache, and updating apps to see if they can be resolved without a full reset. Additionally, regular maintenance, such as clearing cache and managing storage, can help keep your device running smoothly.
By taking the time to back up your data, follow the correct reset procedures, and troubleshoot any issues that arise, you can ensure the longevity and optimal performance of your Nook Tablet 7. Enjoy your device and make the most of its features, knowing that you have the knowledge to reset and troubleshoot any issues that may come your way.