Introduction
Welcome to our guide on how to replace the battery in a Nextbook tablet. Nextbook tablets are popular devices that offer a portable and convenient way to browse the internet, watch videos, and even get work done on the go. However, like any electronic device, the battery will eventually degrade over time and lose its ability to hold a charge. If you find that your Nextbook tablet is not staying powered on for as long as it used to, or if it’s not turning on at all, it may be time to replace the battery.
Before diving into the process of replacing the battery, it’s important to note that Nextbook tablets come in different models, and the specific steps may vary slightly depending on the model you have. Therefore, it’s crucial to ensure that you have the correct replacement battery for your particular Nextbook tablet. You can usually find this information on the original packaging or in the user manual. Checking the compatibility of the battery is crucial to avoid any potential damage to your device.
In this guide, we will walk you through the step-by-step process of safely replacing the battery in your Nextbook tablet. We will provide you with the necessary tools, precautions to take, and detailed instructions on removing the back cover, disconnecting the old battery, and inserting the new battery. By following our instructions carefully, you will be able to easily and successfully replace the battery in your Nextbook tablet, extending its life and restoring its power.
Checking the compatibility of the battery
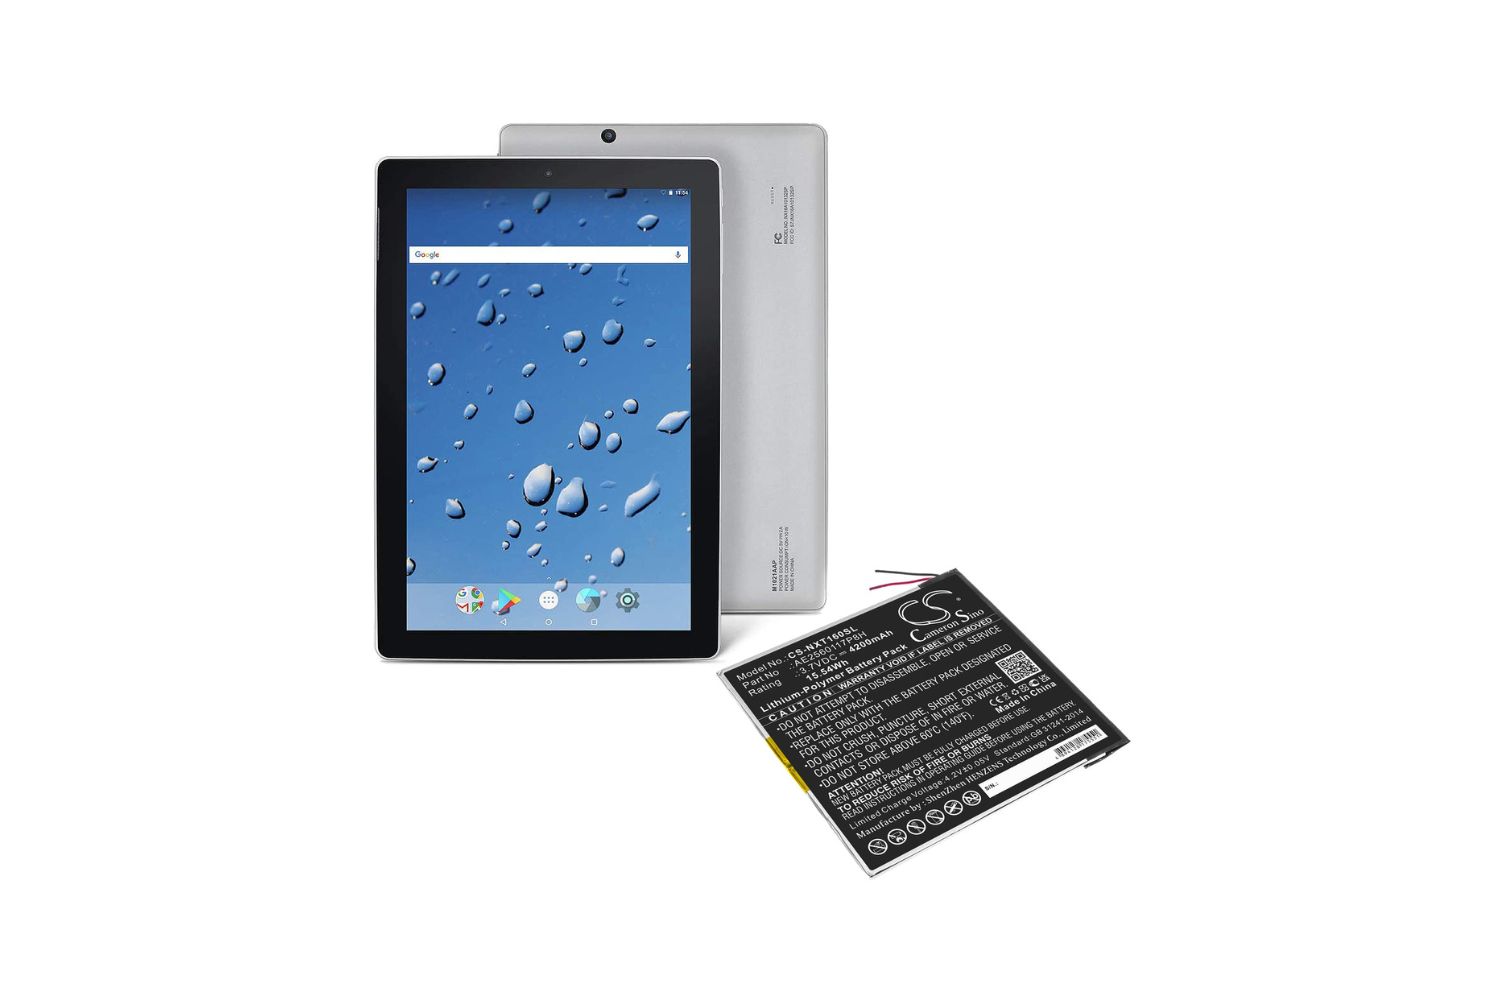
Before proceeding with replacing the battery in your Nextbook tablet, it is essential to ensure that the replacement battery is compatible with your device. Using an incompatible battery can potentially damage your tablet or render it unusable.
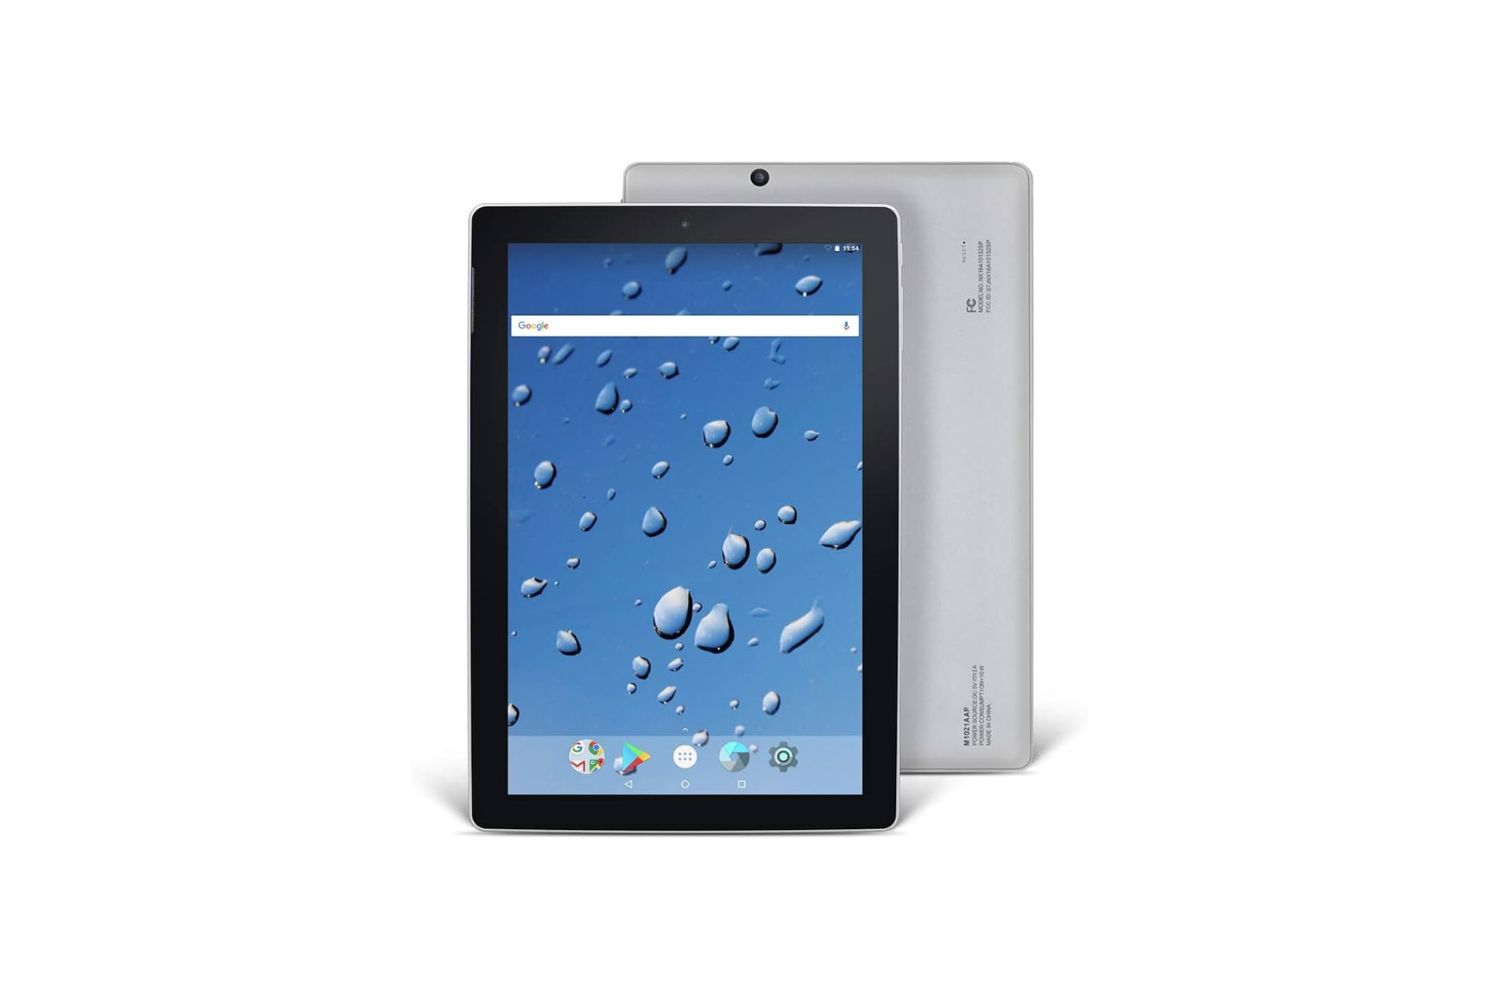
The first step is to identify the specific model of your Nextbook tablet. This information can usually be found on the back of the device or in the settings menu. Once you have identified the model, you can turn to the user manual or the manufacturer’s website to find the recommended battery for your particular model.
Take note of the battery part number or its specifications. Ensure that the replacement battery you purchase matches these specifications exactly. Check the voltage, capacity, and dimensions of the battery to ensure compatibility. If you are unsure about which battery is suitable for your Nextbook tablet, it is advisable to contact the manufacturer or consult a professional technician.
It is worth noting that some Nextbook tablet models have sealed batteries, which means they cannot be easily replaced by the user. If your tablet has a sealed battery, it is recommended to reach out to the manufacturer’s customer support for guidance on battery replacement options.
Once you have acquired the compatible replacement battery, carefully inspect it for any signs of damage or defect. Look for any bulging or leaking, as these are indications that the battery is faulty and should not be used. It’s essential to prioritize safety and only use batteries that are in good condition to avoid any potential risks or further damage to the device.
By taking the time to ensure the compatibility of the replacement battery and confirming its condition, you can proceed with confidence to the next steps of replacing the battery in your Nextbook tablet. This attention to detail will help ensure a successful and safe battery replacement.
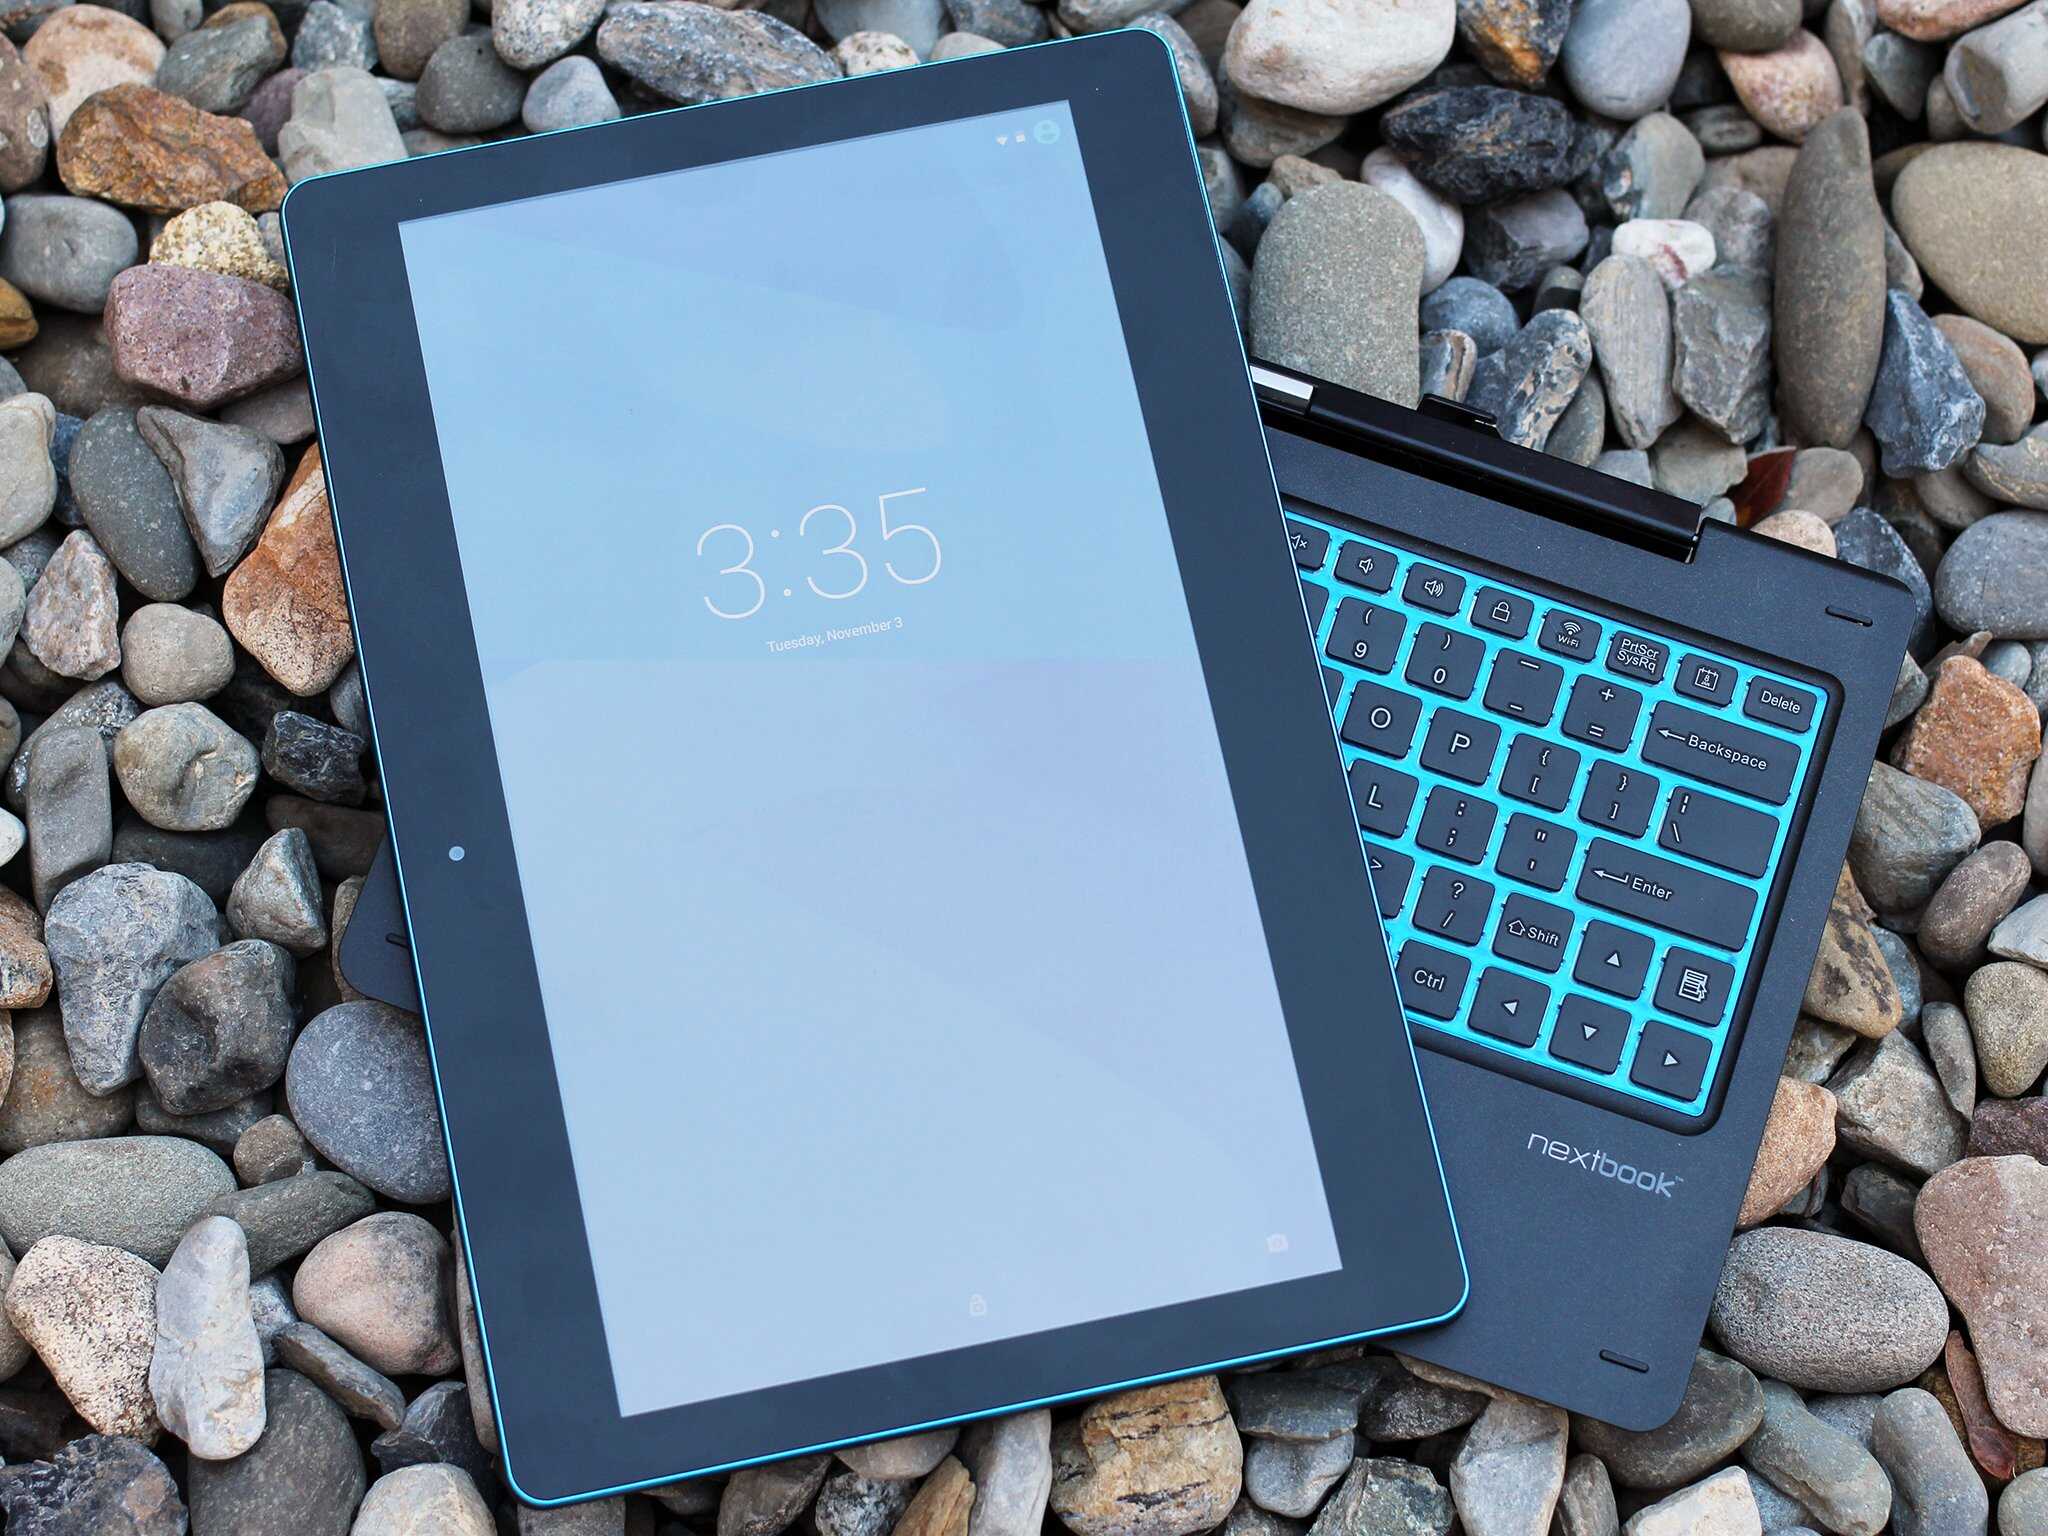
Gathering the necessary tools
Before you start the process of replacing the battery in your Nextbook tablet, it’s important to gather all the necessary tools. Having the right tools on hand will make the process smoother and more efficient.
Here are the tools you will need:
- Small Phillips screwdriver: This will be used to open the back cover of your Nextbook tablet. Make sure the screwdriver is the appropriate size to fit the screws on your specific tablet model.
- Plastic pry tool or guitar pick: These tools are helpful for carefully prying and separating the back cover from the tablet body. Using a plastic tool will minimize the risk of scratching or damaging the device.
- Tweezers: Tweezers can come in handy for handling small components or connectors during the battery replacement process.
- Clean cloth or microfiber cloth: Having a clean cloth on hand can be useful for wiping away any dust or debris that may be present inside the tablet.
- Anti-static wrist strap (optional): While not required, an anti-static wrist strap can provide an extra layer of protection against static electricity, which could potentially damage sensitive components of the device.
Make sure you have these tools ready and easily accessible before you begin the battery replacement process. Having them prepared in advance will save you time and frustration during the procedure.
It’s important to note that the specific tools required may vary slightly depending on your Nextbook tablet model, so it’s always a good idea to consult the user manual or manufacturer’s website for any model-specific instructions or tool recommendations.
Once you have gathered all the necessary tools, you’re ready to move on to the next steps of the battery replacement process.
Precautions before replacing the battery
Before you start replacing the battery in your Nextbook tablet, it is important to take certain precautions to ensure your safety and the protection of your device:
- Power off the tablet: Make sure to completely power off your Nextbook tablet before attempting to replace the battery. This will minimize the risk of electrical shock or damage to the device.
- Work in a clean and well-lit area: Find a clean, well-lit workspace with sufficient room to work comfortably and safely. A cluttered or dimly lit area can increase the chances of accidentally damaging components or losing small screws.
- Protect against static electricity: Static electricity can damage sensitive electronic components. To prevent this, consider using an anti-static wrist strap. If you don’t have one, touch a grounded metal object before handling any internal components.
- Remove any external power sources: It is vital to disconnect any external power sources such as chargers, USB cables, or other cables that may be connected to the tablet.
- Take note of screw locations: As you remove the back cover, keep track of the location and size of each screw. This will help ensure that you reassemble the tablet correctly later on.
- Handle delicate components with care: The internal components of your Nextbook tablet can be delicate. Be gentle when disconnecting or reconnecting any cables, connectors, or the battery itself. Avoid applying excessive force as this can cause damage.
- Stay organized: Use small containers or a magnetic mat to keep screws and other small parts organized. This will make it easier to locate the correct screws during reassembly.
Following these precautions will minimize the risk of accidental damage to your device and ensure a smooth and successful battery replacement process. It’s always better to proceed with caution and take the necessary safety measures to protect both yourself and your Nextbook tablet.
Removing the back cover of the Nextbook tablet
To replace the battery in your Nextbook tablet, you will need to remove the back cover. Follow these steps carefully to remove the back cover without causing any damage:
- Power off your tablet: Ensure that your Nextbook tablet is powered off before you begin. This will prevent any accidental damage while handling the device.
- Locate the screws: Look for the screws securing the back cover of your Nextbook tablet. These screws are typically located along the edges of the device or may be hidden behind rubber plugs or labels.
- Using a small Phillips screwdriver: Once you’ve located the screws, use a small Phillips screwdriver to carefully unscrew and remove them. Make sure to keep track of the screws and their respective locations to make reassembly easier later on.
- Prying open the back cover: Once the screws are removed, gently insert a plastic pry tool or a guitar pick between the back cover and the tablet body. Carefully and gently slide the tool along the edges to loosen the clips holding the cover in place. Take your time and be patient to avoid any damage.
- Popping off the back cover: Once the clips are loosened, apply gentle pressure on the back cover to separate it from the tablet body. Start at one corner and carefully work your way around the edges until the cover pops off completely. Be cautious not to force or bend the cover excessively.
- Inspect the cover and clips: After removing the back cover, check it for any signs of damage or wear. Also, inspect the clips on the tablet body to ensure they’re intact and not broken.
Remember to handle the back cover with care to avoid any unnecessary damage. If you encounter resistance or difficulty during the process, double-check for any missed screws and gently pry again.
With the back cover successfully removed, you’re one step closer to replacing the battery in your Nextbook tablet. Take a moment to admire your progress, and get ready for the next phase of the battery replacement process.
Disconnecting the old battery
Now that you have successfully removed the back cover of your Nextbook tablet, it’s time to disconnect the old battery. Follow these steps carefully to ensure a safe disconnection:
- Locate the battery: Identify the battery inside your Nextbook tablet. It is usually a rectangular or square-shaped component located near the center of the device.
- Identify the battery connector: Look for the small connector attached to the battery. It is usually a white or black plastic connector with wires connecting it to the tablet’s motherboard.
- Detach the battery connector: Carefully unplug the battery connector by gently pulling it straight out from the motherboard. Be cautious not to pull on the wires themselves, as this can damage the connector or the wires.
- Inspect the connector: Take a moment to examine the battery connector for any signs of damage or corrosion. If you notice any problems, it’s advisable to consult a professional for guidance on how to proceed.
- Ensure safety of disconnected battery: Once the battery connector is detached, make sure it is free from any obstructions and is not in contact with other metal components. This will prevent any accidental electrical discharge.
It’s crucial to handle the battery and connector with care during the disconnection process. Avoid applying excessive force or pulling on the wires, as this can result in damage to the connector or the tablet’s motherboard.
With the old battery safely disconnected, you’re now ready to move on to the next stage – inserting the new battery into your Nextbook tablet.
Inserting the new battery
Now that you have successfully disconnected the old battery from your Nextbook tablet, it’s time to insert the new battery. Follow these steps carefully to ensure a proper and secure installation:
- Inspect the new battery: Before inserting the new battery, carefully inspect it for any signs of damage or defects. Ensure that it matches the specifications of your Nextbook tablet model and is compatible with your device.
- Align the battery correctly: Orient the new battery in the correct position, ensuring that any labels or markings on it match with the corresponding labels or markings inside the tablet.
- Connect the battery connector: Align the battery connector with the socket on the tablet’s motherboard. Carefully insert the connector into the socket until it is fully seated. Make sure it is secure and snug.
- Tuck away any excess wires: If the new battery has longer wires, tuck them neatly and carefully along the edge of the battery compartment. Avoid letting them become tangled or in contact with any other components.
- Check for secure fit: Gently press down on the new battery to ensure it is securely in place. It should not move or feel loose. If it seems loose or unstable, double-check the battery’s alignment and connection.
Take your time during the insertion process to ensure that the new battery is placed correctly and securely. Improper alignment or connection may cause issues with the battery’s performance or potentially damage other internal components of your tablet.
Once the new battery is properly inserted and securely in place, you’re ready to move on to the next step – reassembling your Nextbook tablet.
Reassembling the tablet
Now that you have successfully replaced the battery in your Nextbook tablet, it’s time to reassemble the device. Follow these steps carefully to ensure everything is put back together correctly:
- Align the back cover: Take the back cover you removed earlier and align it with the edges of the tablet’s body. Make sure all the clips are properly aligned with their corresponding slots.
- Press down and secure: Gently press down on the back cover to snap it back into place. Start at one corner and work your way around, applying even pressure until all the clips are securely locked.
- Reinsert and tighten screws: Locate the small screws you removed earlier. Carefully reinsert them into their respective holes and use a small Phillips screwdriver to tighten them. Be careful not to over-tighten, as this can damage the screws or the tablet’s body.
- Ensure all screws are tightened: Check that all the screws are properly tightened and secure. Take your time to ensure that they are snug, but again, avoid applying excessive force.
During the reassembly process, make sure to double-check that all the clips are securely locked and that the back cover is flush with the tablet’s body. This will help ensure that the device is properly sealed and protected.
Once you have reassembled your Nextbook tablet, take a moment to appreciate your accomplishment. You have successfully replaced the battery and put everything back together!
With the tablet reassembled, it’s time to move on to the final step – testing the new battery.
Testing the new battery
After replacing the battery and reassembling your Nextbook tablet, it’s important to test the new battery to ensure it is functioning properly. Follow these steps to test the battery and verify its performance:
- Power on the tablet: Press and hold the power button on your Nextbook tablet to turn it on. If it powers on successfully, it is a good indication that the new battery is working.
- Observe battery level: Once the tablet has booted up, keep an eye on the battery level indicator. If the battery level increases or remains stable, it confirms that the new battery is charging and holding a charge.
- Monitor battery discharge: Use your tablet as you normally would, paying attention to how long the battery lasts. If you notice a significant improvement in battery life or if it performs as expected, it indicates a successful battery replacement.
- Repeat charge cycles: It’s a good practice to fully charge and discharge the new battery a few times to calibrate it and optimize its performance. This helps the battery reach its full capacity and can improve its longevity.
If you encounter any issues, such as the battery not holding a charge or an unresponsive tablet, double-check the battery connection and ensure all components are properly secured during reassembly. If problems persist, it may be necessary to seek professional assistance or contact the manufacturer for further support.
By testing the new battery and verifying its performance, you can have peace of mind knowing that your Nextbook tablet is powered by a reliable and functional battery.
Conclusion
Congratulations on successfully replacing the battery in your Nextbook tablet! By following the steps outlined in this guide, you have extended the life of your device and restored its power. Now, you can enjoy using your tablet without the worry of a depleted battery.
Throughout the process, we discussed the importance of checking the compatibility of the battery and gathering the necessary tools. We also highlighted the precautions to take before replacing the battery, such as powering off the tablet, working in a clean area, and protecting against static electricity.
We walked you through removing the back cover, disconnecting the old battery, and inserting the new battery securely. Lastly, we emphasized testing the new battery to ensure its proper functionality.
Remember, each Nextbook tablet model may have slight variations in the battery replacement process, so it’s essential to consult the user manual or manufacturer’s website for any model-specific instructions.
We hope this guide has been helpful to you, and that you now feel confident in replacing the battery in your Nextbook tablet. Should you encounter any difficulties or have further questions, it is always recommended to seek professional guidance or contact the manufacturer’s customer support for assistance.
Thank you for choosing this guide as your resource, and we wish you many more hours of enjoyment using your Nextbook tablet with its newly installed battery!