Introduction
Whether you’re a computer enthusiast or a professional technician, there may come a time when you need to remove rivets in a PC case. Perhaps you want to upgrade your hardware, modify the case, or simply replace a damaged part. Whatever the reason, knowing how to properly remove rivets is essential to ensure a smooth and successful process.
In this article, we will guide you through the step-by-step process of removing rivets in a PC case. We will cover various methods, including using a drill, a rivet removal tool, drilling into the center, grinding, and cutting. By following these instructions, you’ll be able to safely and effectively remove rivets without causing any damage to the case or its components.
Before we dive into the details, it’s important to note that removing rivets requires patience, precision, and the right tools. Make sure you have a clear understanding of the task at hand and gather all the necessary materials beforehand. With the proper technique and a little practice, you’ll be able to confidently remove rivets like a pro.
So, let’s get started on the journey of learning how to remove rivets in a PC case. Whether you’re a seasoned DIYer or a beginner, this guide will provide you with the knowledge and skills you need to successfully tackle this task. Let’s dive in!
Tools Needed
Before you begin removing rivets in a PC case, it’s important to gather the necessary tools. Having the right equipment will make the process much smoother and help you achieve the best results. Here are the essential tools you’ll need:
- Drill: A power drill with a drill bit that matches the size of the rivets is essential. It will allow you to drill through the rivets and loosen them.
- Rivet Removal Tool: This specialized tool is designed specifically for removing rivets. It provides a precise and controlled way to extract the rivets without damaging the case or the components.
- Drill Bits: In addition to the drill bit for removing rivets, it’s a good idea to have a set of drill bits in various sizes. These will come in handy in case you need to drill new holes or make modifications to the case.
- Grinding Tool: A grinding tool, such as a rotary tool with a cutting disc or a grinding wheel, can be used to grind off the heads of the rivets. This method is effective when you want to remove the rivets completely.
- Cutting Tool: A sturdy pair of metal cutting pliers or a metal cutting saw can be used to cut the rivets if you prefer this method. It provides a clean cut and allows for easy removal.
- Safety Equipment: It’s important to prioritize safety while working on any project. Make sure to have safety goggles or glasses to protect your eyes, gloves to keep your hands safe, and a face mask to prevent inhaling any debris.
- Other Tools: Depending on the specific case and rivets you’re dealing with, you may also need additional tools such as a screwdriver, pliers, or a wrench. Assess the situation and gather any specific tools that may be required.
Having these tools at your disposal will make the process of removing rivets in a PC case much easier and more efficient. Make sure to have them ready before you begin the task. Now that you have all the necessary tools, let’s move on to the next steps of the process.
Step 1: Assess the Rivets
Before you start removing the rivets in a PC case, it’s crucial to assess the rivets and determine the best method for removal. Different types of rivets may require different approaches, so understanding the rivets’ characteristics is essential. Here’s what you need to consider during the assessment:
Rivet Type: PC cases usually use two common types of rivets – pop rivets and solid rivets. Pop rivets have a small head and a hollow shank, which allows them to be easily removed by drilling out the center. Solid rivets, on the other hand, have a solid shank and are more challenging to remove.
Rivet Size: Pay attention to the size of the rivets, as it will determine the appropriate drill bit or tool needed for removal. Make sure you have the correct size tools to ensure a smooth removal process.
Rivet Function: Identify the purpose of the rivets in the case. Are they holding a component in place or are they structural? This information will help you determine the best method for removing the rivets without compromising the functionality or stability of the case.
Rivet Accessibility: Consider the location of the rivets and the ease of access. Some rivets may be located in tight spaces or areas with limited visibility. This may require additional tools or techniques to effectively remove the rivets.
By thoroughly assessing the rivets, you can select the most appropriate method for removal and ensure a successful outcome. This step is crucial as it will save you time and minimize the risk of damaging the case or its components during the removal process.
Once you have assessed the rivets and have a clear understanding of their type, size, function, and accessibility, you can proceed to the next steps of removing the rivets. Let’s move forward with the necessary tools and techniques to accomplish this task.
Step 2: Gather the Necessary Materials
Now that you’ve assessed the rivets in your PC case, it’s time to gather the materials you’ll need for the rivet removal process. Having the right tools and supplies on hand will ensure a smooth and successful removal process. Here are the necessary materials for removing rivets in a PC case:
1. Drill and Drill Bits: Choose a high-quality drill that is suitable for the task at hand. Make sure you have different sizes of drill bits, including one that matches the size of the rivets. This will allow you to drill through the rivets and loosen them.
2. Rivet Removal Tool: A rivet removal tool is designed specifically for removing rivets. It provides a controlled and efficient way to extract the rivets without damaging the case or its components. This tool will make the process much easier and more precise.
3. Grinding Tool: If you choose to remove the rivets by grinding them off, you’ll need a grinding tool such as a rotary tool with a cutting disc or a grinding wheel. This will help you cleanly and effectively remove the rivets.
4. Cutting Tool: Alternatively, if you plan to cut the rivets off, have a sturdy pair of metal cutting pliers or a metal cutting saw ready. This will allow for a clean and precise cut.
5. Safety Equipment: Safety should be your top priority. Make sure you have safety goggles or glasses to protect your eyes from any flying debris. Wear gloves to keep your hands safe, and use a face mask to avoid inhaling dust or particles while working.
6. Additional Tools: Depending on the specific case and rivets you’re dealing with, you may need additional tools such as a screwdriver, pliers, or a wrench. Assess the situation and gather any specific tools that may be required.
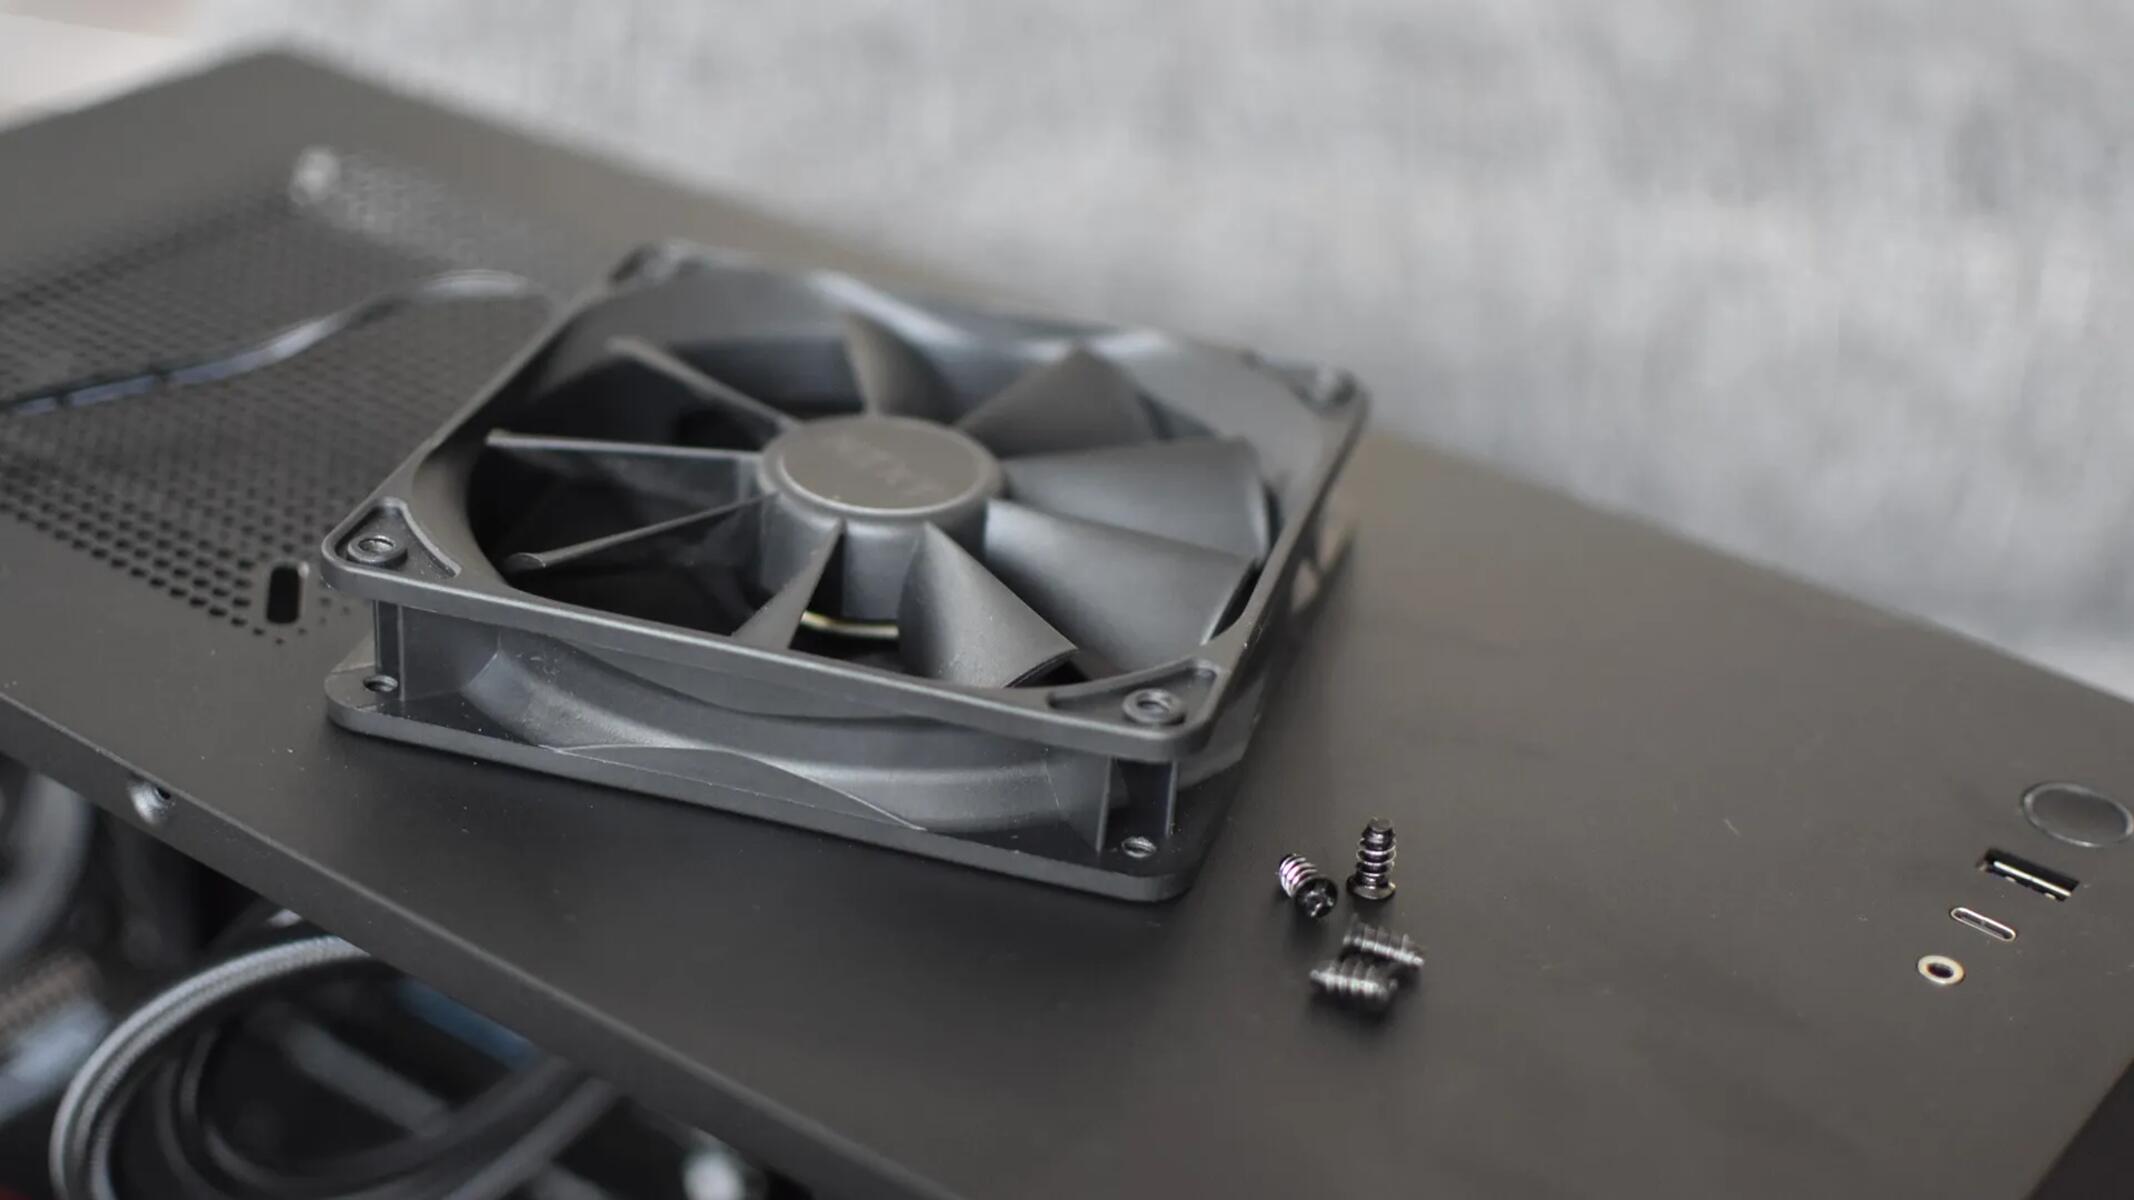
7. Replacement Rivets and Fasteners: If you plan to replace the rivets after removal, it’s a good idea to have a supply of replacement rivets and fasteners on hand. This will ensure that you can reassemble the case properly once the rivets are removed.
Gathering these materials before starting the rivet removal process will save you time and make the task more efficient. Having the right tools and supplies will help you complete the job successfully without causing any damage to your PC case or its components. With the necessary materials ready, you’re now prepared to move on to the next steps of removing the rivets.
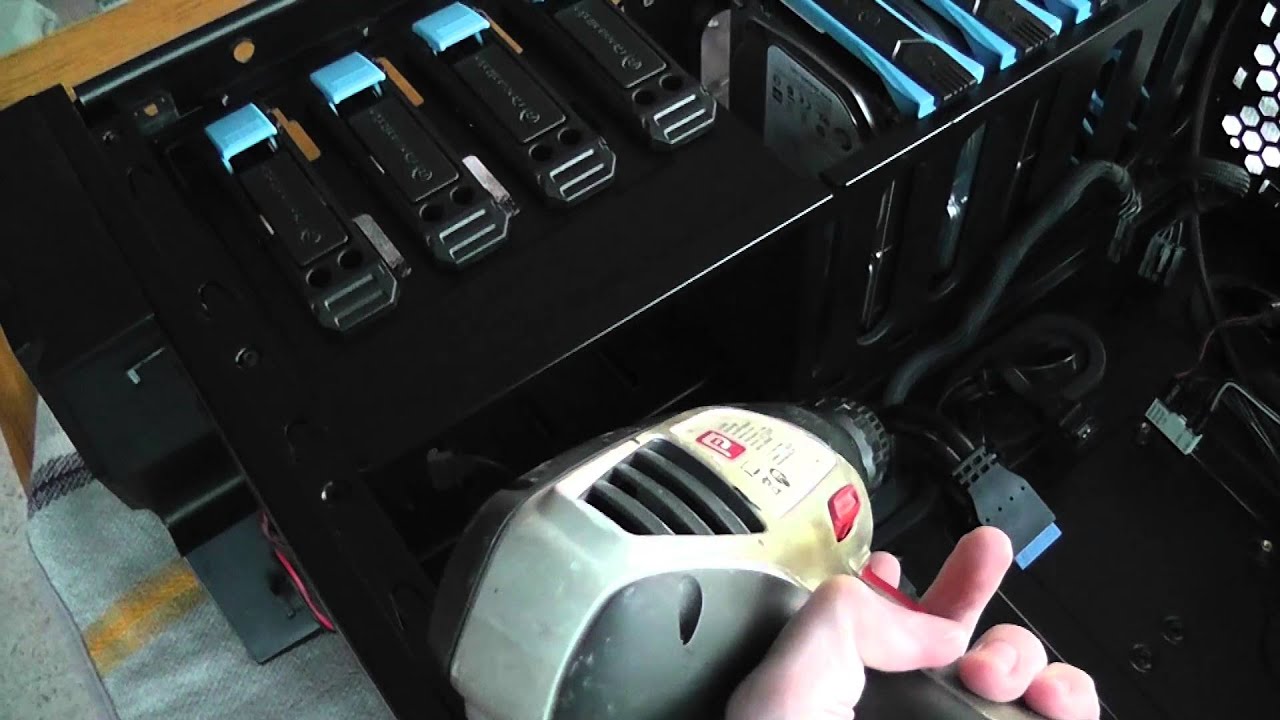
Step 3: Removing Rivets with a Drill
One of the most common methods for removing rivets from a PC case is by using a drill. This method is effective for removing pop rivets, which have a hollow shank that can be drilled out. Here’s how you can remove rivets with a drill:
- Choose the appropriate drill bit: Select a drill bit that matches the size of the rivet head. It’s important to use a bit that is slightly smaller than the rivet head to avoid damaging the surrounding material.
- Secure the PC case: Place the PC case on a stable surface and ensure that it is securely held in place. This will prevent any unnecessary movement or vibrations during the drilling process.
- Mark the center of the rivet: Use a marker or a center punch to mark the exact center of the rivet head. A precise marking will help you drill accurately.
- Drill into the rivet head: Place the drill bit on the center mark and apply gentle pressure. Start drilling slowly to create a pilot hole in the rivet head. Increase the speed gradually as you continue drilling.
- Drill through the rivet: Continue drilling until you’ve completely drilled through the rivet head. The rivet should loosen as you drill, allowing for easy removal.
- Remove the rivet: Once the rivet head is drilled through, use pliers or a screwdriver to pull the rivet out of the hole. Gently wiggle and twist the rivet to release it from any remaining grip.
- Repeat the process: If there are additional rivets to be removed, repeat the same steps for each one until all the rivets are removed.
Removing rivets with a drill is a straightforward and effective method. However, it’s important to exercise caution to prevent any damage to the case or its components. Take your time, apply gentle pressure, and drill straight to ensure a successful removal.
Remember, this method is specifically suited for pop rivets with a hollow shank. If you’re dealing with solid rivets or other types of rivets, you may need to use a different method, which we’ll cover in the subsequent steps.
Now that you’ve learned how to remove rivets with a drill, you can confidently move on to the next methods for removing rivets from your PC case.
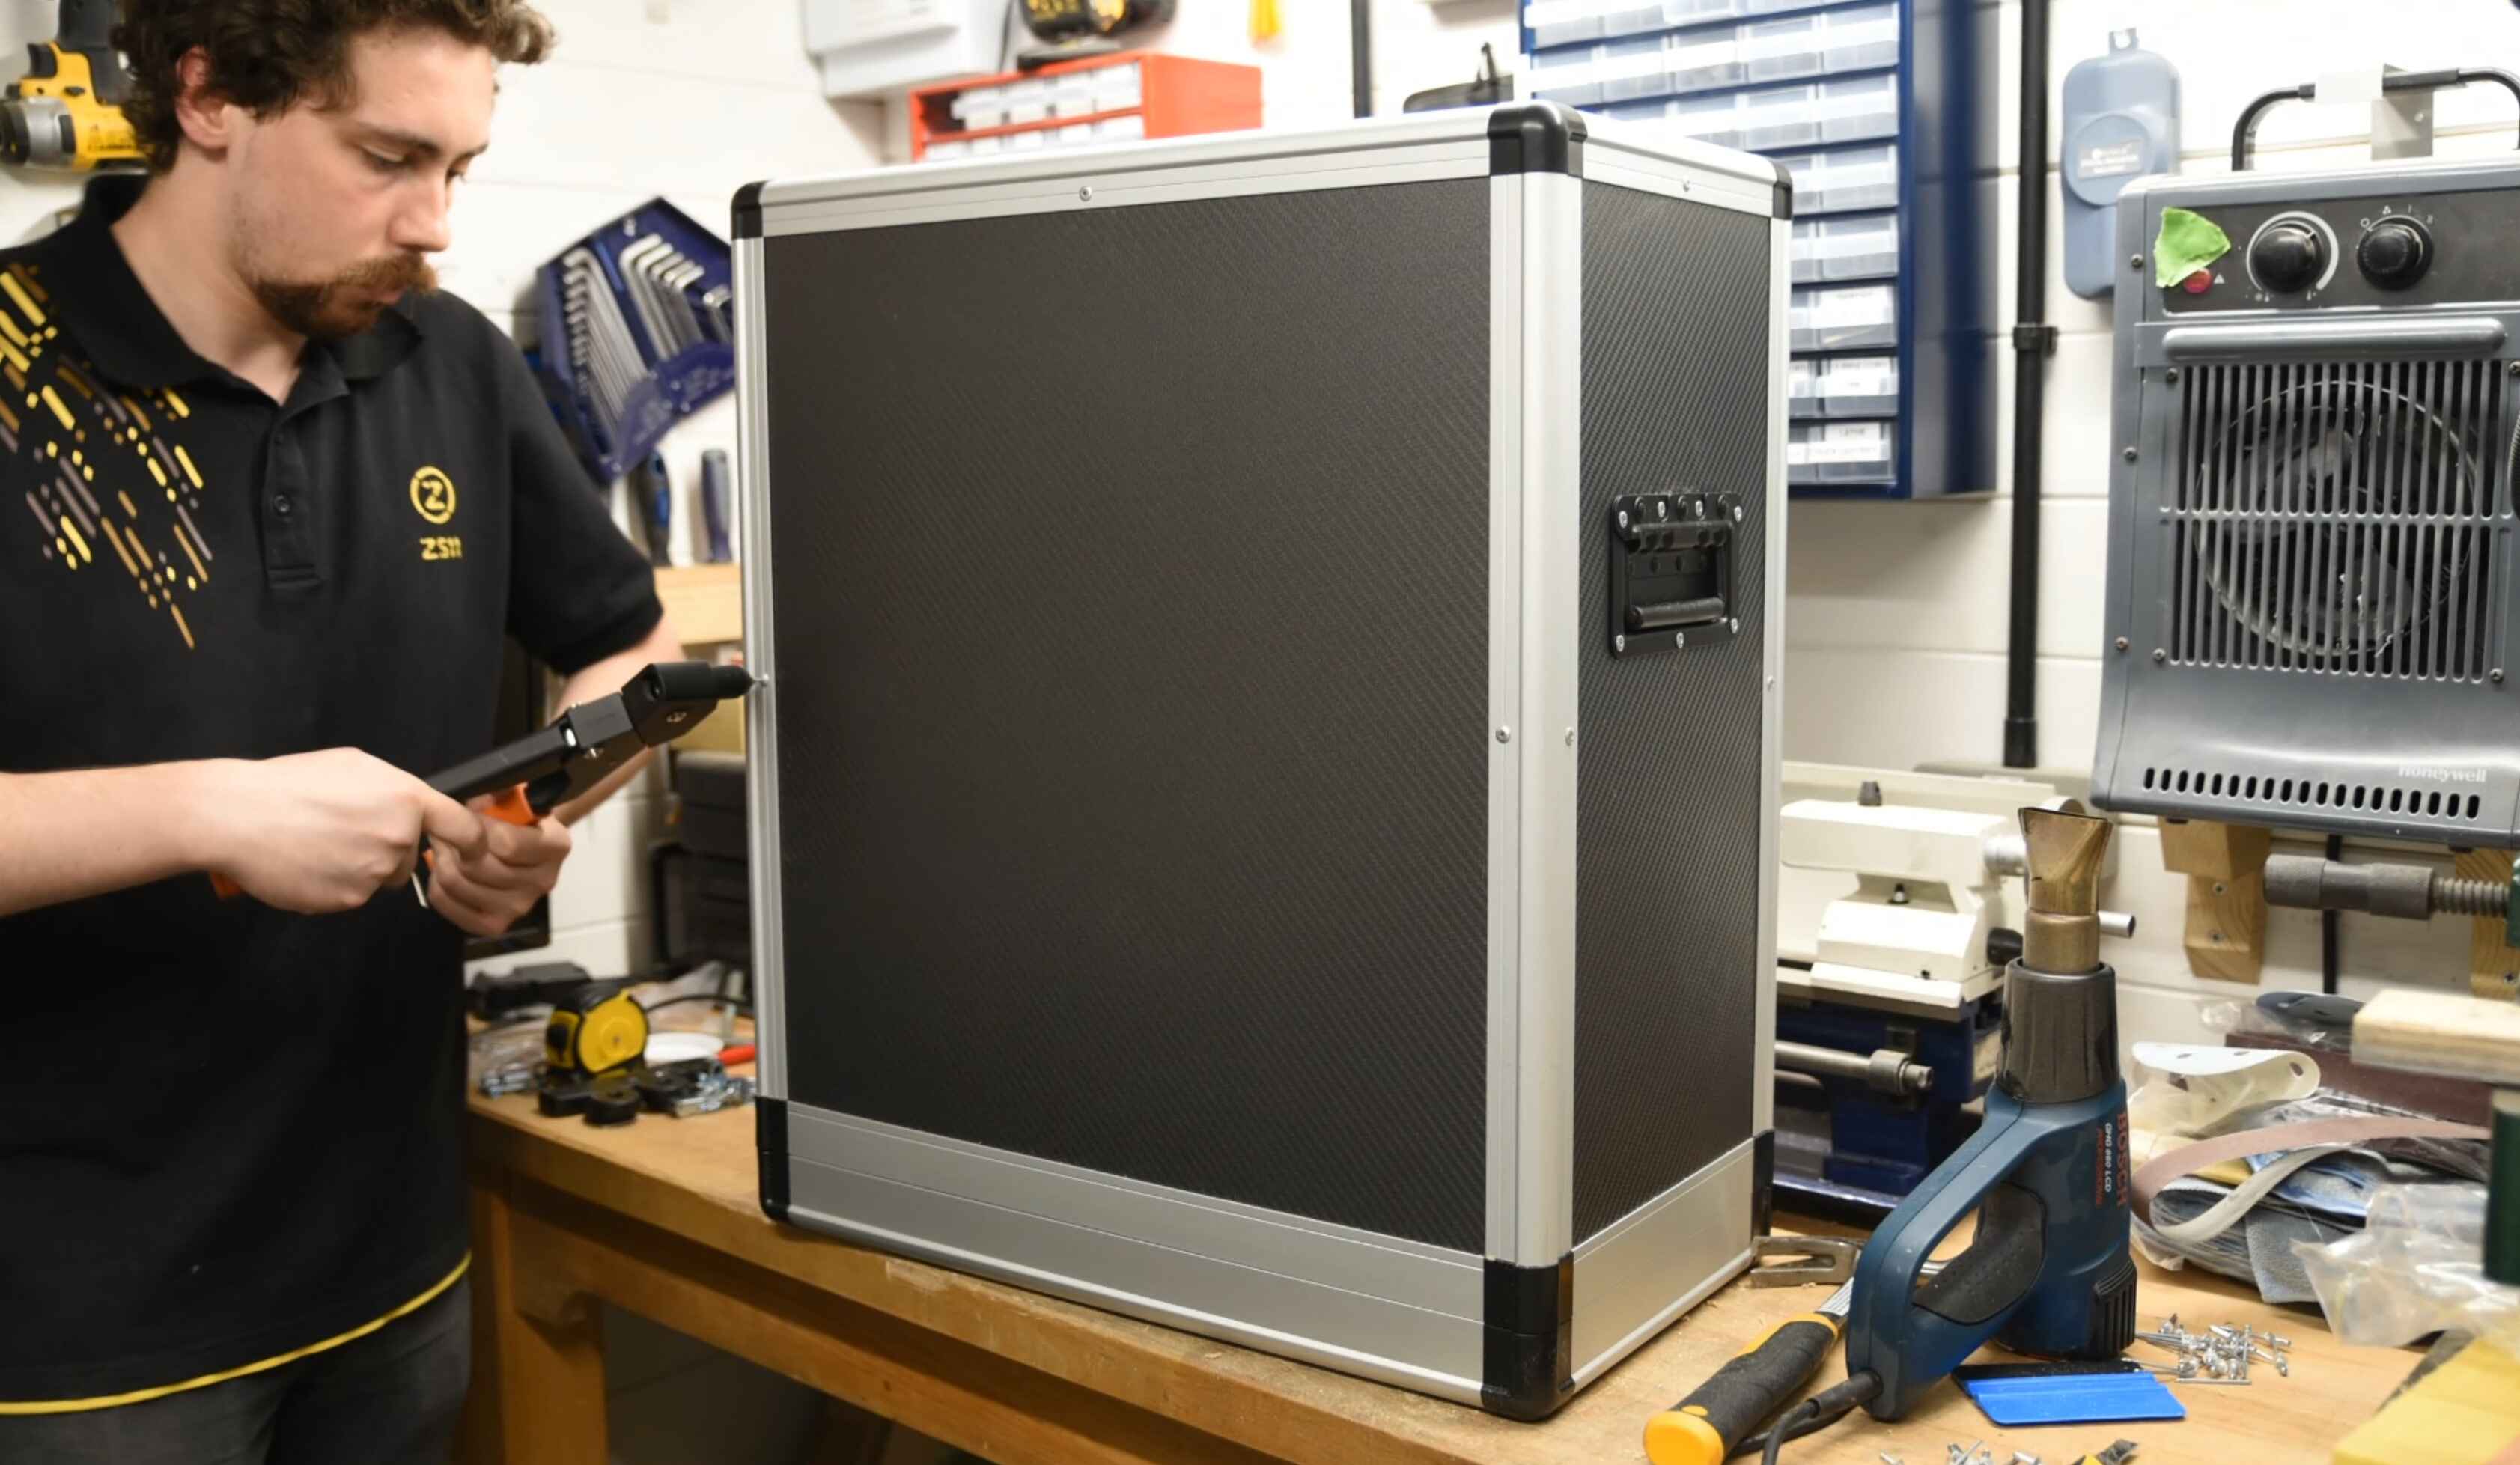
Step 4: Removing Rivets with a Rivet Removal Tool
If you prefer a more specialized approach to removing rivets from a PC case, using a rivet removal tool can be an efficient and precise method. This tool is designed specifically for extracting rivets without causing any damage to the case or its components. Follow these steps to remove rivets with a rivet removal tool:
- Select the appropriate rivet removal tool: There are various types of rivet removal tools available, including pliers-style and drill attachment-style. Choose a tool that suits your preference and the specific rivets you are working with.
- Position the tool: Position the rivet removal tool over the rivet you want to remove. Make sure the tool is aligned properly to ensure a secure grip.
- Grip the rivet: Squeeze the handles or activate the tool mechanism to grip the rivet securely. The tool should provide a firm grip on the rivet for easy removal.
- Apply pressure: Apply gradual and consistent pressure on the rivet removal tool to break the rivet’s grip. This will separate the rivet from the case material.
- Twist and pull: Once the rivet is released from its grip, twist and pull it out of the hole using the rivet removal tool. Gently wiggle the tool if necessary to loosen the rivet.
- Repeat the process: If there are more rivets to remove, repeat the same steps for each one until all the rivets are successfully removed.
Using a rivet removal tool offers several advantages, including precision, control, and minimal risk of damaging the case. It is especially useful for removing solid rivets or when you want to ensure a clean and professional-looking removal. However, make sure to select a high-quality rivet removal tool that is designed for PC case rivets, as general-purpose tools may not provide the desired results.
Now that you know how to remove rivets using a rivet removal tool, you can confidently move on to the next methods for removing rivets from your PC case.
Step 5: Removing Rivets by Drilling into the Center
If you’re dealing with solid rivets or other rivet types that cannot be easily drilled out from the head, drilling into the center of the rivet is a common method for removal. This technique applies to rivets that have a solid shank and may require a bit more effort. Follow these steps to remove rivets by drilling into the center:
- Select the appropriate drill bit: Choose a drill bit that is slightly smaller than the diameter of the rivet shank. This will allow you to create a pilot hole in the center of the rivet without damaging the surrounding material.
- Mark the center: Use a marker or a center punch to mark the exact center of the rivet. This will guide the drill bit during the drilling process.
- Pilot hole: Start drilling slowly at the center mark, creating a pilot hole in the center of the rivet. Be careful not to apply excessive pressure or drill too deep, as this may damage the case.
- Gradually increase drill bit size: Once the pilot hole is created, gradually increase the drill bit size by using larger drill bits. This will widen the hole and eventually loosen the rivet’s grip.
- Remove the rivet: Continue drilling until the hole is large enough to release the rivet’s grip. Use pliers or a screwdriver to pull the rivet out of the hole. Gently wiggle and twist the rivet to detach it from any remaining hold.
- Repeat the process: If there are more rivets to remove, repeat the same steps for each one until all the rivets are successfully removed.
Removing rivets by drilling into the center requires accuracy and patience. Take your time to ensure that the drill is aligned with the center mark and that the hole is gradually widened. This method may require more effort than drilling out from the head, but it is effective for removing solid rivets or rivets that cannot be easily accessed.
It is important to exercise caution and avoid drilling too forcefully to prevent any damage to the case or its components. By following these steps, you’ll be able to successfully remove rivets by drilling into the center.
Now that you know how to remove rivets using this method, you can confidently move on to the next methods for removing rivets from your PC case.
Step 6: Removing Rivets by Grinding Them Off
When dealing with rivets that are difficult to remove using other methods, such as those with damaged or inaccessible heads, grinding them off is a viable option. This method involves using a grinding tool to carefully grind away the rivet heads and separate them from the case material. Follow these steps to remove rivets by grinding them off:
- Select a grinding tool: Choose a grinding tool that is suitable for removing metal, such as a rotary tool with a cutting disc or a grinding wheel.
- Prepare safety equipment: Put on safety goggles or glasses, gloves, and a face mask to protect yourself from any debris or particles generated during the grinding process.
- Mark the rivet heads: Use a marker or center punch to mark the center of each rivet head. This will serve as a guide during the grinding process.
- Grind away the rivet heads: With the grinding tool in hand, carefully position the cutting disc or grinding wheel on the rivet head and start grinding. Apply steady and controlled pressure, moving the tool back and forth until the rivet head is completely ground away.
- Remove the rivets: Once the rivet heads are ground off, they should be loose and easy to remove. Use pliers or a screwdriver to twist and pull the rivets out of the holes. Dispose of the removed rivets safely.
- Smooth the surface: After removing the rivets, use a file or sandpaper to smooth out any rough edges or leftover remnants. This will ensure a clean and professional finish.
- Clean the case: Take a moment to clean out any metal debris or dust that accumulated during the grinding process. Use a brush or compressed air to remove any residual particles.
Removing rivets by grinding them off can be an effective method for stubborn or hard-to-reach rivets. However, it is important to exercise caution and maintain a firm grip on the grinding tool to avoid accidentally damaging the case or its components.
With patience and proper technique, you can successfully remove rivets by grinding them off, allowing for easy replacement or modification of the case. Now that you are familiar with this method, you can confidently move on to the final step of removing rivets from your PC case.
Step 7: Removing Rivets by Cutting Them Off
If you’re dealing with rivets that cannot be easily drilled, ground, or accessed, cutting them off may be your best option. This method involves using a cutting tool to cleanly cut through the rivets and separate them from the case material. Follow these steps to remove rivets by cutting them off:
- Select a cutting tool: Choose a sturdy cutting tool suitable for cutting metal, such as metal cutting pliers or a metal cutting saw. Ensure that the tool is sharp and in good condition.
- Secure the PC case: Place the PC case on a stable surface and ensure it is securely held in place. This will provide stability and prevent any unnecessary movement during the cutting process.
- Mark the rivets: Use a marker or center punch to mark the center of each rivet. This will serve as a guide during the cutting process.
- Cut through the rivets: Position the cutting tool on the marked center of each rivet and apply steady pressure to cut through the rivet. Depending on the tool you’re using, you may need to apply repeated cuts or use a sawing motion to fully separate the rivet.
- Remove the rivets: Once the rivets are cut through, they should be loose and can be easily removed using pliers or a screwdriver. Gently twist and pull the rivets to detach them from the case material.
- Smooth any rough edges: After removing the rivets, use a file or sandpaper to smooth out any rough edges or burrs left from the cutting process. This will ensure a clean and professional finish.
- Clean the case: Take a moment to remove any metal debris or dust that may have accumulated during the cutting process. Use a brush or compressed air to clean out any residual particles.
Removing rivets by cutting them off can be a reliable method when dealing with tough or hard-to-reach rivets. However, exercise caution and ensure a firm grip on the cutting tool to avoid accidental damage to the case or its components.
With patience and precision, you can successfully remove rivets by cutting them off, allowing for easy replacement or modification of the case. Now that you’ve completed all the steps, you can confidently proceed with your PC case project.
Conclusion
Removing rivets in a PC case is a common task that may be necessary for hardware upgrades, modifications, or repairs. By following the step-by-step methods we’ve outlined, you can safely and effectively remove rivets without causing damage to the case or its components.
Assessing the rivets is the first crucial step, as it helps you determine the appropriate method for removal based on the rivet type, size, function, and accessibility. From there, you can gather the necessary tools, such as drills, rivet removal tools, grinding tools, and cutting tools, to ensure a smooth and successful process.
We’ve covered various techniques, including using a drill to remove rivets from the head or drilling into the center, as well as using specialized tools like rivet removal tools to provide precision and control. For stubborn or damaged rivets, grinding them off or cutting them off can be effective options.
Throughout the entire process, it’s essential to prioritize safety by wearing protective gear such as safety goggles, gloves, and a face mask. This will help prevent any potential injuries or exposure to particles and debris.
By following these methods, you’ll gain the knowledge and skills needed to remove rivets from your PC case confidently. Whether you’re a computer enthusiast or a professional technician, these techniques will assist you in achieving your desired hardware upgrades or modifications.
Remember to exercise patience, precision, and caution when working with rivets. Take your time, choose the appropriate method for the specific rivets you’re dealing with, and ensure a secure grip on your tools throughout the process.
With the rivets successfully removed, you can proceed with your PC case project, whether it’s installing new components, making modifications, or repairing any issues. Enjoy exploring the endless possibilities that come with removing rivets and customizing your PC case to your desired specifications.
Happy building and modding!