Introduction
Discord has become an incredibly popular platform for communication among gamers, content creators, and various other online communities. With its reliable voice chat feature, users can stay connected and communicate effortlessly. However, there may be times when you want to record a significant Discord call, whether it’s for reference, documentation, or simply to cherish moments of laughter and camaraderie.
In this article, we will guide you on how to record Discord calls effectively. Whether you’re using Discord for professional purposes or recreational gaming sessions, capturing these conversations can be invaluable. We will provide step-by-step instructions on the equipment and software you’ll need, as well as the proper configuration settings to ensure high-quality recordings.
Before we dive into the recording process, it’s important to mention that recording Discord calls without the consent of all parties involved may violate privacy laws and ethical considerations. Always obtain the necessary permissions from everyone participating in the call before starting the recording. Respect the privacy of others and use this feature responsibly.
Now that we’ve addressed the importance of consent and respect, let’s move on to the equipment and software needed to record Discord calls effectively. Whether you’re using a Windows PC, Mac, or even a smartphone, there are various options available to cater to your specific needs. The process might seem daunting at first, but with our guidance, you’ll be able to navigate through it smoothly and capture those memorable conversations in no time.
Equipment Needed
Before you start recording your Discord calls, there are a few essential pieces of equipment you’ll need. The requirements may vary depending on your setup and preferences, so make sure to choose the options that best suit your needs. Here’s what you’ll need:
- Computer or Mobile Device: To access Discord and initiate or join a call, you’ll need a computer or mobile device that meets the minimum system requirements.
- Microphone: A good quality microphone is crucial for capturing clear and crisp audio during your Discord calls. You can opt for a standalone USB microphone, a headset with an integrated microphone, or even the built-in microphone on your device.
- Headphones or Speakers: It’s important to have a reliable audio output device so you can listen to the conversation while recording. Choose a comfortable pair of headphones or reliable speakers that deliver clear sound.
- Screen Recording Software: To record your Discord calls, you’ll need screen recording software that can capture both audio and video. There are plenty of options available, ranging from free to paid software, depending on your requirements and budget.
Once you have these basic equipment and software requirements fulfilled, you’re ready to move on to the next steps. In the upcoming sections, we’ll guide you through the process of downloading and installing screen recording software, configuring audio settings, starting the recording, and ultimately saving and exporting your recorded Discord calls.
Now that you have a clear understanding of the equipment needed, let’s proceed to the next section and explore the step-by-step process of recording Discord calls.
Step 1: Download and Install a Screen Recording Software
To begin recording your Discord calls, you’ll need to download and install a screen recording software. This software will allow you to capture both the audio and video of your Discord conversations with ease. Here’s a simple step-by-step guide on how to download and install screen recording software:
- Research and Choose a Software: There are numerous screen recording software available online. Take some time to research and compare different options, considering factors like user reviews, features, and compatibility with your operating system.
- Visit the Official Website: Once you’ve made your decision, visit the official website of the screen recording software you’ve chosen. Look for a “Download” or “Free Trial” button to initiate the downloading process.
- Download the Software: Click on the appropriate button to start the downloading process. The software may come in the form of an executable file or a compressed folder.
- Run the Installer: Locate the downloaded file on your computer and run the installer. You may need to grant necessary permissions for the installation process to begin.
- Follow the Installation Wizard: The screen recording software will guide you through an installation wizard. Follow the instructions provided, which typically involve accepting the terms of service, choosing an installation location, and selecting additional options if applicable.
- Complete the Installation: Once you’ve gone through the installation wizard, the software will be installed on your computer. In some cases, you may need to restart your computer for the changes to take effect.
After completing these steps, you now have a screen recording software installed and ready to use for capturing your Discord calls. In the next section, we’ll cover the configuration of audio settings to ensure optimal recording quality.
Step 2: Configure Audio Settings
Before you start recording your Discord calls, it’s essential to configure the audio settings properly to ensure that the recorded audio is clear and balanced. Here are some steps to follow in order to configure the audio settings for your screen recording software:
- Open the Screen Recording Software: Launch the screen recording software that you installed in the previous step. You should see a user interface with various options and settings.
- Access the Audio Settings: Look for the audio settings or preferences section within the software. It may be located in a settings menu or indicated by a microphone icon.
- Choose the Recording Device: In the audio settings, select the appropriate recording device. This should be the microphone that you’ll be using to capture your voice during the Discord call.
- Adjust the Volume Levels: Ensure that the microphone volume levels are neither too low nor too high. Test the levels by speaking into the microphone and monitoring the audio levels on the screen recording software.
- Enable Noise Reduction: If your screen recording software supports noise reduction, enable this feature. It helps to eliminate background noise and improve the overall audio quality of your recordings.
- Select the Output Device: Choose the appropriate audio output device for monitoring the Discord call. This should be the headphones or speakers that you’ll be using to listen to the conversation during the recording.
- Test the Audio Settings: To ensure everything is set up correctly, conduct a test recording or run a sample Discord call. Listen back to the recording and make any necessary adjustments to the audio settings until you are satisfied with the quality.
By following these steps and configuring the audio settings appropriately, you’ll be able to record your Discord calls with clear and balanced audio. In the next section, we’ll move on to the actual process of starting the recording and capturing your conversations.
Step 3: Start Recording Discord Call
Now that you have your screen recording software installed and the audio settings configured, it’s time to start recording your Discord call. Follow these steps to begin capturing your conversations:
- Launch the Screen Recorder: Open the screen recording software that you installed earlier. Make sure the software is running and ready to capture your screen and audio.
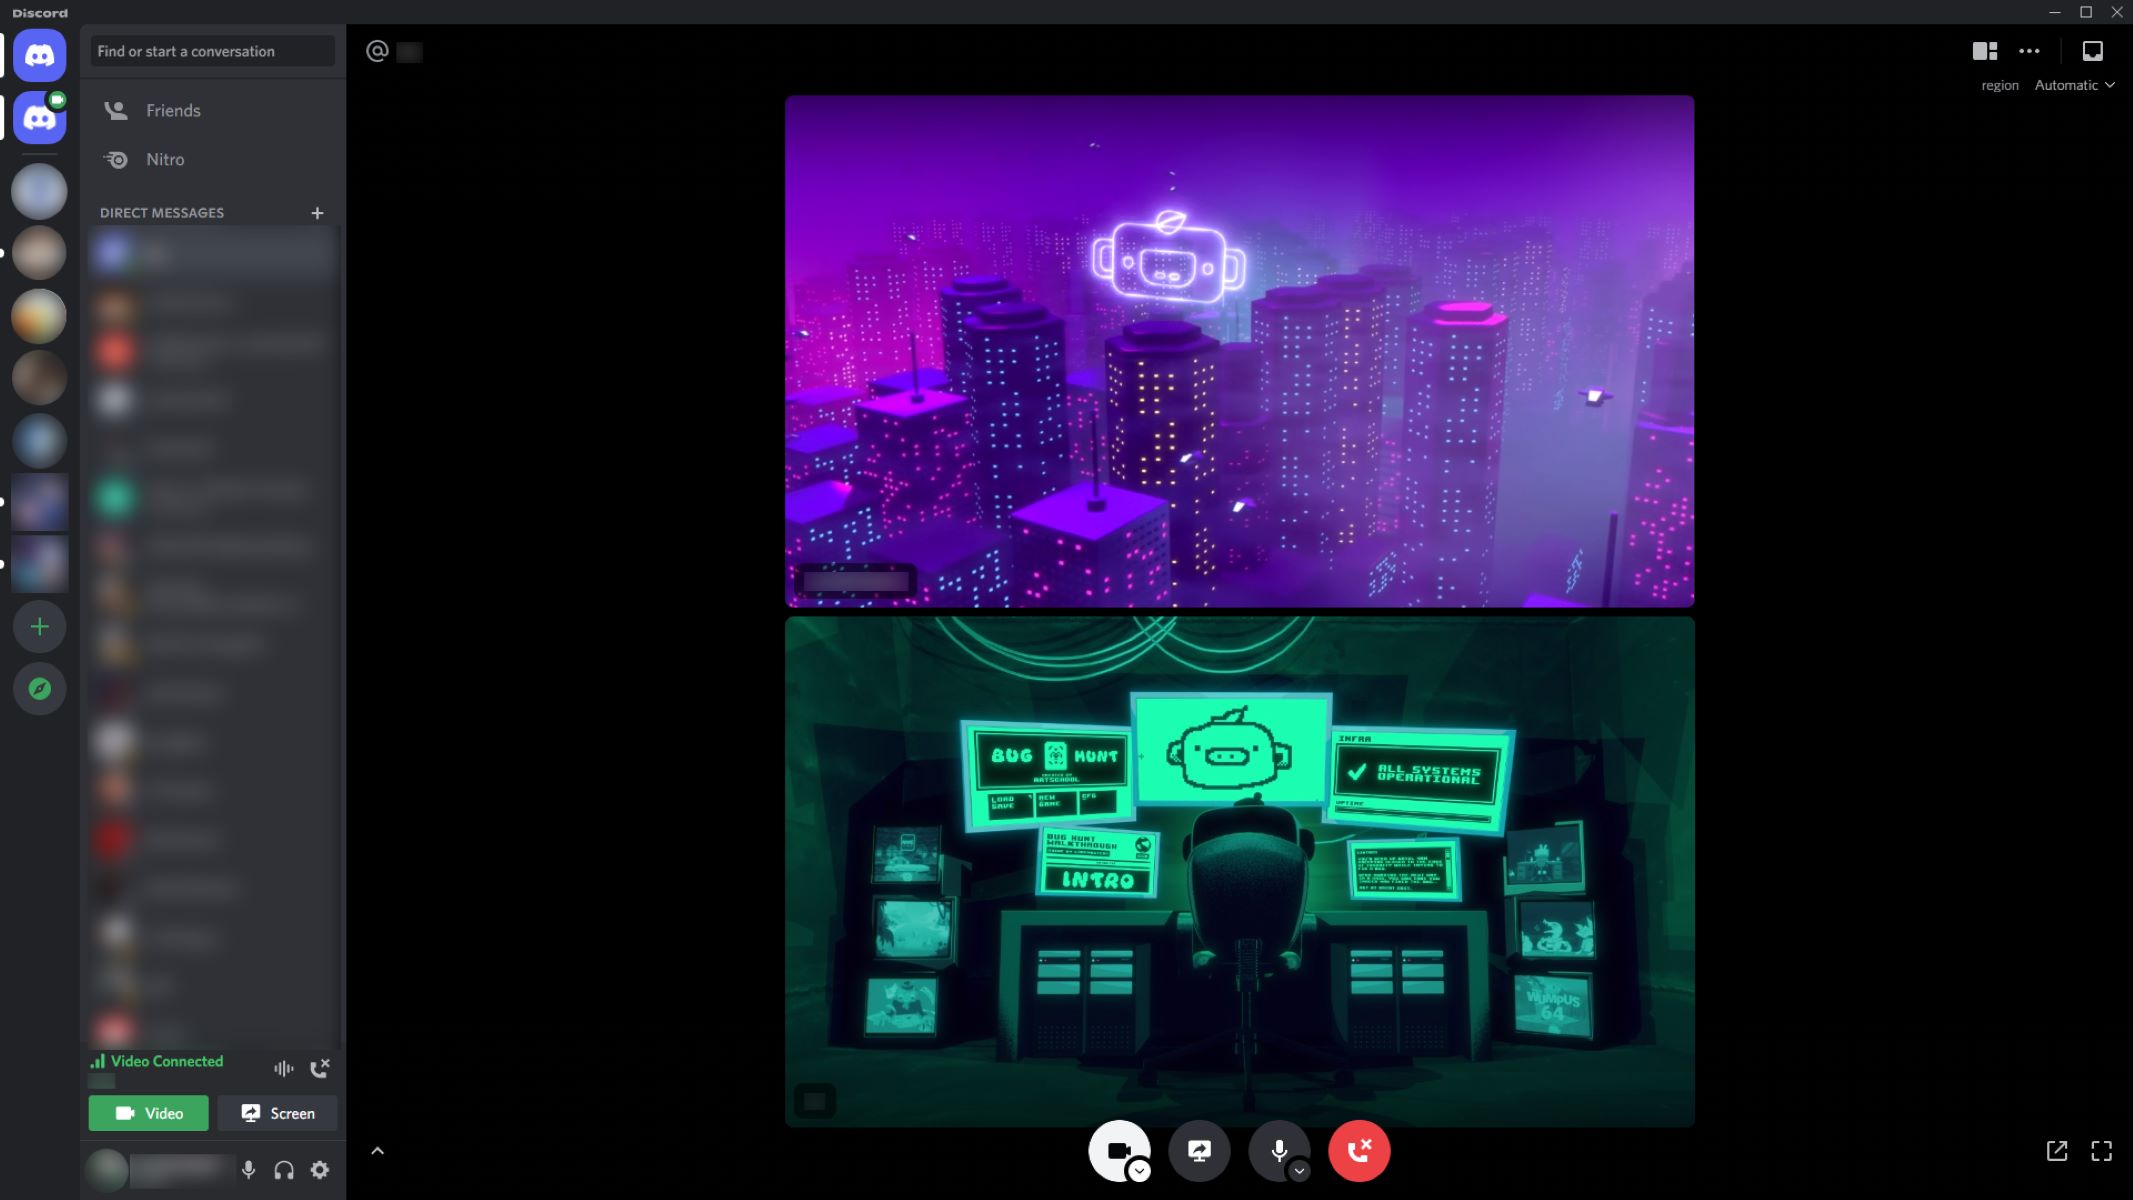
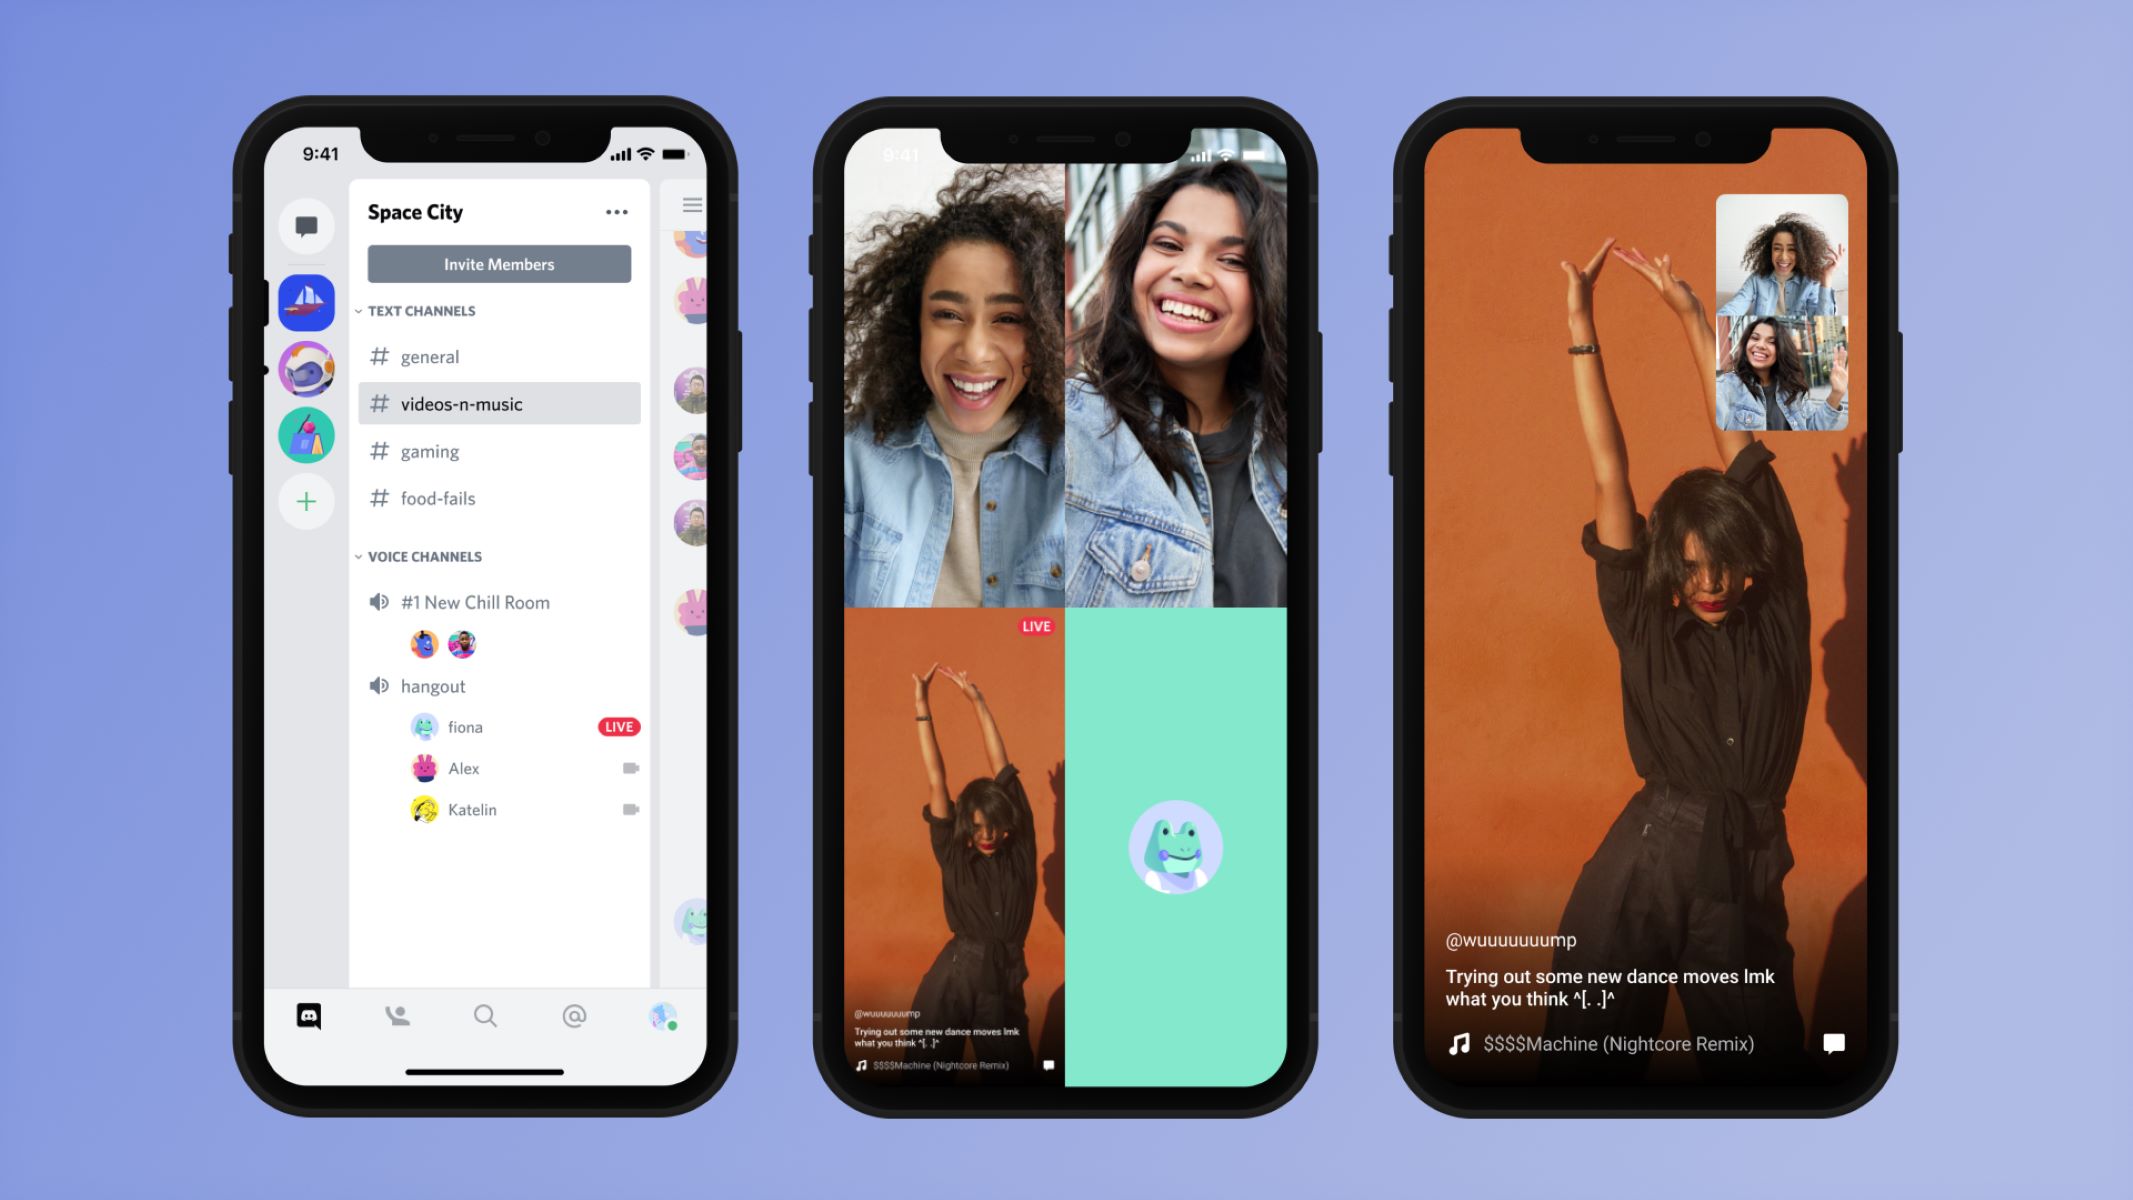
- Open Discord: Launch the Discord application on your computer or mobile device. Log in to your account if necessary.
- Join or Initiate a Call: Locate the voice chat channel or direct message conversation where the call is taking place. Join the call or initiate a call with the participants you wish to record.
- Start Recording: In the screen recording software, look for a “Record” or “Capture” button. Click on it to start the recording process. Some software may allow you to select a specific window or area of your screen to capture.
- Confirm Screen and Audio Capture: The recording software may prompt you to confirm the screen and audio sources you want to capture. Double-check that the Discord window and audio settings are selected for capturing.
- Begin your Discord Call: Once you’ve confirmed the screen and audio capture, start your Discord call. Engage in your conversation as you normally would, knowing that the screen recording software is capturing both the audio and visual components of the call.
- Monitor the Recording: Keep an eye on the recording interface of the screen recording software to ensure that the recording is ongoing. Take note of the recording duration and any visual indicators that indicate the recording is in progress.
By following these steps, you’ll successfully start recording your Discord call. Remember to communicate with the participants and let them know that the conversation is being recorded, ensuring that you have obtained their consent beforehand. In the next section, we’ll discuss the final steps of saving and exporting your recorded Discord call.
Step 4: Save and Export Recording
Congratulations! You’ve successfully recorded your Discord call. Now, it’s time to save and export the recording for future use or sharing. Follow these steps to complete the process:
- Stop the Recording: Once your Discord call is finished, click on the “Stop” or “Finish” button in the screen recording software to stop the recording. Some software may also offer keyboard shortcuts to stop the recording.
- Preview the Recording: Most screen recording software will provide a preview of the recorded video and audio. Take a moment to watch or listen to the recording to ensure that everything is captured correctly.
- Trim and Edit (Optional): If you want to remove any unwanted parts of the recording or make edits, you can use the editing tools within the screen recording software. Trim the recording as needed to focus on the most important parts of the conversation.
- Select Output Format: Depending on your screen recording software, you may have the option to choose the output format of the recording. Common formats include MP4, AVI, or WMV. Select the format that suits your requirements.
- Choose Output Location: Specify the folder or location on your computer where you want to save the recorded Discord call. Create a new folder if necessary to keep your recordings organized.
- Export the Recording: Click on the “Export” or “Save” button in the screen recording software to initiate the export process. The software will convert and save the recording in the chosen output format to the specified location.
- Verify the Export: Once the export is complete, navigate to the output location and verify that the recording file is present and accessible. Play the file to ensure that it plays back correctly with the desired audio and video quality.
By following these steps, you’ll successfully save and export your recorded Discord call. Remember to organize and label your recordings appropriately for easy access in the future. If you plan to share the recording with others, consider compressing or converting the file size to make it more suitable for sharing via email, cloud storage, or other platforms.
Now that you’ve completed all the necessary steps, you can enjoy listening back to your recorded Discord calls, use them for reference or documentation purposes, or simply relish the memories created during those conversations. Exploring the features and capabilities of your screen recording software can further enhance your recording experience and allow you to customize the settings to your preferences.
Conclusion
Recording Discord calls can be immensely valuable for various purposes, whether it’s for professional endeavors, content creation, or simply preserving cherished memories. With the right equipment, screen recording software, and proper configuration of audio settings, you can capture clear and high-quality recordings of your Discord conversations.
In this article, we walked you through the step-by-step process of recording Discord calls. We started by outlining the equipment needed, including a computer or mobile device, microphone, headphones or speakers, and screen recording software. We then delved into the crucial aspects of downloading and installing the software, configuring audio settings, initiating the recording, and finally saving and exporting the recorded Discord call.
It’s essential to always obtain consent from all participants before recording any Discord call to respect their privacy and adhere to legal and ethical guidelines. Communication and transparency are key in ensuring a positive and respectful recording experience.
By following the guidelines in this article, you can confidently record your Discord calls and capture moments of collaboration, camaraderie, and laughter with your friends, colleagues, or gaming buddies. Remember to familiarize yourself with the features and capabilities of your screen recording software to enhance your recording experience further.
Now that you have the knowledge and tools to record Discord calls, go ahead and start capturing those memorable conversations. Whether it’s for personal use or to enhance your content creation or communication efforts, recording Discord calls can be a valuable tool in your digital arsenal.
Happy recording, and enjoy reliving those special moments!


