Introduction
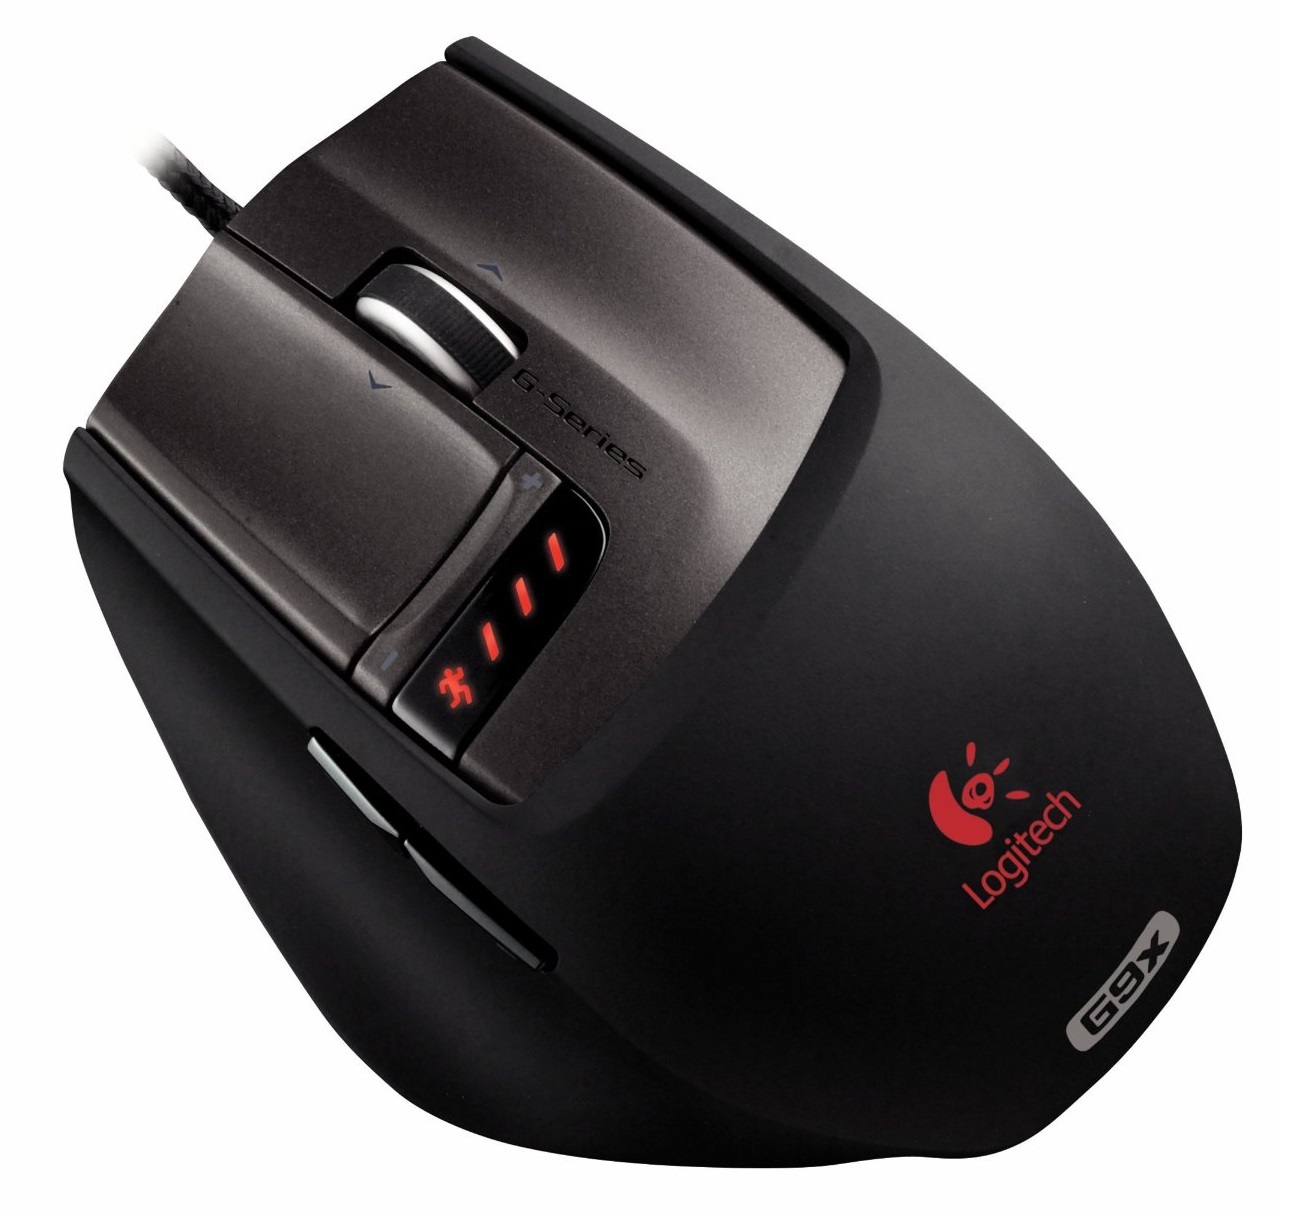
Welcome to our guide on how to open the Logitech G9X mouse. The Logitech G9X is a high-performance gaming mouse beloved by many gamers for its precision and customizable features. However, there may come a time when you need to open it up to clean, repair, or upgrade certain components.
Opening up the Logitech G9X may seem like a daunting task, but with the right tools and a step-by-step guide, it can be easily accomplished. In this article, we will walk you through the process of opening the Logitech G9X and accessing its internal components.
Before we dive into the steps, let’s go over the tools you will need. It’s important to have the right tools on hand to ensure a smooth and successful disassembly of the mouse:
- Small Phillips head screwdriver
- Plastic pry tool or a thin, flat object like a credit card
- Clean cloth or cotton swabs for cleaning
Now that you have the necessary tools, it’s time to get started. Follow the step-by-step instructions below to open your Logitech G9X mouse and access its internal components. Remember to proceed with caution and take your time, as you don’t want to damage any of the delicate components.
Tools Needed
Before you begin opening your Logitech G9X mouse, it’s important to gather the necessary tools to ensure a smooth and successful disassembly. Here are the tools you will need:
- Small Phillips head screwdriver: This type of screwdriver is commonly used for electronics and will be necessary for removing the screws holding the mouse together.
- Plastic pry tool or a thin, flat object: You will need a pry tool, such as a plastic spudger or an old credit card, to safely separate the top and bottom covers of the mouse without causing any damage.
- Clean cloth or cotton swabs: Having a clean cloth or cotton swabs on hand will allow you to easily clean any dust or debris that may have accumulated inside the mouse during the disassembly process.
It’s important to use a small Phillips head screwdriver to avoid damaging the screws when removing them. The plastic pry tool or a thin, flat object will help you safely separate the top and bottom covers without scratching or breaking the mouse’s casing. Lastly, having a clean cloth or cotton swabs will ensure that the internal components are free from any dirt or debris that may affect the performance of the mouse.
Make sure to gather these tools before you begin the disassembly process. Having the right tools will make the process much easier and minimize the risk of damaging the Logitech G9X mouse.
Step 1: Disconnect the Mouse
The first step in opening the Logitech G9X mouse is to disconnect it from your computer. This will not only ensure your safety but also prevent any potential damage to the mouse or your computer during the disassembly process.
To disconnect the mouse, follow these simple steps:
- Save any open work and close all applications on your computer.
- Unplug the USB cable connected to the mouse from your computer.
- Ensure that the mouse is turned off. If it has a power switch, toggle it to the off position. If not, simply remove the batteries if applicable.
By disconnecting the mouse from your computer and turning it off, you minimize the risk of accidentally triggering any unwanted actions or damaging the mouse while disassembling it.
Before moving on to the next step, take a moment to ensure that the mouse is completely disconnected and turned off. This will provide a safe and controlled environment for the disassembly process.
Step 2: Remove the Bottom Cover
With the mouse disconnected and turned off, it’s time to remove the bottom cover. The bottom cover of the Logitech G9X mouse houses the screws that hold the mouse together. Removing the bottom cover will allow you to gain access to these screws for further disassembly.
Follow these steps to remove the bottom cover:
- Flip the mouse over so that the bottom is facing up.
- Locate the release button or latch on the bottom cover. It is usually positioned near the front or back of the mouse.
- Press the release button or push the latch in the designated direction to unlock the bottom cover.
- Gently lift or slide the bottom cover away from the mouse. Be careful not to force it or apply excessive pressure, as this can cause damage.
Once the bottom cover is removed, you will have a clear view of the internal components of the Logitech G9X mouse. Take a moment to familiarize yourself with the layout and arrangement of these components, as this will be helpful in later steps of the disassembly process.
Keep the bottom cover in a safe place to avoid misplacing it. You will need it for reassembling the mouse later on.
Step 3: Remove the Screws
Now that the bottom cover of the Logitech G9X mouse has been removed, it’s time to remove the screws that hold the mouse together. These screws secure the top and bottom covers of the mouse and need to be taken out to proceed with the disassembly process.
Follow these steps to remove the screws:
- Use a small Phillips head screwdriver to locate and remove the screws on the bottom of the mouse. The number and placement of screws may vary, but there are usually four or more screws.
- Gently unscrew each screw in a counterclockwise direction. Make sure not to apply too much force, as this can strip the screw heads or damage the surrounding components.
- Place the screws in a safe location to avoid losing them.
It’s important to keep track of the screws and their placement to ensure proper reassembly later on. You may want to label or organize them to avoid confusion. Taking a photo of the screw arrangement can also be helpful as a reference.
Once all the screws have been removed, set them aside and proceed to the next step, where we will separate the top and bottom covers of the Logitech G9X mouse.
Step 4: Separate the Top and Bottom Covers
With the screws removed, you can now separate the top and bottom covers of the Logitech G9X mouse. This will give you access to the internal components and allow you to proceed with any necessary repairs or upgrades.
Follow these steps to separate the top and bottom covers:
- Hold the mouse firmly with one hand and gently lift the top cover with the other hand. Apply even pressure and ensure that you are not forcing or bending any parts.
- If you encounter resistance, double-check that all the screws have been removed. Sometimes, screws may be hidden under stickers or rubber pads, so be thorough in your inspection.
- Continue to lift the top cover until it completely separates from the bottom cover. You may hear some popping or clicking sounds as the plastic tabs or clips release.
- Set the top cover aside, ensuring it is in a safe place where it won’t get damaged.
Once the top cover is removed, you will have a clear view of the internal components of the Logitech G9X mouse. Take a moment to inspect the components and make note of their positions and connections, especially if you are planning on making repairs or modifications.
Keep the top cover and bottom cover separate to avoid confusion when reassembling the mouse later on. With the covers separated, you can now proceed to the next step, which involves accessing the internal components of the Logitech G9X mouse.
Step 5: Access the Internal Components
Now that the top and bottom covers of the Logitech G9X mouse are separated, you have access to the internal components. This step allows you to inspect, clean, repair, or upgrade specific parts of the mouse according to your needs.
Follow these steps to access the internal components:
- Take a moment to observe the internal layout of the Logitech G9X mouse. Notice the circuit board, buttons, scroll wheel, and other components.
- If you need to clean the internal components, use a clean cloth or cotton swabs to gently wipe away any dust, debris, or fingerprints. Avoid using liquid cleaners or excessive force, as this can damage the delicate components.
- If you need to repair or replace any specific components, such as a faulty switch or a worn-out scroll wheel, carefully disconnect the related cables or connectors. Take note of their positions and connections to ensure proper reassembly.
- Inspect the components for any signs of damage or wear. Look for loose connections, broken wires, or any other issues that may affect the performance of the mouse.
- If you plan to upgrade the mouse’s components, such as the sensor or the switches, carefully remove the existing components and replace them with the upgraded ones, following the manufacturer’s instructions.
Take your time during this step to thoroughly examine and address any issues you may have with the internal components. Keep in mind that each component is delicate, so handle them with care to avoid causing further damage.
Once you are satisfied with your inspection, cleaning, repairs, or upgrades, you can move on to the next step, which involves reassembling the Logitech G9X mouse.
Step 6: Replace or Repair Components
In this step, you will have the opportunity to replace or repair specific components of the Logitech G9X mouse if needed. Whether you are looking to upgrade certain parts or fix any issues, this step will guide you through the process.
Follow these steps to replace or repair components:
- If you identified any faulty or worn-out components during the previous step, now is the time to replace them.
- Refer to the manufacturer’s instructions or consult online resources for guidance on replacing specific parts. Different components may have different installation procedures, so it’s important to follow the proper steps.
- When replacing a component, carefully disconnect any cables or connectors that are attached to it. Take note of their positions and connections for proper reassembly.
- Insert the new component into its designated slot or connection point, ensuring a secure fit. Follow any additional instructions provided, such as tightening screws or reconnecting cables.
- If you are repairing a component instead of replacing it, follow the necessary steps to fix the issue. This may involve soldering connections, cleaning contacts, or resolving any other specific repairs.
Remember to exercise caution and precision during the component replacement or repair process. Make sure to handle the delicate components with care and follow the instructions closely to avoid further damage or complications.
If you do not have the necessary skills or experience to perform complex component replacements or repairs, it is advised to seek professional assistance from a certified technician or contact Logitech support for guidance.
Once you have completed the necessary component replacements or repairs, you can move on to the next step, which involves reassembling the Logitech G9X mouse.
Step 7: Reassemble the Mouse
After completing any necessary repairs or component replacements, it’s time to reassemble the Logitech G9X mouse. Reassembling the mouse is essentially the reverse process of disassembly, ensuring that all the components are properly aligned and secured.
Follow these steps to reassemble the mouse:
- Take the top cover and align it with the bottom cover, making sure that all the tabs and clips are properly aligned.
- Gently press down on the top cover, applying even pressure to facilitate the snapping in of the tabs and clips. You may hear clicking sounds as the covers lock together.
- Double-check that the top cover is securely in place and properly aligned with the bottom cover. Make any necessary adjustments if needed.
- Retrieve the screws that were removed earlier and use the small Phillips head screwdriver to screw them back into their respective positions. Tighten them gently, but avoid over-tightening, as it can damage the mouse casing.
- Ensure that all screws are tightly secured, but be careful not to strip the screw heads or damage the surrounding components.
- Once all screws are in place, double-check that all the components and buttons are working correctly. Test the click buttons, scroll wheel, and any other functions to ensure proper functionality.
Once you have completed the reassembly, you can connect the Logitech G9X mouse back to your computer. Plug in the USB cable, and if applicable, turn on the mouse to begin using it again.
Take a moment to appreciate your effort in successfully opening, repairing, and reassembling the Logitech G9X mouse. By following this step-by-step guide, you have gained valuable insight into the internal workings of the mouse and have acquired the skills to perform basic repairs or modifications.
If you encounter any issues during the reassembly process or if the mouse does not function properly after reassembling, consider seeking professional assistance from a certified technician or contacting Logitech support for further guidance.
Conclusion
Opening up and accessing the internal components of the Logitech G9X mouse may seem intimidating at first, but with the right tools and guidance, it can be a straightforward process. In this guide, we have walked you through the step-by-step process of opening the Logitech G9X mouse, disconnecting it from the computer, removing the bottom cover and screws, separating the top and bottom covers, accessing the internal components, replacing or repairing components, and finally, reassembling the mouse.
By following these steps, you have gained the ability to perform basic repairs, upgrades, or cleanings on your Logitech G9X mouse. Remember to take your time, exercise caution, and ensure that all components are properly aligned and secured during the reassembly process. If you encounter any difficulties or are unsure about any specific steps, it is always recommended to seek professional assistance.
Opening the Logitech G9X mouse can be a valuable experience for users who want to customize their gaming peripherals or troubleshoot any issues they may encounter. However, it is important to note that opening the mouse may void any warranties, so proceed with caution and ensure that you are comfortable with the potential risks.
We hope this guide has been informative and helpful in your journey to open and access the internal components of the Logitech G9X mouse. Enjoy your gaming experience with a mouse that you can now confidently maintain and upgrade as needed! Remember to stay curious, explore new possibilities, and have fun!