Introduction
Welcome to our guide on how to move Battlefield 4 (BF4) to an SSD (Solid State Drive). If you are an avid gamer, you probably know the importance of having fast storage to ensure smooth and lag-free gameplay. By moving BF4 to an SSD, you can significantly reduce loading times, improve game performance, and enhance your overall gaming experience.
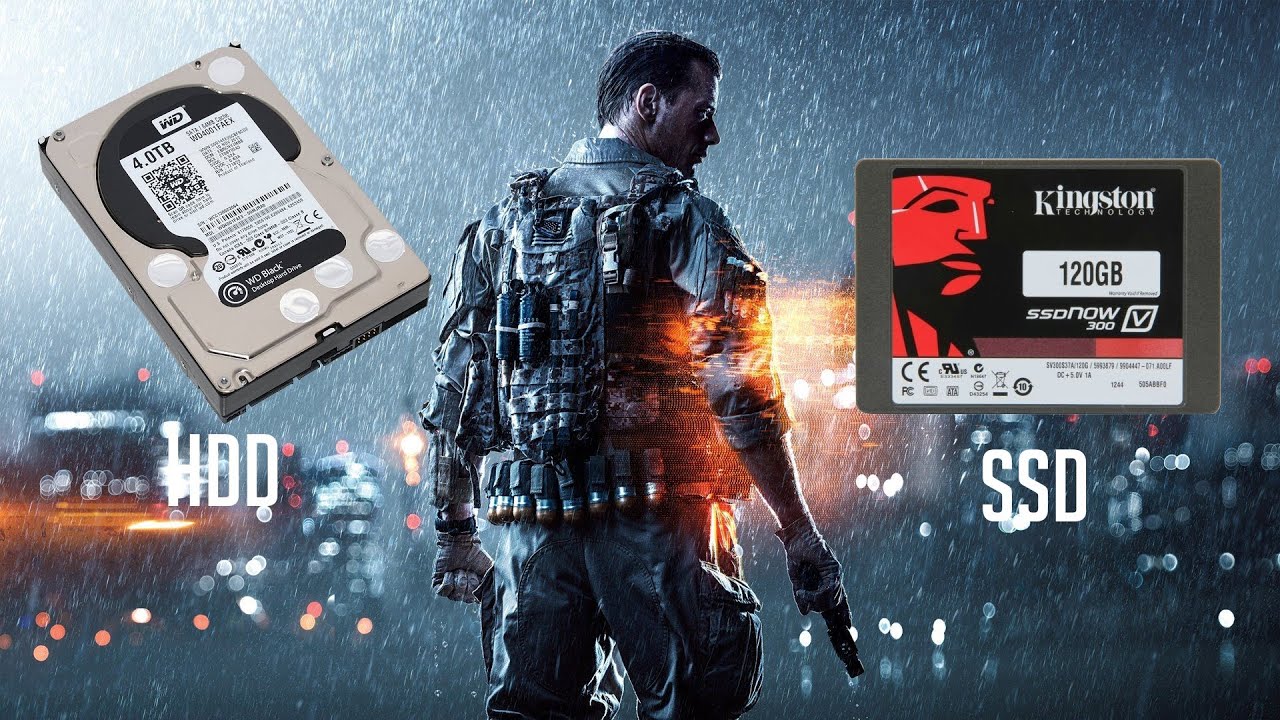
But why choose an SSD over a traditional hard drive? The answer lies in the superior speed and performance that SSDs offer. Unlike hard drives, which use spinning disks and mechanical parts to access and retrieve data, SSDs rely on flash memory chips. This means faster data transfer rates, quicker access times, and shorter load screens.
In this guide, we will walk you through the process of moving BF4 to an SSD to help unleash the full potential of your gaming experience. Whether you’ve just upgraded to an SSD or are considering the switch, this guide will provide you with step-by-step instructions to ensure a successful migration.
Before we dive into the steps, let’s quickly go over what you will need to complete this process:
- A compatible SSD with enough storage space to accommodate BF4 and any related files
- A backup of your current BF4 game files
- The BF4 installation files or DVD
- A reliable internet connection (optional, but recommended for game updates)
With these prerequisites in mind, let’s begin the process of moving BF4 to an SSD and unlocking the true potential of your gaming experience.
Why Move BF4 to SSD
Moving Battlefield 4 (BF4) to an SSD offers numerous benefits that can greatly enhance your gaming experience. Here are a few reasons why you should consider making the switch:
1. Faster Loading Times: One of the major advantages of using an SSD is significantly reduced loading times. With BF4 installed on an SSD, you can expect the game to load faster, allowing you to jump into the action more quickly and seamlessly. Say goodbye to lengthy load screens and hello to instant gameplay.
2. Improved Game Performance: An SSD’s faster data transfer speeds and quicker access times can greatly enhance the performance of BF4. This means improved stability, smoother gameplay, and reduced instances of lag. You’ll experience faster map loading, seamless transitions between different areas, and more responsive controls.
3. Reduced Stuttering and Texture Pop-In: Texture pop-in and stuttering are common issues in games, especially when running them on traditional hard drives. By moving BF4 to an SSD, you can minimize or eliminate these problems, as the game will be able to read and load textures more quickly and efficiently.
4. Quicker Access to Game Files: In addition to faster loading times, having BF4 stored on an SSD allows for quicker access to game files. This means faster launch times, quicker updates, and smoother transitions between different game modes. You’ll spend less time waiting and more time playing.
5. Enhanced Overall Gaming Experience: By moving BF4 to an SSD, you’ll enjoy an overall enhanced gaming experience. The combination of faster loading times, improved performance, reduced stuttering and pop-in, and quicker access to game files all contribute to a more immersive and enjoyable gaming session.
6. Future-Proofing Your Gaming System: SSDs are becoming increasingly common in gaming systems due to their superior performance. By moving BF4 to an SSD, you’ll not only enhance your gaming experience today but also future-proof your system for upcoming games that may require faster storage to run optimally.
In summary, moving BF4 to an SSD can transform your gaming experience by improving loading times, game performance, and overall gameplay. With faster access to game files and reduced instances of stuttering and texture pop-in, you’ll be able to fully immerse yourself in the world of Battlefield 4. So, let’s move on to the next step and get BF4 installed on your SSD to start enjoying the benefits.
What You Will Need
Before we begin the process of moving BF4 to an SSD, let’s first gather all the necessary tools and resources. Here is a list of what you will need:
1. Compatible SSD: To move BF4 to an SSD, you will need a solid-state drive that is compatible with your gaming system. Make sure the SSD has enough storage space to accommodate BF4 and any related files. SSDs come in different capacities, so choose one that meets your needs.
2. Backup of BF4 Game Files: It’s crucial to have a backup of your current BF4 game files before proceeding with the migration. This ensures that your progress, settings, and any installed modifications or add-ons are preserved. You can create a backup by copying the game files to an external storage device or a separate location on your computer.
3. BF4 Installation Files or DVD: You will need the Battlefield 4 installation files or DVD to install a fresh copy of the game on the SSD. If you purchased the game digitally, you can usually download the installation files from the platform where you bought it. If you have a physical copy of the game, make sure you have the DVD and the corresponding product key.
4. Reliable Internet Connection: While not mandatory, having a reliable internet connection is recommended. This will allow you to download any necessary updates for BF4 after the migration. Keeping the game up to date ensures you have access to the latest features, bug fixes, and improvements.
Once you have collected all the necessary resources, you are ready to proceed with the migration process. Make sure to have enough free space on your SSD for BF4 and ensure that your system meets the minimum requirements to run the game smoothly. Now, let’s move on to the step-by-step process of moving BF4 to an SSD.
Step 1: Backup Your Game Files
Before we begin the process of moving BF4 to an SSD, it is crucial to create a backup of your game files. This step ensures that your progress, settings, and any modifications or add-ons are preserved. Follow these steps to backup your BF4 game files:
1. Locate the BF4 Game Files: The first step is to locate the BF4 game files on your computer. By default, these files are usually stored in the “Origin Games” or “Battlefield 4” folder in the location where you installed the game. If you are unsure where the game files are located, you can check the game’s properties through the game launcher or use the search function in your file explorer.
2. Create a Backup Folder: Once you have located the BF4 game files, create a new folder to serve as the backup destination. You can name this folder anything you like, but it’s recommended to use a descriptive name like “BF4 Backup” or “BF4 Game Files Backup”.
3. Copy the Game Files: Select all of the BF4 game files, including the main game folder, any subfolders, and any other related files. Right-click and choose “Copy” (or use the Ctrl+C shortcut). Then, navigate to the backup folder you created in the previous step, right-click inside the folder, and choose “Paste” (or use the Ctrl+V shortcut). This will copy the game files to the backup folder.
4. Verify the Backup: Once the copying process is complete, double-check the backup folder to ensure that all the BF4 game files have been successfully copied. Compare the file sizes and folder structure to the original game files to make sure nothing is missing.
5. Store the Backup Securely: It’s important to store the backup of your BF4 game files in a safe and secure location. Consider using an external hard drive, USB flash drive, or cloud storage service to keep your backup in case of any unforeseen issues or the need to reinstall the game.
By following these steps, you have successfully created a backup of your BF4 game files. This backup ensures that you can restore your game progress, settings, and any modifications or add-ons after the migration to the SSD. With the backup secured, you can now proceed to the next step of the migration process, which is installing a fresh copy of BF4 on the SSD.
Step 2: Install a Fresh Copy of BF4 on the SSD
Now that you have successfully backed up your BF4 game files, it’s time to install a fresh copy of the game on your SSD. Follow these steps to install BF4 on the SSD:
1. Connect the SSD: If you haven’t already done so, connect the SSD to your computer. Ensure that it is properly recognized and accessible.
2. Locate the BF4 Installation Files: If you purchased BF4 digitally, you can usually download the installation files from the platform where you bought the game (such as Origin or Steam). If you have a physical copy of the game, insert the BF4 DVD into your computer’s disc drive.
3. Run the Installation Wizard: Open the BF4 installation files or launch the setup wizard from the DVD. Follow the on-screen instructions to initiate the installation process. Make sure to choose the SSD as the installation location when prompted.
4. Agree to the License Terms: Read and accept the license terms and agreements presented during the installation process.
5. Customize the Installation (optional): Depending on your preferences, you may have the option to customize the installation by choosing specific installation options, such as language settings or installation directories. Adjust these settings according to your preferences.
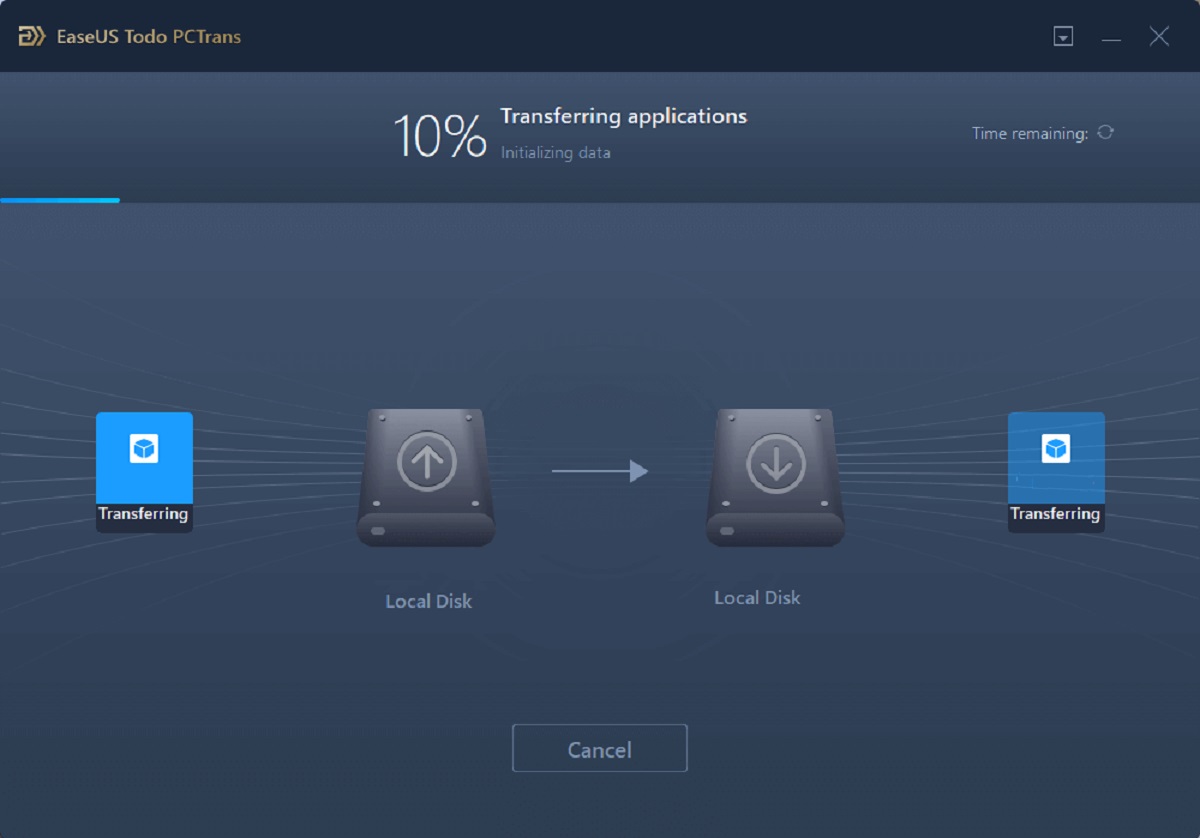
6. Begin the Installation: Once you have chosen your preferred installation options, click the “Install” or “Next” button to begin the installation process. The installation time may vary depending on the speed of your SSD and the size of the game files.
7. Wait for the Installation to Complete: Allow the installation process to run its course. Avoid interrupting or closing the installation wizard until it reaches 100% completion.
8. Launch the Game (optional): After the installation is complete, you may have the option to launch the game directly from the installation wizard. If not, you can close the installation wizard and proceed to the next step.
With the fresh copy of BF4 successfully installed on your SSD, you are one step closer to enjoying the benefits of faster loading times and improved game performance. In the next step, we will copy the backed-up game files to the SSD and update the game settings.
Step 3: Copying Game Files from Backup
Now that you have installed a fresh copy of BF4 on your SSD, it’s time to copy the game files from your backup to the SSD. Follow these steps to copy the game files:
1. Locate the Backup Folder: Start by locating the backup folder that you created in Step 1. This is where you stored the copy of your BF4 game files.
2. Open the BF4 Installation Directory on the SSD: Navigate to the installation directory of BF4 on your SSD. By default, this is usually “C:\Program Files (x86)\Origin Games\Battlefield 4” or a similar location, depending on where you installed the game.
3. Copy the Game Files: In the backup folder, select all of the BF4 game files, including the main game folder, subfolders, and any other related files. Use the right-click menu and choose “Copy” (or use the Ctrl+C shortcut).
4. Paste the Game Files to the SSD: Next, navigate to the BF4 installation directory on the SSD, right-click inside the folder, and choose “Paste” (or use the Ctrl+V shortcut). This will copy the game files from the backup folder to the SSD.
5. Replace Existing Files: During the copying process, you may be prompted to confirm whether you want to replace existing files. Choose the option to replace these files with the ones from your backup. This ensures that your game progress and settings are preserved.
6. Wait for the Copying Process to Complete: The copying process may take some time, depending on the size of your game files and the speed of your SSD. Wait patiently until the copying process reaches 100% completion.
7. Verify the Game Files: After the copying process is complete, double-check the game files in the BF4 installation directory on the SSD. Ensure that all the files have been successfully copied and that the folder structure matches that of the original backup.
Once you have successfully copied the game files from your backup to the SSD, you are ready to update the game settings to reflect the new installation. This step ensures that BF4 properly recognizes the game files on the SSD and avoids any potential issues during gameplay. In the next step, we will walk through the process of updating BF4 settings.
Step 4: Updating BF4 Settings
After copying the game files from your backup to the SSD, the next step is to update the Battlefield 4 (BF4) settings to reflect the new installation. This ensures that the game recognizes the files on the SSD and functions correctly. Follow these steps to update BF4 settings:
1. Launch BF4: Open the BF4 game launcher or double-click the game icon on your desktop to launch the game.
2. Access the Game Settings: Once the game is launched, navigate to the game settings menu. This can usually be found within the game launcher or by clicking on the “Options” or “Settings” menu within the game.
3. Verify the Installation Path: In the game settings, look for an option that allows you to specify the game installation path or directory. Ensure that the path reflects the location of the BF4 game files on your SSD. If necessary, browse and select the correct installation directory.
4. Adjust Graphics and Game Settings (optional): Take this opportunity to review and adjust your desired graphics and game settings. You may want to optimize the settings to suit your system’s capabilities and personal preferences. Make any necessary changes and save the settings.
5. Apply Updates (if available): Check for any available updates for BF4 and apply them. This ensures that you have the latest patches, bug fixes, and improvements for the game. Having the latest updates can enhance game performance and fix any known issues.
6. Test the Game: With the updated settings and any applicable updates installed, launch the game and run a quick test to ensure that it is working properly. Check for any errors, verify that your game progress and settings are intact, and ensure that the game is running smoothly on the SSD.
By updating the BF4 settings, you have ensured that the game recognizes the new installation on the SSD. With the game settings correctly configured and any updates applied, you are now ready to experience the improved performance and faster loading times that come with playing BF4 on an SSD. In the next step, we will walk through launching BF4 from the SSD.
Step 5: Launching BF4 from the SSD
Now that you have completed the migration process and updated the Battlefield 4 (BF4) settings, it’s time to launch the game from the SSD and start enjoying the benefits of improved performance and faster loading times. Follow these steps to launch BF4 from the SSD:
1. Locate the BF4 Launcher: Navigate to the location on your computer where you previously installed BF4 on the SSD. By default, this is usually “C:\Program Files (x86)\Origin Games\Battlefield 4” or a similar location, depending on your installation.
2. Double-Click on the BF4 Launcher: Find the BF4 launcher executable file (usually named “BF4.exe”). Double-click on it to launch the game. If you have a shortcut on your desktop or Start menu, you can use that as well.
3. Log in to Your Account (if required): If prompted, enter your login credentials to log in to your BF4 account. This ensures that you can access your progress, achievements, and any bonuses associated with your account.
4. Select the Game Mode and Play: Once logged in, you will be presented with various game modes to choose from, such as campaign, multiplayer, or co-op. Select your desired game mode and start playing BF4 from your SSD.
5. Monitor Performance and Enjoy the Benefits: As you play BF4 from the SSD, monitor the game’s performance and observe the improved loading times and overall smoother gameplay. Experience the benefits of having BF4 installed on a solid-state drive, such as reduced stuttering, faster map loading, and more responsive controls.
Remember to periodically save your progress and customize the game settings to suit your preferences. With BF4 now launched from the SSD, you can enjoy a seamless gaming experience and fully immerse yourself in the world of Battlefield 4.
Congratulations! You have successfully moved BF4 to an SSD and completed the process of launching the game from the new storage drive. Enjoy your enhanced gaming experience and get ready for an exciting adventure in BF4.
Conclusion
Moving Battlefield 4 (BF4) to a Solid State Drive (SSD) can greatly enhance your gaming experience. By following the steps outlined in this guide, you have successfully migrated BF4 to an SSD and unlocked the benefits of faster loading times, improved game performance, and reduced stuttering and texture pop-in.
We started by understanding the advantages of using an SSD for gaming and discussed the prerequisites for the migration process. Then, we went through each step, including backing up the game files, installing a fresh copy of BF4 on the SSD, copying the game files from the backup, updating the BF4 settings, and finally launching the game from the SSD.
Throughout the process, it is important to ensure that you have a backup of your game files to preserve your progress, settings, and any modifications or add-ons. This ensures a smooth transition to the SSD without any data loss or disruptions to your gaming experience.
By moving BF4 to an SSD, you can fully unleash the potential of the game, experiencing faster loading times, reduced instances of lag, and improved overall performance. The SSD’s faster data transfer speeds and quicker access times allow for a seamless and immersive gaming experience that will take your gameplay to new heights.
Now that you have completed the migration process, enjoy your enhanced gaming experience and take full advantage of the benefits that come with playing BF4 from an SSD. Relish in faster map loading, reduced waiting times, and a smoother gameplay experience that will allow you to fully immerse yourself in the world of Battlefield 4.
Thank you for following this guide, and we hope that it has been helpful in optimizing your BF4 gaming experience. Happy gaming!