Introduction
Welcome to the world of RFID readers! In this exciting era of technology, Radio Frequency Identification (RFID) has revolutionized the way we interact with everyday objects. From tracking inventory in warehouses to accessing secure areas, RFID technology provides a convenient and efficient solution.
An RFID reader is a crucial component of any RFID system. It is responsible for communicating with RFID tags, which contain unique identification information. By using electromagnetic fields, the RFID reader can wirelessly read and write data to the tags, making it an essential tool in various industries.
If you are curious about how to make an RFID reader, you have come to the right place. In this comprehensive guide, we will explore the components needed and provide you with a step-by-step approach to creating your own RFID reader. Whether you have a specific project in mind or simply want to expand your knowledge, this guide will equip you with the necessary skills to embark on your RFID reader journey.
Before we dive into the technical details, it is important to understand the basic concepts of RFID technology. In its simplest form, RFID consists of two key elements: the RFID reader and RFID tags. The reader, which we will focus on in this guide, is responsible for sending and receiving signals to communicate with the tags. These tags, which can be attached to objects or embedded in cards, store information that can be read by the reader.
As we proceed, we will explore the components required for building an RFID reader and guide you through the process step-by-step. Don’t worry if you have limited experience with electronics or programming – we will provide clear instructions that anyone can follow. Are you ready to delve into the fascinating world of RFID readers? Let’s get started!
What is an RFID Reader?
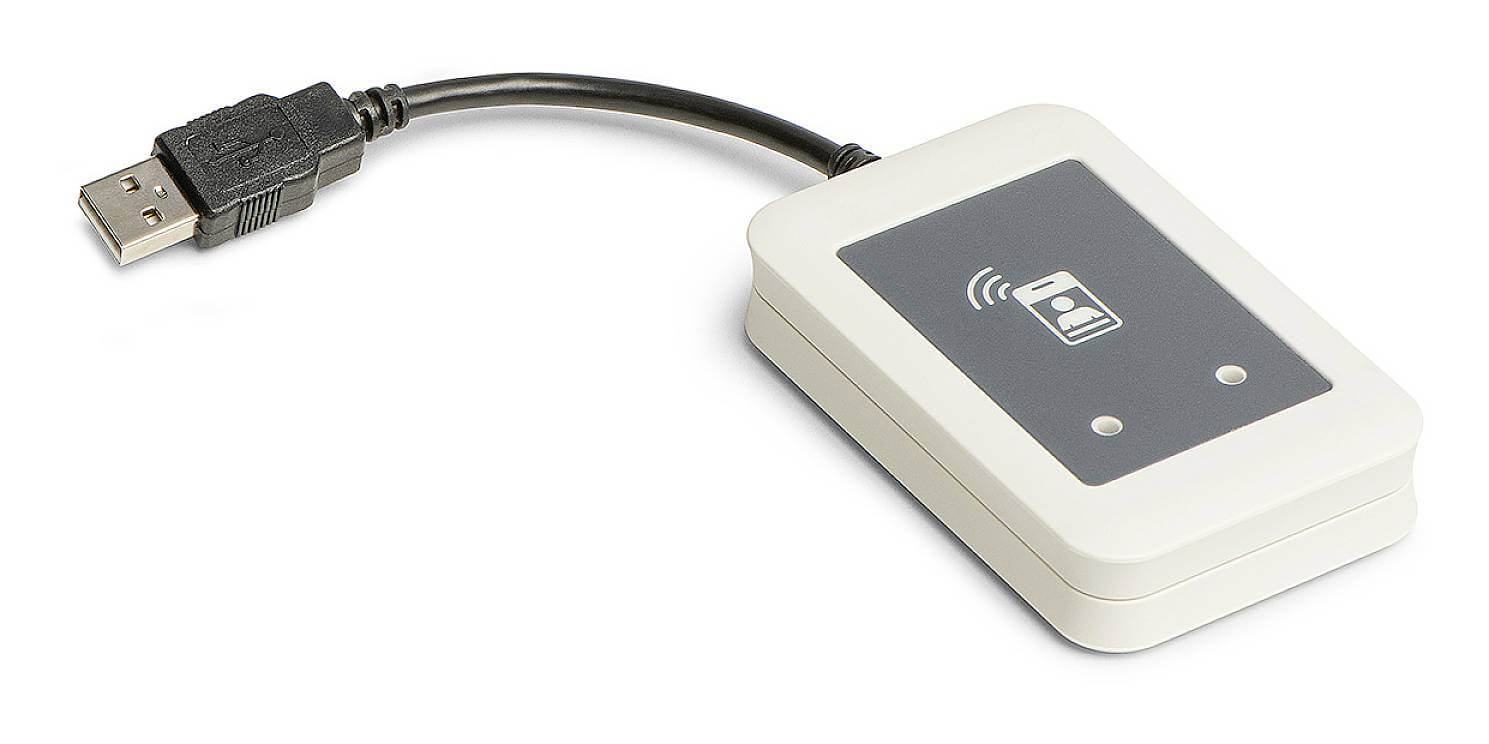
Before we delve into the intricacies of building an RFID reader, let’s take a closer look at what it actually is. At its core, an RFID reader is a device that uses radio frequency technology to communicate with RFID tags. These tags, also known as transponders, contain unique identification information that can be wirelessly transmitted and received by the reader.
The primary function of an RFID reader is to initiate communication with the tags and extract the information stored within them. This information can include product details, identification numbers, or any other relevant data. The reader not only reads the information from the tags but can also write new data onto them, allowing for two-way communication.
RFID readers come in various shapes and sizes, catering to different needs and use cases. They can be handheld devices or integrated into larger systems or machinery. Some readers are designed to be stationary, while others can be mobile, enabling portability in applications such as inventory management or asset tracking.
One of the key advantages of RFID readers is their ability to perform non-contact reading. Unlike barcode scanners that require direct line-of-sight with the barcode, RFID readers can read tags from a distance, even if they are not visible. This makes RFID technology ideal for applications where quick and efficient data capture is essential, such as in warehouses, logistics, and access control systems.
RFID readers utilize electromagnetic fields to establish communication with the tags. These fields are created through antennas embedded within the reader, which emit radio waves. When the tag comes within range of the reader’s field, it absorbs the energy from the electromagnetic waves and uses it to power up and transmit its stored information back to the reader.
In addition to facilitating communication between the reader and tags, RFID readers can also be equipped with additional features and functionalities. For instance, some readers may have built-in memory to store data locally or support for various communication protocols to enable seamless integration with existing systems. The possibilities are vast, and the specific features will depend on the intended application and the capabilities of the reader.
Now that we have a clear understanding of what an RFID reader is, let’s move on to exploring the components required to build one from scratch.
Components Needed for Making an RFID Reader
Building your own RFID reader requires a few key components that work together to create a functional system. While the specific components may vary depending on your project requirements, here are the essential elements needed to construct an RFID reader:
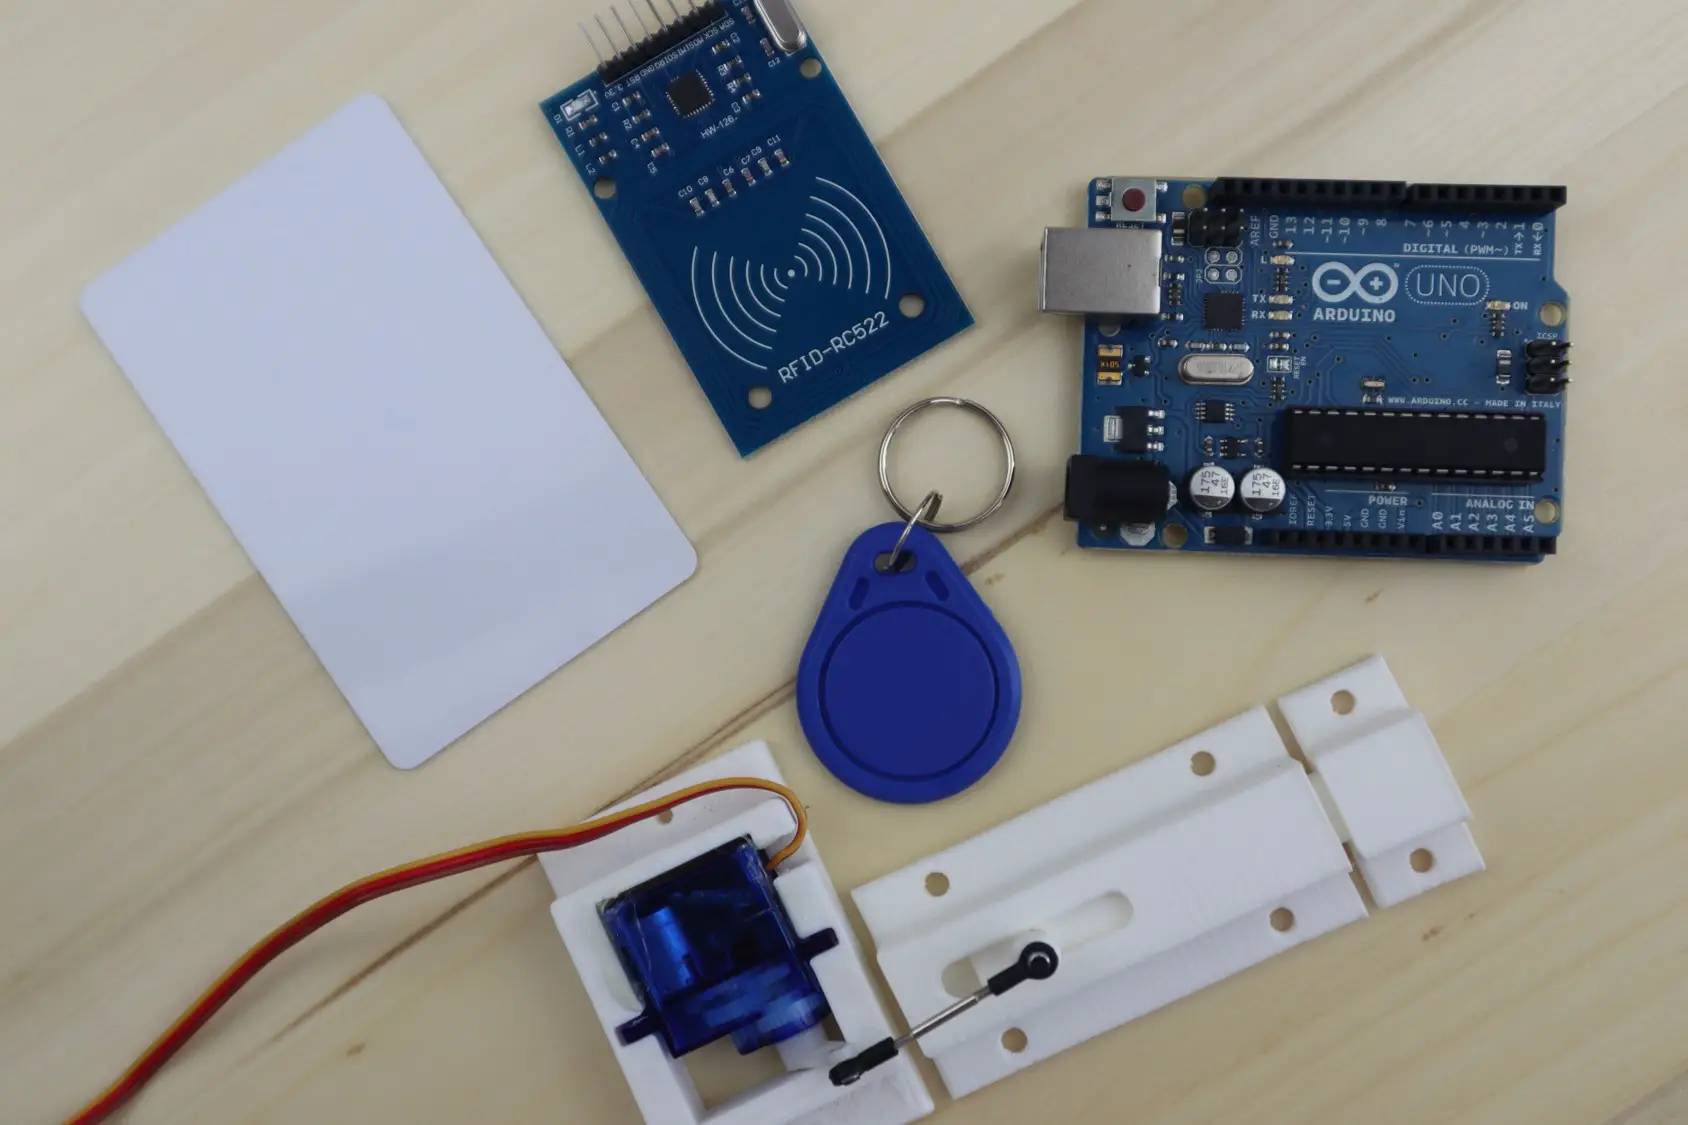
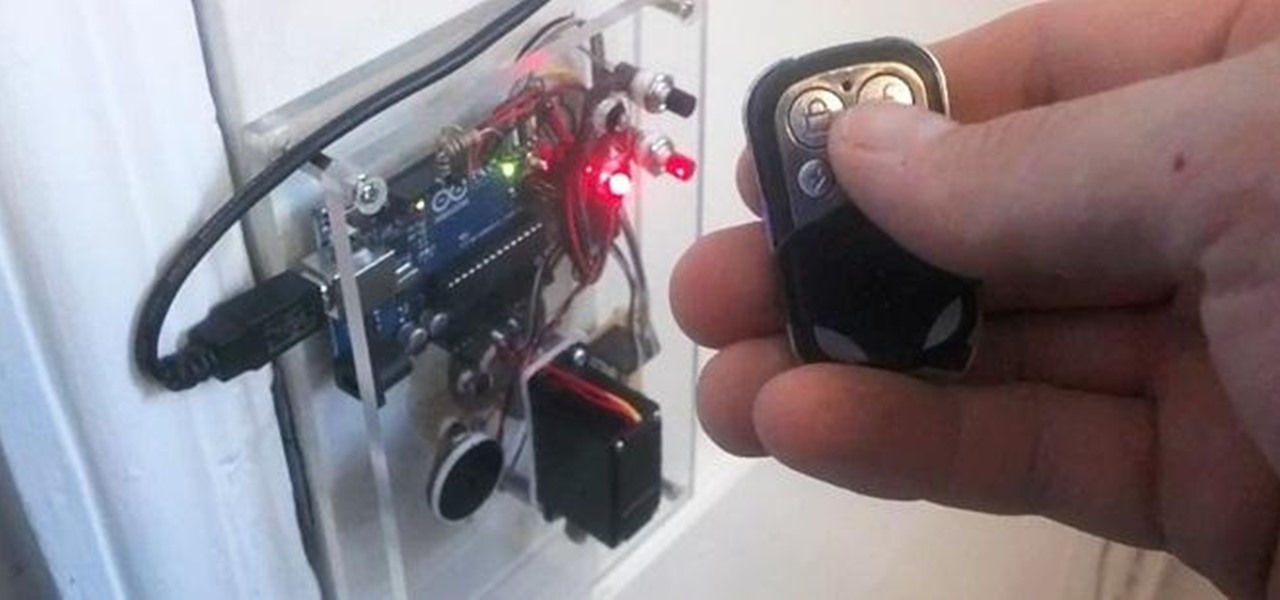
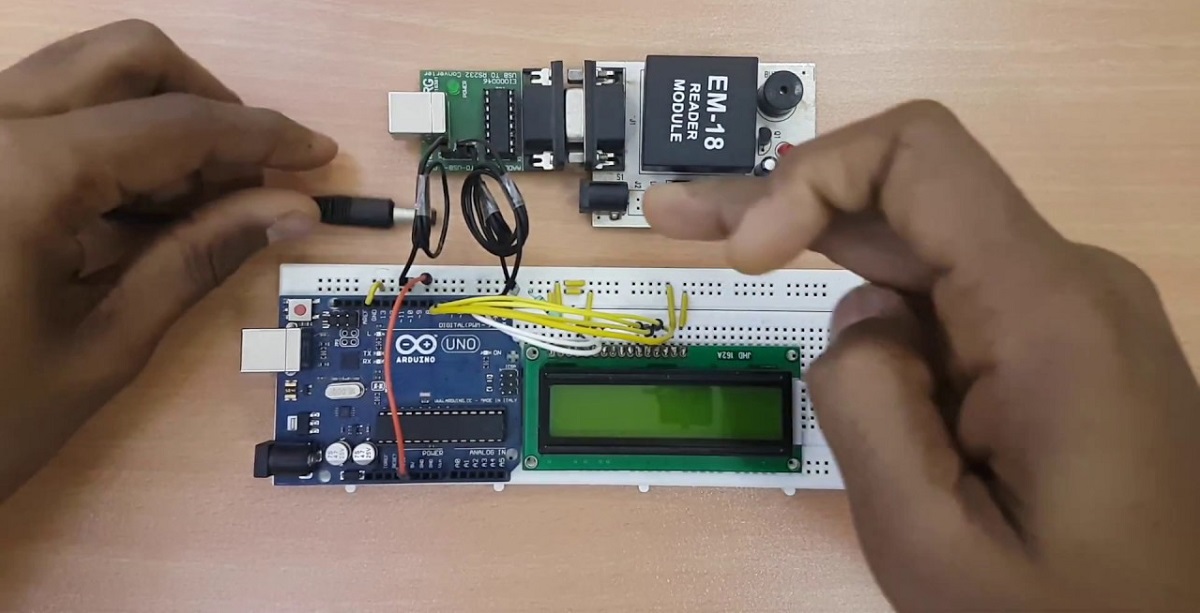
1. Microcontroller: The heart and brain of your RFID reader setup, a microcontroller handles the processing and communication with other components. Popular choices include Arduino and Raspberry Pi, which provide an easy-to-use development platform and ample community support.
2. RFID Reader Module: This module is responsible for interacting with RFID tags. It typically includes an antenna for transmitting and receiving radio waves and a reader chip that processes the signals. Different modules support various RFID frequencies, such as low-frequency (LF), high-frequency (HF), and ultra-high-frequency (UHF), so choose the one that matches your tags’ specifications.
3. Antenna: The antenna is crucial for establishing communication between the RFID reader and tags. Its design and size are determined by the operating frequency of your RFID system. You can either build your own antenna or purchase one that is ready to use.
4. Power Supply: Providing a stable power source is essential for the proper functioning of your RFID reader. Depending on your setup, you may need to choose between battery-powered or AC/DC power supplies. Ensure that the power supply meets the voltage and current requirements of your microcontroller and RFID reader module.
5. Display Component (Optional): Adding a display component, such as an LCD screen or LED indicator, can enhance the user experience. It allows for interaction with the RFID reader, displaying relevant information or indicating the status of the reading process.
6. Interface: Your RFID reader will need a way to communicate the read data to external devices or systems. This can be achieved through various interfaces, depending on your project requirements. Common interface options include USB, UART, and Ethernet.
7. Enclosure: While not a functional component, an enclosure is essential to protect your RFID reader from external elements and provide a professional appearance. You can either 3D print or purchase a suitable enclosure that accommodates all the components and allows for proper ventilation.
These are the fundamental components needed to create a basic RFID reader. However, depending on the complexity of your project, you may require additional components such as voltage regulators, level shifters, or external memory. It is important to research and select components that are compatible with each other and align with your project goals.
With the necessary components at hand, let’s move on to the next section: a step-by-step guide on how to assemble and program your RFID reader.
Step-by-Step Guide to Making an RFID Reader
Building your own RFID reader requires careful assembly and programming. Follow these step-by-step instructions to create your very own RFID reader:
-
Assemble the Hardware:
Start by connecting the RFID reader module to your chosen microcontroller board. Make sure to follow the pinout instructions provided by the manufacturer. Connect the power supply to the microcontroller and the RFID reader module, ensuring the voltage and current requirements are met. If using a display component, connect it to the appropriate pins on the microcontroller.
-
Construct or Acquire the Antenna:
Depending on your project requirements, either construct your own antenna or purchase a compatible one. Follow detailed guides or specifications provided by the antenna manufacturer to ensure proper construction and connection to the RFID reader module.
-
Add Additional Components (Optional):
If desired, incorporate additional components such as LEDs, buttons, or an LCD screen. These can enhance the functionality and user experience of your RFID reader. Connect these components to the microcontroller according to their specifications and pinout requirements.
-
Enclose and Secure the Components:
Place all the assembled hardware into a suitable enclosure. Ensure that the components fit snugly and that there is appropriate space for ventilation. Secure the components in place using screws or other suitable fasteners.
-
Upload the Firmware:
Using the appropriate development environment for your microcontroller, code the firmware to handle communication with the RFID reader module. This involves setting up libraries, defining pin configurations, and implementing logic to handle RFID tag detection and data reading. Consult the documentation and examples provided by the microcontroller board manufacturer for guidance.
-
Test and Refine:
Power up the RFID reader and test its functionality. Place an RFID tag within the range of the antenna and verify that the reader successfully reads the tag’s information. Test different tag orientations and distances to ensure reliable performance. If any issues arise, troubleshoot the connections, code, or configuration until the reader operates as expected.
Congratulations! You have successfully built your own RFID reader! Now, you can explore various applications and expand its capabilities based on your project requirements. Feel free to experiment with different antenna designs or add functionality to suit your specific needs.
Remember, building an RFID reader requires patience and persistence, especially during the programming and testing phases. Utilize online resources, forums, and community support to overcome challenges and optimize your reader’s performance.
In the next section, we will discuss how to test and troubleshoot your RFID reader to ensure its robust functionality.
Testing and Troubleshooting the RFID Reader
Once you have assembled and programmed your RFID reader, it’s time to put it to the test. Testing your reader ensures that it functions correctly and reads RFID tags accurately. Additionally, troubleshooting any issues that may arise during testing will help improve the overall performance of your RFID reader. Here’s a step-by-step guide for testing and troubleshooting your RFID reader:
- Power On and Initialization: Connect your RFID reader to a reliable power source and ensure that all components are properly connected. Verify that your microcontroller board initializes correctly by checking for any error messages or indications on the display, if applicable.
- Tag Placement and Detection: Place an RFID tag within the range of the antenna and observe whether your reader detects the tag. Check whether the tag’s information is displayed correctly on the screen or outputted to your desired interface. If the tag is not detected, double-check the antenna connection, positioning, and orientation.
- Read Range Testing: Test the read range of your RFID reader by gradually increasing the distance between the antenna and the RFID tag. Monitor the point at which the reader can no longer detect the tag reliably. This will help you determine the effective read range of your reader and identify any potential issues with signal strength or interference.
- Multiple Tag Handling: Place multiple RFID tags within the read range of your reader and observe how it handles simultaneous reads. Ensure that your reader can identify and process the information from multiple tags accurately without interference or data corruption.
- Performance Optimization: If you encounter any issues during testing, such as inconsistent reads or inaccurate data, consider optimization techniques. This may include fine-tuning the antenna design, adjusting the power supply voltage, or modifying the firmware code to improve the reader’s performance. Experiment with different settings and configurations to achieve optimal results.
- Interference and Environmental Factors: Evaluate the impact of external factors on the performance of your RFID reader. Test in different environments, such as areas with high electromagnetic interference or near metal objects, to observe any potential disruptions or limitations. Analyze the results and make necessary adjustments to mitigate the effects of interference.
- Documentation and Troubleshooting Resources: Keep detailed documentation of your testing process, including any issues encountered and their resolutions. This documentation will be valuable in troubleshooting future problems or refinements to your RFID reader. Additionally, utilize online resources, forums, and community support to seek guidance and troubleshoot any persistent issues you may encounter.
By following these testing and troubleshooting steps, you can ensure that your RFID reader performs reliably and accurately. Regular testing and refinement will help optimize its functionality and address any challenges that may arise.
In the next section, we will conclude our guide and recap the key points covered in building your own RFID reader.
Conclusion
Congratulations on completing the journey of building your own RFID reader! Throughout this guide, we explored the fascinating world of RFID technology, discussed the essential components needed, and provided a step-by-step guide to assemble and program your very own RFID reader. By following these instructions, you have gained valuable insights into building a functional RFID reader and have empowered yourself to explore various applications of this technology.
Remember, the key to success lies in understanding the fundamental concepts of RFID technology, carefully choosing compatible components, and meticulously assembling and programming your reader. Testing and troubleshooting your reader play vital roles in ensuring its functionality and optimizing its performance. Don’t shy away from experimenting and refining your reader based on your project requirements and the challenges you encounter along the way.
Building an RFID reader not only provides you with a deeper understanding of the technology but also opens doors to endless possibilities. You can use your reader for inventory management, access control systems, automation, and much more. Additionally, the skills you have acquired through this project can be applied to future endeavors in the field of electronics and technology.
Remember to keep exploring and expanding your knowledge. Stay up-to-date with the latest advancements in RFID technology and seek out new projects to further sharpen your skills. Engage with the electronics community, participate in forums, and share your experiences to inspire and learn from others.
We hope that this guide has inspired you to embark on the journey of building your own RFID reader and provided you with the necessary knowledge to get started. Best of luck in all your future endeavors, and may your RFID reader bring you success and innovation!