Introduction
Welcome to our guide on how to make an RFID protector. In today’s digital age, technology has brought convenience and efficiency to our lives in many ways. One such technology is RFID (Radio Frequency Identification), which uses radio waves to transmit data wirelessly. RFID technology is commonly used in various applications, including contactless payment cards, access passes, and key fobs.
While RFID technology offers many benefits, it also comes with potential security risks. Hackers have been known to exploit vulnerabilities in RFID systems to gain unauthorized access or steal sensitive information. This has led to an increased concern about protecting personal data and preventing identity theft.
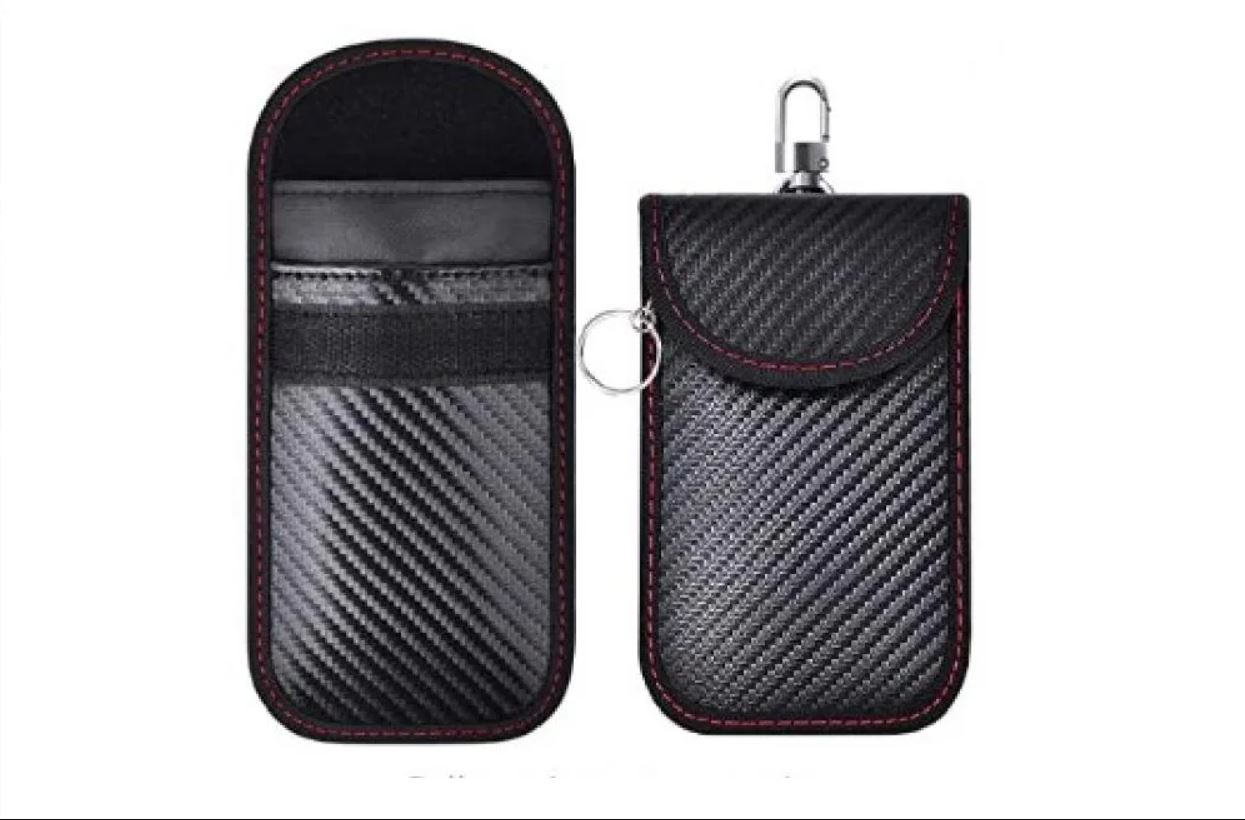
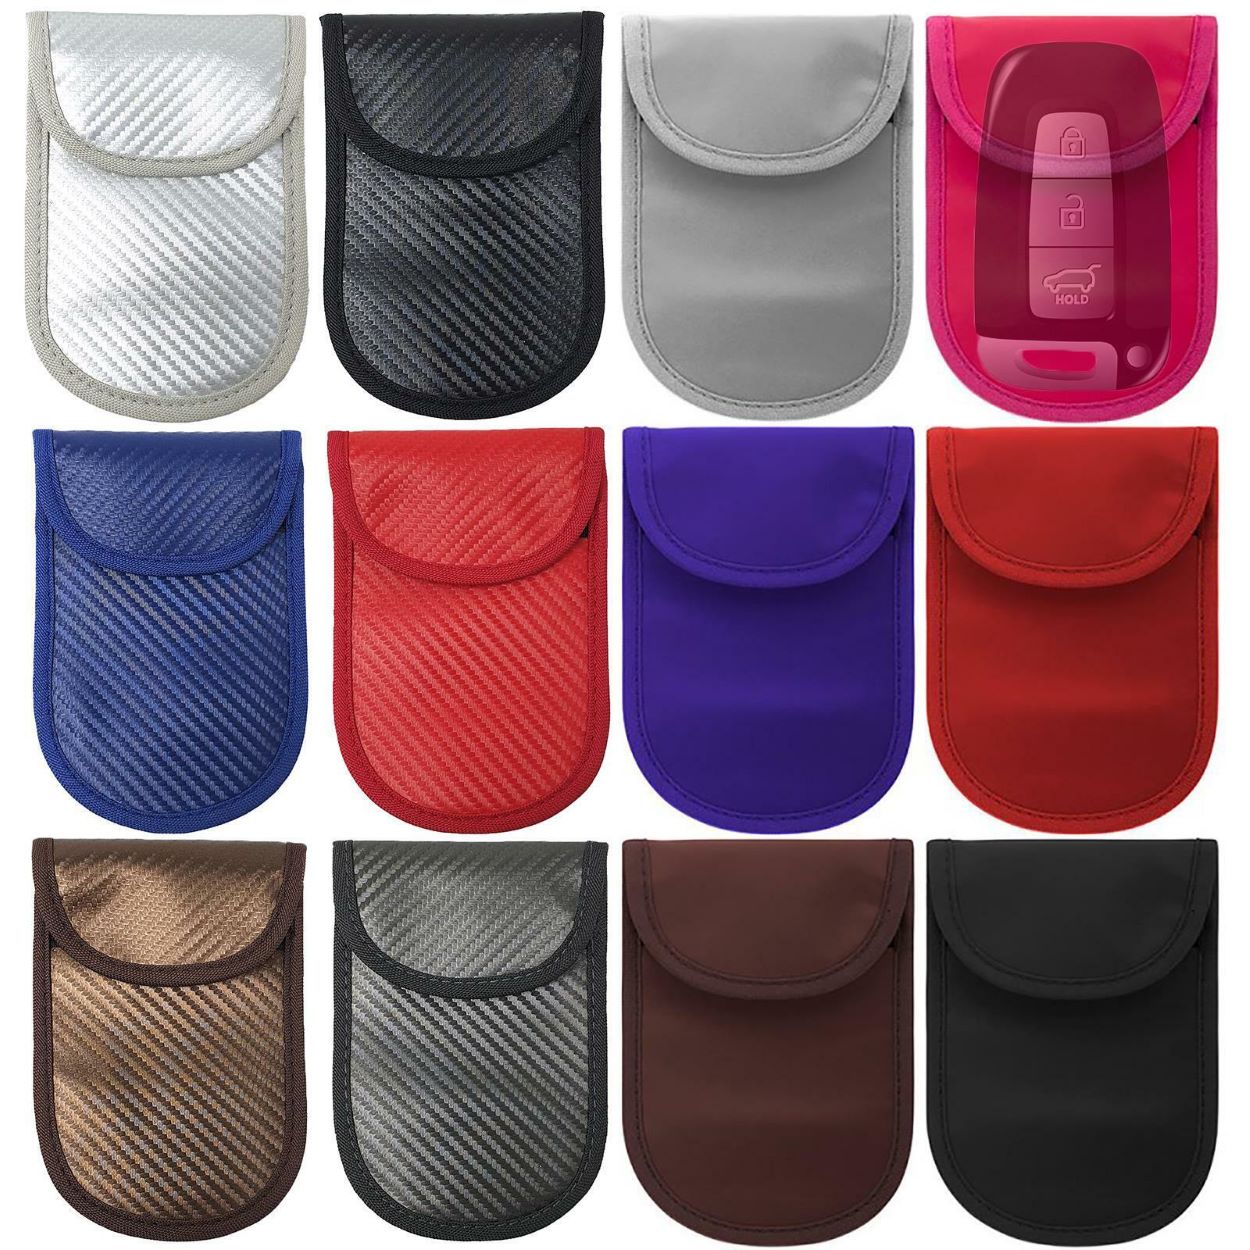
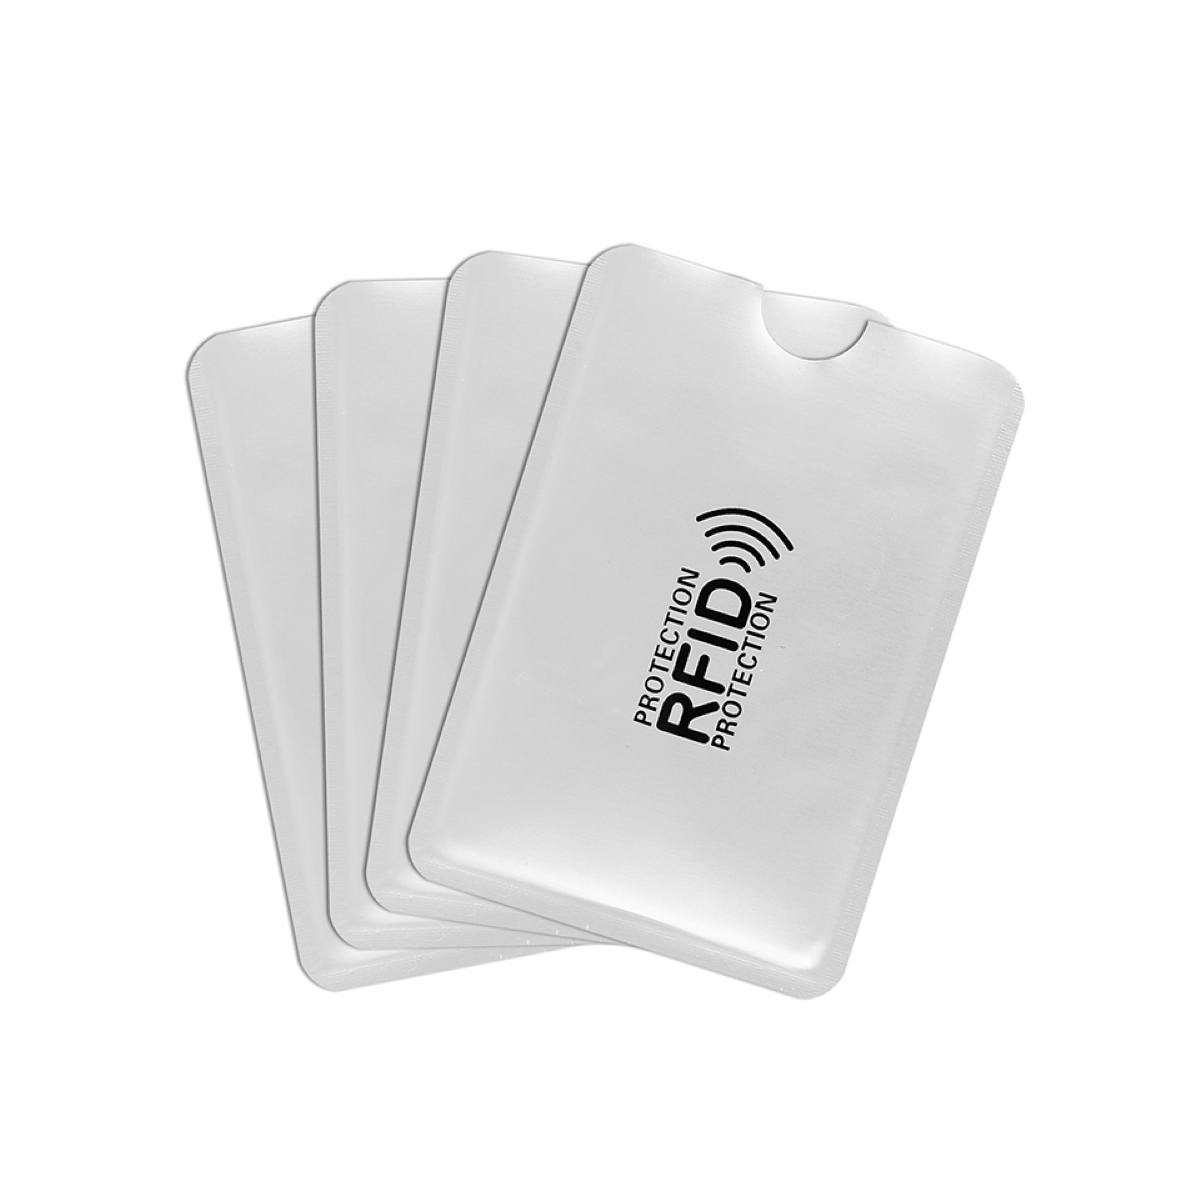
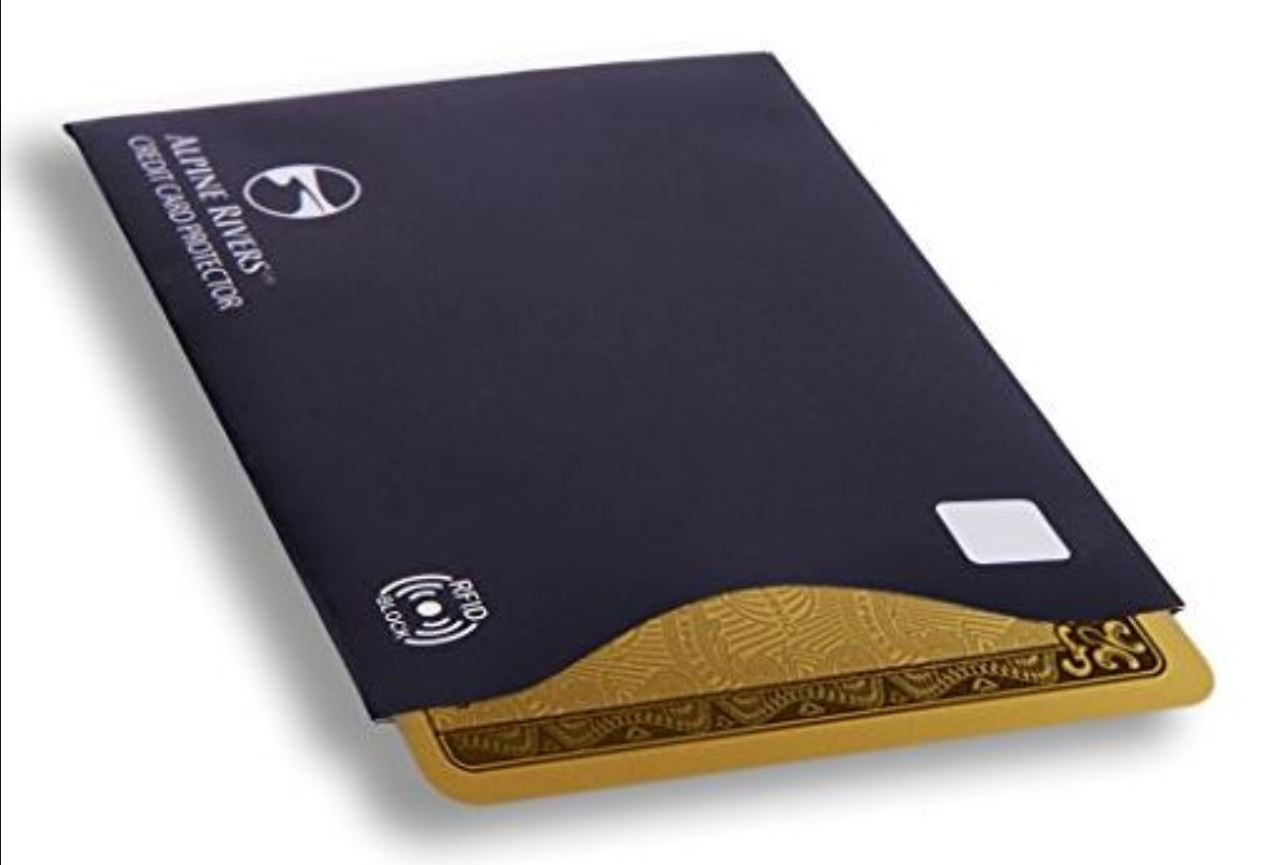
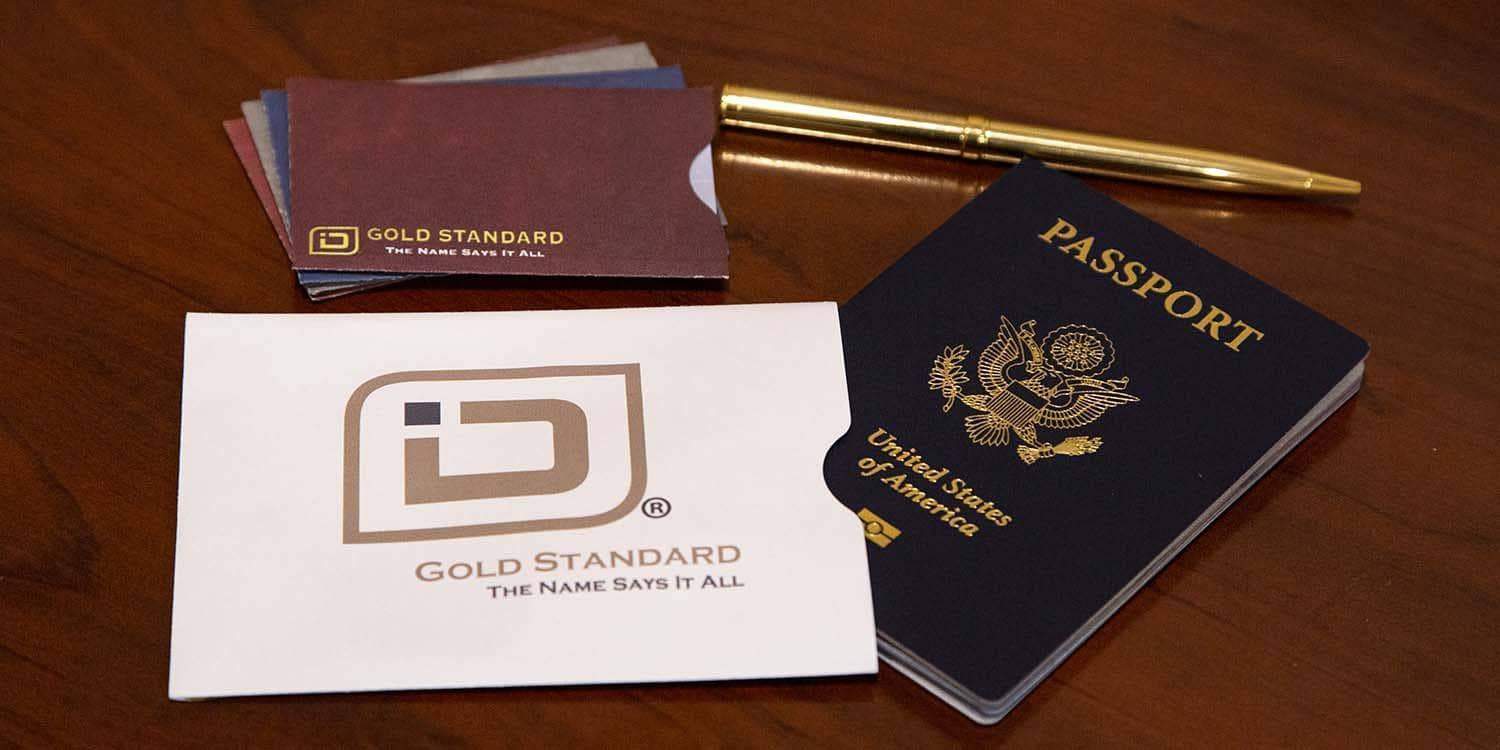
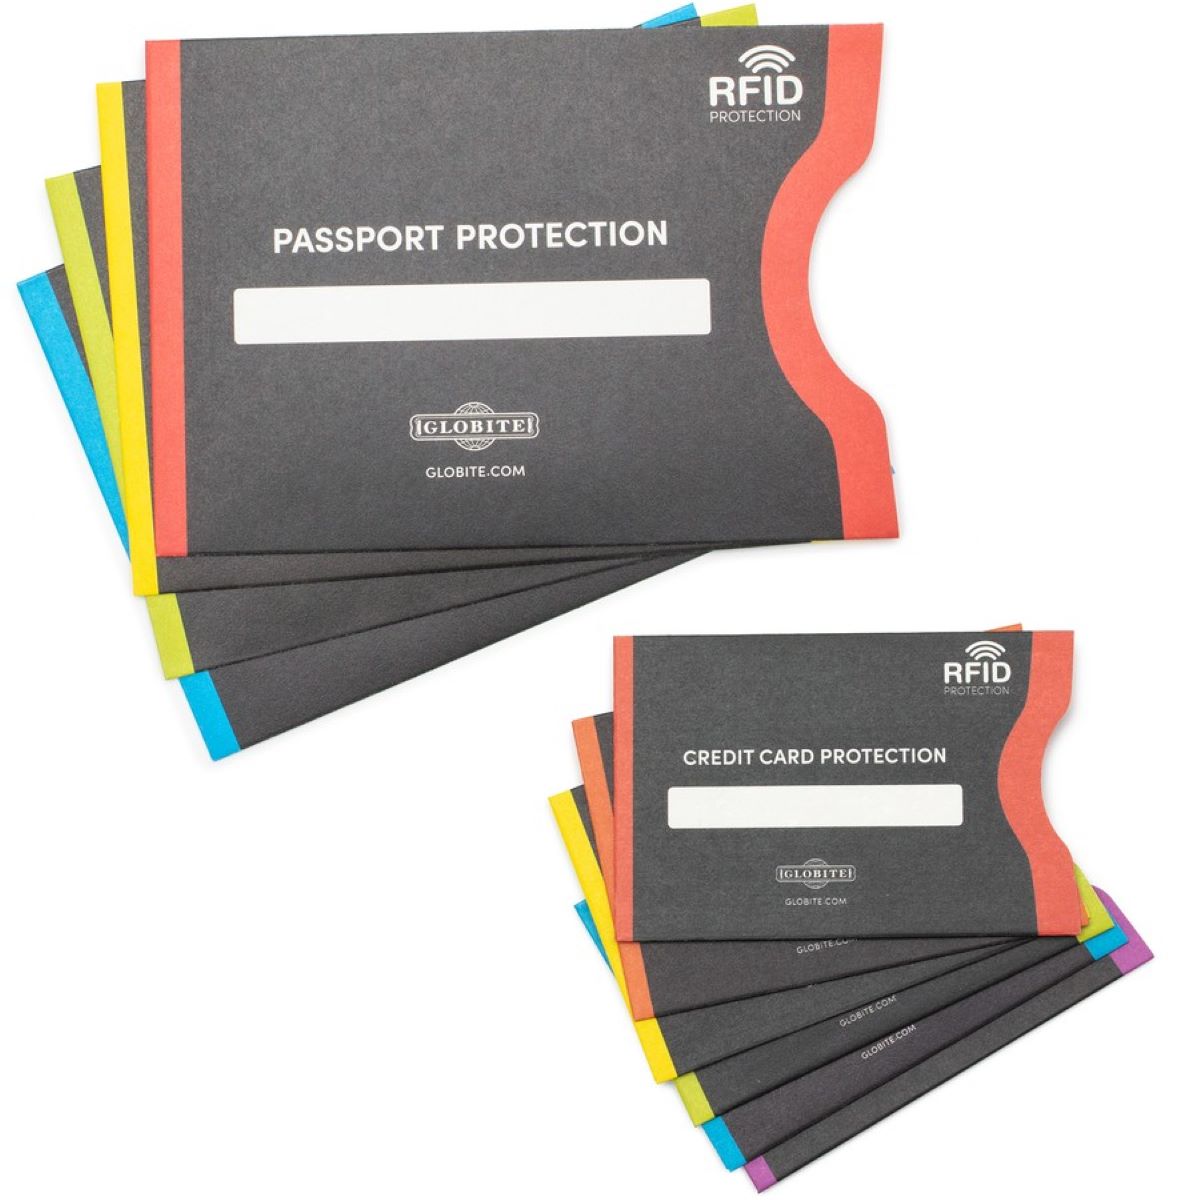
One effective way to safeguard your RFID-enabled cards and devices is by using an RFID protector. An RFID protector is a simple yet effective device that blocks or shields RFID signals, preventing unauthorized scanning or data theft. While there are commercially available RFID protectors, making your own can be a cost-effective and satisfying DIY project.
In this guide, we will walk you through the process of creating your own RFID protector using common materials that you may already have at home. We will provide step-by-step instructions and tips to help you create a functional and stylish RFID protector.
By the end of this guide, you will have a custom-made RFID protector that not only adds a layer of protection to your RFID-enabled cards and devices but also showcases your creativity and DIY skills. So let’s get started on making an RFID protector that will keep your information secure.
What is RFID?
RFID (Radio Frequency Identification) technology is a wireless method of transmitting data using radio waves. It allows for the identification and tracking of objects equipped with RFID tags or transponders. These tags contain unique information that can be read by an RFID reader or scanner.
RFID technology has a wide range of applications across various industries. It is commonly used in contactless payment cards, access control systems, inventory management, supply chain tracking, and even in passports and driver’s licenses.
The basic components of an RFID system include an RFID tag, an RFID reader, and a backend database or system that processes and stores the collected data. The RFID tag, often embedded in a card or a sticker, consists of a microchip and an antenna. The microchip stores the unique information associated with the tag, while the antenna allows the tag to communicate with the RFID reader.
When an RFID tag comes into the range of an RFID reader, the reader emits radio waves that power the tag and enable it to transmit its stored information back to the reader. This data can include anything from an identification number to more complex information like product details or a person’s biometric data.
One of the key advantages of RFID technology is its ability to quickly and wirelessly access information. Unlike barcodes that require line-of-sight scanning, RFID technology allows for multiple tags to be read simultaneously, making it faster and more efficient in various applications.
However, the convenience of RFID technology also poses security risks. RFID tags can be susceptible to unauthorized scanning or cloning, enabling potential hackers to gain access to sensitive information or carry out fraudulent activities. This is where RFID protectors come into play, providing an additional layer of security and protecting your data from unauthorized access.
Why do you need an RFID protector?
In today’s digital world, where technology is advancing rapidly, it’s essential to take steps to protect our personal information and ensure our privacy and security. This is especially true when it comes to RFID-enabled cards and devices.
Here are a few reasons why you may need an RFID protector:
- Prevent unauthorized scanning: RFID-enabled cards, such as contactless payment cards, can be vulnerable to unauthorized scanning. Hackers equipped with an RFID reader can potentially gain access to your card information without your knowledge. An RFID protector acts as a shield, blocking the RFID signals and preventing unauthorized scanning.
- Protect personal information: Many RFID-enabled cards, such as access passes or ID cards, contain personal information that can be compromised if intercepted. By using an RFID protector, you can safeguard your personal information from being accessed or stolen by unauthorized individuals.
- Avoid identity theft: With the rise of digital crimes, including identity theft, it’s crucial to take proactive measures to protect yourself. RFID-enabled cards, like passports and driver’s licenses, can hold sensitive personal information. An RFID protector creates an additional barrier against potential thieves trying to clone or access your personal data.
- Maintain privacy: RFID technology allows for the tracking and monitoring of objects equipped with RFID tags. While this can be useful in some applications, it can also infringe on your privacy. An RFID protector can help maintain your privacy by preventing unauthorized tracking and monitoring of your RFID-enabled cards or devices.
- Customization and style: Making your own RFID protector allows you to add a personal touch and showcase your creativity. You can customize the design, colors, and materials to create a unique protector that reflects your style and preferences.
By using an RFID protector, you can have peace of mind knowing that your RFID-enabled cards and devices are protected against potential security threats. Whether it’s preventing unauthorized scanning, protecting your personal information, or maintaining privacy, an RFID protector is a simple yet effective solution to enhance your security in an increasingly digital world.
Materials needed for making an RFID protector
Before you start making your own RFID protector, you’ll need a few key materials. The good news is that many of these materials can be easily found around your home or purchased inexpensively. Here’s a list of what you’ll need:
- Foil or metal sheet: The primary material for creating an RFID protector is a thin layer of foil or a metal sheet. Aluminum foil, in particular, works well due to its conductive properties. Alternatively, you can use a metal sheet such as copper or brass. Make sure the foil or metal sheet is clean and free of any debris or particles.
- Cardstock or thick paper: You’ll need a sturdy material to create the base or backing for your RFID protector. Cardstock or thick paper is ideal for this purpose as it provides stability and durability. Choose a size that is slightly larger than your RFID cards or devices.
- Scissors: Scissors are essential for cutting and shaping the foil or metal sheet and the cardstock. Make sure your scissors are sharp for clean cuts.
- Adhesive: You’ll need an adhesive to secure the foil or metal sheet to the cardstock. Double-sided tape or glue can both be effective options. Choose an adhesive that is strong and durable.
- Ruler or measuring tape: Accurate measurements are important for creating a properly fitting RFID protector. A ruler or measuring tape will help you measure and cut the foil or metal sheet to the correct size.
- Pencil or pen: A pencil or pen will be useful for marking the measurements on the foil or metal sheet and the cardstock. Make sure to use a writing instrument that is easily visible on the materials you’re working with.
These materials are readily available and will enable you to create a functional and stylish RFID protector. If you prefer, you can also explore options to personalize and decorate your RFID protector using additional materials such as colored paper, stickers, or markers.
Now that you have the necessary materials, you’re ready to move on to the next step: preparing the materials for the RFID protector.
Step 1: Prepare the materials
Before diving into the process of making your RFID protector, it’s crucial to prepare all the necessary materials. By doing so, you’ll ensure a smooth and hassle-free DIY experience. Here’s how to get started:
- Gather the materials: Collect all the materials listed in the previous section. This typically includes foil or a metal sheet, cardstock or thick paper, scissors, adhesive, ruler or measuring tape, and a pencil or pen. Having all the materials readily available will streamline the process.
- Clean the foil or metal sheet: Before you begin working with the foil or metal sheet, make sure it’s clean and free of any debris or particles. Wipe it down with a clean cloth to ensure a smooth and pristine surface.
- Cut the cardstock: Take the cardstock or thick paper and cut it into a size slightly larger than your RFID cards or devices. This will serve as the base or backing for your RFID protector.
- Prepare your work area: Find a clean and well-lit area to work on your RFID protector. Having a clutter-free space will make it easier to measure, cut, and assemble the materials. Lay out all the materials within easy reach.
By properly preparing the materials before you begin the DIY process, you’ll set yourself up for success. This step ensures that all the necessary components are at your fingertips, and your work area is organized and ready for action. Now that everything is in place, you’re ready to move on to the next step: measuring and cutting the foil or metal sheet.
Step 2: Measure and cut the foil or metal sheet
Once you have prepared all the necessary materials, it’s time to start creating your RFID protector. In this step, you will measure and cut the foil or metal sheet to the appropriate size. Follow these instructions to ensure accurate measurements and clean cuts:
- Measure the dimensions: Take your ruler or measuring tape and determine the dimensions of your RFID cards or devices. Typically, they are standard sizes, such as credit card dimensions. Note down the measurements as this will be the size of the foil or metal sheet needed for your protector.
- Mark the measurements: Using a pencil or pen, carefully mark the measurements on the backside of the foil or metal sheet. Be precise and ensure that the lines are straight and accurate.
- Cut the foil or metal sheet: Using sharp scissors, carefully cut along the marked lines to create the desired size of the foil or metal sheet. Take your time and ensure clean cuts without leaving any uneven edges.
- Trim if necessary: Once you have cut the foil or metal sheet, check if it fits properly within the dimensions of your cardstock or thick paper. If it’s slightly larger, you may need to trim it down using the scissors to ensure a proper fit.
By accurately measuring and cutting the foil or metal sheet, you’ll create a precise fitting for your RFID protector. This step is crucial for ensuring that the protector covers and shields the entire RFID card or device effectively.
With the foil or metal sheet cut to size, you’ve completed the second step of making your RFID protector. The next step will focus on creating the card pocket, so let’s move on to the next part of the process.
Step 3: Create the card pocket
Creating the card pocket is an important step in making your RFID protector. This pocket will securely hold your RFID card or device and ensure that it stays protected. Follow these instructions to create a functional and secure card pocket:
- Place the cut foil or metal sheet on the cardstock: Take the foil or metal sheet that you cut in the previous step and place it on top of the cardstock or thick paper.
- Position the card: Take your RFID card or device and place it on top of the foil or metal sheet. Align it so that it is centered and in the desired position.
- Mark the edges: Using a pencil or pen, carefully mark the edges of the card on the foil or metal sheet. Make sure to mark all four sides.
- Create the pocket: From the marked edges, draw additional lines inside the markings, leaving a small border around the card. These lines will serve as the guidelines for creating the pocket.
- Cut along the guidelines: Using sharp scissors or a craft knife, carefully cut along the guidelines to create the pocket. Take your time and ensure clean and accurate cuts.
- Test the pocket: Once the pocket is created, test it by placing the RFID card or device inside. It should fit snugly and securely without any gaps or loose edges.
Creating a well-designed and properly fitting card pocket is crucial for the functionality of your RFID protector. The pocket should hold the card or device securely while allowing for easy insertion and removal. Take your time during this step to ensure a professional-looking and functional card pocket.
With the card pocket created, you’re one step closer to completing your RFID protector. The next step will focus on assembling the pieces together, so let’s move on to the next part of the process.
Step 4: Assemble the pieces together
Now that you have created the card pocket, it’s time to assemble the different components of your RFID protector. Follow these instructions to securely attach the foil or metal sheet to the cardstock:
- Apply adhesive to the cardstock: Using your chosen adhesive, apply a thin and even layer onto the cardstock. This is where the foil or metal sheet will be attached.
- Align the foil or metal sheet: Carefully place the foil or metal sheet on top of the adhesive, aligning it with the edges of the cardstock. Make sure it is centered and positioned correctly.
- Press and smooth out any bubbles: Gently press down on the foil or metal sheet to ensure proper adhesion. Use your fingers or a smooth object to smooth out any bubbles or wrinkles that may occur during the process.
- Trim any excess: If there is any foil or metal sheet extending beyond the edges of the cardstock, use scissors to trim it, creating a neat and clean edge.
- Allow the adhesive to dry: Follow the instructions provided with your chosen adhesive to allow it to dry completely. This ensures a secure bond between the foil or metal sheet and the cardstock.
By following these steps, you will effectively assemble the pieces of your RFID protector. The strong bond between the foil or metal sheet and the cardstock ensures durability and longevity for your RFID protector. Take your time during this step to ensure a professional and visually appealing finish.
Once the adhesive has dried, your RFID protector will be ready for the final step: securing the edges. Let’s move on to the next part of the process.
Step 5: Secure the edges
Securing the edges of your RFID protector is an important step to ensure that the foil or metal sheet stays firmly attached to the cardstock and provides optimal protection for your RFID card or device. Follow these instructions to secure the edges effectively:
- Choose a suitable edge-sealing method: There are several options for securing the edges of your RFID protector, depending on the materials you’re using and personal preference. You can use clear tape, adhesive strips, or even decorative washi tape for a more customized touch.
- Apply the edge-sealing method: Starting from one corner, carefully apply the edge-sealing method along the sides of your RFID protector. Make sure to press it firmly against both the foil or metal sheet and the cardstock. Continue applying the edge-sealing method along the entire perimeter of the protector.
- Trim any excess: If there is any excess edge-sealing material extending beyond the edges of the protector, use scissors to trim it, creating a neat and clean finish.
- Check for secure adhesion: Ensure that the edge-sealing method provides strong adhesion and holds the foil or metal sheet securely in place. Gently tug at the edges to make sure there are no loose or unsealed areas.
Securing the edges of your RFID protector adds an extra layer of protection and ensures that the foil or metal sheet remains securely attached to the cardstock. It also enhances the overall durability and longevity of your homemade RFID protector.
With the edges properly secured, the construction of your DIY RFID protector is nearly complete. The final step will focus on testing the functionality and effectiveness of the protector. Let’s move on to the last part of the process.
Step 6: Test the RFID protector
After assembling your RFID protector, it’s important to test its effectiveness in blocking RFID signals. Follow these steps to ensure that your DIY protector is working as intended:
- Gather your RFID card or device: Have your RFID card or device that you want to protect on hand for testing.
- Place the card or device inside the protector: Slide your RFID card or device into the card pocket you created earlier. Make sure it fits snugly and is completely enclosed within the foil or metal sheet.
- Attempt to scan the card or device: With the RFID card or device inside the protector, try scanning it using an RFID scanner or reader. You can borrow one from a friend or use an RFID-enabled device, such as a contactless payment terminal at a store.
- Observe the results: If the protector is working properly, the RFID scanner should not be able to read or detect your RFID card or device while it is inside the protector. This indicates that the foil or metal sheet is effectively blocking the RFID signals.
- Repeat the test multiple times: Conduct the RFID scanning test multiple times to ensure consistent results. If the protector consistently blocks the RFID signals, it is functioning correctly.
Testing your RFID protector is crucial to verify its effectiveness in preventing unauthorized scanning and protecting your RFID-enabled cards or devices. If the protector fails to block the RFID signals, double-check the construction and ensure there are no gaps or loose edges.
Once you have confirmed that your RFID protector is working as intended, you can confidently use it to protect your sensitive information and enjoy the peace of mind it provides.
Conclusion
Congratulations! You have successfully completed the process of making your own RFID protector. By following the step-by-step instructions in this guide, you have created a functional and stylish protector that will safeguard your RFID-enabled cards and devices from unauthorized scanning and potential data theft.
The DIY approach to creating an RFID protector not only provides a cost-effective solution but also allows you to customize the design and showcase your creative skills. You have the freedom to choose the materials, colors, and styles that suit your preferences and personality.
Remember, the key purpose of an RFID protector is to block or shield RFID signals, preventing unauthorized access and protecting your personal information. The foil or metal sheet, combined with the cardstock backing and secured edges, provides a formidable barrier against potential security risks.
Before concluding, it’s essential to regularly test the functionality of your RFID protector. Conducting RFID scanning tests ensures that the foil or metal sheet is effectively blocking the RFID signals and providing the intended protection for your cards or devices.
We hope that this guide has been valuable in helping you create your own RFID protector. By taking proactive steps to protect your personal data and enhance your security, you can have a peace of mind in today’s digital world.
Now that you have a functional RFID protector, feel free to make more for your other RFID-enabled cards or devices, or share this knowledge with family and friends. Stay vigilant about your cybersecurity and embrace the power of DIY solutions.