Introduction
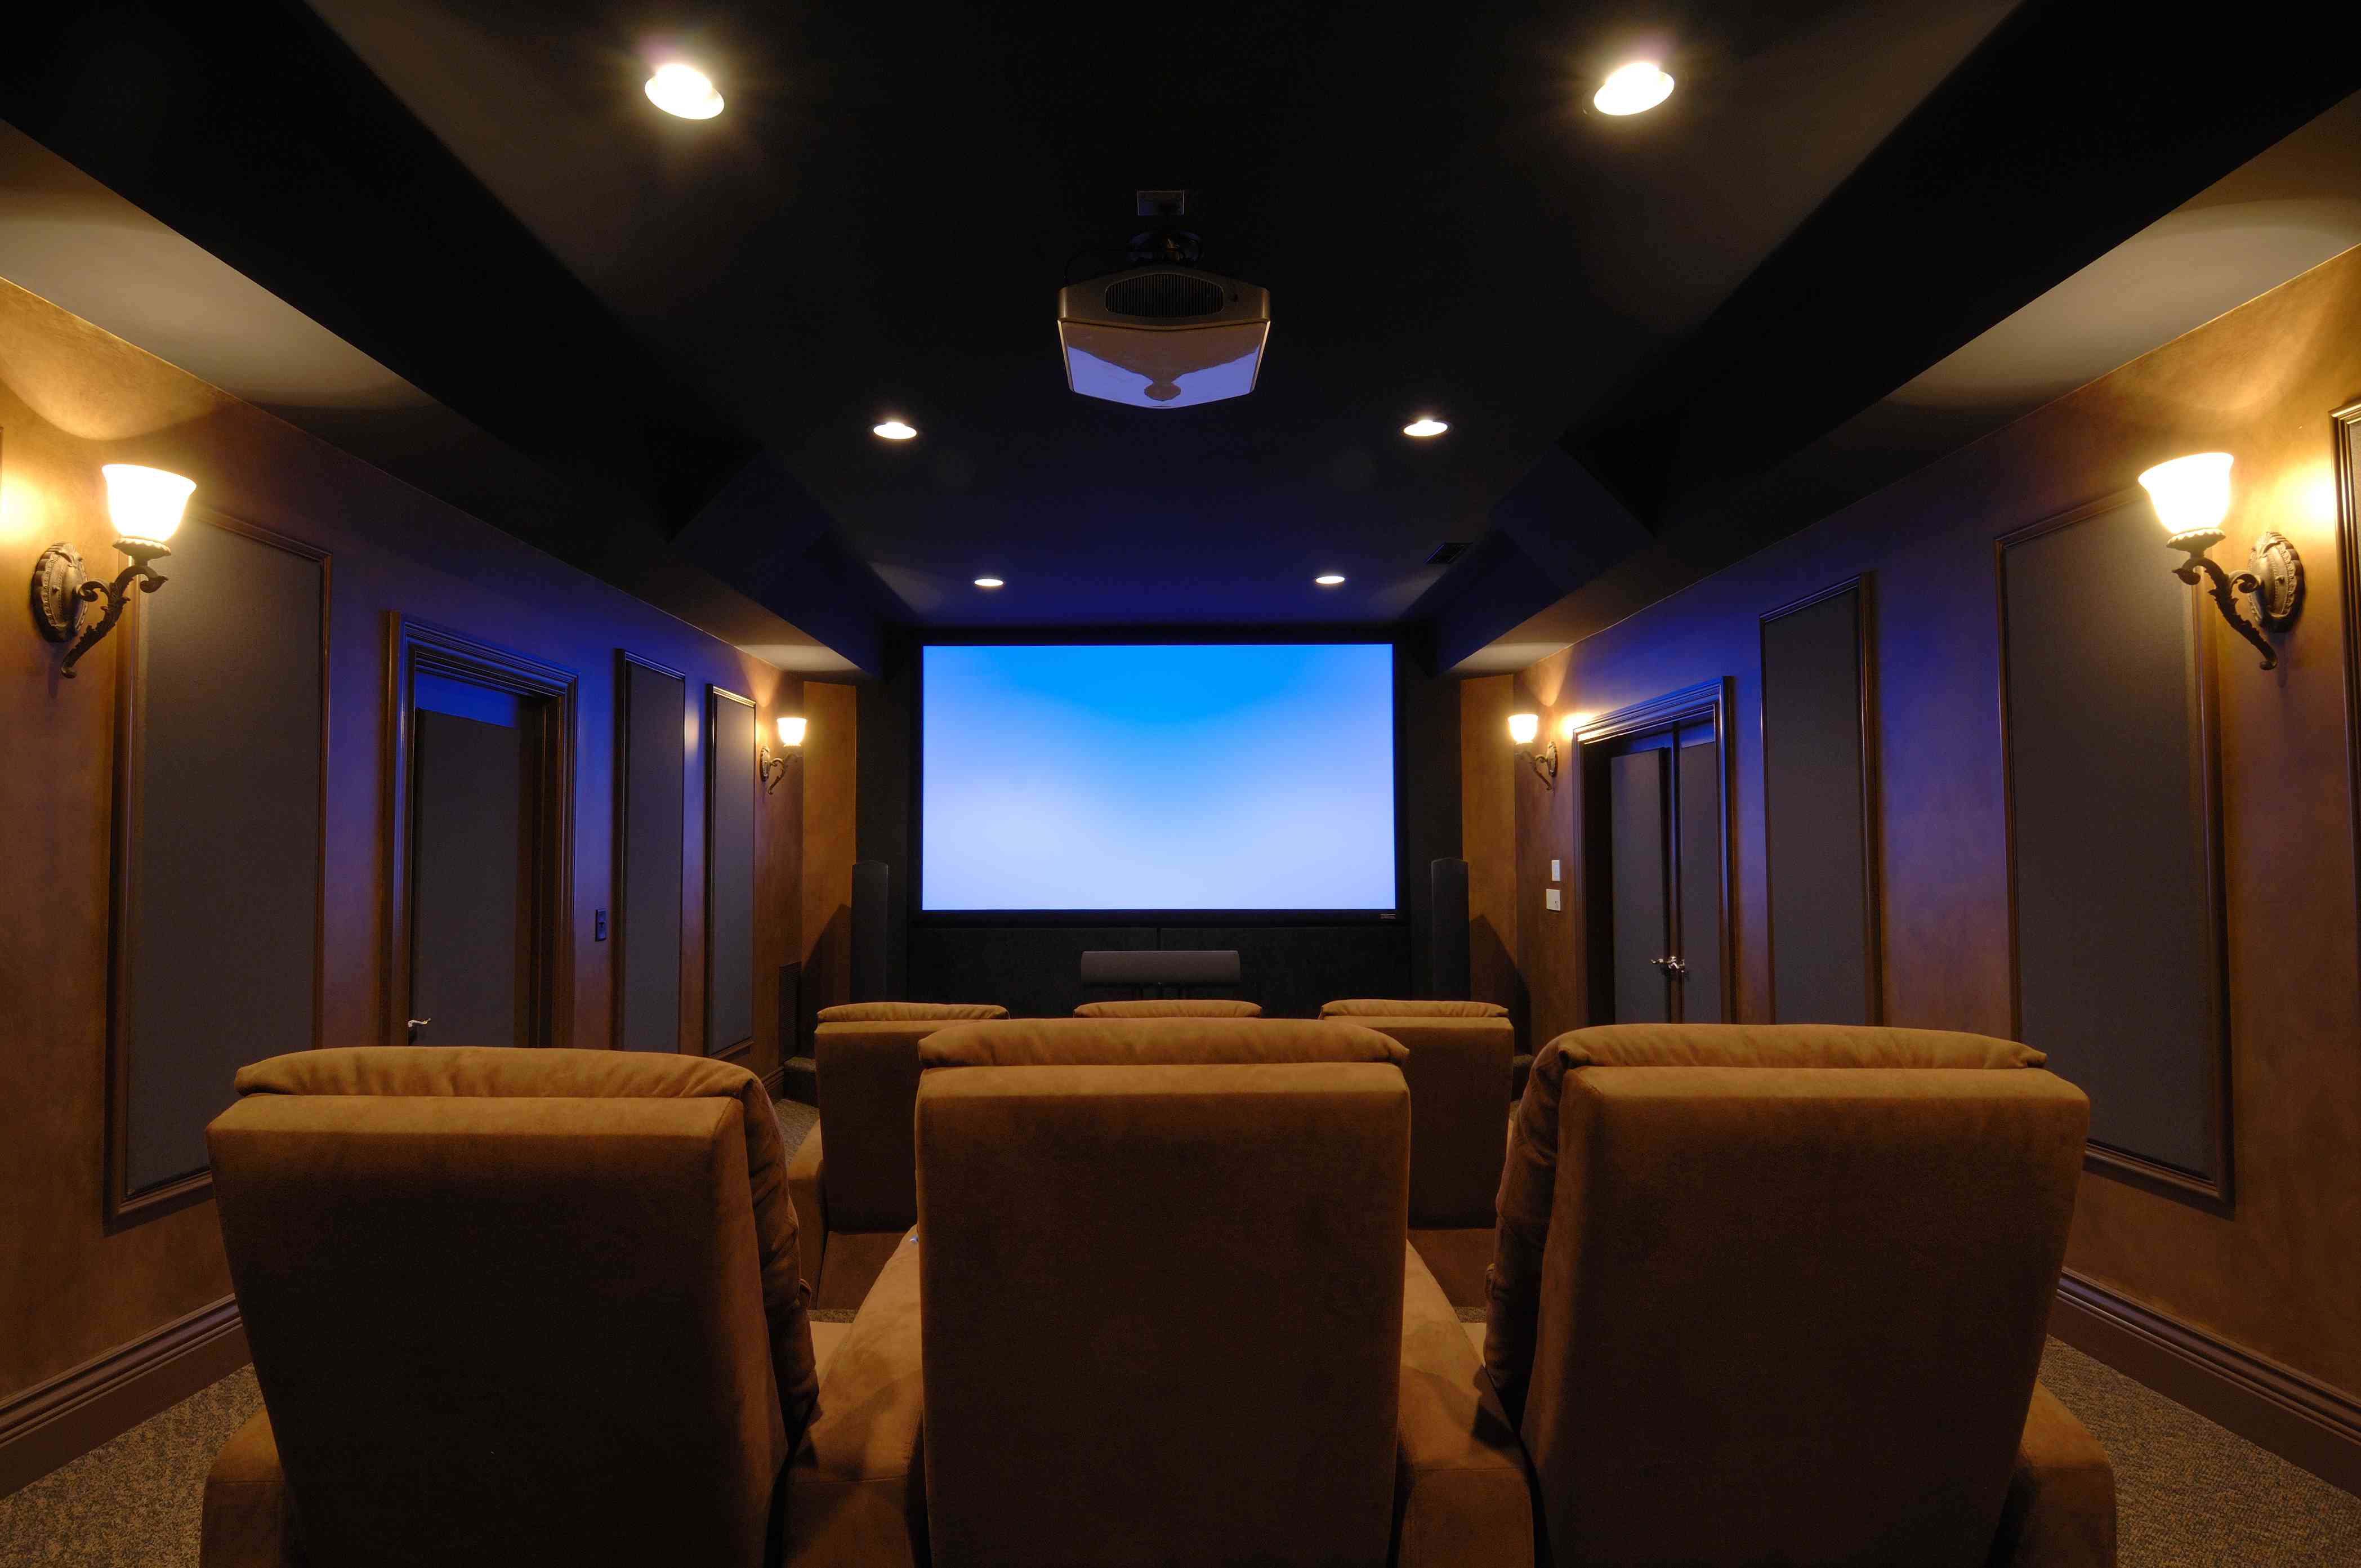
Are you a movie lover who wants to enjoy the big-screen experience at home? Building your own projector screen might be the perfect solution. Not only is it a cost-effective alternative to buying a commercial screen, but it also allows you to customize the size and design according to your preferences.
In this guide, we will walk you through the step-by-step process of creating a projector screen at home. You don’t need to be a DIY expert or have extensive technical skills; with a few basic tools and materials, you can easily construct a screen that will enhance your movie watching experience.
Before we delve into the nitty-gritty of the construction process, let’s highlight the main benefits of making your own projector screen. Firstly, it allows you to save money, as commercial screens can be quite expensive. Secondly, by building your own screen, you have control over its size, aspect ratio, and the type of fabric used, ensuring it perfectly fits your needs. Lastly, constructing a projector screen can be a fun and rewarding project, allowing you to exercise your creativity and DIY skills.
So, if you’re ready to embark on this exciting journey, let’s go through the materials you’ll need for this project.
Materials needed
Before you start creating your homemade projector screen, make sure you have the following materials on hand:
1. Fabric: Choose a high-quality fabric that is suitable for projection. The fabric should have a smooth surface to ensure optimal image quality. Some commonly used fabrics include blackout cloth, spandex, and PVC-backed fabric.
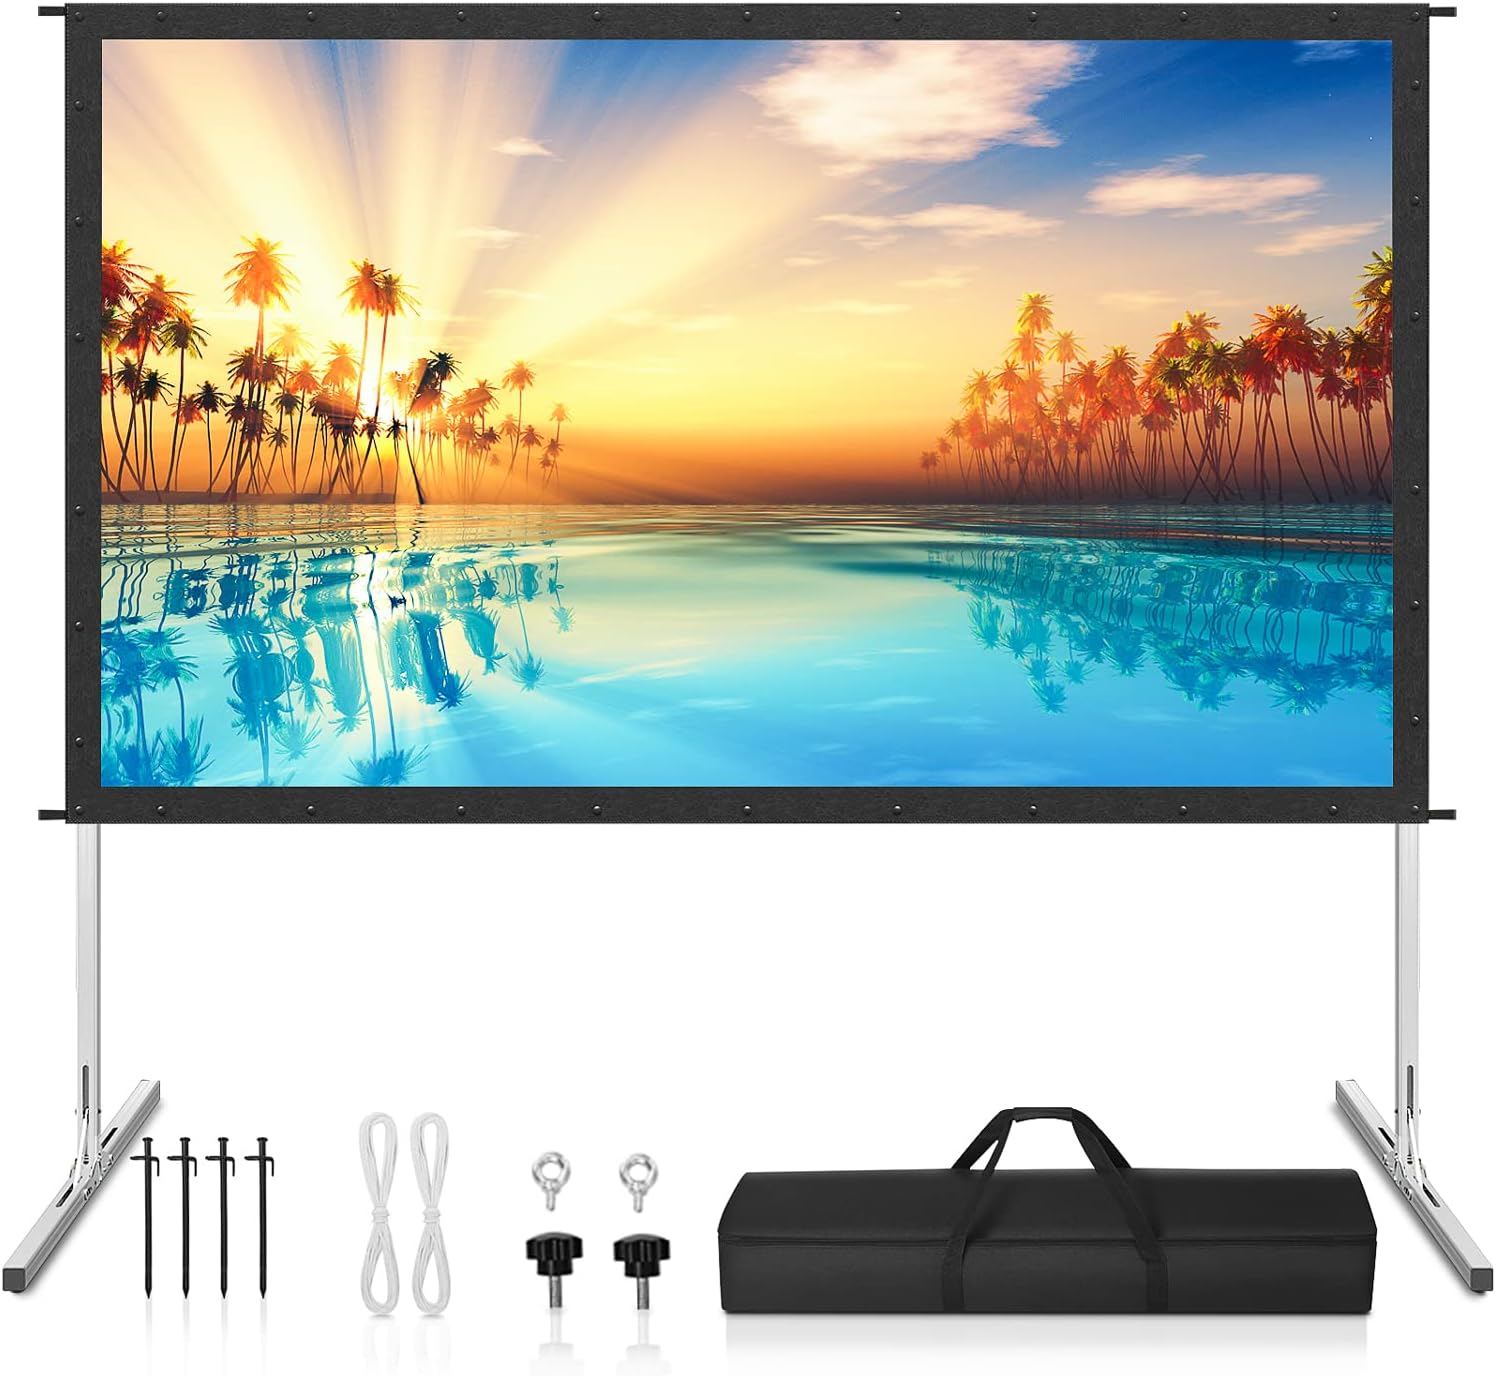
2. Frame: You will need a sturdy frame to stretch the fabric on. This can be made from wood or metal, depending on your preference and budget. Measure the dimensions of the area where you plan to install the screen to determine the size of the frame.
3. Mounting hardware: To securely attach the frame to the wall or ceiling, you’ll need mounting hardware such as screws, brackets, or hooks.
4. Tape measure: Accurate measurements are essential for cutting the fabric and constructing the frame. A tape measure will help you ensure precise dimensions.
5. Sewing machine (optional): If you’re using a fabric that needs to be hemmed or stitched, a sewing machine will come in handy. However, if you prefer, you can also use fabric adhesive or a staple gun to attach the fabric to the frame.
6. Scissors: You’ll need a good pair of scissors to cut the fabric to size and trim any excess material.
7. Staple gun: If you’re opting to use a staple gun to attach the fabric to the frame, make sure you have one available, along with a supply of staples.
8. Level: A level will help ensure that your projector screen is perfectly straight and aligned when hung on the wall or ceiling.
9. Duct tape or fabric adhesive: This will be used to secure the fabric to the frame or for any additional reinforcement required.
10. Paint (optional): If you want to add a professional touch to your homemade projector screen, consider using screen paint to enhance the picture quality and improve contrast.
Once you have gathered all the necessary materials, you’re ready to move on to the next step: choosing the right fabric for your projector screen.
Step 1: Choosing the fabric
Choosing the right fabric for your homemade projector screen is crucial in ensuring optimal image quality. There are several factors to consider when making this decision:
1. Reflectivity: The fabric should have a reflective surface to bounce back the projected light, ensuring a bright and clear image. Look for fabrics with a high gain value, preferably around 1.0 to 1.3, to maintain good brightness and color accuracy.
2. Smoothness: The fabric should have a smooth surface to prevent any texture or imperfections from interfering with the projected image. Avoid fabrics with a textured or grainy appearance, as they can cause a loss of detail and sharpness.
3. Stretchability: Opt for a fabric that has some stretch and can be pulled tightly across the frame. This helps to eliminate any wrinkles or sagging that may impact the image quality. Fabrics like spandex or PVC-backed fabric are known for their stretchability and ability to maintain a taut surface.
4. Color accuracy: Consider the color accuracy of the fabric. A neutral color, such as white or gray, is generally preferred as it allows for accurate color reproduction and better contrast. Avoid fabrics that have a strong hue or tint, as they may distort the colors of the projected image.
5. Fire resistance: It is crucial to choose a fire-resistant fabric for safety reasons. Look for fabrics that are labeled as fire-resistant or meet fire safety standards to ensure peace of mind.
6. Ambient light control: If you plan on using the projector screen in a room with ambient light, consider fabrics that have light-blocking properties to minimize external light interference. Blackout cloth, for example, is an excellent choice as it effectively absorbs ambient light and enhances contrast.
Once you have considered these factors, it’s time to select the fabric that fits your requirements and budget. Take the necessary measurements for the screen size and purchase an appropriate amount of fabric, accounting for any additional allowances for stretching and attaching to the frame.
In the next step, we will guide you on measuring and cutting the fabric to the correct size for your homemade projector screen.
Step 2: Measuring and cutting the fabric
Once you have chosen the fabric for your homemade projector screen, it’s time to measure and cut it to the proper size. Follow these steps to ensure accurate measurements and a precise fit:
1. Determine the desired dimensions: Measure the area where you plan to install the projector screen and decide on the dimensions you want. Consider the aspect ratio (typically 16:9 or 4:3) and the available space. It’s important to leave some allowance for the frame and any mounting hardware.
2. Lay out the fabric: Lay the chosen fabric flat on a clean and spacious surface. Make sure it is smooth and free from any wrinkles or creases.
3. Measure and mark: Using a tape measure and a marker, carefully measure and mark the dimensions of the screen onto the fabric. Double-check your measurements to ensure accuracy.
4. Cut the fabric: Using sharp fabric scissors, carefully cut along the marked lines to create the desired size for your projector screen. Take your time and make clean, straight cuts to achieve a professional-looking result.
5. Trim any excess: After cutting the fabric, check for any excess material or uneven edges. Trim off any excess fabric to ensure a clean and even surface.
6. Verify the size: Once you have cut the fabric, measure the dimensions again to confirm that it matches your desired screen size. Make any necessary adjustments if needed.
By following these steps, you will have successfully measured and cut the fabric for your homemade projector screen. Now, it’s time to move on to constructing the frame, which we will cover in the next step of the process.
Step 3: Creating the frame
With the fabric cut to the correct size, it’s time to construct the frame for your homemade projector screen. Follow these steps to create a sturdy and stable frame:
1. Select the frame material: Decide on the material you want to use for the frame. Wood is a popular choice due to its affordability and ease of construction. Alternatively, you can use metal or PVC pipes for a lightweight and durable frame.
2. Measure and cut the frame pieces: Measure the dimensions of the fabric and add a few inches for the frame’s width. Using a saw or appropriate cutting tool, cut the frame pieces to the desired length, ensuring they match the measurements of the fabric.
3. Assemble the frame: Depending on the material you’re using, assemble the frame using screws, brackets, or connectors. Ensure that the corners are properly joined to create a sturdy structure. Use a level to check that the frame is straight and square.
4. Reinforce the joints: Apply wood glue or metal brackets to reinforce the joints of the frame. This will add extra stability and prevent the frame from coming apart under the tension of the stretched fabric.
5. Check for stability: Test the stability of the frame by gently shaking it or applying pressure. Make any necessary adjustments or reinforcements to ensure it is solid and secure.
6. Paint or finish (optional): If desired, paint or finish the frame to match your aesthetic preferences. This step is purely cosmetic and can enhance the overall appearance of your homemade projector screen.
Once you have successfully created the frame, you’re ready to move on to the next step: attaching the fabric to the frame.
Step 4: Attaching the fabric to the frame
Now that you have constructed the frame for your homemade projector screen, it’s time to attach the fabric and create a taut and smooth surface for projection. Follow these steps to ensure a secure and wrinkle-free attachment:
1. Lay out the fabric: Lay the fabric flat on the ground or a clean surface, with the front side facing down.
2. Position the frame: Place the frame on top of the fabric, aligning it with the edges.
3. Secure one side: Starting from one side, carefully pull the fabric over the frame, ensuring it is taut and wrinkle-free. Use a staple gun or fabric adhesive to secure the fabric to the backside of the frame.
4. Work your way around: Move to the opposite side and repeat the process, pulling the fabric tightly and securing it to the frame. Continue this process for the remaining sides, pulling the fabric evenly to ensure a smooth surface.
5. Trim excess fabric: After securing all sides, trim any excess fabric using scissors, leaving a small allowance for any adjustments that may be needed.
6. Check for wrinkles or sags: Inspect the fabric surface for any wrinkles, sagging, or unevenness. Smooth out any imperfections by gently pulling the fabric and re-securing it as needed.
7. Reinforce if necessary: If you notice any areas that require additional reinforcement, use a staple gun, fabric adhesive, or duct tape to secure the fabric more securely to the frame. This will ensure that the fabric remains in place during use.
By following these steps and taking your time to ensure a tight and wrinkle-free attachment, you will have successfully attached the fabric to the frame of your homemade projector screen. Now it’s time to add some finishing touches.
Step 5: Adding finishing touches
After attaching the fabric to the frame, it’s time to add some finishing touches that will enhance the overall appearance and functionality of your homemade projector screen. Follow these steps to complete the process:
1. Trim excess fabric: Double-check for any remaining excess fabric and trim it away using scissors. This will ensure a neat and professional-looking finish.
2. Secure the fabric edges: If you’re using a fabric that frays easily, consider hemming or sealing the edges with fabric adhesive or a sewing machine. This will prevent any fraying and give the edges a clean and polished look.
3. Paint or decorate the frame: Consider painting the frame to match your home theater’s decor. Choose a color that complements the room and gives a polished and finished look to your projector screen. Alternatively, you can add decorative elements or coverings to the frame to personalize and elevate its appearance.
4. Mount the screen: Determine the best method of mounting the screen based on your specific needs and space. This could include using brackets, screws, or hooks to attach the frame securely to the wall or ceiling. Make sure the screen is level and straight for optimal viewing.
5. Test the screen: Before using the screen for movie nights or presentations, connect your projector and test the image quality. Make sure the screen is properly stretched, without any wrinkles or distortions that may affect the picture clarity.
6. Adjust as needed: Once the screen is mounted and tested, make any necessary adjustments to the fabric tension or frame position to optimize the projection quality. This includes ensuring that the screen is at the appropriate height and angle for comfortable viewing from your seating area.
By adding these finishing touches, you will complete the process of building your homemade projector screen. Now, sit back, relax, and enjoy the immersive movie experience from the comfort of your own home.
Conclusion
Building your own projector screen at home is a rewarding and cost-effective way to create a personalized cinematic experience. By following the step-by-step process outlined in this guide, you can construct a high-quality screen that meets your specific size requirements and enhances image clarity.
Starting with choosing the right fabric, you can ensure excellent reflectivity, smoothness, and color accuracy for optimal projection quality. Next, accurately measuring and cutting the fabric guarantees a precise fit for your screen. Constructing a sturdy frame is crucial for stability and support, and it can be achieved using various materials such as wood, metal, or PVC pipes.
Attaching the fabric to the frame is a critical step in creating a taut and wrinkle-free surface, ensuring a crisp and clear projected image. Finally, adding finishing touches like trimming excess fabric and customizing the frame’s appearance creates a professional and tailored look to suit your home theater setup.
Remember to consider the mounting options for your screen, and test it thoroughly to ensure optimal viewing angles and image quality. Making any necessary adjustments will help you achieve the best results for an immersive movie-watching or presentation experience.
With a little time and effort, you can enjoy a theater-like atmosphere in the comfort of your own home with your homemade projector screen. So turn down the lights, grab your popcorn, and get ready to enjoy endless hours of entertainment on your new custom-made screen. Happy projecting!