Introduction
Electric skateboards have gained popularity among riders of all ages due to their convenience and fun factor. However, regular maintenance and adjustments are required to keep your electric skateboard in top condition. One important aspect of maintenance is ensuring the proper tension of the skateboard’s belt.
The belt tension affects the overall performance and longevity of the skateboard. If the belt is too tight, it can put excessive stress on the motor and lead to premature wear and tear. On the other hand, if the belt is too loose, it may cause slippage and affect the smoothness of your ride. Therefore, it is crucial to know how to adjust the belt tension on your electric skateboard.
In this article, we will guide you through the step-by-step process of loosening the belt on an electric skateboard. Whether you are a beginner or an experienced rider, having this knowledge will allow you to maintain your electric skateboard effectively and ensure optimal performance.
Before we dive into the steps, make sure to gather the necessary tools for the task. Having the right tools on hand will make the process smoother and more efficient. Now, let’s get started!
Getting Started
Before you begin, it’s important to prepare yourself and your electric skateboard for the belt tension adjustment process. Here are a few key steps to help you get started:
- Ensure your electric skateboard is turned off: Safety should always be your top priority. Make sure the power switch of your electric skateboard is in the “off” position before you start any maintenance procedures.
- Find a suitable work area: Look for a clean and well-lit area to work on your skateboard. It’s essential to have enough space to maneuver and access the necessary parts easily.
- Gather the required tools: To loosen the belt tension, you will need a few tools. These typically include an Allen wrench or hex key that fits the size of the adjustment screws on your skateboard. Check your skateboard’s user manual or consult the manufacturer’s website for the correct size.
- Inspect the belt and pulleys: While you’re getting started, take a moment to visually inspect the belt and pulleys. Look for any signs of wear, damage, or debris accumulation. If you notice any issues, such as fraying or excessive wear, consider replacing the belt before proceeding with the tension adjustment.
By following these steps, you will be well-prepared and ready to safely begin the belt tension adjustment process. Now that you have gathered the necessary tools and checked your skateboard’s condition, it’s time to move on to the next step: locating the belt tension adjustment screws.
Step 1: Gather the necessary tools
Before you can proceed with loosening the belt tension on your electric skateboard, it is essential to gather the required tools. Here is a list of tools you will need:
- Allen wrench or hex key: This tool is necessary for adjusting the tension of the belt. The size of the Allen wrench or hex key will depend on the specific skateboard model, so make sure you have the right size on hand. You can refer to your skateboard’s user manual or the manufacturer’s website for the correct size.
- Optional: Skate tool or socket wrench: While the Allen wrench or hex key is usually sufficient for adjusting the belt tension, some skateboard models may require additional tools. A skate tool or socket wrench can be handy for certain skateboard designs that have specific tension adjustment mechanisms.
It’s crucial to have the correct tools for the job to ensure that you can properly and safely adjust the belt tension. Using the wrong tools may lead to improper adjustments or even damage to your skateboard. Take the time to confirm the appropriate tools needed for your specific skateboard model.
Once you have gathered the necessary tools, make sure they are easily accessible and within reach during the belt tension adjustment process. Having everything readily available will save you time and make the process more efficient.
Now that you have the proper tools at your disposal, you are ready to move on to the next step: locating the belt tension adjustment screws on your electric skateboard.
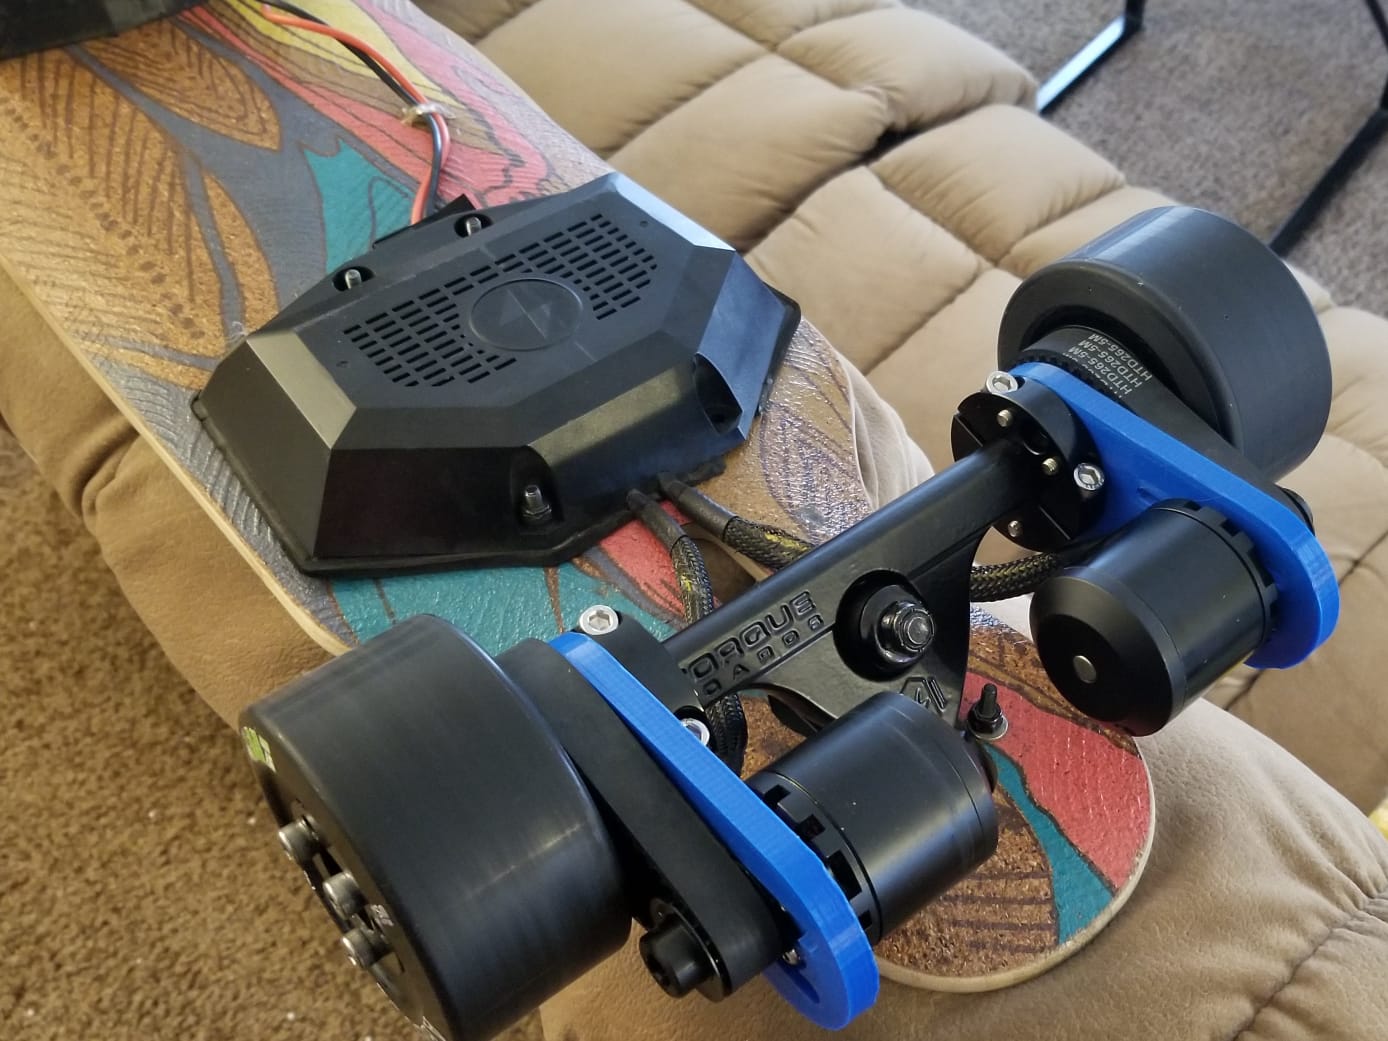
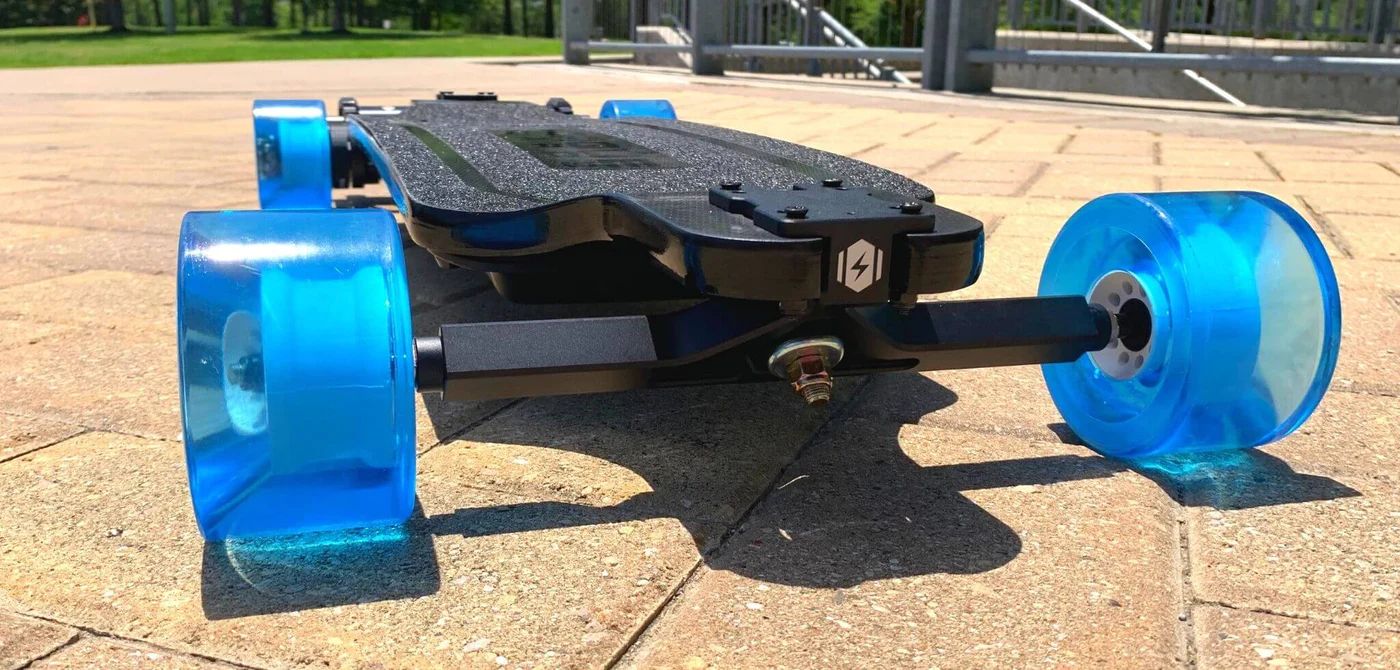
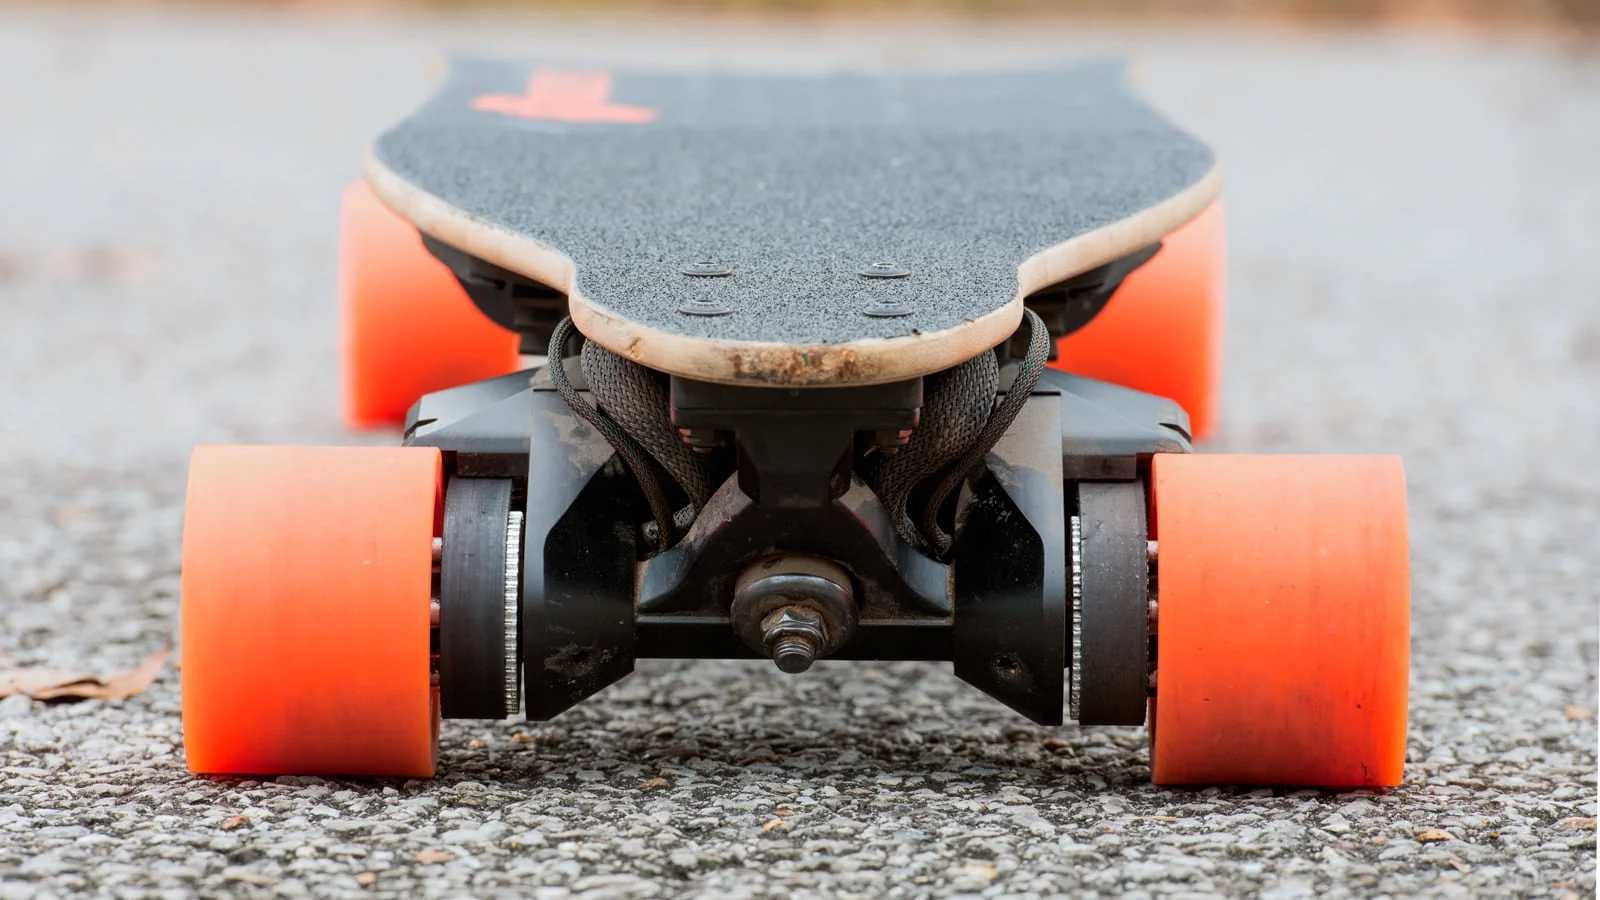
Step 2: Locate the belt tension adjustment screws
Locating the belt tension adjustment screws on your electric skateboard is essential before you can proceed with loosening the belt tension. Here’s how you can find these screws:
- Refer to the user manual: The easiest and most reliable way to locate the belt tension adjustment screws is by referring to your skateboard’s user manual. The manual will typically provide detailed instructions on where to find these screws and how to access them. If you don’t have the physical manual, you can often find a digital copy on the manufacturer’s website.
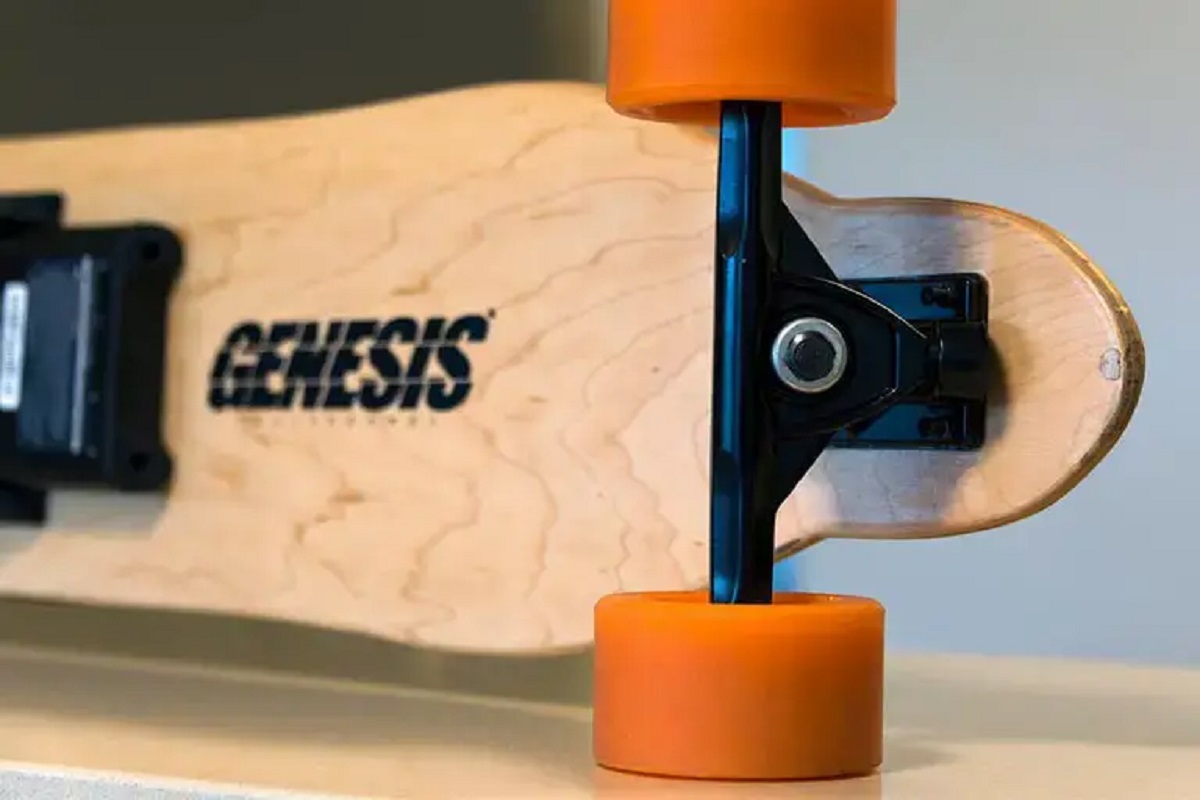
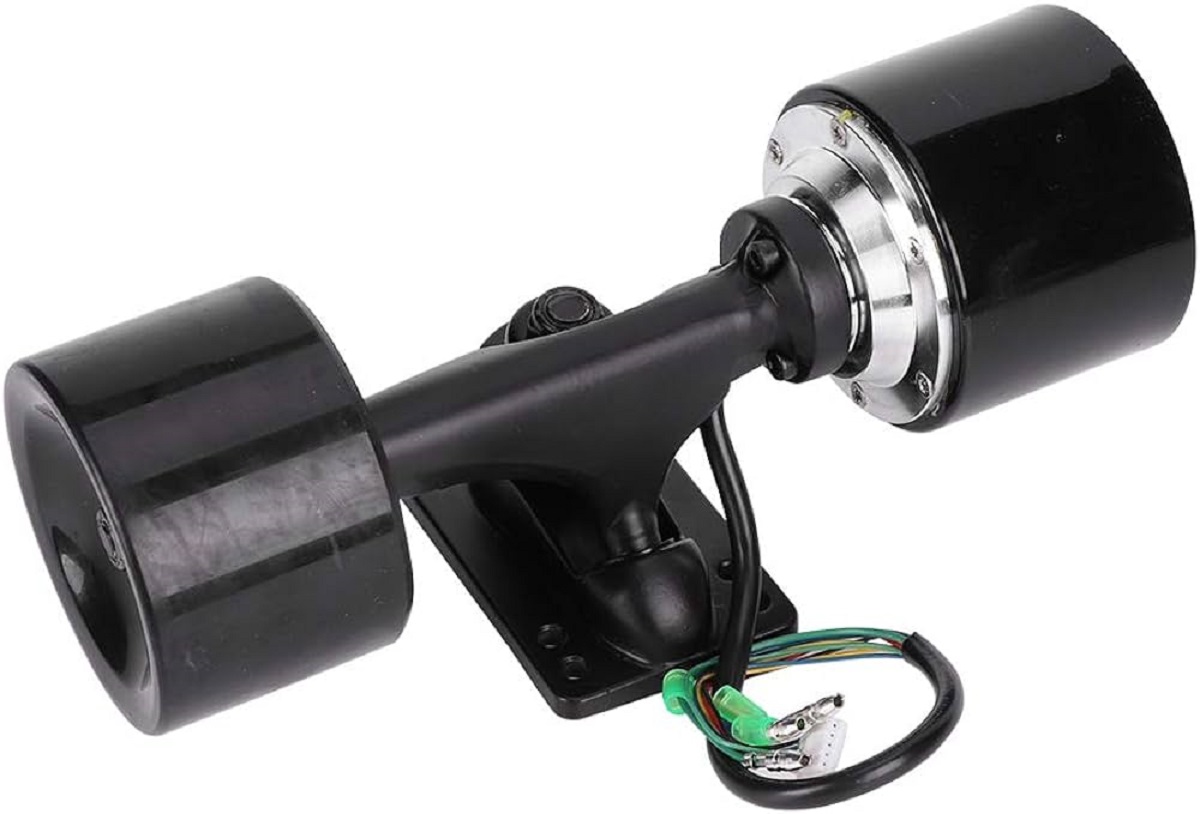
- Inspect the underside of the skateboard: In the absence of a user manual, you can visually inspect the underside of your skateboard. Look for any visible screws or bolts that are designed to adjust the belt tension. These screws are usually located close to the motor or pulley system.
- Check online resources: If you’re still having trouble locating the belt tension adjustment screws, consider checking online resources. Many skateboard forums and communities have discussions or guides on specific skateboard models and their belt tension adjustment mechanisms. These resources can provide valuable insights and visual references to help you identify the right screws.
Remember, the exact location of the belt tension adjustment screws may vary depending on the skateboard’s make and model. Take your time to ensure you have correctly identified the screws before moving on to the next step.
Once you have located the belt tension adjustment screws, you are ready to proceed with the next step: loosening the belt tension on your electric skateboard.
Step 3: Loosen the belt tension
Now that you have located the belt tension adjustment screws on your electric skateboard, it’s time to loosen the belt tension. Follow these steps to ensure a proper and safe adjustment:
- Position your Allen wrench or hex key: Take your Allen wrench or hex key and position it on one of the belt tension adjustment screws. Make sure the key fits snugly into the screw’s head.
- Turn the screw counterclockwise: Once the key is securely in place, gently turn the screw counterclockwise to loosen the belt tension. Remember to make slow and gradual turns to avoid sudden loosening of the belt.
- Loosen both screws equally: If your skateboard has two belt tension adjustment screws, make sure to loosen both of them equally. This ensures an even distribution of tension along the belt.
- Check the belt tension: As you loosen the screws, periodically check the tension of the belt. You want the belt to have a slight amount of play, where it can be pressed down slightly with your fingers but not too loose or too tight. Finding the right balance is crucial for optimal performance.
It’s important to note that the amount of tension required may vary depending on your riding preferences and the specific skateboard model. Some riders prefer a slightly tighter belt for better acceleration, while others prefer a looser belt for smoother rides. Experiment with different tension levels to find what works best for you.
Once you have loosened the belt tension to your desired level, you can move on to the next step: testing the belt tension on your electric skateboard.
Step 4: Test the belt tension
After loosening the belt tension on your electric skateboard, it’s important to test the tension to ensure it is at the desired level. Follow these steps to effectively test the belt tension:
- Turn on the skateboard: Flip the power switch of your electric skateboard to the “on” position. This will allow you to test the belt tension while the motor is running.
- Stand on the skateboard: Step onto the skateboard and position yourself in a balanced stance. This will ensure that the weight distribution accurately reflects normal riding conditions.
- Engage the motor: Gradually increase the throttle or push off to engage the motor of your electric skateboard. This will set the wheels in motion and allow you to assess the belt tension effectively.
- Observe the belt and listen for any unusual sounds: As the skateboard moves, pay attention to the belt’s movement. It should run smoothly without any excessive wobbling or slippage. Additionally, listen for any unusual sounds such as grinding or squeaking, which may indicate an issue with the belt tension.
- Assess the performance and ride quality: Take a short test ride to evaluate the performance and ride quality with the adjusted belt tension. Pay attention to how the skateboard accelerates, decelerates, and handles different surfaces. If you feel any issues or notice a decrease in performance, it may be necessary to readjust the belt tension.
The testing phase allows you to make any necessary fine-tuning adjustments to ensure the belt tension is perfect for your riding preferences. If you are satisfied with the belt tension and the skateboard’s performance, you can move on to the next step. However, if you need to make further adjustments, proceed to step 5: readjusting the belt tension.
Step 5: Readjust the belt tension if necessary
After testing the belt tension on your electric skateboard, you may find that further adjustments are needed to achieve optimal performance. If necessary, follow these steps to readjust the belt tension:
- Locate the belt tension adjustment screws: Identify the same screws that were used to initially loosen the belt tension. They should be easily accessible on the underside of your electric skateboard.
- Use your Allen wrench or hex key: Position your Allen wrench or hex key on one of the belt tension adjustment screws. Slowly and carefully turn the screw clockwise to tighten the belt.
- Equal and incremental adjustments: If your skateboard has two adjustment screws, ensure that you make equal and incremental adjustments to both screws. This will help maintain a balanced tension across the belt.
- Test the belt tension: Once you have made the necessary adjustments, repeat the belt tension testing process outlined in Step 4. Take note of any improvements or issues you may encounter.
- Continue readjusting if needed: If the belt tension is still not to your satisfaction, repeat the adjustment process and conduct additional testing until you achieve the desired tension level and optimal performance.
Remember that finding the perfect belt tension may require some trial and error. Each rider has different preferences and riding conditions, so it’s important to take the time to fine-tune the belt tension based on your specific needs.
Once you are satisfied with the belt tension and the overall performance of your electric skateboard, you can conclude the adjustment process. Regularly monitoring and readjusting the belt tension as needed will help optimize the lifespan and performance of your electric skateboard.
Conclusion
Properly adjusting the belt tension on your electric skateboard is crucial for maintaining optimal performance and prolonging the lifespan of your skateboard. By following the step-by-step process outlined in this guide, you can effectively loosen the belt tension and make any necessary adjustments to suit your riding preferences.
Start by gathering the necessary tools and ensuring your electric skateboard is turned off. Locate the belt tension adjustment screws, which can typically be found on the underside of the skateboard or referenced in the user manual. Use the appropriate tools, such as an Allen wrench or hex key, to loosen the screws and achieve the desired belt tension.
After loosening the belt tension, it’s essential to test the skateboard’s performance. Engage the motor, observe the belt’s movement, and listen for any unusual sounds. Take a short test ride to assess acceleration, deceleration, and overall ride quality. If adjustments are needed, readjust the belt tension accordingly.
Remember that finding the perfect belt tension may require some experimentation and fine-tuning based on your preferences and riding conditions. Regularly monitor the belt tension and make adjustments as needed to maintain optimal performance.
By taking the time to properly adjust and maintain the belt tension on your electric skateboard, you can ensure a smooth and enjoyable riding experience for years to come. So, grab your tools, follow the steps outlined in this guide, and get ready to hit the streets with confidence!