Introduction
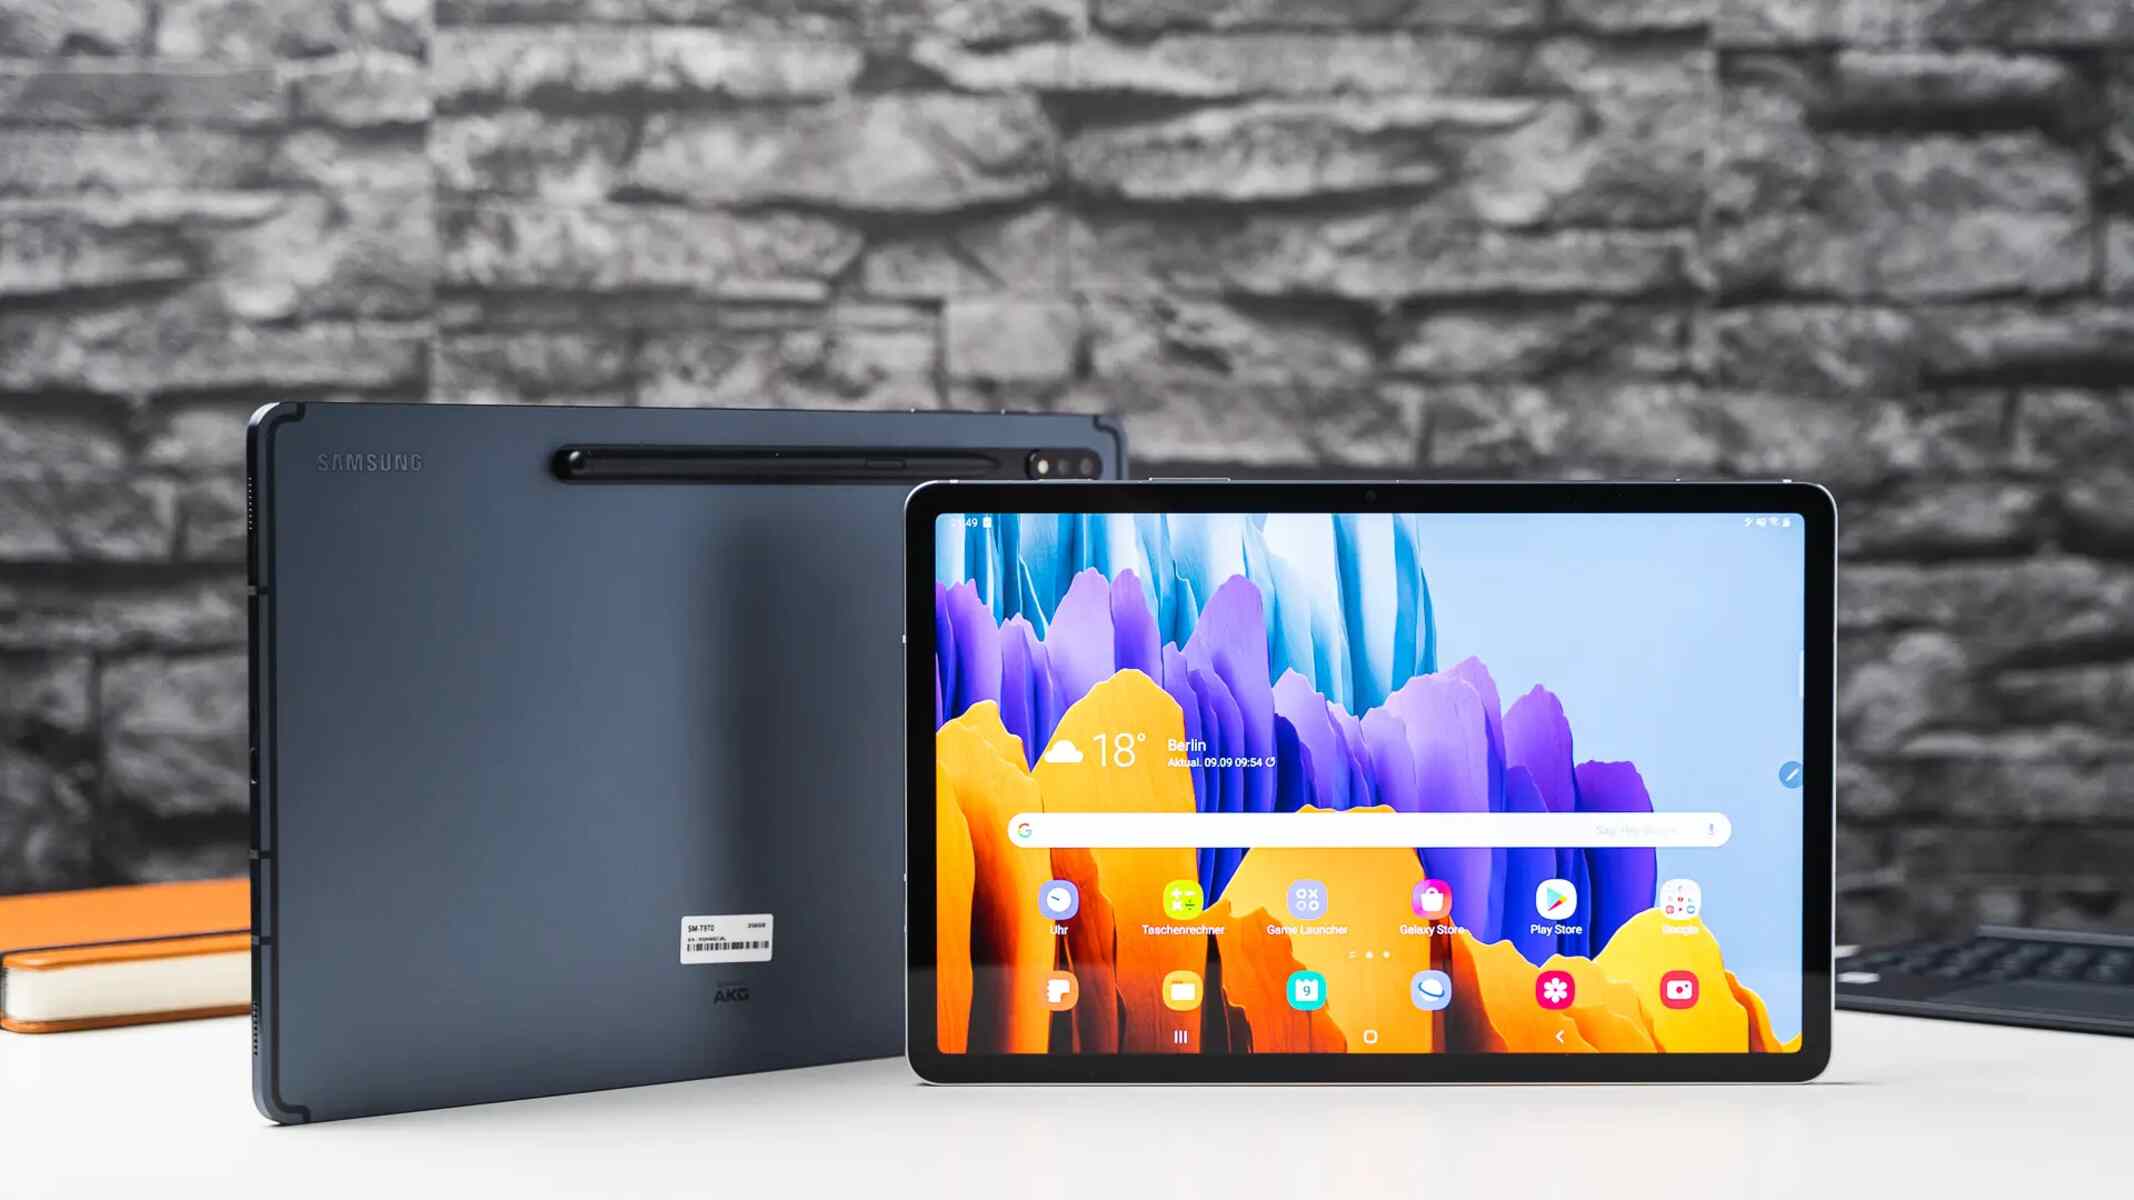
Welcome to the era of online communication, where video conferencing has become an essential part of our daily lives. Whether you need to attend virtual meetings, host webinars, or connect with friends and family, Zoom has emerged as a popular platform for all your communication needs. If you own a Samsung tablet and want to install Zoom, you have come to the right place. In this guide, we will walk you through the step-by-step process of installing Zoom on your Samsung tablet, so you can join meetings and stay connected wherever you are.
Zoom is a feature-rich video conferencing application that offers high-quality audio and video calls, screen sharing, real-time messaging, and more. Its user-friendly interface and wide range of features make it a popular choice among professionals and individuals alike. By installing Zoom on your Samsung tablet, you can take advantage of these features and easily connect with colleagues, friends, and family, no matter the distance.
The process of installing Zoom on your Samsung tablet is quick and straightforward. The tablet’s compatibility with the Google Play Store ensures a hassle-free installation experience. The steps outlined in this guide will help you navigate through the installation process with ease, even if you are not tech-savvy.
So, without further ado, let’s dive into the step-by-step instructions to install Zoom on your Samsung tablet and get ready to connect with the world at your fingertips. Whether it’s attending virtual work meetings, participating in online classes, or simply catching up with loved ones, Zoom on your tablet will bring you closer to your virtual community.
Step 1: Open the Google Play Store
The first step to installing Zoom on your Samsung tablet is to open the Google Play Store. The Google Play Store is the official marketplace for Android applications, where you can find a wide range of apps, including Zoom.
To open the Google Play Store on your Samsung tablet:
- Locate and tap the “Play Store” icon on your tablet’s home screen or app drawer. The Play Store icon is usually represented by a colorful triangle or a white shopping bag with a play logo.
- If you don’t see the Play Store icon on your home screen or app drawer, you can swipe down from the top of your screen to open the notification panel, and then tap the “Play Store” icon from the quick settings panel.
- Alternatively, you can search for the Play Store in your tablet’s app list or use the search function to find it quickly.
Once you have successfully opened the Google Play Store, you are ready to proceed to the next step in installing Zoom on your Samsung tablet.
It’s important to note that your Samsung tablet should be connected to the internet for the Play Store to function properly. Ensure that you have a stable Wi-Fi or mobile data connection to download and install Zoom successfully. In case you are using mobile data, beware of data limits and charges that may apply.
Now that you have successfully opened the Google Play Store, let’s move on to the next step and learn how to search for the Zoom app in the Play Store.
Step 2: Search for Zoom
Now that you have successfully opened the Google Play Store on your Samsung tablet, it’s time to search for the Zoom app. The search function in the Play Store allows you to find and access various applications, including Zoom, quickly and easily.
To search for the Zoom app in the Google Play Store:
- Tap on the search bar at the top of the Play Store app.
- Type “Zoom” in the search bar using the on-screen keyboard. As you type, the Play Store will start showing relevant suggestions based on your input.
- Once you have entered “Zoom,” tap the magnifying glass icon or the “Enter” key on the keyboard to initiate the search.
- The search results page will display various apps related to Zoom. Look for the official Zoom app called “Zoom Cloud Meetings” among the search results.
It’s important to choose the official “Zoom Cloud Meetings” app from the search results to ensure you download the correct and safe application.
If you cannot find the Zoom app in the search results, make sure you have entered the search term correctly. Alternatively, you can try using synonyms like “video conferencing” or “communication” to broaden your search and find relevant apps.
Once you have successfully found the official “Zoom Cloud Meetings” app in the search results, you are ready to move on to the next step: selecting and installing the app on your Samsung tablet.
Now that we have located the Zoom app, let’s proceed to the next step and learn how to select and download it onto your Samsung tablet.
Step 3: Select Zoom Cloud Meetings
After searching for “Zoom” in the Google Play Store on your Samsung tablet, you will see a list of apps related to Zoom. Among these options, it’s essential to select the official Zoom app called “Zoom Cloud Meetings.”
To select the Zoom Cloud Meetings app:
- Scroll through the search results until you find the official “Zoom Cloud Meetings” app. It’s usually displayed with the Zoom logo, which consists of a blue camera icon inside a white speech bubble.
- Tap on the Zoom Cloud Meetings app to access its detailed page.
The app’s page provides essential information about the Zoom Cloud Meetings app, such as its description, developer, user ratings, and reviews. You can also view screenshots of the app, which will give you a glimpse of its user interface and features.
It’s always a good idea to read the app’s description and user reviews to get an understanding of its functionality and performance. Additionally, check the user ratings to gauge the overall satisfaction of users who have already installed and used the app.
Once you are satisfied and confident that you have selected the official Zoom Cloud Meetings app, you are ready to move on to the next step: installing Zoom on your Samsung tablet.
Now that we have selected the Zoom Cloud Meetings app, let’s proceed to the next step and learn how to download and install it on your Samsung tablet.
Step 4: Tap Install
Once you have selected the Zoom Cloud Meetings app from the search results in the Google Play Store on your Samsung tablet, it’s time to install the app. The installation process is straightforward and can be done with just a few taps.
To install the Zoom Cloud Meetings app:
- On the app’s page, you will see a green button with the word “Install.” Tap on this button to initiate the installation process.
- A pop-up window may appear, asking for your permission to allow the app access to specific features or information on your device. Read the permissions carefully, and if you are comfortable with them, tap on the “Accept” or “Install” button to proceed. These permissions may include access to your camera, microphone, contacts, or storage, which are necessary for using the Zoom app’s features properly.
- The Zoom Cloud Meetings app will now begin downloading and installing on your Samsung tablet. You will see a progress bar or circle indicating the installation status.
- Wait for the installation to complete. The download speed and installation time may vary depending on your internet connection and the size of the app.
- Once the installation is finished, you will see a notification confirming that the Zoom Cloud Meetings app has been installed on your Samsung tablet. You will also find the app’s icon on your home screen or app drawer, ready to be accessed.
Congratulations! You have successfully installed the Zoom Cloud Meetings app on your Samsung tablet. Now, you are one step closer to joining virtual meetings and staying connected with the Zoom platform.
It’s essential to note that the installation process may slightly vary depending on your specific Samsung tablet model and the version of the Google Play Store. However, the general steps mentioned above should be applicable in most cases.
Now that we have installed the Zoom Cloud Meetings app, let’s move on to the next step and learn how to grant the necessary permissions for the app to function smoothly on your Samsung tablet.
Step 5: Grant Necessary Permissions
After successfully installing the Zoom Cloud Meetings app on your Samsung tablet, it’s important to grant necessary permissions to ensure the app functions smoothly and has access to the required features. These permissions allow Zoom to utilize your device’s camera, microphone, contacts, and other resources properly.
To grant the necessary permissions to the Zoom app:
- Locate the Zoom Cloud Meetings app icon on your home screen or app drawer and tap on it to launch the app.
- The first time you open the Zoom app, a permission prompt may appear, asking for access to your device’s camera and microphone. These permissions are required for video and audio calls within the Zoom app. Review the permissions and tap on “Allow” or “Grant” to provide access. Without granting these permissions, you may not be able to fully utilize the app’s video conferencing features.
- Additionally, when joining or hosting a meeting, Zoom may request access to your contacts to facilitate easy meeting invitations. You can choose to allow or deny access to your contacts based on your preference.
Granting necessary permissions ensures that the Zoom app functions seamlessly on your Samsung tablet and provides you with a smooth video conferencing experience. However, if you initially denied any required permissions or want to change them later, you can do so by following these steps:
- Open the Settings app on your Samsung tablet.
- Scroll down and select “Apps” or “Application Manager,” depending on your device’s settings.
- Locate and tap on the Zoom Cloud Meetings app from the list of installed apps.
- In the app’s settings, you can find the “Permissions” option. Tap on it to view and manage the permissions granted to the Zoom app.
- From the permissions list, you can enable or disable specific permissions as per your preference.
By granting the necessary permissions to the Zoom app, you can fully utilize its features and ensure a smooth video conferencing experience on your Samsung tablet.
Now that we have granted the necessary permissions, let’s proceed to the next step and learn how to sign in or create a Zoom account to access the app’s functionalities.
Step 6: Sign in or Create a Zoom Account
After granting the necessary permissions to the Zoom app on your Samsung tablet, the next step is to sign in or create a new Zoom account. Signing in or creating an account allows you to access and utilize all the features and functionalities that Zoom has to offer.
If you already have a Zoom account, follow these steps to sign in:
- Open the Zoom app on your Samsung tablet.
- On the app’s home screen, tap on the “Sign In” option.
- Enter your Zoom account credentials, including your email address and password.
- Tap on the “Sign In” button to log into your existing Zoom account.
If you don’t have a Zoom account yet, you can create one by following these steps:
- Open the Zoom app on your Samsung tablet.
- Tap on the “Sign Up” or “Sign Up with Email” option.
- Enter your email address in the provided field.
- Create a strong password for your Zoom account.
- Complete the required information, such as your name, phone number, and organization (if applicable).
- Agree to the terms of service and privacy policy by tapping on the checkbox.
- Finally, tap on the “Sign Up” button to create your Zoom account.
After signing in or creating your Zoom account, you will have access to your Zoom profile, where you can customize your settings, manage your scheduled meetings, and join or host virtual meetings.
It’s important to note that creating a Zoom account is free, and it allows you to participate in Zoom meetings as an attendee. However, if you want to host meetings with more participants or access additional features, you may need to consider subscribing to a paid Zoom plan.
Now that we have signed in or created a Zoom account, let’s move on to the optional step of customizing your Zoom settings to personalize your experience.
Step 7: Customize Zoom Settings (Optional)
After signing in to your Zoom account on your Samsung tablet, you have the option to customize Zoom’s settings according to your preferences. Customizing the settings allows you to personalize your Zoom experience and optimize it for your specific needs.
To customize your Zoom settings:
- Open the Zoom app on your Samsung tablet.
- Tap on the profile icon or menu icon, typically located in the top right or left corner of the app’s home screen.
- From the dropdown menu or side panel that appears, select “Settings” or “Preferences.”
- Within the settings menu, you can explore various categories to customize different aspects of the Zoom app.
- Examples of settings you can customize include audio and video settings, meeting options, notifications, background effects, and more.
- Tap on each category to access its specific settings and adjust them according to your preferences.
- Make the desired changes to your settings and ensure they align with your requirements.
- Once you have made all the necessary changes, exit the settings menu to save your customized settings.
Customizing your Zoom settings allows you to optimize audio and video quality, control meeting preferences, and tailor the app to your specific needs. For example, you can set your default microphone and camera, enable or disable meeting notifications, customize virtual backgrounds, and much more.
It’s worth mentioning that while customizing your Zoom settings is optional, it can significantly enhance your overall experience and streamline your workflow during virtual meetings and conferences.
Now that we have covered customizing the Zoom settings, let’s move on to the final step: joining or scheduling a meeting using the Zoom app on your Samsung tablet.
Step 8: Join or Schedule a Meeting
After customizing your Zoom settings on your Samsung tablet, you are ready to start joining or scheduling meetings using the Zoom app. Whether it’s for work, school, or personal use, Zoom allows you to effortlessly connect with others through video and audio conferencing.
To join a meeting using the Zoom app:
- Open the Zoom app on your Samsung tablet.
- On the app’s home screen, tap on the “Join” or “Join a Meeting” option.
- Enter the meeting ID provided by the host. The meeting ID is typically a numerical code shared with you by the meeting organizer.
- If necessary, enter the meeting password. Meeting passwords are set by the host to ensure the security and privacy of the meeting.
- Tap on the “Join” button to enter the meeting.
Once you have joined a meeting, you can interact with other participants, view shared screens or presentations, and engage in discussions through audio and video conferencing features.
If you want to schedule a meeting using the Zoom app:
- Open the Zoom app on your Samsung tablet.
- Tap on the “Schedule” or “Schedule a Meeting” option.
- Enter the meeting details, such as the date, time, and duration of the meeting.
- Customize the meeting settings according to your requirements, including video settings, audio options, and meeting password.
- Once you have entered all the necessary information, tap on the “Schedule” button to create the meeting.
- Your scheduled meeting will now appear in the Zoom app’s calendar or the Meetings tab, allowing you to access it at the designated time.
You can also invite participants to your scheduled meeting by sharing the meeting details through email, messaging apps, or calendar invites.
By joining or scheduling meetings using the Zoom app on your Samsung tablet, you can collaborate with others, attend virtual classes, host webinars, and stay connected with colleagues, friends, and family.
Now that we have covered how to join or schedule a meeting using the Zoom app, you are all set to make the most out of Zoom’s powerful video conferencing capabilities.
Conclusion
Congratulations! You have successfully learned how to install Zoom on your Samsung tablet. By following the step-by-step instructions outlined in this guide, you can now join virtual meetings, connect with others, and collaborate seamlessly using Zoom’s powerful video conferencing platform.
Zoom has become an essential tool for remote work, online education, and staying connected with loved ones, especially in today’s digital age. With its user-friendly interface, high-quality audio and video capabilities, and a range of customizable settings, Zoom offers a seamless and immersive virtual meeting experience.
Remember, to install Zoom on your Samsung tablet, you need to open the Google Play Store, search for the official Zoom app called “Zoom Cloud Meetings,” select and install it, grant the necessary permissions, sign in or create a Zoom account, and customize your Zoom settings according to your preferences. Once you have completed these steps, you can easily join or schedule meetings and make the most out of Zoom’s features.
Keep in mind that staying connected through video conferencing can be a great way to collaborate, learn, and communicate, but it’s essential to ensure a stable internet connection and maintain privacy and security precautions during your virtual meetings.
Now that you are equipped with the knowledge of how to install Zoom on your Samsung tablet, you can explore the various features, engage in productive meetings, and make your virtual interactions more efficient and enjoyable.
So, whether you need to attend virtual work meetings, join online classes, or connect with loved ones, Zoom on your Samsung tablet will enable you to stay connected, regardless of your location. Embrace the power of video conferencing and unlock a world of possibilities with Zoom.


