Introduction
Welcome to the world of entertainment at your fingertips! If you own a Samsung Smart TV and want to expand your viewing options, installing Roku can be a game-changer. Roku is a streaming player that offers a wide range of channels and apps, allowing you to access your favorite movies, TV shows, music, and more. In this guide, we’ll walk you through the step-by-step process of installing Roku on your Samsung Smart TV.
Roku is a popular choice among streaming devices due to its user-friendly interface and extensive range of content options. With Roku, you can stream content from popular services like Netflix, Hulu, Amazon Prime Video, and many others. Whether you’re a movie buff, a sports enthusiast, or a binge-watcher, Roku has something to cater to your entertainment preferences.
Before we dive into the installation process, it’s important to note that not all Samsung Smart TVs are compatible with Roku. So, the first step is to check the compatibility of your TV. Don’t worry, it’s a quick and easy process. Once you confirm compatibility, you’ll need to connect your TV to the internet and set up a Roku account. Then, you’ll select a Roku device that suits your needs and connect it to your Samsung Smart TV. Finally, you’ll activate Roku on your TV and customize your streaming experience to your liking.
By the end of this guide, you’ll be able to enjoy the convenience and versatility that Roku brings to your Samsung Smart TV. So, let’s get started on this exciting journey of expanding your entertainment options!
Step 1: Check your Samsung Smart TV compatibility
Before you begin the installation process, it’s crucial to ensure that your Samsung Smart TV is compatible with Roku. Not all Samsung Smart TV models support Roku, so it’s important to check this first.
To check compatibility, you can either refer to your TV’s user manual or follow these simple steps:
- Turn on your Samsung Smart TV and navigate to the home screen.
- Using your TV’s remote control, locate and select the “Settings” option.
- In the settings menu, find and select the “Support” or “System” tab.
- Look for the “Device Name” or “Model Number” option and note down the information.
Once you have the model number of your Samsung Smart TV, visit the Roku website to check if it’s compatible with Roku. On the Roku website, navigate to the “Products” or “Device Compatibility” section. Here, you can enter your TV’s model number and verify if it supports Roku streaming.
If your TV is compatible, you can proceed with the installation process. However, if your TV is not compatible, don’t worry. There are alternative streaming devices available that may be compatible with your Samsung Smart TV. You can explore options like Amazon Fire TV Stick or Google Chromecast to enhance your TV viewing experience.
Once you have confirmed the compatibility of your Samsung Smart TV with Roku, you’re ready to move on to the next step: connecting your TV to the internet. This step is crucial as it allows you to access the wide range of streaming content that Roku offers.
Step 2: Connect your Samsung Smart TV to the internet
In order to enjoy the streaming capabilities of Roku on your Samsung Smart TV, it needs to be connected to the internet. Here’s how you can connect your TV to the internet:
- Ensure that your Samsung Smart TV is powered on.
- Using your TV’s remote control, navigate to the home screen and select the “Settings” option.
- In the settings menu, locate and select the “Network” or “Internet” tab.
- Choose the option to connect to a wireless network.
- A list of available Wi-Fi networks will appear on your screen. Select your desired network from the list.
- If prompted, enter your Wi-Fi password using the on-screen keyboard.
- Once you have entered the correct password, select “Connect” to establish a connection to the Wi-Fi network.
- Your Samsung Smart TV will now attempt to connect to the selected network. Once the connection is established, you should see a confirmation message.
It’s important to ensure that your Wi-Fi network is stable and offers a reliable internet connection. This will ensure smooth streaming and minimize buffering issues while using Roku on your Samsung Smart TV.
If you don’t have a Wi-Fi network available, you can also connect your TV to the internet using an Ethernet cable. Simply plug one end of the Ethernet cable into the Ethernet port on your TV and the other end into your router or modem.
Once your Samsung Smart TV is successfully connected to the internet, you’re now ready to set up a Roku account, which we’ll guide you through in the next step.
Step 3: Set up a Roku account
To fully utilize the features and content available on Roku, you will need to create a Roku account. Here’s how you can set up your Roku account:
- Using a computer or mobile device, open a web browser and visit the official Roku website.
- Click on the “Sign In” or “Create Account” button located at the top-right corner of the website.
- On the account creation page, you will be asked to provide your personal information, such as your name and email address. Fill in the required fields and create a unique password for your account.
- Read and accept the terms and conditions and privacy policy.
- Click on the “Continue” button to proceed with the account creation process.
- You will then be prompted to choose a payment method. Roku requires you to provide a payment method, even if you plan to utilize only free channels and apps. You can choose to add a credit card or PayPal account.
- Enter the necessary payment details and click on the “Continue” button.
- Review your account information and payment details to ensure accuracy.
- Click on the “Create Account” button to finalize the process.
Once your Roku account is successfully created, you can now begin adding channels and apps to your account. This will enable you to stream a wide variety of content on your Samsung Smart TV.
It’s important to note that Roku offers both free and paid channels. While some channels are free to install and watch, others may require a subscription or one-time payment. You have the flexibility to choose the channels and apps that best suit your preferences and budget.
With your Roku account set up, let’s move on to the next step: choosing the Roku device that is compatible with your Samsung Smart TV.
Step 4: Choose the Roku device that suits your needs
Now that you have set up your Roku account, it’s time to select the Roku device that is compatible with your Samsung Smart TV. Roku offers a range of streaming devices with varying features and capabilities. Here’s how you can choose the right Roku device:
- Consider your TV’s compatibility: Before making a decision, ensure that the Roku device you select is compatible with your Samsung Smart TV. Refer to the Roku website or consult the device compatibility list to ensure compatibility.
- Evaluate your streaming needs: Think about your streaming preferences and the content you want to access. If you primarily watch high-definition content, consider a Roku device that supports 4K Ultra HD streaming. If you have an older TV with an HDMI port, choose a Roku device that is compatible with HDMI or has alternative connectivity options.
- Assess additional features: Roku devices come with various additional features, such as voice control, headphone jacks on the remote, and USB ports for playing media files. Determine which features are important to you and choose a device that offers them.
- Budget consideration: Set a budget for your Roku device purchase. Roku offers devices at different price points, ranging from entry-level options to more advanced models. Consider how much you’re willing to spend and choose a device within your budget.
Once you have evaluated these factors, you can make an informed decision on the Roku device that best suits your needs. Popular Roku devices include Roku Express, Roku Streaming Stick, Roku Premiere, and Roku Ultra.
Remember, the Roku device you choose will serve as the bridge between your Samsung Smart TV and the streaming content. It will allow you to seamlessly stream your favorite TV shows, movies, and more.
Once you have selected your Roku device, it’s time to move on to the next step: connecting the Roku device to your Samsung Smart TV.
Step 5: Connect the Roku device to your Samsung Smart TV
Now that you have chosen the Roku device that suits your needs, it’s time to connect it to your Samsung Smart TV. Follow these steps to establish the connection:
- Ensure that your Samsung Smart TV is turned off.
- Locate the HDMI port on your TV. If your Roku device supports HDMI, connect one end of the HDMI cable to the HDMI port on the Roku device and the other end to an available HDMI port on your TV.
- If your TV does not have an HDMI port, don’t worry. Some Roku devices also offer alternative connectivity options, such as composite or component cables. Simply connect the appropriate cable to the corresponding ports on the Roku device and your TV.
- If your Roku device requires external power, connect it to a power outlet using the provided power adapter and cable.
- Turn on your Samsung Smart TV and use the TV remote to navigate to the input/source selection. Select the HDMI or alternative input that corresponds to the Roku device you connected.
- Once you have selected the correct input, you should see the Roku logo or the Roku home screen on your TV.
- Now, take the remote control that came with your Roku device and follow the on-screen instructions to complete the initial setup process.
During the setup process, you may be prompted to connect your Roku device to your Wi-Fi network. Follow the on-screen instructions to connect to your Wi-Fi network and enter your Roku account details when prompted.
Once the setup process is complete, your Roku device will be successfully connected to your Samsung Smart TV. You are now ready to activate Roku on your TV and start enjoying the wide range of streaming content available.
Next, we will guide you through the activation process in step 6.
Step 6: Set up the Roku device on your Samsung Smart TV
Now that you have connected your Roku device to your Samsung Smart TV, it’s time to set it up and configure the necessary settings. Follow these steps to complete the setup:
- Ensure that your Samsung Smart TV is turned on and that the Roku device is connected and powered on.
- Using the Roku remote, navigate to the Welcome screen and select the desired language for your Roku device.
- Next, choose the option to “Set up for home use.”
- Your Roku device will now initiate a check for internet connectivity and download any necessary updates. This may take a few minutes.
- Once the updates are complete, your Roku device will display a unique code on the screen.
- Grab your computer or mobile device and open a web browser. Go to the Roku activation website provided on your TV screen.
- Follow the instructions on the activation website to enter the unique code shown on your TV screen.
- Sign in to your Roku account using your account credentials.
- Complete the remaining on-screen prompts to customize your Roku device settings.
- Once you have finished the setup process, your Roku device will restart and display the Roku home screen on your Samsung Smart TV.
Congratulations! You have successfully set up the Roku device on your Samsung Smart TV. You are now ready to start exploring the wide selection of channels and apps available on Roku.
Take some time to familiarize yourself with the Roku interface and settings. You can personalize your Roku home screen, arrange your favorite channels, and even enable parental controls if needed.
With the Roku device fully set up, you’re just one step away from enjoying a world of entertainment at your fingertips. Let’s move on to the next step: activating Roku on your Samsung Smart TV.
Step 7: Activate Roku on your Samsung Smart TV
After setting up the Roku device on your Samsung Smart TV, it’s time to activate Roku to gain access to the wide range of content it offers. Follow these steps to activate Roku:
- Ensure that your Samsung Smart TV is turned on and that the Roku device is connected and powered on.
- Using the Roku remote, navigate to the Roku home screen on your TV.
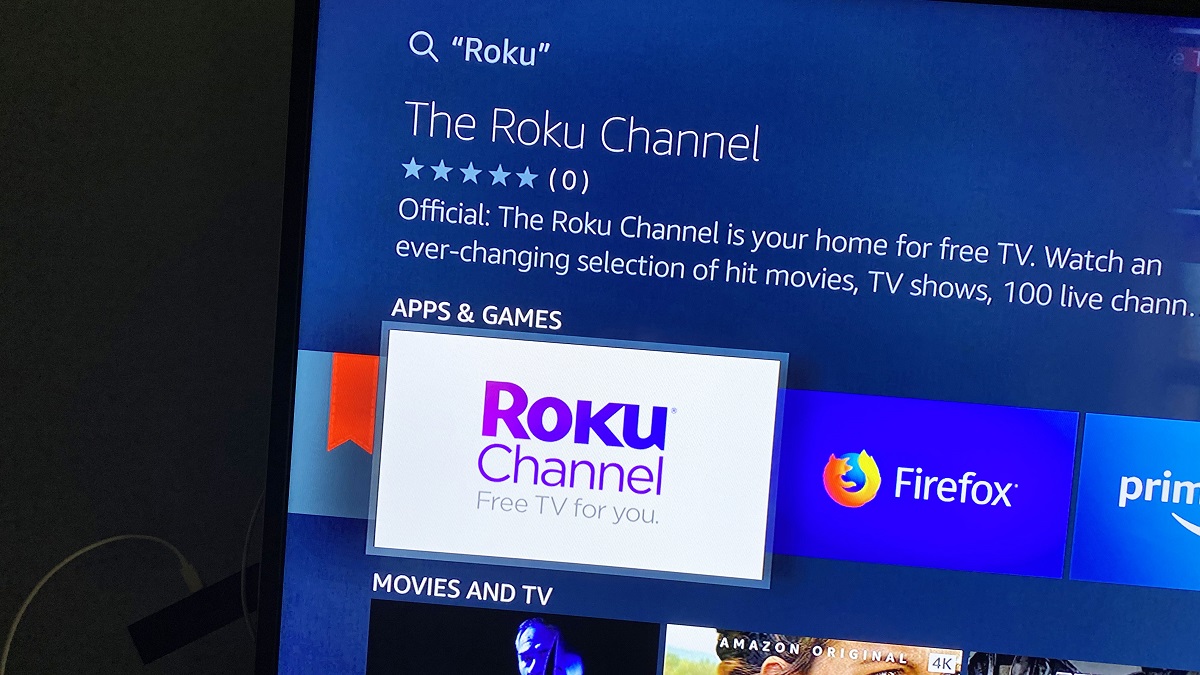
- Scroll through the available options and select any channel or app that you want to install (Note: You can skip this step if you prefer to activate Roku without installing any additional channels at this time).
- Once you select a channel, you will be prompted to activate your Roku device.
- A unique activation code will be displayed on your TV screen.
- Grab your computer or mobile device and open a web browser. Go to the Roku activation website provided on your TV screen.
- Enter the activation code shown on your TV screen into the appropriate field on the activation website.
- Sign in to your Roku account if prompted to do so.
- Follow the on-screen instructions to complete the activation process.
- Once the activation process is complete, your Roku device will be activated and ready to use on your Samsung Smart TV.
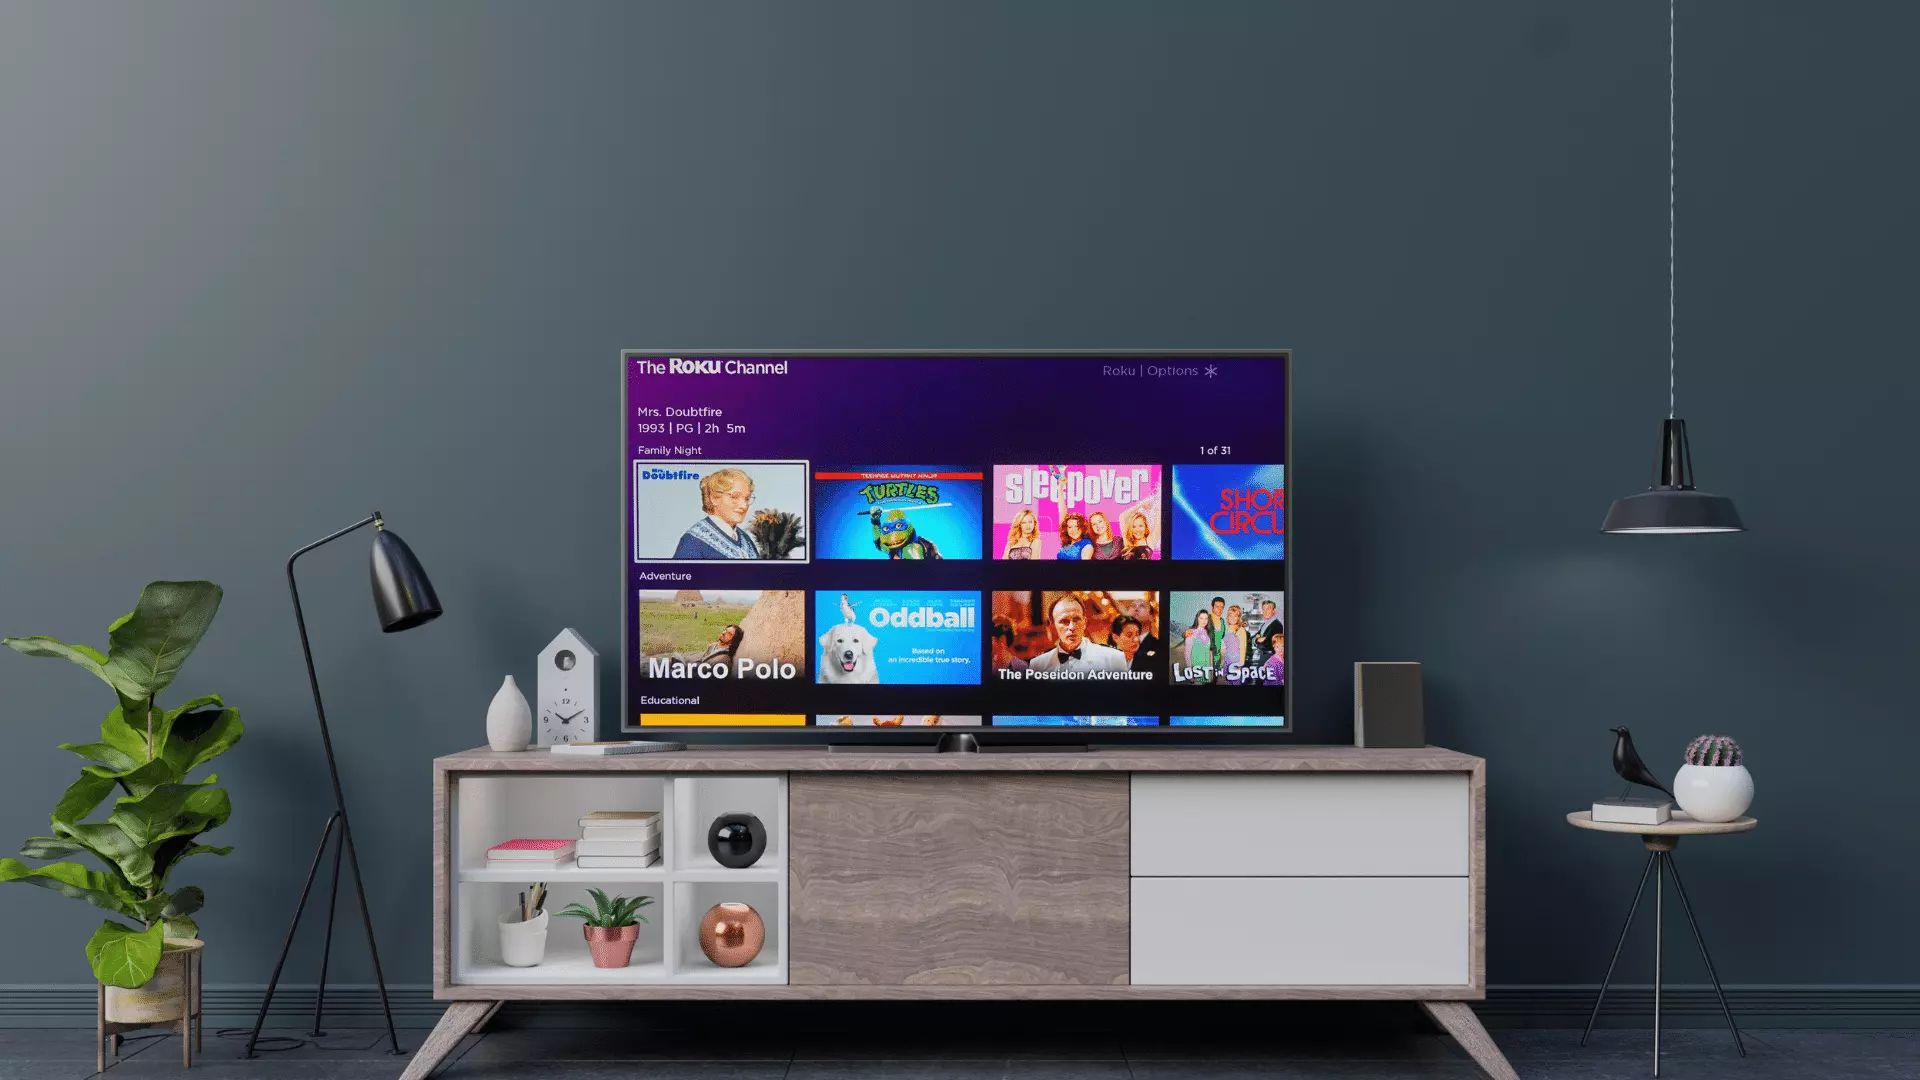
With Roku activated on your Samsung Smart TV, you now have access to a vast array of channels and apps, including popular streaming platforms like Netflix, Hulu, and Amazon Prime Video.
Feel free to explore the Roku Channel Store to discover new channels that cater to your interests. You can also manage your installed channels through the Roku home screen, organizing them for easy access.
Now that you have successfully activated Roku on your Samsung Smart TV, it’s time to personalize your Roku experience, which we will guide you through in the next step.
Step 8: Customize your Roku experience
Now that you have activated Roku on your Samsung Smart TV, it’s time to customize your Roku experience to make it tailored to your preferences. Follow these steps to personalize your Roku:
- On your Roku home screen, navigate to the “Settings” option.
- Select “Theme” to choose from a variety of Roku interface themes. Pick a theme that suits your style and enhances your viewing experience.
- Return to the “Settings” menu and select “Display type” to adjust the display settings based on your TV’s capabilities and personal preferences.
- Navigate to “Screen saver” to customize the screen saver settings. You can choose from various screen saver options or even display your own photos as a slideshow.
- Explore the “Audio” settings to adjust the audio output and optimize the sound quality according to your preferences.
- Go to the “Closed captioning” settings to enable or disable closed captions while streaming content. You can also customize the appearance of captions to enhance readability.
- If you have children, navigate to “Parental controls” to set up restrictions on certain channels or content based on ratings.
- Additionally, you can rearrange the channels on the Roku home screen to prioritize your favorites. Press the asterisk (*) button on your Roku remote while on the home screen, select “Move channel,” and position it where desired.
- Explore the Roku Channel Store to discover new channels and apps that align with your interests. You can install additional channels by navigating to the Channel Store, selecting a channel, and clicking on “Add channel.”
- Finally, take the time to explore the features and settings available within each individual channel to further customize your Roku experience.
By customizing your Roku experience, you can optimize your viewing pleasure, create a visually appealing interface, and tailor the content to your preferences. Take the time to adjust the settings to best suit your needs.
Remember, you can always revisit and modify these settings as your preferences evolve over time.
With your Roku device now personalized to your liking, you’re ready to embark on a delightful streaming journey filled with entertainment, convenience, and endless possibilities.
Conclusion
Congratulations! You have successfully installed Roku on your Samsung Smart TV, expanding your entertainment options in ways you never thought possible. By following the step-by-step instructions in this guide, you have connected your TV to the internet, set up a Roku account, chosen a compatible Roku device, and connected it to your Samsung Smart TV. You have also activated Roku and customized your streaming experience to suit your preferences.
With Roku, you now have access to a vast library of channels and apps, offering a wide variety of movies, TV shows, music, and more. Whether you’re a fan of popular streaming platforms like Netflix and Hulu, or if you enjoy exploring niche channels specific to your interests, Roku has something for everyone.
Remember to regularly check for updates and new channels in the Roku Channel Store to discover even more content to enjoy. Additionally, take advantage of the customization options available to personalize your Roku interface, audio settings, closed captions, and more.
Now that you are all set up with Roku on your Samsung Smart TV, it’s time to grab your popcorn, sit back, and immerse yourself in the world of limitless entertainment. Enjoy the convenience, flexibility, and endless streaming possibilities that Roku brings to your TV viewing experience.
Whether you’re enjoying a movie night with loved ones, catching up on your favorite TV shows, or exploring new content across various genres, Roku on your Samsung Smart TV ensures that you always have something exciting to watch.
Thank you for choosing Roku, and we hope you have an incredible time exploring and enjoying the wide range of streaming content at your fingertips!