Introduction
Welcome to our guide on how to install the stand for your LG OLED TV! If you’ve recently purchased a beautiful LG OLED TV and want to set it up on its stand, you’re in the right place. Installing the stand correctly is essential for ensuring the stability and safety of your TV.
Before we dive into the installation process, let’s take a moment to appreciate the exceptional picture quality and sleek design that LG OLED TVs are renowned for. With their deep blacks, vibrant colors, and razor-thin profiles, LG OLED TVs elevate your viewing experience to a whole new level. And now, with our step-by-step instructions, you can easily set up your TV on its stand and enjoy your favorite shows and movies in style.
In this guide, we will walk you through each step of the installation process, from unboxing the TV to adjusting the stand to your desired viewing angle. We will also provide tips on cable management and essential checks to ensure your TV is set up correctly. So, let’s get started and make sure your LG OLED TV takes center stage in your entertainment setup!
Step 1: Unboxing the LG OLED TV
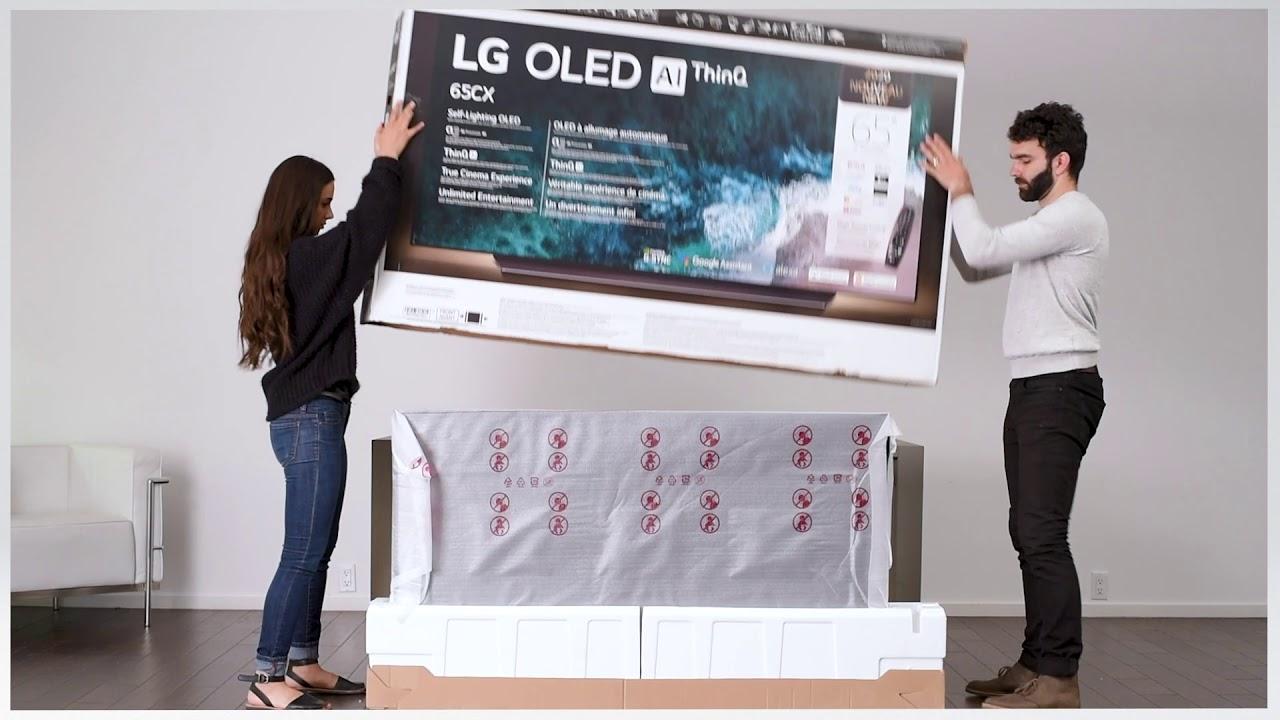
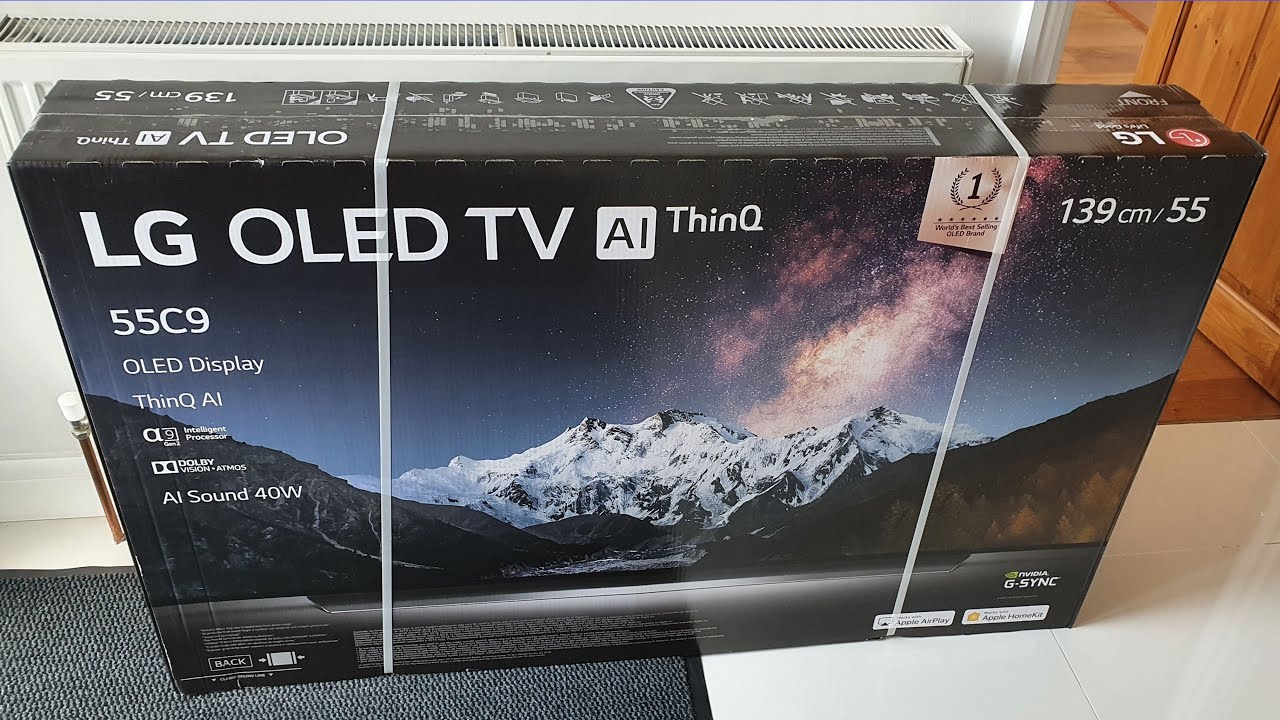
The first step in installing the stand for your LG OLED TV is to carefully unbox the TV itself. Before you begin, make sure you have a clean and spacious area to work in, as the TV packaging can be quite large.
Start by locating the box that contains the TV. Carefully cut open the box using a utility knife or scissors, ensuring you don’t damage the TV or any of the accessories inside. Once the box is open, gently lift the TV out of the box and place it on a soft and stable surface.
Next, remove the protective foam from around the TV and set it aside. Take a moment to inspect the TV for any visible damage. If you notice any dents, cracks, or other issues, contact LG customer support for assistance.
Inside the box, you will find the stand components and accessories. These may include the stand base, the stand neck, screws, and the user manual. Carefully remove these items from the box and check if everything is present.
Take a few minutes to read through the user manual, as it provides important information about the installation process and safety guidelines. Familiarize yourself with the different parts of the stand and how they fit together. This will ensure a smooth and hassle-free installation.
Once you’ve completed this step, you’re ready to move on to the next one, where we’ll prepare the stand for installation. So let’s continue our journey toward setting up your LG OLED TV and creating the perfect entertainment setup.
Step 2: Preparing the Stand
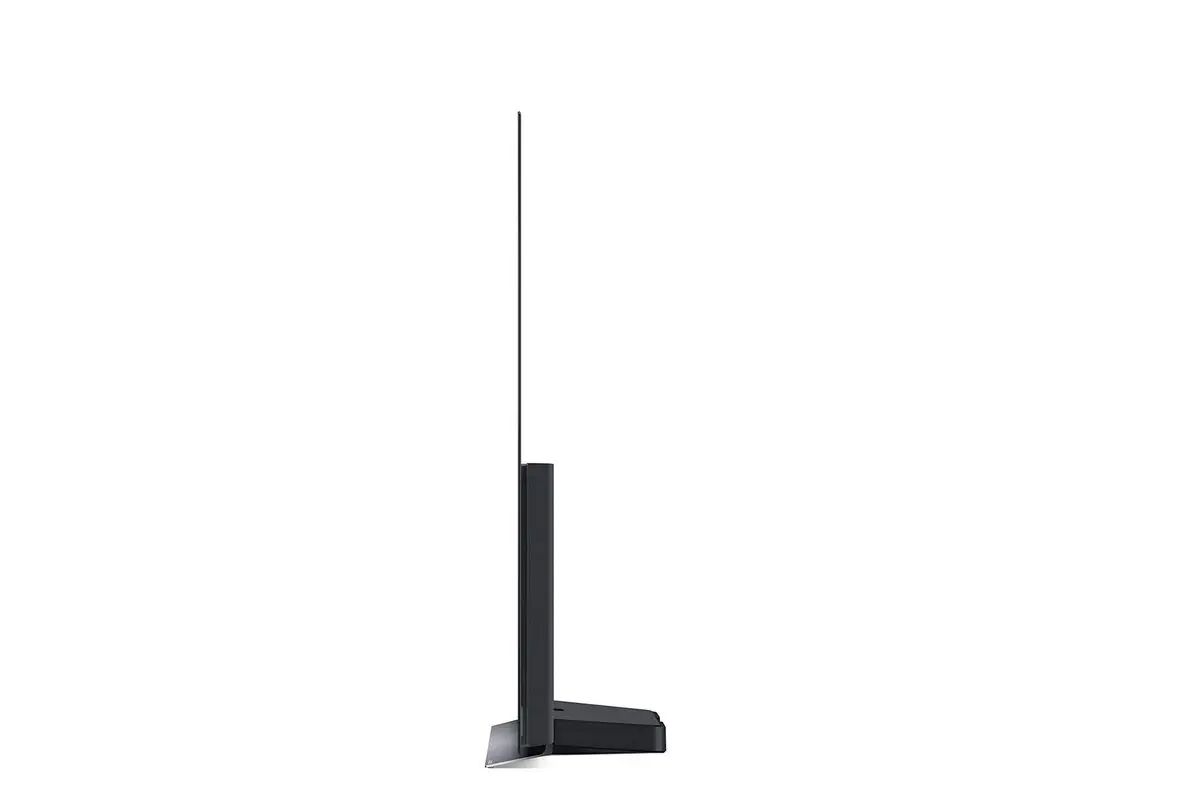
Now that you’ve unboxed your LG OLED TV, it’s time to prepare the stand for installation. The stand consists of two main components: the stand base and the stand neck. Let’s get started!
Begin by locating the stand base. Depending on the model of your LG OLED TV, the stand base may vary in size and shape. Place the stand base on a clean, stable surface, ensuring that it is flat and level. This will provide a solid foundation for your TV.
Next, find the stand neck. Align the stand neck with the pre-drilled holes on the back of the TV. Insert the screws provided into the holes and secure them tightly using a screwdriver or the tool provided with the TV. Make sure the stand neck is firmly attached to the TV, as this will ensure stability when the TV is placed on the stand base.
Before moving on to the next step, double-check the tightness of the screws to ensure that the stand neck is securely fastened to the TV. This will prevent any wobbling or instability when the TV is mounted on the stand.
Once the stand base and stand neck are prepared, you’re one step closer to completing the installation. In the next step, we will guide you through securing the stand to the TV and placing it on a suitable surface. Let’s continue our journey toward setting up your LG OLED TV and creating an immersive entertainment experience!
Step 3: Securing the Stand to the TV
Now that you have prepared the stand components, it’s time to securely attach the stand to your LG OLED TV. This step is crucial to ensure the stability and safety of your TV.
Start by positioning the TV face-down on a soft and padded surface. This will prevent any scratches or damage to the screen during the installation process. Align the stand base with the stand neck attached to the TV. Carefully insert the stand neck into the stand base, making sure they fit snugly together.
Once the stand base and stand neck are aligned, locate the screws that came with your TV. Insert the screws into the designated holes on the stand base, and tighten them securely using a screwdriver. Ensure that all screws are tightened evenly to maintain stability.
As you tighten the screws, check for any movement or wobbling. If you notice any instability, double-check that the screws are tightened properly. Additionally, refer to the user manual for any specific instructions or recommendations on tightening the screws.
After securing the stand to the TV, carefully lift the TV upright, with the help of another person if necessary. Make sure to hold onto the TV securely to prevent any accidents or damage. Place the TV on a stable surface or TV cabinet, ensuring that the surface is level and able to support the weight of the TV.
With the stand securely attached and the TV in its upright position, you’re ready to move onto the next step. In the following step, we will guide you on adjusting the TV stand to achieve your desired viewing angle. Stay tuned!
Step 4: Placing the TV on a Surface
Now that you have securely attached the stand to your LG OLED TV, it’s time to find the perfect spot to place your TV. Choosing the right surface is important, as it provides stability and ensures a comfortable viewing experience.
Before placing the TV, consider the size and weight of your LG OLED TV. Make sure the surface you choose is capable of supporting the weight of the TV. Ideal options include TV cabinets, entertainment centers, or sturdy tables.
If you are using a TV cabinet or entertainment center, make sure it has enough space to accommodate the size of your TV and allows for proper ventilation to prevent overheating. Check for any weight limitations specified by the manufacturer.
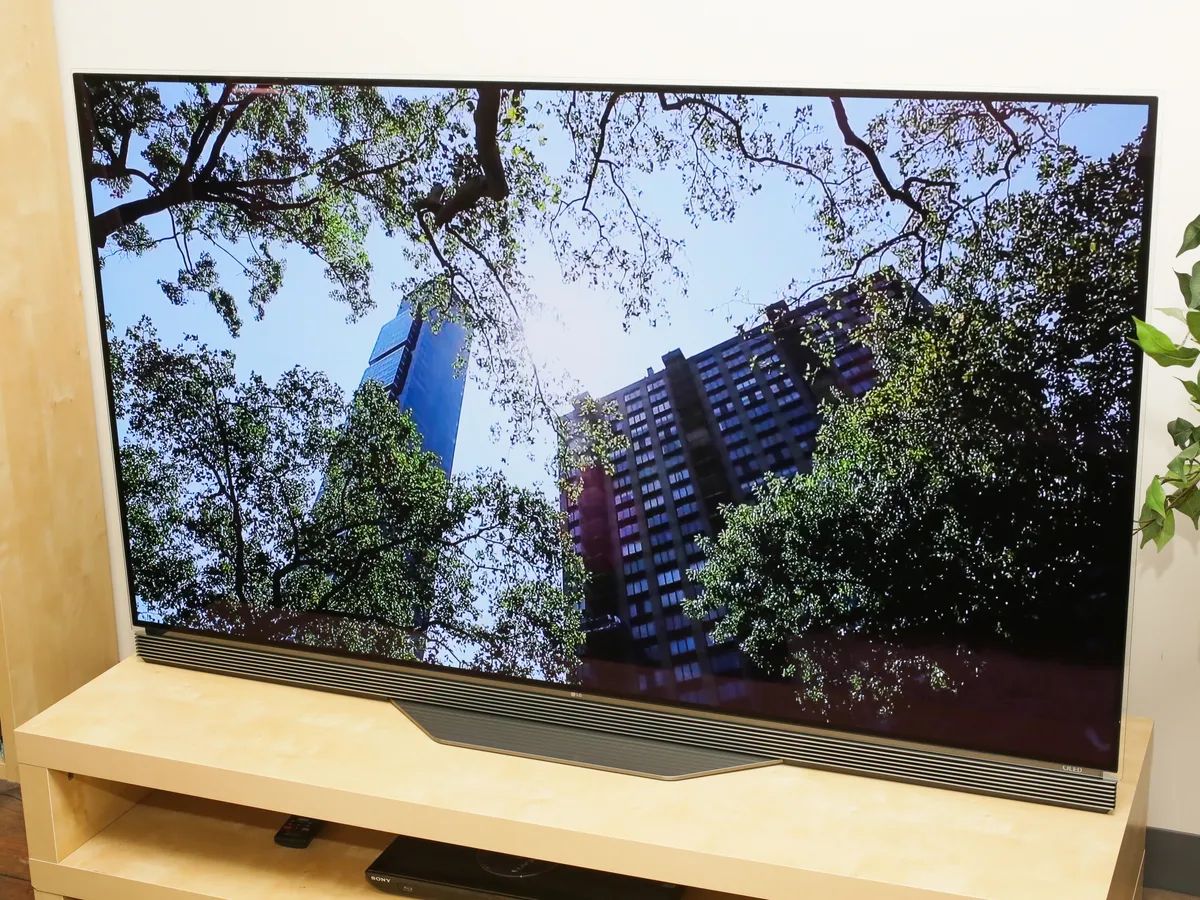
Position the TV stand on the chosen surface, ensuring that it is centered and aligned properly. Take a step back and evaluate the position of the TV from different angles. Consider factors such as lighting, glare, and distance from seating areas to ensure a comfortable viewing experience.
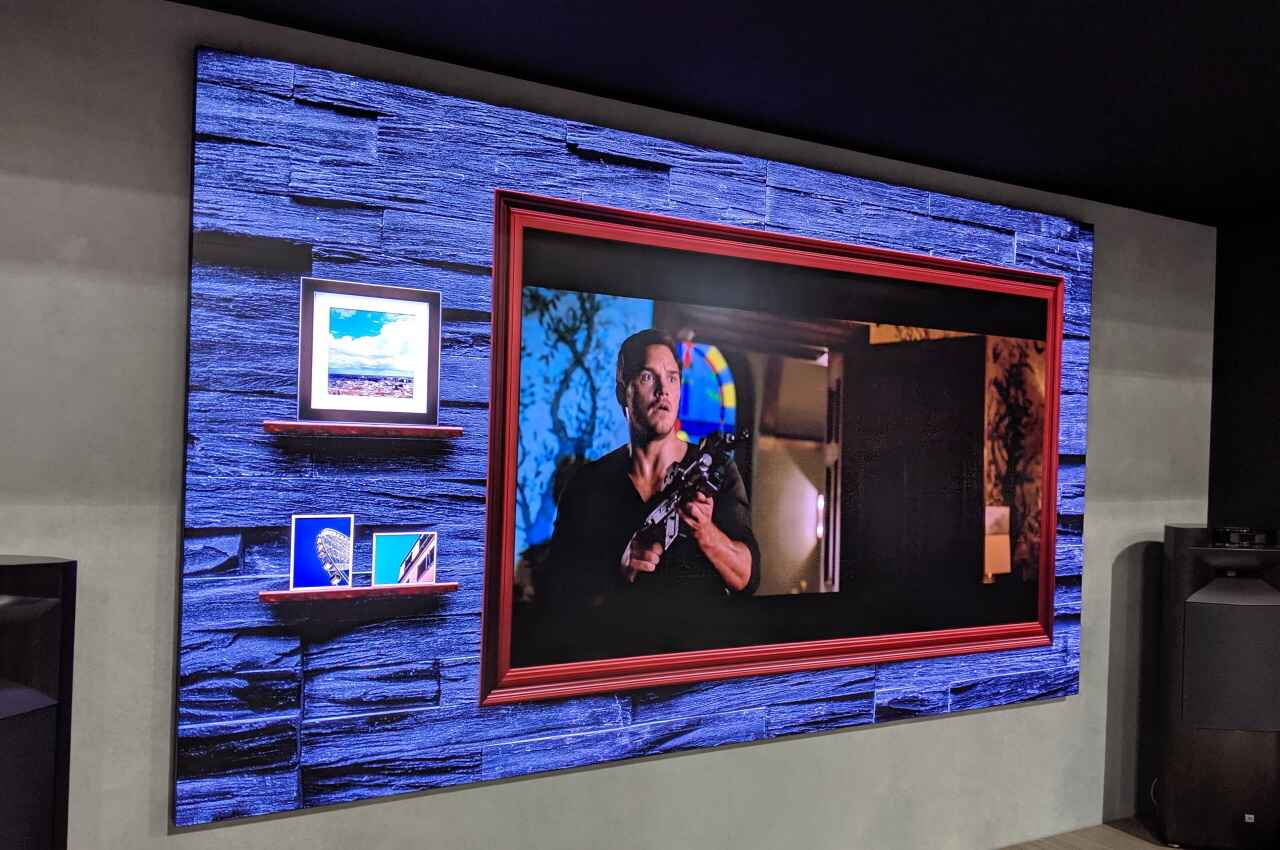
If you’re mounting the TV on a wall, follow the instructions provided by LG for wall mounting. Wall-mounted TVs can save space and create a sleek look, but make sure to use the appropriate mounting bracket and follow the recommended installation guidelines.
Once you have found the perfect spot and position for your LG OLED TV, carefully place the TV on the stand or mount it on the wall, following the specific instructions provided by LG.
At this stage, you’re almost there! In the next step, we will focus on adjusting the TV stand to find the optimal viewing angle for your LG OLED TV. Keep reading for more details!
Step 5: Adjusting the TV Stand
After placing your LG OLED TV on its stand, it’s time to adjust the TV stand to achieve the optimal viewing angle. The ability to adjust the position of your TV ensures that you have the best possible viewing experience.
Start by evaluating the height and tilt of the TV. Most LG OLED TV stands provide options for adjusting the height and tilt angle. Adjust the height by loosening the screws on the stand neck and sliding it up or down to your desired position. Once set, tighten the screws to secure the stand in place.
To adjust the tilt angle, locate the tilt adjustment mechanism on the rear of the TV. Depending on your TV model, this could be a lever or a set of screws. Loosen the lever or screws and gently tilt the TV forward or backward to find the preferred viewing angle.
It’s essential to consider eye level when adjusting the stand. Position the TV so that the center of the screen is roughly at eye level when you’re seated in your primary viewing position. This ensures a comfortable viewing experience without straining your neck or eyes.
Take a step back and assess the viewing angle from different seating positions in the room. If necessary, make further adjustments to optimize the viewing experience for everyone.
Once you have adjusted the height and tilt to your satisfaction, give the TV a gentle shake to ensure its stability. If you notice any wobbling or instability, check that the stand is securely fastened and the screws are tightened properly.
With the TV stand now adjusted to the perfect viewing angle, you’re one step closer to creating an immersive entertainment setup. In the next step, we’ll guide you through cable management to keep your setup clean and organized. Keep reading for more information!
Step 6: Cable Management
Now that your LG OLED TV is securely set up on its stand, it’s time to tackle cable management. With the numerous cables connected to your TV, it’s essential to keep them organized and out of sight for a clean and clutter-free setup.
Start by identifying the cables that need to be connected to the TV. These may include power cords, HDMI cables, audio cables, and any other peripheral connections you require. Untangle any knots or twists in the cables to make the management process easier.
Begin by connecting the necessary cables to the back of your TV. Carefully route the cables through the provided cable management channels or clips on the TV stand. These channels help conceal the cables and keep them neatly arranged.
If your TV stand doesn’t have built-in cable management features, consider using cable ties or adhesive cable clips to keep the cables in place. Secure the cables along the backside of the TV stand or along the wall to minimize visibility.
Keep the cables organized by grouping similar cables together. For example, keep audio cables separate from HDMI cables to prevent tangling and confusion in the future. You can also use cable sleeves or tubing to cover and streamline the appearance of the cables.
Consider investing in a surge protector or power strip with surge protection to protect your TV and other devices from power surges. This will not only provide an additional level of safety but also reduce cable clutter by having a central point for all your power connections.
Double-check that all the cables are securely connected and properly managed before proceeding. This will ensure that your setup remains organized and prevent any accidental cable disconnections.
With your cables now neatly managed and hidden from view, you’re almost finished with the installation process. In the final step, we’ll provide some essential checks and additional tips to make the most of your LG OLED TV setup. Let’s dive in!
Step 7: Final Checks and Tips
Congratulations! You have successfully installed the stand for your LG OLED TV. Before you start enjoying your favorite shows and movies, let’s perform some final checks and provide you with a few valuable tips to enhance your TV viewing experience.
First, double-check that all the connections are secure. Ensure that the power cable, HDMI cables, and any other connections are firmly plugged in and properly seated. This will prevent any technical issues or interruptions in your viewing pleasure.
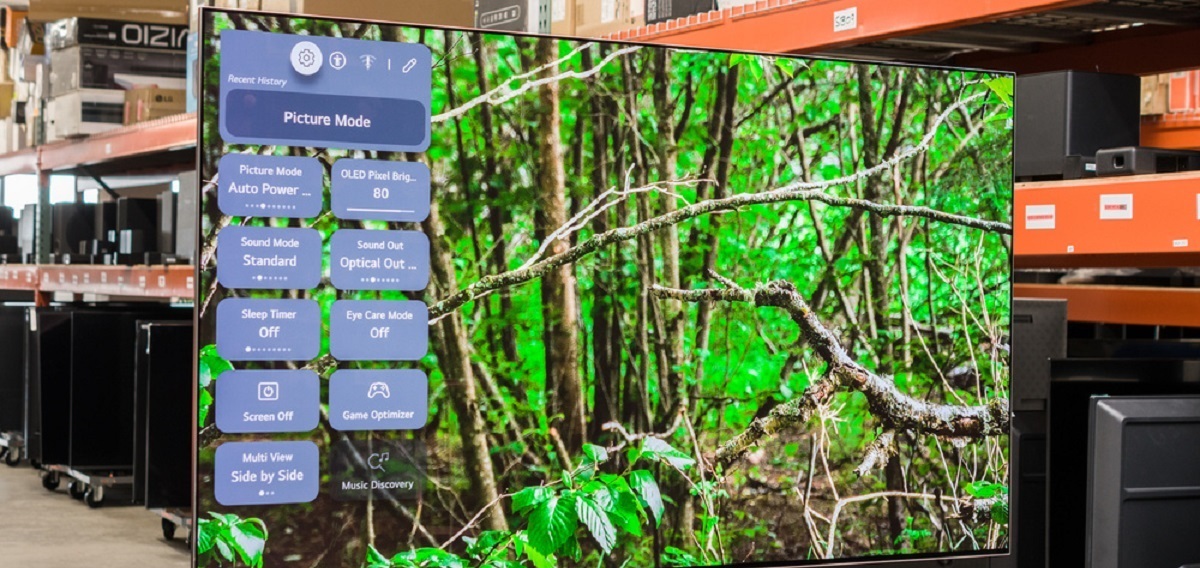
Next, turn on your LG OLED TV and navigate through the settings menu. Adjust the picture settings to your liking, such as brightness, contrast, and color settings. Experiment with different presets or customize the picture settings based on your preferences. This will ensure a visually captivating and personalized viewing experience.
Take a moment to explore the various features and smart functionality of your LG OLED TV. Familiarize yourself with the remote control, available apps, and streaming capabilities. This will allow you to make the most of your TV’s capabilities and access an incredible array of content.
Consider setting up any additional devices, such as a soundbar or gaming console, to enhance your audio and gaming experience. Refer to the user manuals for these devices to ensure correct connections and settings.
Lastly, ensure that your TV is placed in a well-ventilated area. Proper airflow is critical for preventing overheating and ensuring optimal performance. Avoid placing objects on top of the TV or blocking the vents.
With the final checks completed, it’s time to sit back, relax, and enjoy the immersive viewing experience provided by your LG OLED TV. Grab some popcorn, dim the lights, and immerse yourself in the world of entertainment.
We hope this step-by-step guide has been informative and helpful in installing the stand for your LG OLED TV. If you have any further questions or need assistance, refer to the user manual or contact LG customer support.
Thank you for choosing LG OLED TV, and we wish you countless hours of enjoyment with your new TV setup!
Conclusion
Setting up the stand for your LG OLED TV may initially seem like a daunting task, but with the help of our step-by-step guide, you’ve successfully accomplished it. We hope this guide has provided you with the necessary instructions and tips to install the stand correctly and create a stunning entertainment setup.
By unboxing the TV, preparing the stand, securing it to the TV, placing the TV on a suitable surface, adjusting the TV stand, managing cables, performing final checks, and following our additional tips, you have ensured a stable and visually appealing TV setup.
Now, sit back and immerse yourself in the impressive picture quality and vibrant colors that only an LG OLED TV can provide. Take advantage of its smart features, explore different settings, and enjoy a vast selection of content from streaming services and apps. With your cables organized and your TV adjusted to the optimal viewing angle, you can fully indulge in the ultimate home theater experience.
If you encounter any issues during the installation process or have further questions, always refer to the user manual or reach out to LG customer support for assistance. They are equipped to provide you with the help you need to make the most of your LG OLED TV.
Thank you for choosing LG OLED TV and following our installation guide. We hope you enjoy countless hours of entertainment and memorable viewing experiences with your newly set-up TV. Happy watching!