Introduction
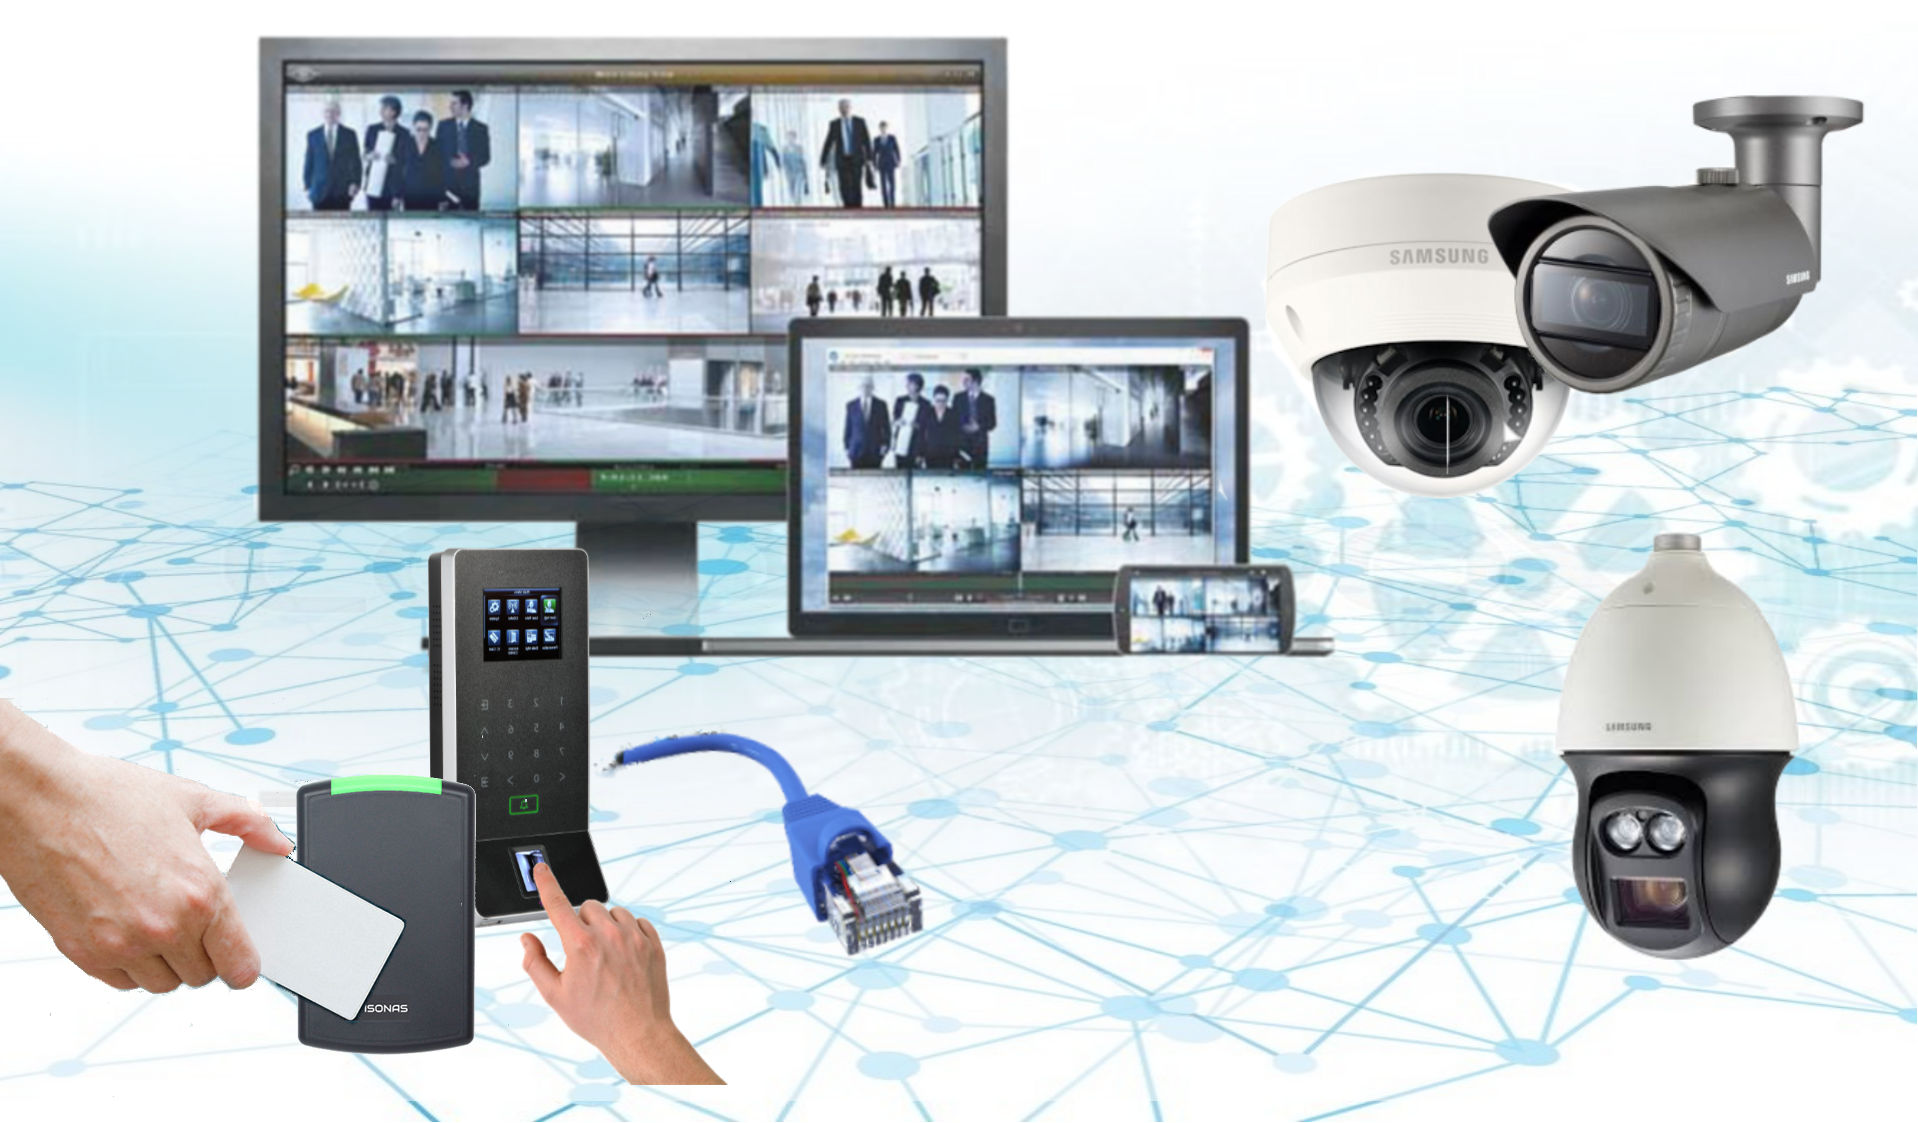
Welcome to our step-by-step guide on how to install an HD IoT camera! In today’s digital age, security is a top priority for homeowners and businesses alike. IoT cameras provide an efficient and convenient way to monitor your property remotely, ensuring peace of mind and enhanced security.
Installing an HD IoT camera may seem daunting at first, but with the right tools and a little know-how, you can easily set up your own surveillance system. In this guide, we will walk you through the installation process, from gathering the necessary tools to configuring camera settings.
Whether you want to keep an eye on your home while you’re away or monitor your office premises, this guide will equip you with the knowledge and skills required to install an HD IoT camera successfully.
Before we dive into the installation process, it’s crucial to select the right camera that suits your needs. HD IoT cameras vary in features, resolutions, and connectivity options, so take some time to research and choose the camera that best fits your requirements.
Now, let’s get started with the installation process and turn your property into a well-secured, digitally connected space!
Step 1: Gather the necessary tools and equipment
Before you begin the installation process, it’s essential to gather all the necessary tools and equipment. Having everything on hand will make the installation process smooth and hassle-free. Here’s a list of items you will need:
- HD IoT camera: Choose a camera that suits your needs and specifications. Make sure it comes with the necessary mounting brackets and screws.
- Power adapter: Most HD IoT cameras require a power adapter to provide constant power.
- Ethernet cable: This will be used to connect the camera to your network router.
- Drill and drill bits: You may need to drill holes to mount the camera securely.
- Screwdriver: To tighten screws and mount the camera bracket.
- Measuring tape: Useful for accurate measurements and positioning of the camera.
- Network router: Ensure that your router is in working condition and has available Ethernet ports.
- Mobile device or computer: This will be used to access and configure the camera.
By gathering all the necessary tools and equipment beforehand, you can streamline the installation process and avoid any unnecessary delays.
Once you have collected all the items on the list, you’re ready to move on to the next step: choosing the perfect location for your camera installation.
Step 2: Choose the perfect location
Choosing the right location is crucial for the proper functioning of your HD IoT camera. The ideal spot will provide optimal coverage of the area you want to monitor while ensuring the camera is secure and protected. Follow these tips to select the perfect location:
- Identify the area: Determine the specific area you want to monitor, such as the front entrance, backyard, or parking lot.
- Consider the camera’s field of view: Take note of the camera’s field of view and ensure it covers the desired area without any blind spots.
- Secure mounting surface: Find a sturdy surface, like a wall or ceiling, where you can mount the camera securely.
- Accessibility: Ensure easy access to the camera for maintenance or adjustments, but also consider hiding it from potential tampering or vandalism.
- Weather conditions: Consider weatherproofing if the camera will be exposed to the elements.
- Power source: Choose a location near a power outlet or make arrangements for a power source if necessary.
- Connectivity: Ensure the camera can connect to your network router within a reasonable distance.
Once you have determined the ideal location, mark the mounting spots using a pencil or tape. Make sure to double-check the position and angle to achieve the best coverage.
Remember, the camera’s location plays a crucial role in its effectiveness, so take your time and choose wisely. With the perfect location selected, you’re ready to move on to the next step: preparing for installation.
Step 3: Prepare for installation
Before you start the installation process, it’s important to prepare the area and gather any additional materials you may need. Here’s a guide to help you prepare for installing your HD IoT camera:
- Clean the area: Ensure that the installation area is clean and free from dust, debris, or any obstructions.
- Gather additional materials: Check if you need any additional cables, connectors, or mounting accessories based on the specific camera model and installation requirements.
- Plan the cable route: Decide on the route for your Ethernet cable from the camera to your network router. Avoid areas with high foot traffic or potential hazards.
- Measure and mark: Use a measuring tape to measure the distance from the camera’s mounting location to the power outlet and router. Mark these spots for reference during installation.
- Secure cables: Prepare cable clips or ties to secure the cables neatly along the route, minimizing any tripping hazards or potential damage.
- Prepare tools: Double-check that you have all the necessary tools and equipment mentioned in Step 1.
By preparing the installation area and gathering the required materials, you can ensure a smooth and efficient installation process. Proper preparation will save you time and help you avoid any unplanned setbacks.
Once you’re fully prepared, it’s time to move on to the exciting part – mounting the camera!+
Step 4: Mount the camera
Now that you have completed the necessary preparations, it’s time to mount your HD IoT camera. Follow these steps to ensure a secure and stable installation:
- Refer to the manufacturer’s instructions: Read the camera’s user manual or installation guide to understand the specific mounting instructions for your model.
- Position the mounting bracket: Attach the mounting bracket to the desired location using screws and a screwdriver. Ensure it is level and securely fastened.
- Align the camera: Align the camera with the mounting bracket and secure it in place. Use the provided screws or brackets to attach the camera to the mounting bracket.
- Adjust the angle: Adjust the camera angle to capture the desired field of view. Test different angles to find the optimal position for monitoring.
- Tighten all screws: Once the camera is properly positioned, tighten all screws to ensure stability and prevent any movement in strong winds or vibrations.
During the mounting process, be mindful of the camera’s cables and connectors. Route them through the appropriate channels on the mounting bracket to ensure a clean and organized setup.
Keep safety in mind while mounting the camera. If necessary, use safety gear such as goggles or gloves to protect yourself from any potential hazards.
Once the camera is securely mounted, you can move on to the next step: connecting the camera to a power source.
Step 5: Connect the camera to a power source
Now that your HD IoT camera is securely mounted, it’s time to connect it to a power source. Follow these steps to ensure a proper power connection:
- Locate the power port: Identify the power port on the camera, usually located on the back or bottom. It may be labeled as “power” or have a unique icon.
- Plug in the power adapter: Connect the power adapter to a nearby power outlet and plug the other end into the camera’s power port.
- Check the power indicator: Once the camera is powered on, look for a power indicator light on the camera. This light confirms that the camera has a steady power supply.
- Ensure proper cable management: Neatly organize the power cable along the mounting bracket and secure it with cable clips or ties. This will help prevent any accidental disconnections or damage to the power cable.
Make sure that the power source you use is reliable and can provide a consistent power supply to the camera. Avoid using extension cords or power strips that may introduce instability or power fluctuations.
If your camera is battery-powered or operates on a separate power source, follow the manufacturer’s instructions to connect and power it accordingly.
With the camera successfully connected to a power source, we can proceed to the next step: connecting the camera to the internet.
Step 6: Connect the camera to the internet
Connecting your HD IoT camera to the internet is a crucial step to enable remote access and monitoring. Follow these steps to establish a stable internet connection:
- Locate the Ethernet port: Look for the Ethernet port on the camera, usually located on the back or bottom. It may be labeled as “LAN” or have an Ethernet symbol.
- Connect the Ethernet cable: Take one end of the Ethernet cable and plug it into the camera’s Ethernet port. Connect the other end to an available Ethernet port on your network router.
- Check the connection status: Once the camera is connected to the router, check the camera’s status indicators to ensure a successful internet connection. The status indicators may vary depending on the camera model, but usually consist of LEDs that indicate power and network connectivity.
- Configure network settings: If necessary, access the camera’s settings menu through a web browser or a dedicated software provided by the camera manufacturer. Follow the instructions to configure the network settings, such as choosing DHCP or assigning a static IP address.
- Test the internet connection: After configuring the network settings, test the internet connection by accessing the camera’s live feed or performing a network connection test. This will verify if the camera is successfully connected to the internet.
Ensure that your network router is connected to the internet and has available Ethernet ports for connecting the camera. If you encounter any connectivity issues, refer to the camera’s user manual or contact the manufacturer’s support for assistance.
With the camera successfully connected to the internet, you’re now ready to proceed to the next step: configuring the camera settings to tailor it to your specific needs.
Step 7: Configure camera settings
Now that your HD IoT camera is connected to the internet, it’s time to configure the camera settings to customize its functionality and optimize its performance. Follow these steps to set up the camera according to your specific requirements:
- Access the camera’s settings: Open a web browser or a dedicated software provided by the camera manufacturer and enter the camera’s IP address or domain name to access the camera’s settings interface.
- Create a username and password: Set up a unique username and a strong password to secure access to the camera settings. This will help protect your camera from unauthorized access.
- Configure network settings: Review and update the network settings if needed, such as the IP address, subnet mask, gateway, and DNS settings. Ensure these settings align with your network configuration.
- Set up motion detection and recording: Customize the camera’s motion detection settings to receive alerts or trigger recordings when motion is detected in the monitored area. Adjust the sensitivity and define detection zones for accurate monitoring.
- Enable remote access: If you want to access the camera remotely, configure port forwarding or set up a dynamic DNS (DDNS) service to enable remote access through your smartphone, tablet, or computer.
- Configure video quality and settings: Adjust the camera’s video quality, resolution, frame rate, and other video settings to meet your preferences and bandwidth limitations.
- Explore additional settings: Explore other settings related to audio, night vision, PTZ (pan-tilt-zoom), and any other features that your camera may offer. Customize these settings based on your needs and preferences.
It’s important to refer to the camera’s user manual or the manufacturer’s documentation for detailed instructions on configuring specific settings and features. This will ensure that you make the most out of your camera and tailor it to your unique requirements.
Once you have configured the camera settings to your satisfaction, you can move on to the next step: testing the camera to ensure it’s functioning correctly.
Step 8: Test the camera
After configuring the camera settings, it’s important to test the camera to ensure it is functioning correctly and capturing the desired footage. Follow these steps to perform a comprehensive camera test:
- Check the live feed: Access the camera’s live feed through the web browser or dedicated software to verify that the camera is capturing a clear and accurate view of the monitored area.
- Verify motion detection: Test the camera’s motion detection feature by walking or moving within the camera’s field of view. Verify if you receive motion alerts or if the camera starts recording as expected.
- Test night vision: If your camera has night vision capabilities, test it in low-light conditions or darkness to ensure that it captures clear footage and provides adequate visibility.
- Adjust camera angles: If necessary, make any final adjustments to the camera’s angle and position to ensure optimal coverage and eliminate any potential blind spots.
- Review recorded footage: If your camera has recording capabilities, review the recorded footage to ensure that it is of satisfactory quality and that all relevant events are captured accurately.
- Test remote access: If you have set up remote access, test it using your smartphone, tablet, or computer outside your local network. Ensure that you can access the camera’s live feed and settings remotely.
During the testing phase, pay close attention to the camera’s performance, image quality, and any additional features you have configured. Identify any issues or areas for improvement that may require further adjustment or troubleshooting.
If you encounter any difficulties or inconsistencies during the testing process, consult the camera’s user manual, check for firmware updates, or contact the camera manufacturer’s support for assistance.
Once you have completed a thorough camera test and are satisfied with the results, you can proceed to the final step: setting up remote access for convenient monitoring.
Step 9: Set up remote access
Setting up remote access allows you to monitor your HD IoT camera from anywhere, providing convenience and peace of mind. Here’s how you can enable remote access:
- Choose a remote access method: Determine the method you prefer for remote access, such as using a mobile app provided by the camera manufacturer or accessing the camera’s web interface through a web browser.
- Configure port forwarding: If accessing the camera’s web interface, configure port forwarding on your network router to allow incoming connections from the internet. Refer to your router’s user manual for instructions on how to set up port forwarding.
- Set up a dynamic DNS (DDNS) service: If your internet service provider assigns a dynamic IP address that changes periodically, set up a DDNS service. This allows you to access the camera using a static domain name, even when the IP address changes.
- Create an account: To access the camera remotely, create an account with the camera’s mobile app or web interface. Follow the instructions provided by the manufacturer to complete the account setup process.
- Configure remote access: In your camera’s settings, enable remote access and input your account information. This will establish a secure connection between your camera and the remote device.
- Test remote access: Test the remote access feature by accessing your camera from a device outside your local network. Ensure that you can view the live feed, control camera settings, and receive any desired alerts or notifications.
Remember to prioritize security when setting up remote access. Use unique and strong passwords for your camera account and router, and consider enabling additional security features like two-factor authentication, if available.
If you encounter any difficulties during the remote access setup, refer to the camera’s user manual or contact the manufacturer’s support for assistance. They will be able to guide you through any specific requirements or troubleshooting steps.
With remote access successfully configured, you can now conveniently monitor your HD IoT camera from anywhere with an internet connection.
Conclusion
Congratulations! You have successfully installed and set up your HD IoT camera. By following the step-by-step guide provided, you have gained the knowledge and skills required to install, configure, and access your camera for enhanced security and peace of mind.
Throughout the installation process, you learned how to gather the necessary tools and equipment, choose the perfect location, and prepare the area for installation. You also discovered how to mount the camera securely, connect it to a power source, establish an internet connection, and configure various camera settings tailored to your specific needs.
Testing the camera ensured that everything is functioning correctly, including motion detection, night vision, and remote access. Finally, setting up remote access allows you to monitor your camera remotely, keeping a watchful eye on your property from anywhere.
As you enjoy the benefits of your HD IoT camera, remember to keep the camera’s firmware up to date to ensure optimal performance and security. Regularly check for updates and implement them as recommended by the manufacturer.
We hope this guide has been informative and helpful in your journey to install an HD IoT camera. Whether you are using it for home security, office surveillance, or any other purpose, your camera will provide an added layer of protection for your property and loved ones.
Happy monitoring!


