Introduction
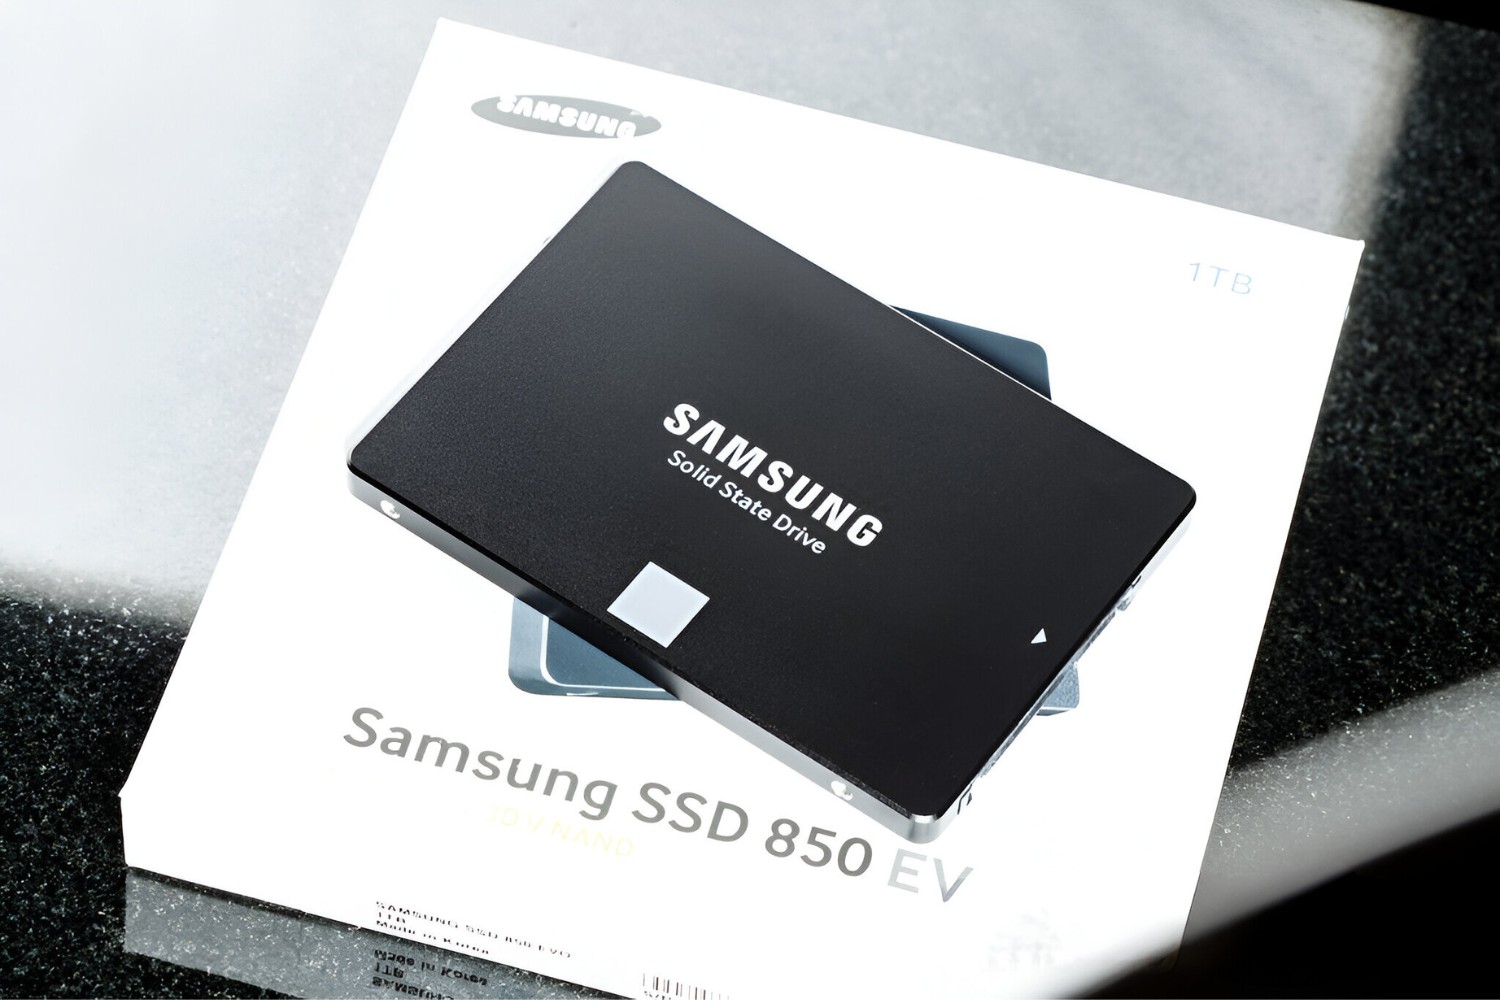
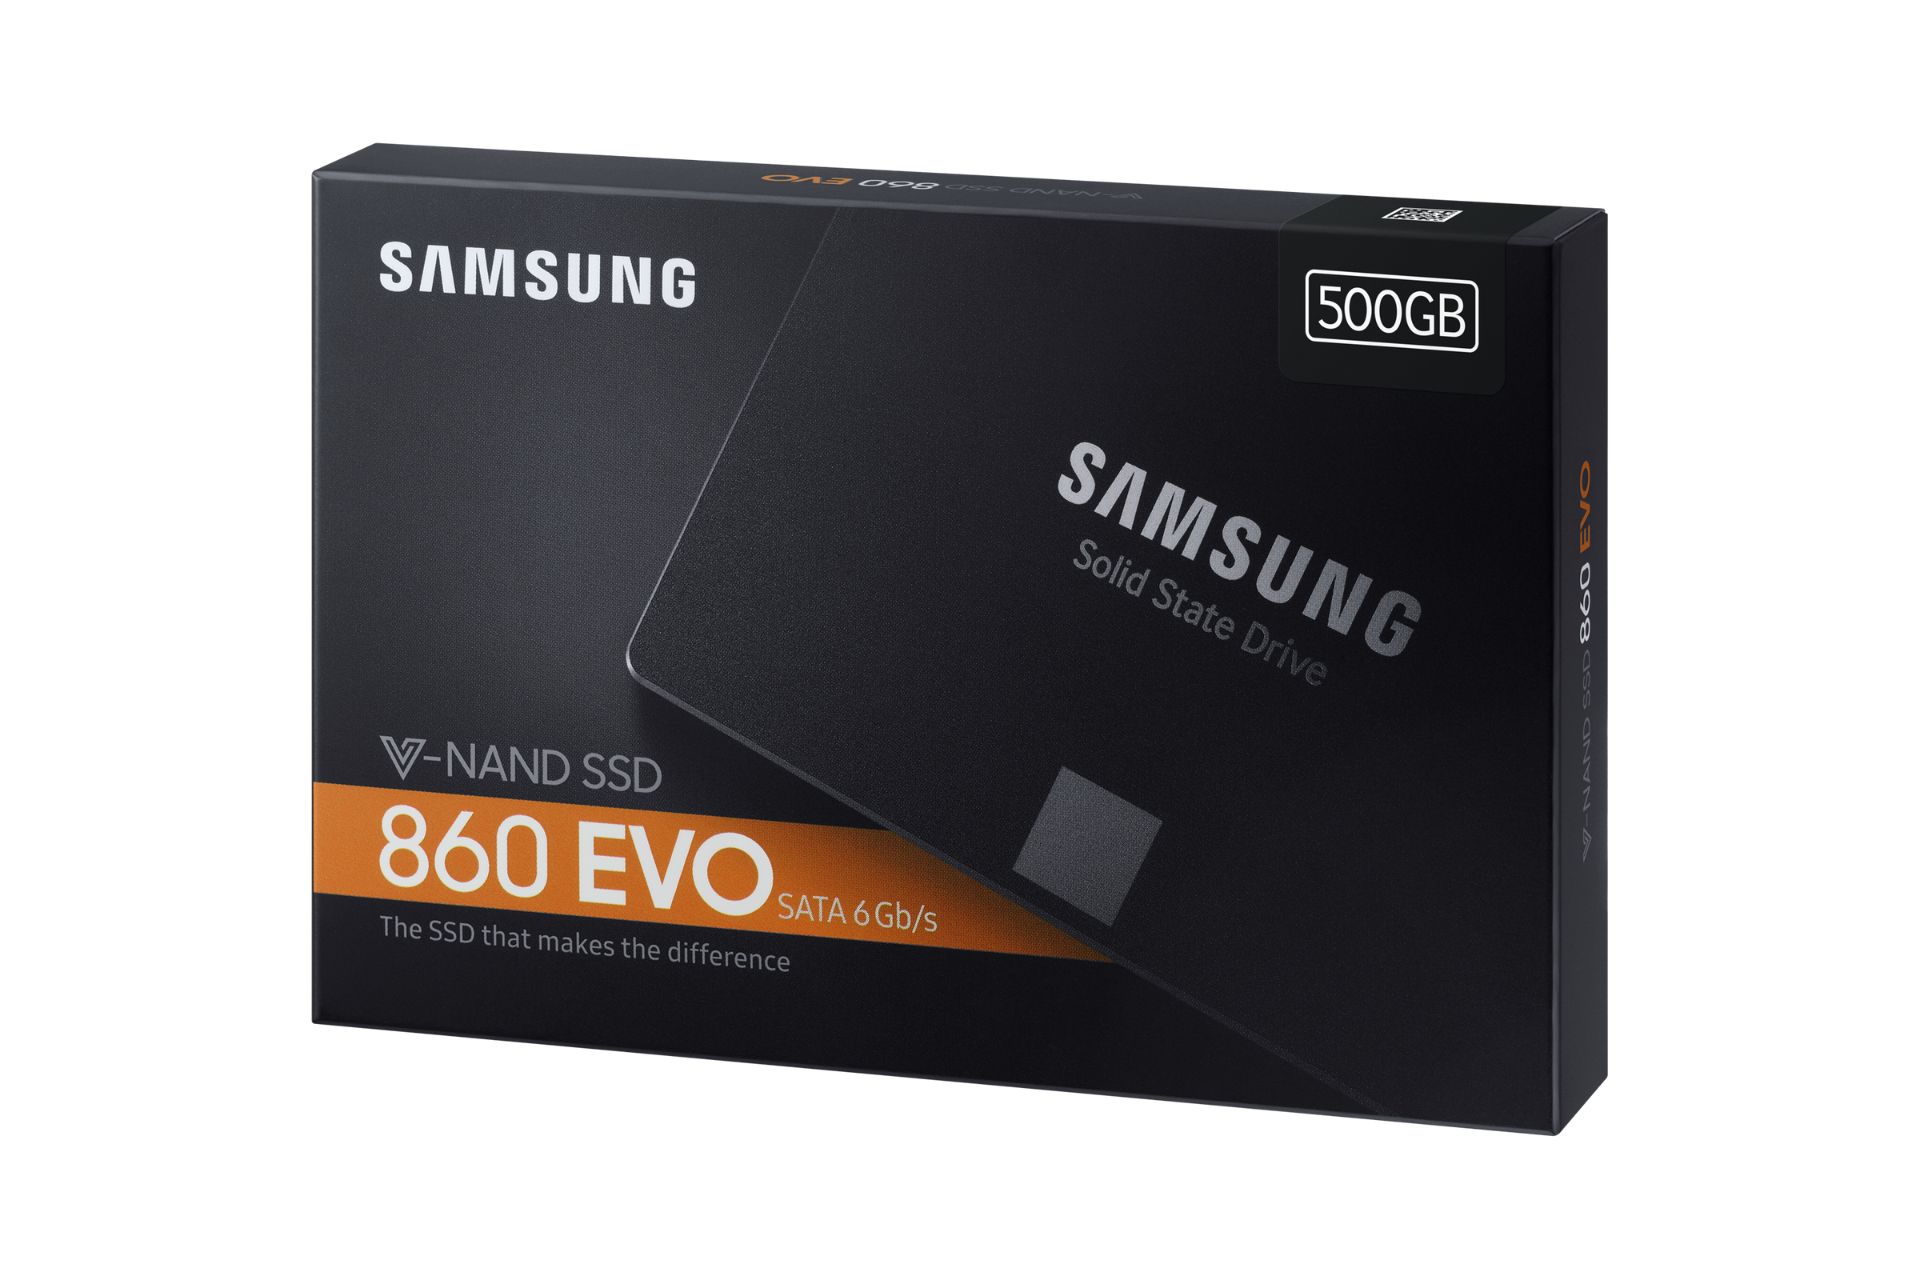
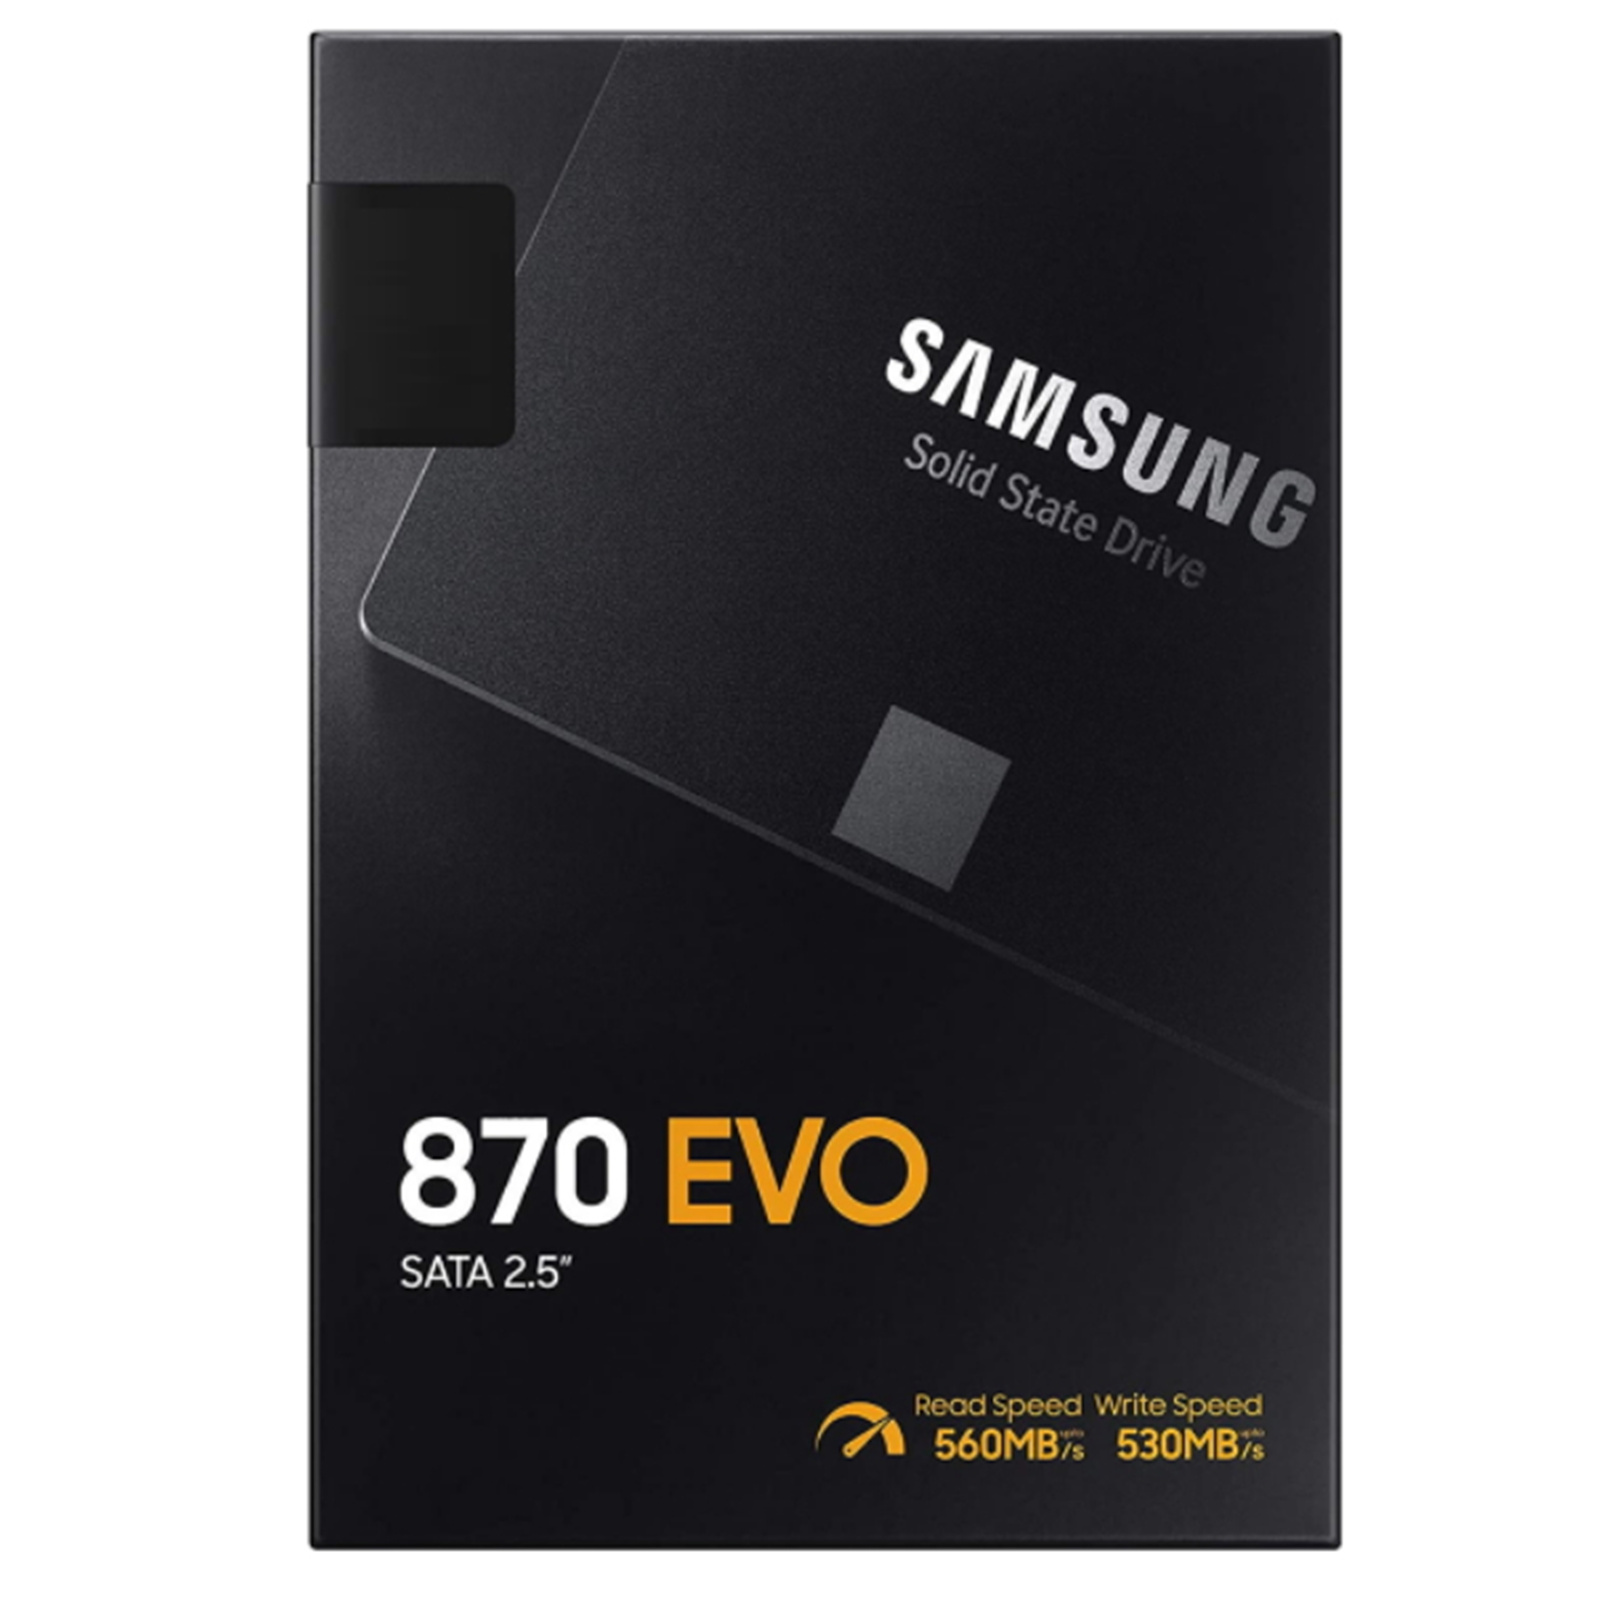
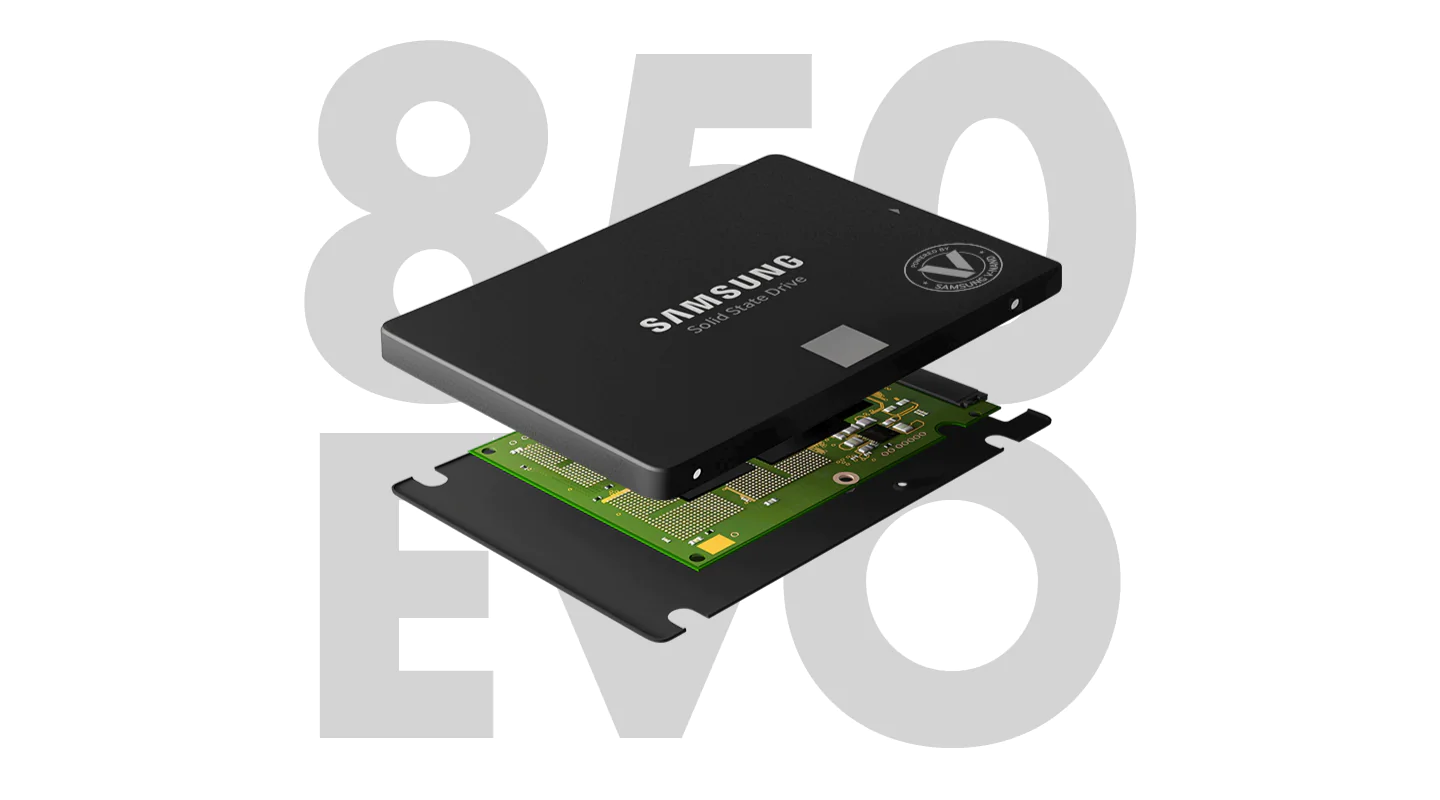
Welcome to our guide on how to install a Samsung 850 Evo 2.5 500GB SATA III 3D NAND Internal Solid State Drive (SSD) into your computer. Upgrading to an SSD can significantly improve your computer’s performance, providing faster boot times, smoother multitasking, and quicker data transfers. The Samsung 850 Evo is a highly reliable and popular choice, known for its speed and durability.
If you’re tired of waiting for your computer to load applications or transfer files, swapping out your old hard drive for an SSD is a game-changer. In this step-by-step tutorial, we’ll walk you through the process of installing the Samsung 850 Evo SSD into your desktop computer.
Before we begin, it’s important to note that opening your computer case and installing hardware components may void your warranty or cause damage if not done properly. If you’re uncomfortable or unsure about any step, we recommend consulting a professional or seeking assistance from a knowledgeable friend.
Now, let’s gather the necessary tools and get started on upgrading your computer with the Samsung 850 Evo SSD!
What You’ll Need
Before diving into the installation process, make sure you have the following items ready:
- Samsung 850 Evo 2.5 500GB SATA III 3D NAND Internal Solid State Drive: This is the star of the show! Make sure you have the correct SSD model and capacity.
- Desktop computer: This guide specifically covers installing the Samsung 850 Evo SSD into a desktop computer. Ensure your computer is compatible with the SATA III interface.
- Screwdriver: You’ll need a screwdriver to open your computer case and securely attach the SSD.
- Anti-static wrist strap (optional but recommended): To prevent static electricity from damaging your components, consider wearing an anti-static wrist strap.
- SATA cables: Check if you have spare SATA cables for connecting the SSD to your motherboard. If not, you may need to purchase some separately.
- Power cable: Ensure you have an available power cable from your power supply unit to connect to the SSD.
- Backup solution: It’s always a good idea to back up your data before making any hardware changes to your computer.
Once you have gathered all the necessary items, you’re ready to proceed with the installation process. Let’s move on to the next step and begin upgrading your computer with the Samsung 850 Evo SSD!
Step 1: Shutting Down Your Computer
Before we can start the installation process, it is crucial to shut down your computer properly. Here’s how:
- Save and close all open applications: Ensure that you save any unsaved work and close all open applications. This helps prevent data loss and ensures a smooth shutdown.
- Click on the Start menu: In the lower-left corner of your screen, click on the Start menu (Windows logo).
- Click on the power icon: In the Start menu, click on the power icon. You will see a drop-down menu with options like Sleep, Shutdown, and Restart.
- Select Shutdown: In the drop-down menu, click on the Shutdown option. This initiates the process of shutting down your computer.
- Wait for the computer to turn off completely: Once you have selected Shutdown, wait for your computer to fully power down. You may hear the internal fans stop spinning, and the monitor will display no signal.
- Unplug the power cable: To ensure safety and prevent any accidental power-on, unplug the power cable from the back of your computer.
By following these steps, you have successfully shut down your computer. It is now safe to move on to the next step of the installation process.
Step 2: Opening Your Computer Case
Now that your computer is completely shut down, we can move on to opening the computer case to access the internals. Here’s how:
- Place your computer on a stable surface: Find a flat and sturdy surface to place your computer. This will ensure stability and minimize the risk of any accidental damage.
- Locate the screws that secure the computer case: Most computer cases have screws on the back or side panels that need to be removed. Refer to your computer’s manual or examine the case to identify these screws.
- Use the appropriate screwdriver: Depending on the type of screws used, choose the appropriate screwdriver to unscrew them. It’s common to use a Phillips screwdriver, but some cases may require a different type.
- Remove the screws: Carefully remove the screws that hold the case panels in place. Place the screws in a safe location, such as a small container, to ensure they don’t get lost.
- Slide or remove the side panels: Once the screws are removed, you can slide or gently pull off the side panels of the computer case. Set aside the panels in a secure area where they won’t get damaged.
With the computer case now open, you have gained access to the internal components of your computer. Remember to handle the components with care and avoid touching any sensitive parts. We’re now ready to proceed to the next step of the installation process!
Step 3: Identifying the SATA Connections
Now that your computer case is open, it’s important to identify the SATA connections on your motherboard and existing drives. Here’s how:
- Locate your motherboard: Look for the main circuit board inside your computer case. This is the motherboard, and it houses various components, including the SATA connectors.
- Identify the SATA connectors: The SATA connectors are usually rectangular-shaped and have a series of metal pins inside. They are typically located near the bottom edge of the motherboard.
- Look for existing drives connected via SATA: Take note of any existing drives connected to the SATA ports on the motherboard. This includes hard disk drives (HDDs) and any other SSDs.
- Differentiate between SATA II and SATA III ports: SATA II ports are typically color-coded in black or white, while SATA III ports are often color-coded in blue. However, it’s essential to consult your motherboard’s manual to confirm the specific color-coding used.
- Decide on the SSD connection: Choose a vacant SATA III port on the motherboard for connecting the Samsung 850 Evo SSD. If no SATA III ports are available, a SATA II port can be used, but keep in mind that it may limit the performance potential of the SSD.
By identifying the SATA connections on your motherboard and existing drives, you are now ready to determine the suitable SATA port for connecting the Samsung 850 Evo SSD. Stay tuned as we move on to the next step, which involves removing the existing hard drive.
Step 4: Removing the Existing Hard Drive
Before installing the Samsung 850 Evo SSD, you’ll need to remove the existing hard drive from your computer. Here’s how you can do it:
- Locate the existing hard drive: Identify the current hard drive in your computer. It is typically secured in a drive bay or bracket, often located in the lower front area of the case.
- Remove any cables connected to the hard drive: Carefully disconnect the SATA data cable and power cable connected to the existing hard drive. Gently pull them out, making sure not to exert too much force.
- Remove any mounting screws: In some cases, the hard drive may be secured in place with mounting screws. Use a screwdriver to remove these screws, being cautious not to damage any nearby components.
- Take out the hard drive: Once the cables and screws are removed, carefully slide or pull out the existing hard drive from the drive bay or bracket. Set it aside in a safe location.
By following these steps, you have successfully removed the existing hard drive from your computer. Now, you can move on to the exciting part of installing the Samsung 850 Evo SSD. Stay tuned for the next step!
Step 5: Installing the Samsung 850 Evo SSD
Now it’s time to install the Samsung 850 Evo SSD into your computer. Follow the steps below:
- Locate an available drive bay: Look for an available drive bay in your computer case. This is where the Samsung 850 Evo SSD will be installed. If needed, you can remove any existing drive brackets or cages to create space.
- Prepare the Samsung 850 Evo SSD: Take the Samsung 850 Evo SSD out of its packaging. Remove any protective plastic coverings or stickers from the drive to expose the connectors and metal casing.
- Align the SSD with the drive bay: Position the Samsung 850 Evo SSD in the drive bay, aligning the connectors with the SATA port in the bay. Make sure the SSD is oriented correctly, with the connectors facing inward.
- Secure the SSD in place: Using the appropriate screws, secure the Samsung 850 Evo SSD to the drive bay. Tighten the screws gently to avoid damaging the SSD or the drive bay.
By following these steps, you have successfully installed the Samsung 850 Evo SSD into your computer. The SSD is now securely mounted and ready to be connected. In the next step, we will ensure the proper connection of the SATA and power cables, so stay tuned!
Step 6: Connecting the SATA and Power Cables
Now that the Samsung 850 Evo SSD is installed, it’s time to connect the necessary cables. Follow these steps:
- Locate the SATA data cable: Retrieve a SATA data cable from your collection or ensure you’ve purchased one separately. This cable is used to connect the Samsung 850 Evo SSD to the motherboard.
- Connect the SATA data cable: Take one end of the SATA data cable and connect it to the SATA port on the Samsung 850 Evo SSD. Align the connectors and gently push until they are snugly fit together.
- Locate the power cable: Check if you have a spare power cable from your power supply unit. This cable will provide power to the Samsung 850 Evo SSD.
- Connect the power cable: Take the power cable and connect it to the power port on the Samsung 850 Evo SSD. Again, align the connectors and firmly push until they are securely connected.
- Secure loose cables: Ensure that the cables are neatly managed and don’t obstruct any components or airflow inside the case. Use cable ties or other appropriate methods to secure the cables.
By following these steps, you have successfully connected the SATA data cable and power cable to the Samsung 850 Evo SSD. The SSD is now ready to be fully integrated into your computer. In the next step, we will close the computer case and prepare to power on your system. Let’s move on!
Step 7: Closing Your Computer Case
With the Samsung 850 Evo SSD now connected, it’s time to close your computer case and secure everything in place. Follow these steps:
- Reattach the side panels: Take the side panels of your computer case and place them back onto the case. Make sure they align properly with the case and slide or push them into position.
- Fasten the screws: Retrieve the screws that were removed earlier and use the appropriate screwdriver to fasten them back into place. Ensure that the screws are tightened securely, but be careful not to overtighten them.
- Double-check cable connections: Verify that all cables, especially the SATA data cable and power cable connected to the Samsung 850 Evo SSD, are secure and properly connected to their respective ports.
- Clean the exterior: Take a soft cloth or an anti-static cleaning solution and gently clean the exterior of your computer case. This will remove any fingerprints, dust, or smudges that may have accumulated during the installation process.
By following these steps, you have successfully closed your computer case, ensuring that all components, including the Samsung 850 Evo SSD, are securely in place. Congratulations on completing the physical installation! Now, let’s move on to the final step, where we will power on your computer and configure the necessary BIOS settings.
Step 8: Powering on Your Computer and BIOS Settings
Now that your computer case is closed, it’s time to power on your computer and configure the necessary BIOS settings to recognize the Samsung 850 Evo SSD. Follow these steps:
- Plug in the power cable: Connect the power cable back to your computer and ensure it is securely plugged into the power supply unit.
- Press the power button: Locate the power button on your computer case and press it to power on your system.
- Access the BIOS: During the boot-up process, you may need to press a specific key (e.g., Delete, F2, or F10) to access the BIOS settings. Refer to your computer’s manual or manufacturer’s website for the correct key to press.
- Navigate to the SATA configuration: Once inside the BIOS settings, navigate to the SATA Configuration or similar menu. Look for an option related to SATA devices or SATA configuration.
- Ensure the SSD is detected: Check if the Samsung 850 Evo SSD is listed as a recognized device in the SATA configuration. If it is not detected, double-check the cable connections and ensure they are securely attached.
- Set the SSD as the boot drive (optional): If you want to use the Samsung 850 Evo SSD as your primary boot drive, navigate to the Boot menu in the BIOS settings and set the SSD as the first boot device.
- Save and exit the BIOS: Once the necessary changes have been made, save the settings and exit the BIOS. Your computer will continue to boot up with the Samsung 850 Evo SSD now recognized as part of the system.
By following these steps, you have successfully powered on your computer and configured the necessary BIOS settings for the Samsung 850 Evo SSD. Congratulations on completing the installation process! Your computer will now experience improved performance and faster data access thanks to the SSD. Enjoy your upgraded system!
Conclusion
Congratulations on successfully installing the Samsung 850 Evo 2.5 500GB SATA III 3D NAND Internal Solid State Drive into your computer! By following the step-by-step instructions in this guide, you have upgraded your system with a high-performance SSD that will significantly enhance your computer’s speed and responsiveness.
The Samsung 850 Evo SSD is known for its reliability, durability, and impressive read/write speeds. With this upgrade, you can expect faster boot times, smoother multitasking, and quicker data transfers, which will greatly improve your overall computing experience.
Remember to handle your computer’s internal components with care and ensure a static-free environment during the installation process. Should you encounter any difficulties or have questions along the way, consult your computer’s manual or seek assistance from a professional to ensure a seamless and optimal installation.
Now that the Samsung 850 Evo SSD is installed and recognized by your system, take some time to explore its features and capabilities. Don’t forget to back up your important data regularly to safeguard against any unexpected data loss.
We hope this guide has been helpful in guiding you through the installation process of the Samsung 850 Evo SSD. Enjoy the improved performance and faster computing that this SSD brings to your computer!