Introduction
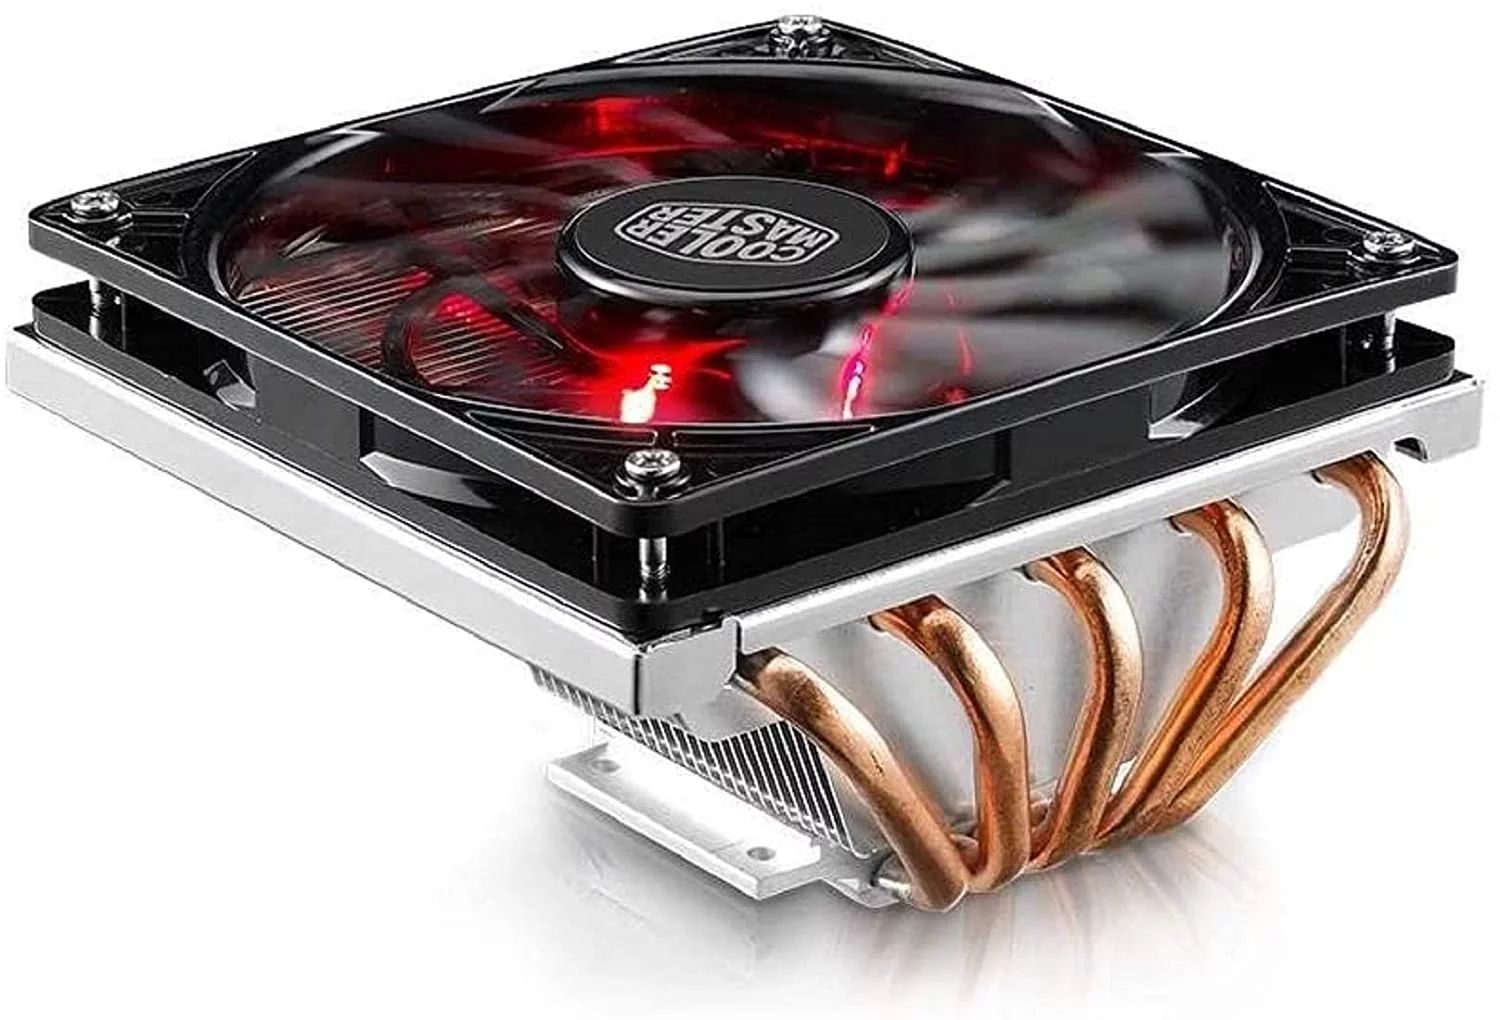
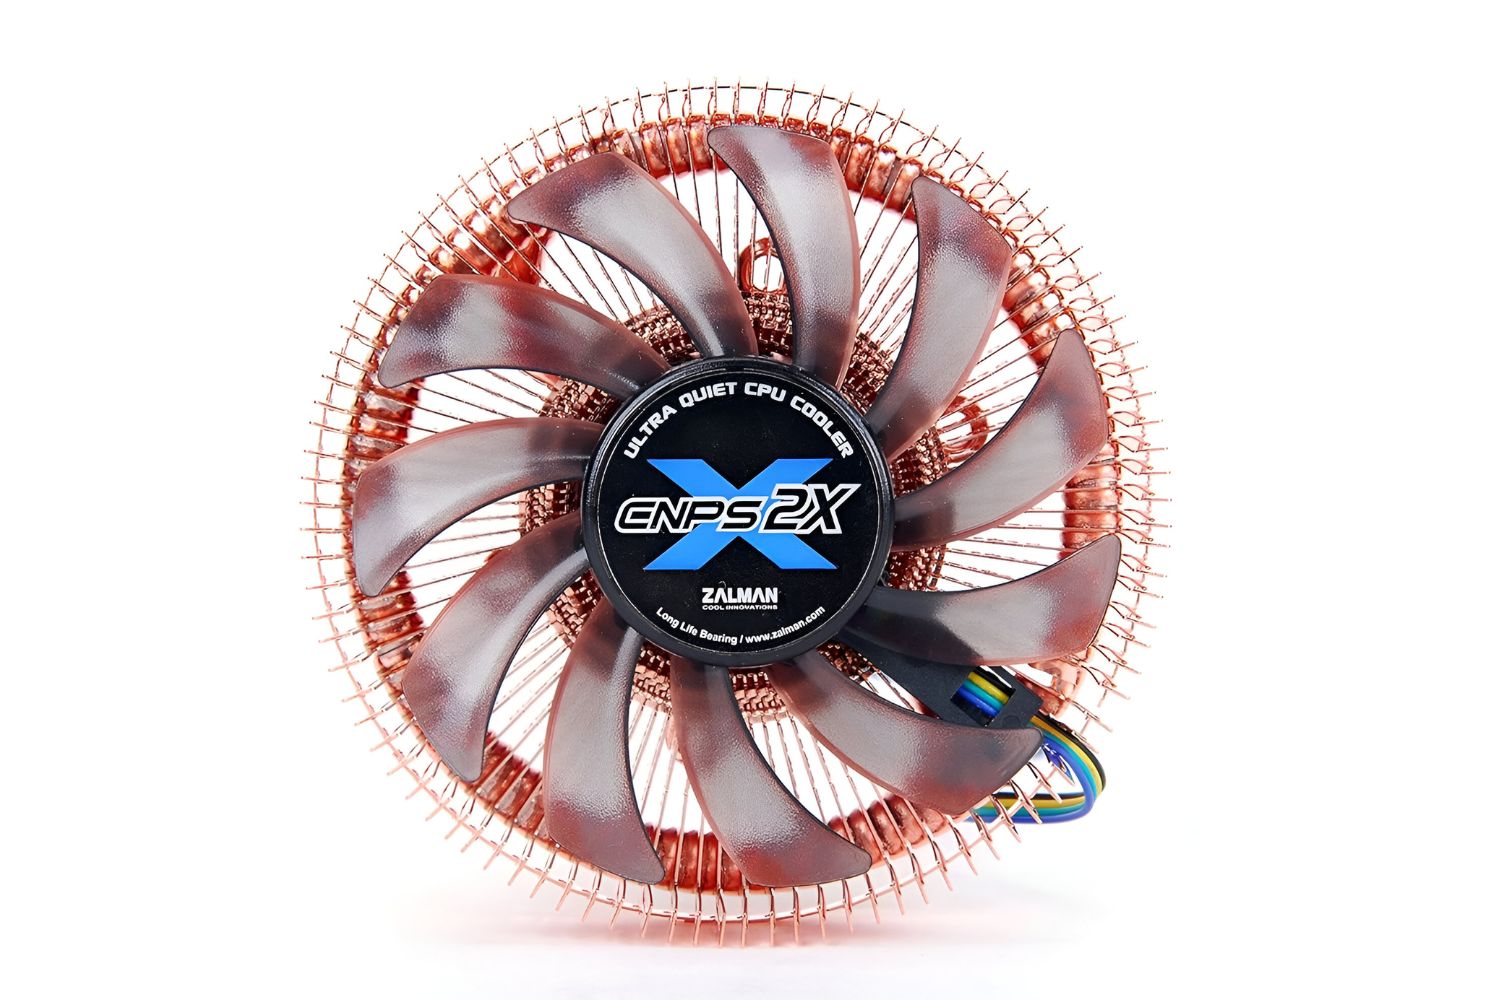
Welcome to the comprehensive guide on how to install the 2017 Zalman CPU cooler. If you’re looking to upgrade your cooling system for your CPU, the 2017 Zalman CPU cooler is a fantastic choice. Not only does it offer superior heat dissipation, but it is also easy to install, making it an ideal option for both beginners and experienced computer enthusiasts.
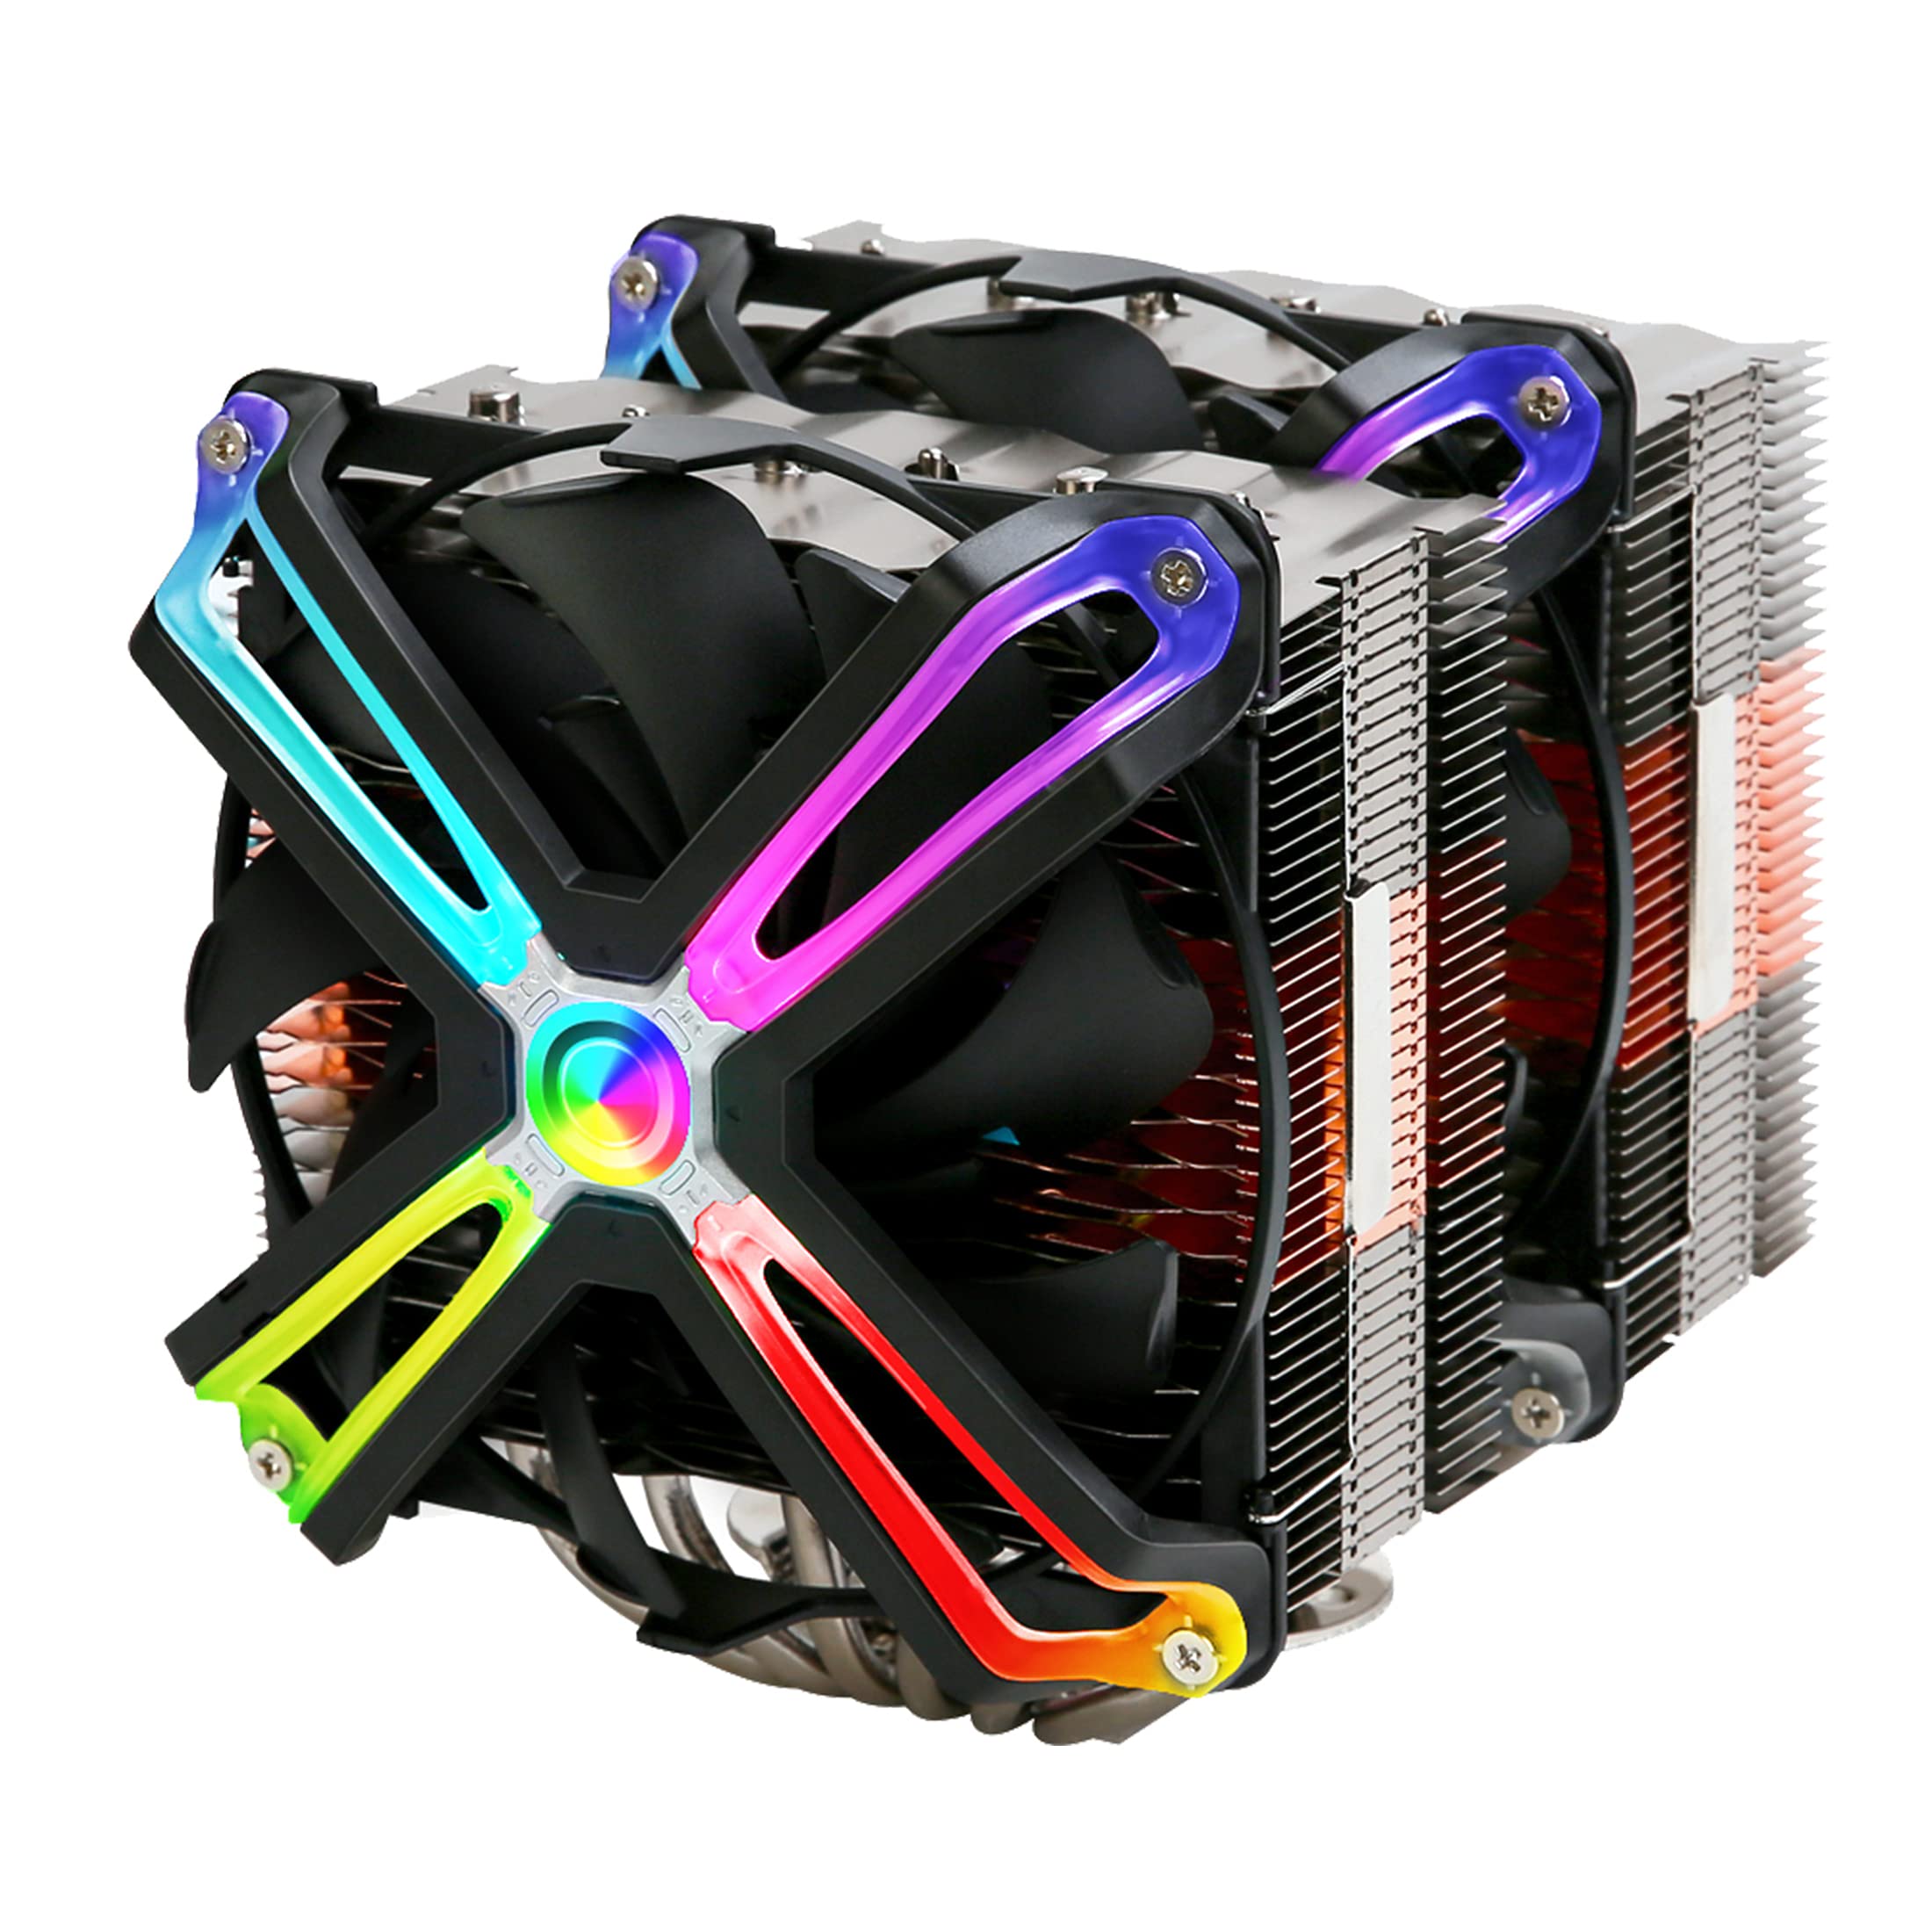
The 2017 Zalman CPU cooler is specially designed to keep your processor cool and prevent overheating even during intense usage. Effective cooling is essential for maintaining the performance and longevity of your CPU. With its advanced technology and sleek design, the 2017 Zalman CPU cooler combines functionality with aesthetics, complementing your computer setup.
In this step-by-step guide, we will walk you through the installation process of the 2017 Zalman CPU cooler. We will cover all the necessary steps and provide detailed instructions to ensure a smooth and successful installation. Whether you’re upgrading your CPU cooling system for better gaming performance or improving overall system stability, this guide will help you maximize the benefits of your new CPU cooler.
Before we dive into the installation process, it’s important to note that the instructions provided in this guide are specific to the 2017 Zalman CPU cooler. If you have a different model or brand, we recommend referring to the manufacturer’s instructions for the most accurate installation steps. With that said, let’s get started on installing the 2017 Zalman CPU cooler and taking your cooling system to the next level!
Pre-Installation Steps
Before you begin the installation process of the 2017 Zalman CPU cooler, it’s important to go through some pre-installation steps to ensure a smooth and successful installation. These steps will help you prepare your computer and gather the necessary tools and materials for the installation. Let’s take a look at the pre-installation steps:
- Read the instructions: Before starting any installation process, it’s crucial to thoroughly read the instructions provided with the 2017 Zalman CPU cooler. Familiarize yourself with the parts, components, and any specific installation requirements.
- Gather the necessary tools and materials: Make sure you have all the tools and materials required for the installation. Generally, you will need a screwdriver, thermal paste, and an anti-static wristband to protect your computer components from static electricity.
- Prepare a clean workspace: Find a well-lit and clean workspace to work on your computer. Make sure you have enough space to work comfortably and safely. Consider using an anti-static mat or grounding yourself by touching a metal surface before handling any computer parts.
- Back up your data: While installing a CPU cooler shouldn’t affect your data, it’s always a good idea to back up your important files and data before making any hardware changes to your computer. This ensures that if anything goes wrong during the installation process, your data will remain secure.
- Power off and unplug your computer: Before working on your computer, shut it down completely and disconnect the power cord from the wall socket. This will eliminate the risk of electrical shock and protect your computer from accidental power surges.
- Remove any existing CPU cooler: If you have an existing CPU cooler installed, carefully remove it from your processor. Refer to the manufacturer’s instructions for the specific removal steps. Ensure that the CPU is clean and free from any thermal paste residue.
By following these pre-installation steps, you will ensure that you have the necessary tools, a clean workspace, and a backup of your data before proceeding with the installation of the 2017 Zalman CPU cooler. These steps will help minimize any potential risks and ensure a smooth installation process.
Step 1: Unboxing and Check the Contents
The first step in installing the 2017 Zalman CPU cooler is to unbox the package and check the contents. The package will typically contain all the necessary components and accessories for the installation. Let’s walk through the process of unboxing and checking the contents:
- Find a suitable workspace: Choose a clean, well-lit area where you can unbox and organize the components without any obstruction. This will help you keep track of all the parts during the installation process.
- Open the package: Carefully open the package of the 2017 Zalman CPU cooler. Pay attention to any sealing stickers or tape that may need to be removed. It’s recommended to use a pair of scissors or a box cutter to avoid damaging any parts inside.
- Inspect the contents: Take a moment to inspect the contents of the package. You should find the CPU cooler heatsink, fan(s), mounting brackets, screws, installation manual, and any other accessories that come with the cooler. Ensure that all the components are present and in good condition.
- Check for any damage: Carefully examine each component for any signs of damage or defects. Look for any bent or broken parts, loose connections, or visible wear and tear. If you notice any issues, contact the manufacturer for support or a replacement before proceeding with the installation.
- Read the installation manual: Take the time to read the installation manual provided with the 2017 Zalman CPU cooler. The manual will contain detailed instructions specific to your model, as well as important safety information. Familiarize yourself with the installation process before moving forward.
- Organize the components: Arrange the components in an organized manner, making it easier to access them during the installation. Use small containers or compartments to keep the screws and smaller parts within reach.
By carefully unboxing and checking the contents of the 2017 Zalman CPU cooler, you ensure that all the necessary parts are present and in good condition. It’s important to take your time during this step to prevent any surprises or setbacks during the installation process. Once you have confirmed that everything is in order, you can proceed to the next step of removing the old CPU cooler.
Step 2: Remove the Old CPU Cooler
Now that you have unboxed and checked the contents of the 2017 Zalman CPU cooler, it’s time to remove the old CPU cooler from your processor. The process of removing the old cooler may vary depending on the model and brand, but the general steps remain the same. Follow this step-by-step guide to safely remove the old CPU cooler:
- Power off and unplug your computer: Before working on any computer components, ensure that your computer is completely powered off and unplugged from the wall socket. This eliminates the risk of electrical shock and protects your computer from accidental power surges.
- Locate the CPU cooler: Identify the location of your CPU cooler on your motherboard. Look for a large heatsink with a fan attached to it. You might also find screws or mounting brackets securing the cooler in place.
- Disconnect the fan cable: Locate the fan cable connected to the motherboard and carefully disconnect it. Depending on the connection type, you may need to press on a latch, slide a connector, or simply pull it out. Make sure to handle the cable gently to avoid damaging it.
- Remove the heatsink screws: Examine the heatsink and look for screws or mounting brackets securing it to the motherboard. Use a screwdriver or the appropriate tool to remove those screws. Loosen them in a diagonal pattern to ensure even pressure release and prevent damage to the processor.
- Carefully lift the heatsink: Once you have removed the screws or mounting brackets, gently lift the heatsink off the CPU. Be cautious not to apply excessive force or twist it, as this could damage the processor or motherboard components.
- Clean the CPU and socket: After removing the old CPU cooler, take a moment to clean the CPU and the socket. Use a lint-free cloth or cotton swabs dipped in isopropyl alcohol to remove any thermal paste residue. Ensure that the surface is clean and free from any debris.
By following these steps, you can safely remove the old CPU cooler from your processor. It’s important to exercise caution while handling both the cooler and the motherboard components to prevent any damage. Once you have successfully removed the old CPU cooler and cleaned the CPU and socket, you can proceed to the next step of preparing the CPU socket for the new cooler installation.
Step 3: Preparing the CPU Socket
With the old CPU cooler removed, it’s time to prepare the CPU socket for the installation of the 2017 Zalman CPU cooler. This step is crucial to ensure a secure and stable connection between the CPU and the cooler. Follow these steps to adequately prepare the CPU socket:
- Inspect the CPU socket: Take a close look at the CPU socket on your motherboard. Ensure that there are no bent pins or any debris that could hinder the installation process. If you spot any bent pins, use a small, non-conductive tool (like a mechanical pencil) to carefully straighten them out. Be gentle to avoid causing damage to the pins.
- Apply a small amount of thermal paste: Thermal paste is essential for achieving optimal heat transfer between the CPU and the cooler. Apply a small amount of thermal paste to the center of the CPU. The size of a pea or a grain of rice is typically sufficient. Be cautious not to apply an excessive amount, as it can lead to poor heat transfer and potential damage to the CPU.
- Spread the thermal paste: Once you have applied the thermal paste, gently spread it evenly over the surface of the CPU using a plastic spreader or a clean fingertip (covered with a clean glove or plastic wrap). Make sure the paste covers the entire surface area, but avoid spreading it beyond the edges of the CPU.
- Check for any excess paste: After spreading the thermal paste, inspect the area around the CPU socket for any excess paste that may have squeezed out. Use a lint-free cloth or a cotton swab dipped in isopropyl alcohol to clean up any excess paste. It’s important to remove any excess paste, as it can cause poor heat dissipation and potentially interfere with the installation of the cooler.
By following these steps, you can properly prepare the CPU socket for the installation of the 2017 Zalman CPU cooler. Taking the time to inspect the socket, apply the thermal paste correctly, and remove any excess paste will ensure a secure and efficient connection between the CPU and the cooler. Once the CPU socket is prepared, you are ready to move on to the next step of applying the thermal paste to the cooler.
Step 4: Applying Thermal Paste
Now that you have prepared the CPU socket, it’s time to apply thermal paste to the 2017 Zalman CPU cooler. Thermal paste is crucial for ensuring optimal heat transfer between the CPU and the cooler. Follow these steps to apply thermal paste correctly:
- Retrieve the thermal paste: Locate the thermal paste that came with the 2017 Zalman CPU cooler. It is typically included in a small tube or a syringe. Ensure that the thermal paste is within its expiration date and hasn’t been contaminated.
- Apply a small amount of thermal paste: Squeeze a small amount of thermal paste onto the center of the CPU cooler’s contact surface. The recommended quantity is approximately the size of a pea or a grain of rice. Applying too much thermal paste can impede heat transfer and lead to overheating.
- Spread the thermal paste: Gently spread the thermal paste over the contact surface of the CPU cooler. You can use a plastic spreader, a clean fingertip (covered with a clean glove or plastic wrap), or the cooler’s included spreader tool. Ensure that the thermal paste is evenly distributed on the contact surface.
- Position the CPU cooler above the CPU: Carefully align the CPU cooler with the CPU socket, ensuring that the screw holes and mounting brackets match up. Be cautious not to smudge or disturb the applied thermal paste.
- Gently press down on the CPU cooler: Apply gentle and even pressure on the CPU cooler, ensuring that it makes full contact with the thermal paste and the CPU. This will help to spread the thermal paste evenly and establish adequate heat transfer between the two components.
By following these steps, you can apply thermal paste correctly to the 2017 Zalman CPU cooler. Remember to use a small amount of thermal paste and spread it evenly to promote efficient heat transfer. Once the thermal paste is applied, you will be ready to move on to the next step: mounting the CPU cooler onto the CPU socket.
Step 5: Mounting the CPU Cooler
With the thermal paste applied, it’s time to mount the 2017 Zalman CPU cooler onto the CPU socket. Properly mounting the cooler ensures secure and effective cooling of your processor. Follow these steps to mount the CPU cooler:
- Position the CPU cooler: Align the mounting brackets on the CPU cooler with the corresponding holes or hooks on the CPU socket. Ensure that the cooler is positioned correctly over the CPU.
- Secure the CPU cooler: Use the included screws or mounting brackets to fasten the CPU cooler onto the CPU socket. Tighten the screws or secure the brackets following a diagonal pattern to ensure even pressure distribution. Avoid overtightening, as it may damage the CPU or the cooler.
- Check the mounting stability: After securing the CPU cooler, gently wiggle it to ensure that it is firmly attached and doesn’t move excessively. A slight amount of movement is normal, but it should be secure enough to stay in place during normal usage.
- Connect any additional fans: If your CPU cooler has multiple fans, connect them to the appropriate headers on your motherboard. Refer to the cooler’s manual for instructions on fan connections.
By following these steps, you can successfully mount the 2017 Zalman CPU cooler onto the CPU socket. Ensure that the cooler is securely fastened and doesn’t wobble. This will allow for efficient heat dissipation and cooling of the CPU during operation. With the CPU cooler mounted, you’re now ready to move on to the next step: connecting the fan and power cables.
Step 6: Connecting the Fan and Power Cables
After mounting the 2017 Zalman CPU cooler, it’s time to connect the fan and power cables to ensure proper cooling and functionality. Follow these steps to connect the fan and power cables:
- Locate the fan connector: Identify the fan connector on the CPU cooler. It is typically a three- or four-pin connector. Refer to the cooler’s manual if unsure about the exact location.
- Connect the fan cable: Take the fan cable and carefully align it with the fan connector on the cooler. Ensure that the pins on the cable match the holes in the connector. Insert the cable into the connector firmly but gently until it clicks into place.
- Route the fan cable: Once the fan cable is connected, route it neatly through the cable management system of your computer case. This will help keep the cables organized and prevent any interference with other components.
- Connect the power cables: Locate the appropriate power connectors on your motherboard or power supply unit (PSU). Depending on the type of fan connector, connect the power cables accordingly. Most CPU cooler fans use either the CPU fan header on the motherboard or a dedicated chassis fan header.
- Double-check the connections: After connecting the fan and power cables, double-check that all connections are secure. Give the cables a slight tug to ensure they are firmly attached. This will prevent any loose connections that may disrupt proper cooling or lead to fan malfunctions.
By following these steps, you can properly connect the fan and power cables for the 2017 Zalman CPU cooler. Double-checking the connections ensures that the cooler’s fan will operate as intended and provide the necessary cooling for your CPU. Once the fan and power cables are connected, you’re now ready to move on to the next step: testing the installation.
Step 7: Testing the Installation
After successfully installing the 2017 Zalman CPU cooler and connecting the fan and power cables, it’s important to test the installation to ensure that everything is functioning properly. Follow these steps to test the installation:
- Power on your computer: Plug in your computer and power it on. Watch and listen for any abnormal sounds or behaviors during the startup process.
- Access the BIOS/UEFI: Enter the BIOS/UEFI settings by pressing the designated key during the startup process (usually Del, F2, or F10). Check the CPU temperature readings in the hardware monitoring section. The temperature should be within the recommended range (typically 30-40 degrees Celsius at idle).
- Monitor system temperature: After booting into your operating system, monitor the CPU temperature using software utilities such as HWMonitor or Core Temp. Run some tasks that put a load on the CPU, such as video rendering or running a demanding program, and observe the temperature. It should remain within safe limits (dependent on your CPU model) and not exceed the maximum specified temperature.
- Listen for unusual fan noise: Pay attention to the noise levels produced by the CPU fan. It should operate smoothly and quietly. Unusual or excessively loud noises could indicate a problem with the installation or the fan’s operation, requiring further investigation.
- Monitor system stability: Use your computer normally for a period of time, including tasks that put a load on the CPU, such as gaming or running resource-intensive software. Observe for any signs of instability, such as random system crashes, freezes, or unexpected shutdowns. These could indicate an issue with the CPU cooler installation.
By following these steps, you can ensure that the installation of the 2017 Zalman CPU cooler was successful and that it is effectively cooling your processor. Monitoring temperature readings, observing fan noise, and testing system stability are essential to verify that the CPU cooler is operating optimally. If you notice any abnormal behavior or temperature spikes, it may be necessary to recheck the installation or seek assistance for troubleshooting.
Conclusion
Congratulations! You have successfully installed the 2017 Zalman CPU cooler and taken a significant step towards enhancing the cooling efficiency of your processor. By following the step-by-step guide outlined in this article, you have learned how to unbox and check the contents, remove the old CPU cooler, prepare the CPU socket, apply thermal paste, mount the CPU cooler, connect the fan and power cables, and test the installation.
The 2017 Zalman CPU cooler offers superior heat dissipation and can contribute to improved performance and longevity of your CPU. With its sleek design and advanced technology, it not only effectively cools your processor but also enhances the overall aesthetics of your computer setup.
Remember, when installing any CPU cooler, it is crucial to prioritize safety, proper handling, and following the manufacturer’s instructions. Adequate preparation, including gathering the necessary tools, ensuring a clean workspace, and backing up your data, is essential for a smooth installation process.
By carefully removing the old CPU cooler, preparing the CPU socket, applying thermal paste correctly, and securely mounting the 2017 Zalman CPU cooler, you have taken the necessary steps to ensure efficient heat transfer and optimal cooling. Testing the installation and monitoring the CPU temperature and system stability are crucial for validating the success of your installation.
Now that your CPU cooler is installed and tested, you can enjoy a more productive and stable computing experience. Remember to regularly clean and maintain the CPU cooler to maintain its performance and prevent any potential issues.
Thank you for following this comprehensive guide on how to install the 2017 Zalman CPU cooler. We hope that this step-by-step tutorial has been helpful in guiding you through the installation process. Enjoy your improved cooling system and the enhanced performance it brings to your computer!