Introduction
Welcome to the tutorial on how to import an OVF (Open Virtualization Format) in VMware Workstation. OVF is a platform-independent file format used for packaging and distributing virtual machines and their associated components. With VMware Workstation, you can easily import OVF files and create virtual machines to run on your local system.
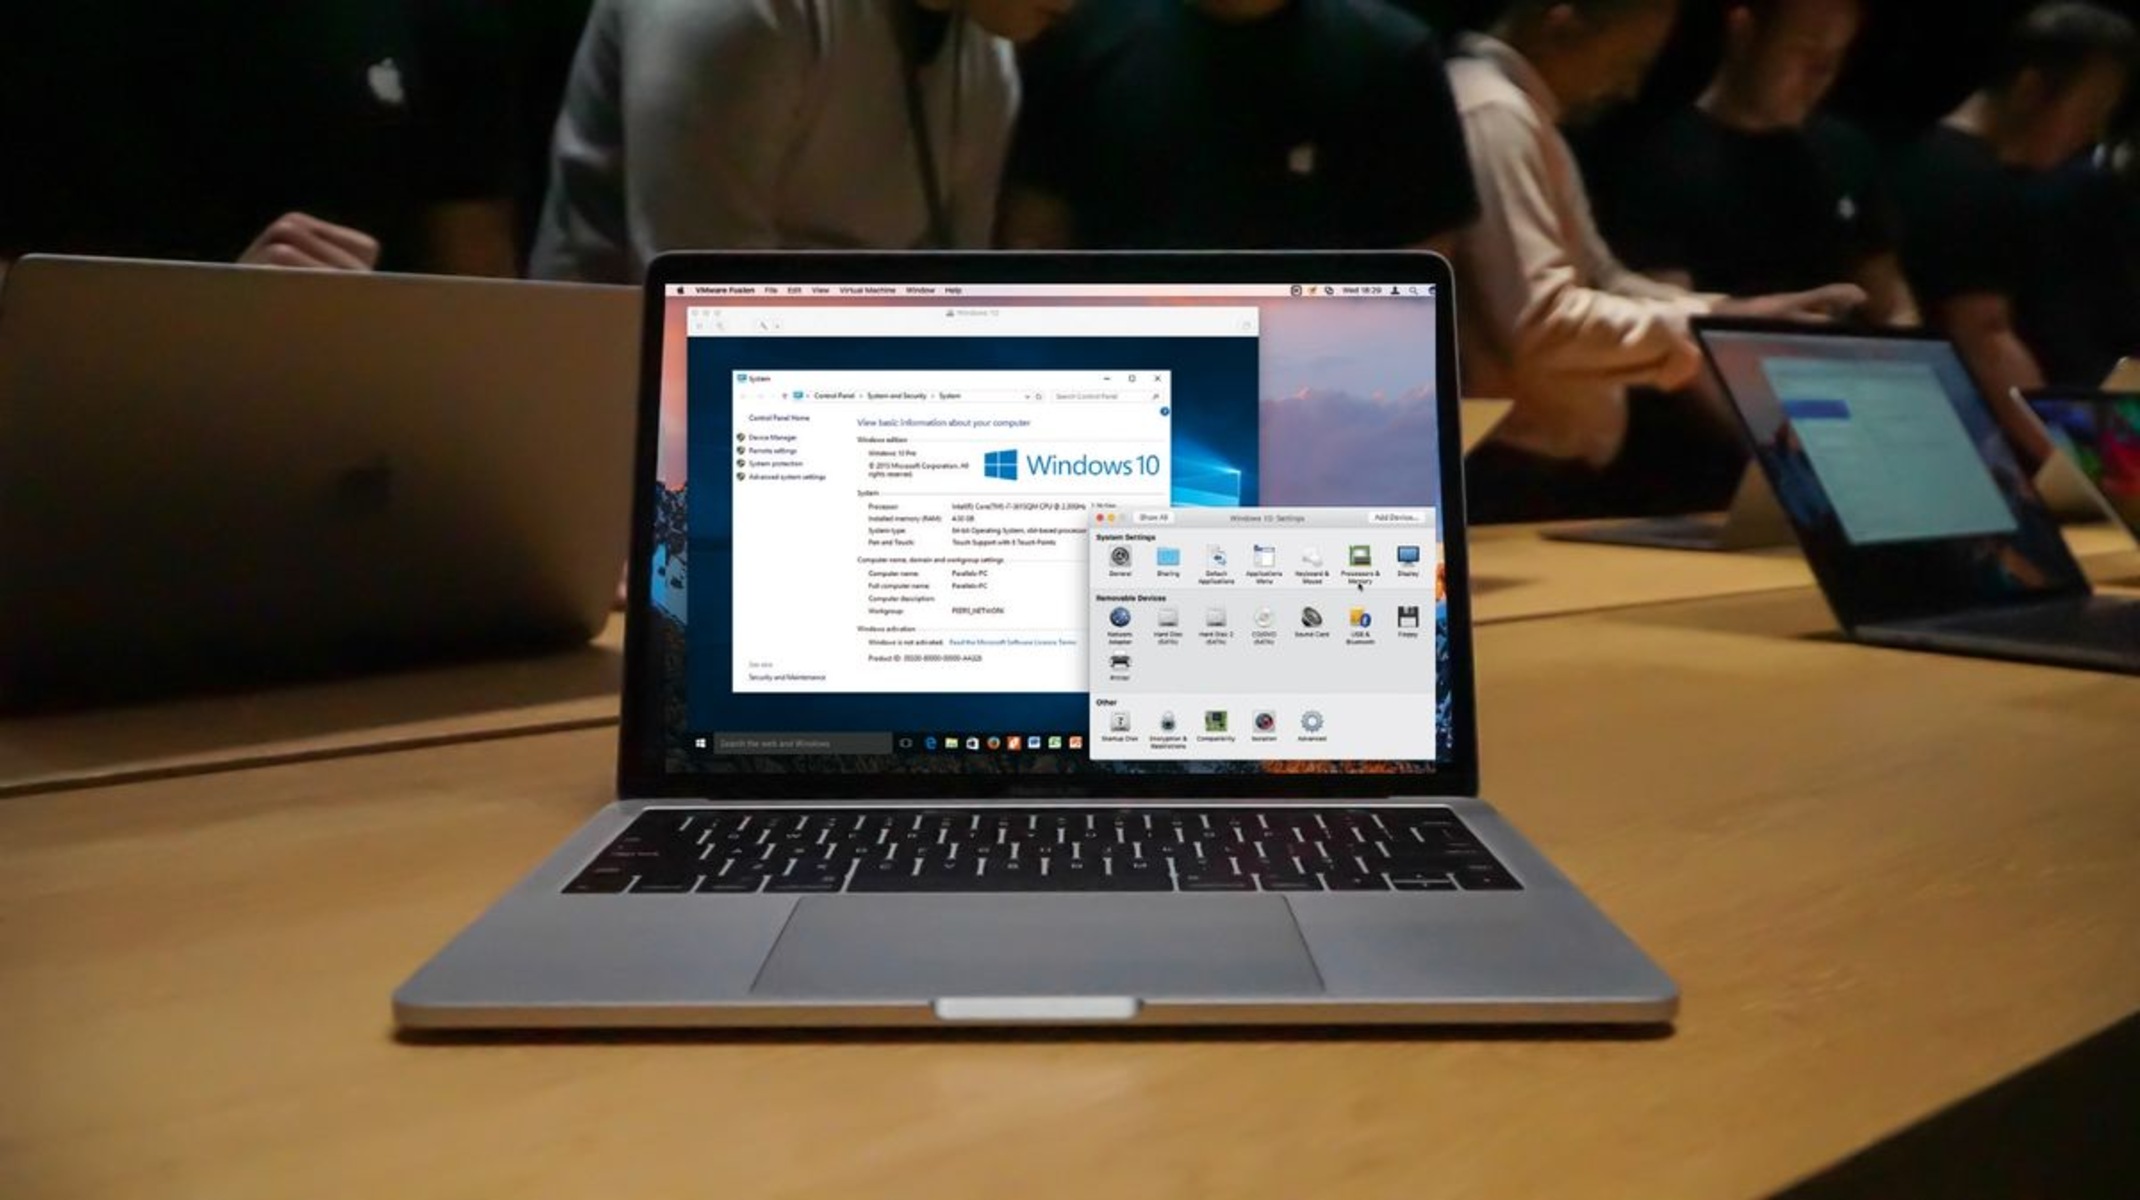
Importing an OVF file into VMware Workstation allows you to leverage pre-configured virtual appliances, software development environments, virtual demos, and more. Whether you are a system administrator, software developer, or an enthusiast exploring virtualization, this guide will walk you through the steps to import an OVF file in VMware Workstation.
In this tutorial, we will discuss the necessary prerequisites, walk you through the download and installation of VMware Workstation, guide you on how to download the OVF template, and finally, demonstrate how to import and customize the virtual machine settings to suit your needs.
Let’s dive into the process of importing an OVF file in VMware Workstation and unleash the power of virtualization.
Prerequisites
Before you proceed with importing an OVF file in VMware Workstation, ensure that you have the following prerequisites in place:
- System Requirements: Make sure your computer meets the minimum system requirements to run VMware Workstation smoothly. Check the VMware website for the specific requirements based on your operating system.
- VMware Workstation: Download and install the latest version of VMware Workstation from the official VMware website. Ensure that you have administrative privileges to install software on your system.
- OVF Template: Obtain the OVF file that you want to import. This can be obtained from various sources, such as virtual appliance marketplaces, software vendor websites, or other trusted sources.
- Storage Space: Ensure that you have sufficient free disk space on your system to accommodate the imported virtual machine and its associated files. OVF files can vary in size, so make sure you have enough storage available.
- Internet Connection: A stable internet connection is required to download VMware Workstation and the OVF template. If you already have the OVF file downloaded, an internet connection may not be necessary unless you need to download any additional components or updates.
Once you have these prerequisites in place, you are ready to proceed with the import process. The next sections will guide you through the step-by-step process to import an OVF file in VMware Workstation.
Step 1: Download and Install VMware Workstation
The first step in importing an OVF file in VMware Workstation is to download and install the VMware Workstation software on your computer. Follow these steps:
- Visit the official VMware website (www.vmware.com) and navigate to the VMware Workstation product page.
- Click on the “Downloads” or “Try Now” button to access the download page.
- Choose the appropriate version of VMware Workstation for your operating system. Ensure that you select the version that matches your system’s architecture (32-bit or 64-bit).
- Click on the download button to initiate the download process.
- Once the download is complete, locate the setup file and double-click on it to start the installation.
- Follow the on-screen instructions provided by the installation wizard to install VMware Workstation on your computer.
- After the installation is complete, launch VMware Workstation to ensure that it is installed successfully.
At this point, you have successfully downloaded and installed VMware Workstation on your computer. You are now ready to proceed to the next step of importing the OVF file into VMware Workstation.
Step 2: Download the OVF Template
Once you have VMware Workstation installed on your computer, the next step is to download the OVF template that you want to import. The OVF template contains the virtual machine configuration, disk images, and other necessary files.
Follow these steps to download the OVF template:
- Open your web browser and navigate to the website or source from where you can download the OVF template.
- Look for a download link or button associated with the desired OVF template. Typically, the website or source will provide instructions or a download section specifically for the OVF file.
- Click on the download link to initiate the download process.
- Choose a location on your computer where you want to save the downloaded OVF template. It is recommended to save it in a location that is easily accessible and that you can remember later.
- Wait for the download to complete. The time to download the OVF template may vary depending on the size of the file and your internet connection speed.
Once the download is complete, you now have the OVF template file ready for import. In the next section, we will walk you through the steps to import the OVF file into VMware Workstation.
Step 3: Import the OVF File
Now that you have downloaded the OVF template, it’s time to import it into VMware Workstation. Follow the steps below to import the OVF file:
- Launch VMware Workstation on your computer.
- From the top menu, click on “File” and then select “Open”.
- Navigate to the location where you saved the downloaded OVF template file.
- Select the OVF file and click on the “Open” button.
- A new dialog box will appear, displaying information about the OVF file and its virtual machine configuration. Review this information to ensure it matches your expectations.
- Click on the “Import” button to initiate the import process.
- Wait for the import process to complete. This may take some time depending on the size of the OVF file and the performance of your computer.
- Once the import is finished, you will see the imported virtual machine listed in the VMware Workstation interface.
- You can now modify the settings of the virtual machine if desired or proceed to power it on.
By following these steps, you have successfully imported the OVF file into VMware Workstation. In the next step, we will discuss how to modify the virtual machine settings to suit your needs.
Step 4: Modify the Virtual Machine Settings (Optional)
After importing the OVF file into VMware Workstation, you may want to modify the virtual machine settings to tailor it according to your preferences or requirements. While this step is optional, it allows you to optimize the virtual machine’s performance and customize its configuration.
Follow these steps to modify the virtual machine settings:
- Select the imported virtual machine from the list in VMware Workstation.
- Click on the “Edit virtual machine settings” option, usually located in the toolbar or right-click menu.
- A new window will open, displaying the virtual machine’s settings and configurations.
- Here, you can make changes to various aspects of the virtual machine, including hardware settings, memory allocation, network configuration, and more.
- Make the desired modifications based on your requirements. You can refer to the VMware Workstation documentation for detailed instructions on each setting.
- Once you have finished modifying the settings, click on the “OK” or “Apply” button to save the changes.
It is important to note that modifying the virtual machine settings should be done with caution, as incorrect configurations can impact the virtual machine’s performance or compatibility.
If you are unsure about any specific settings, it is recommended to consult the documentation or seek assistance from the software vendor or a knowledgeable resource.
After making the necessary modifications to the virtual machine settings, you are now ready to power on the virtual machine. We will discuss this in the next step.
Step 5: Power on the Virtual Machine
Once you have imported the OVF file into VMware Workstation and made any desired modifications to the virtual machine settings, the next step is to power on the virtual machine. Here’s how you can do it:
- Select the imported virtual machine from the list in VMware Workstation.
- Click on the “Power On” button, usually located in the toolbar or right-click menu. Alternatively, you can use the keyboard shortcut “Ctrl + B”.
- The virtual machine will start booting up, and you will see the operating system’s startup process within the VMware Workstation window.
- Depending on the virtual machine’s configuration and the resources allocated to it, the booting process might take some time.
- Once the virtual machine has successfully booted up, you can interact with it just like you would with a physical computer.
- You can install software, run applications, access the internet, and perform other tasks within the virtual machine environment.
- When you are finished using the virtual machine, you can power it off by clicking on the “Power Off” button or using the appropriate option in the VMware Workstation interface.
It is worth noting that the virtual machine’s performance will depend on your computer’s resources and the configuration settings you have chosen. If you experience any issues or performance limitations, you may need to adjust the virtual machine’s settings or allocate more resources to it.
Congratulations! You have successfully imported the OVF file into VMware Workstation and powered on the virtual machine. You can now explore and utilize the virtual machine for your specific needs.
Conclusion
In conclusion, importing an OVF file in VMware Workstation allows you to leverage pre-configured virtual machines and virtual appliances for various purposes, be it software development, testing, or exploring new technologies. By following the step-by-step guide provided in this tutorial, you can easily import an OVF file into VMware Workstation and begin virtualizing your computing environment.
We started by ensuring that you have the necessary prerequisites in place, including a compatible system, VMware Workstation software, and the OVF template you wish to import. Then, we proceeded to guide you through the process of downloading and installing VMware Workstation on your computer.
Subsequently, we outlined the steps to download the OVF template from a reliable source and explained how to import it into VMware Workstation. We also discussed how you can modify the virtual machine settings to suit your specific requirements, although this step is entirely optional. Finally, we demonstrated how to power on the virtual machine and utilize it within the VMware Workstation environment.
By following these steps, you can tap into the power of virtualization, enabling you to run multiple operating systems and applications on a single physical machine. Whether you are a software developer, system administrator, or an enthusiast exploring virtualization, VMware Workstation provides a powerful platform for creating and managing virtual machines.
Remember, virtualization offers numerous benefits, such as reduced hardware costs, improved efficiency, and enhanced flexibility. It provides a safe and isolated environment for testing software and performing experiments without impacting your primary computing environment.
Continue to explore VMware Workstation and experiment with various OVF templates to expand your virtualization skills and discover new possibilities in the world of virtual machines.


