Introduction
Welcome to Scentsy Workstation! As a Scentsy consultant, one of the key tasks you’ll need to master is editing a party. Whether you need to update party details, manage the guest list, or send invitations, this step-by-step guide will walk you through the process.
Editing a party in Scentsy Workstation gives you the flexibility to customize and manage your events effortlessly. From setting up the initial details to tracking RSVPs and recording sales, the Party Editor tool is your go-to resource for hosting successful Scentsy parties.
In this guide, we’ll cover everything you need to know to expertly edit a party in Scentsy Workstation. From updating party details and managing the guest list to sending invitations and tracking RSVPs, we’ll provide you with the essential steps to navigate through the Party Editor tool like a pro.
With Scentsy Workstation, you have full control over your parties. Whether you’re hosting an in-person party, a virtual party, or a combination of both, editing your party details allows you to cater to your guests’ needs and preferences.
So, let’s dive in and explore how to effectively edit a party in Scentsy Workstation. By utilizing the party editing features, you’ll be on your way to delivering an unforgettable Scentsy experience for your customers. Let’s get started!
Setting Up Your Party
Before you can start editing a party in Scentsy Workstation, you need to ensure that you have set up the party with all the necessary details. Here’s how:
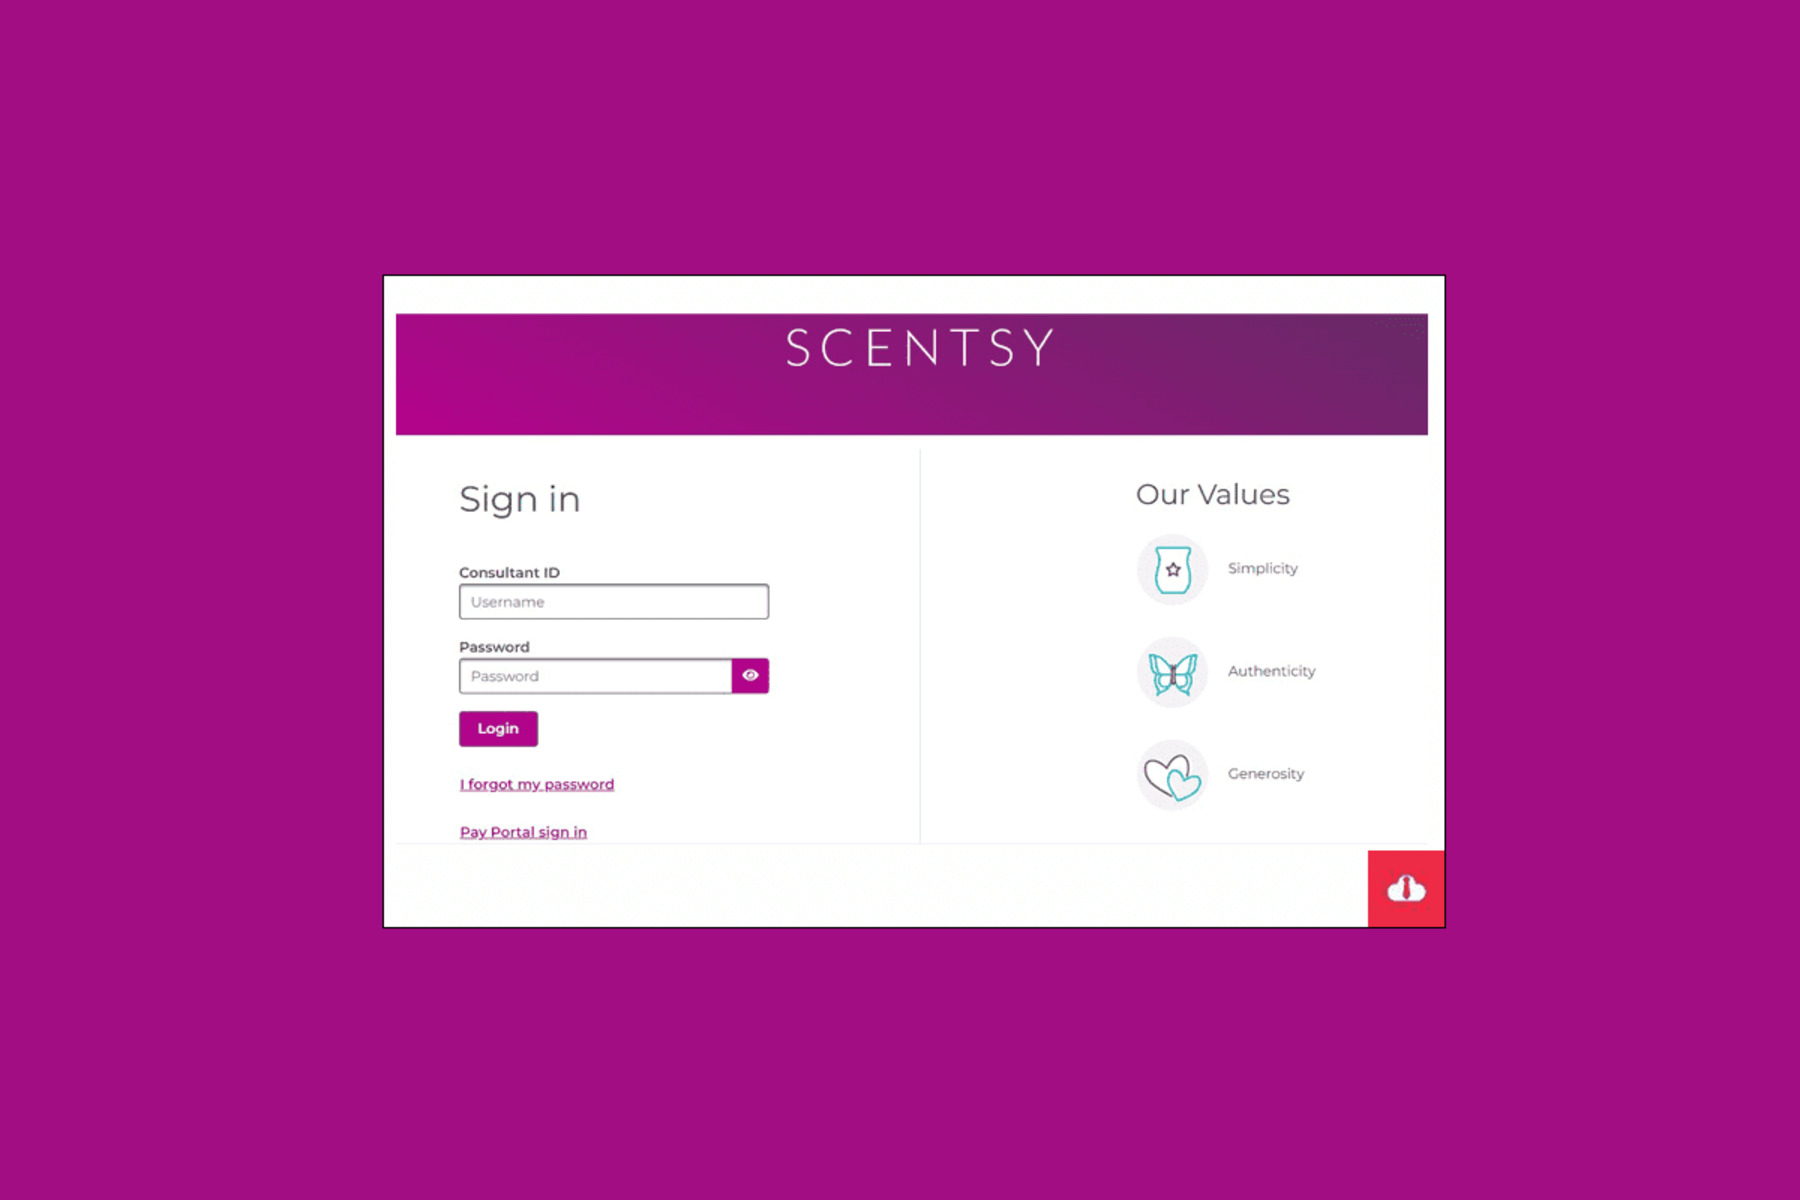
1. Login to Scentsy Workstation: Open your preferred web browser and navigate to the Scentsy Workstation login page. Enter your consultant ID and password to access your account.
2. Access the Party Editor: Once you’re logged in, click on the “Parties” tab at the top of the page. From the dropdown menu, select “Party Editor” to open the editing tool.
3. Select the Party: In the Party Editor, you’ll see a list of all your active parties. Choose the party you want to edit by clicking on it. This will open up the party details page.
4. Edit Basic Party Information: On the party details page, you’ll find various fields where you can customize the basic information. You can edit the party name, date, time, location, and theme to reflect any changes or updates. Make sure to save your changes before moving on.
5. Set Sales Goals: To track your progress and motivate yourself, it’s helpful to set sales goals for your party. In the Party Editor, you’ll find an option to enter the desired sales target. This will give you a clear objective to work towards.
6. Choose Hostess Rewards: Scentsy offers generous hostess rewards to show appreciation to your party host. In the Party Editor, you can select the hostess rewards for your party, such as free products or discounted items. Review the available options and choose the rewards that will incentivize your host and guests.
7. Save and Preview: After you’ve made all the necessary edits and customization, click on the “Save” button to save your changes. It’s always a good idea to preview the party details to ensure that everything appears as you intended. If needed, you can go back and make further adjustments.
By setting up your party properly, you create a solid foundation for a successful event. Take the time to accurately enter the party details, set realistic sales goals, and choose enticing hostess rewards. With the basics in place, you’re ready to move on to fine-tuning your guest list and sending out invitations.
Editing Party Details
Once you’ve set up the basic information for your party, you may find the need to make changes or updates along the way. Scentsy Workstation allows you to easily edit various party details to ensure they are accurate and up-to-date. Here’s how:
1. Access the Party Editor: Log in to Scentsy Workstation and navigate to the “Parties” tab. From the dropdown menu, select “Party Editor” to open the editing tool.
2. Select the Party: In the Party Editor, choose the party you want to edit by clicking on it. This will bring you to the party details page.
3. Update Date and Time: If you need to change the date or time of the party, simply edit the corresponding fields on the party details page. Make sure to save your changes after updating the information.
4. Modify the Party Location: In case there is a change in the party’s venue, you can easily update the location in the designated field. Edit the information and save your changes to reflect the new party location.
5. Edit Party Theme: If you decide to change the theme of your party, you can do so in the Party Editor. Select a different theme from the available options or enter a custom theme if desired. Remember to save your changes once you’ve made your selection.
6. Adjust Sales Goals: If you need to revise the sales target for your party, you can update it in the Party Editor. Simply modify the sales goal field to reflect the new target amount. Saving your changes will ensure that your sales progress is accurately tracked.
7. Customize Party Notes: The Party Editor allows you to add notes and comments specific to this party. Utilize this feature to include any important details or reminders for yourself or your host. To edit the party notes, simply enter the updated information in the provided field.
Remember to save your changes after updating each party detail. By regularly reviewing and editing the party details, you can ensure that all the information presented to your guests is accurate and reflects any changes that may arise along the way.
Now that you know how to edit party details in Scentsy Workstation, you’re ready to move on to managing the guest list and sending out invitations to create an unforgettable experience for your guests!
Managing Guest List
As a Scentsy consultant, keeping track of your guest list is essential for a successful party. Scentsy Workstation provides tools to help you manage and organize your guest list efficiently. Here’s how to make the most of this feature:
1. Access the Party Editor: Login to Scentsy Workstation and navigate to the “Parties” tab. From the dropdown menu, select “Party Editor” to open the editing tool.
2. Select the Party: In the Party Editor, choose the party for which you want to manage the guest list by clicking on it. This will take you to the party details page.
3. Navigate to the Guest List: On the party details page, you’ll find an option to access the guest list. Click on it to view and manage the list of guests invited to the party.
4. Add New Guests: To add new guests to your party, click on the “Add Guest” button. Enter the required information, such as name, email address, and phone number. You can also add any relevant notes or special instructions for each guest. Save your changes to include them in the guest list.
5. Remove Guests: If there are any guests who can no longer attend the party, you can remove them from the guest list. Simply locate the guest in the list and click on the “Remove” button next to their name. Confirm the removal, and the guest will be removed from the list.
6. View RSVP Status: Scentsy Workstation tracks the RSVP status of each guest. You can easily view who has confirmed, declined, or not yet responded to the party invitation. This information allows you to follow up with guests and plan accordingly.
7. Edit Guest Information: Should any guest details change, such as email address or phone number, you can edit the guest’s information directly in the guest list. Locate the guest and click on the “Edit” button next to their name. Update the necessary details and save your changes.
8. Save and Update: Remember to save your changes after managing the guest list. Regularly updating the guest list ensures that you have an accurate record of who will be attending your party and guarantees you can provide a personalized experience for each guest.
By effectively managing your guest list in Scentsy Workstation, you can stay organized, easily communicate with your guests, and make adjustments as needed. With a well-managed guest list, you’re ready to move on to the next step: sending out invitations to your party.
Adding New Guests
Expanding your guest list is key to hosting a successful party. Scentsy Workstation makes it easy to add new guests to your party and ensure that they receive all the necessary information. Follow these steps to add new guests to your guest list:
1. Access the Party Editor: Log in to your Scentsy Workstation account and go to the “Parties” tab. From the dropdown menu, select “Party Editor” to open the editing tool.
2. Select the Party: Choose the party for which you want to add new guests by clicking on it. This will bring you to the party details page.
3. Manage the Guest List: On the party details page, locate the option to manage the guest list and click on it. This will take you to the guest list management page.
4. Click on “Add Guest”: Look for the “Add Guest” button on the guest list management page and click on it. This will open a form for you to enter the new guest’s information.
5. Enter Guest Information: Fill in the required information for the new guest, including their name, email address, and phone number. If there are any additional details or special instructions, you can include them in the provided fields.
6. Save the Changes: After entering the new guest’s information, click on the “Save” button to add them to the guest list. The new guest will now be included in the list of attendees for the party.
7. Repeat the Process: If you need to add multiple guests to the guest list, simply repeat steps 4-6 for each additional guest. Scentsy Workstation allows you to flexibly add as many guests as needed.
8. Review and Confirm: Double-check the guest list to ensure that all new guests have been added accurately. This will help guarantee that all guests receive the necessary invitations and updates regarding the party.
By efficiently adding new guests to your guest list in Scentsy Workstation, you can grow your network and maximize the attendance for your party. Offering a warm invitation and ensuring that each guest feels welcomed is a crucial step towards hosting a memorable event.
Now that you’ve successfully added new guests to your party, it’s time to learn how to remove guests from the list if needed. Read on to discover the process for removing guests from your guest list in Scentsy Workstation.
Removing Guests
Managing your guest list involves not only adding new guests but also removing ones who can no longer attend the party. Scentsy Workstation offers a simple process to remove guests from your guest list. Follow these steps to remove guests:
1. Access the Party Editor: Log in to your Scentsy Workstation account and go to the “Parties” tab. From the dropdown menu, select “Party Editor” to open the editing tool.
2. Select the Party: Choose the party for which you want to remove guests by clicking on it. This will take you to the party details page.
3. Manage the Guest List: On the party details page, locate the option to manage the guest list and click on it. This will bring you to the guest list management page.
4. Find the Guest to Remove: Scan the guest list to locate the guest you want to remove. You can use the search function or manually browse through the list. Once you find the guest, hover over their name to reveal the “Remove” button.
5. Remove the Guest: Click on the “Remove” button next to the guest’s name. A confirmation dialog box will appear, asking you to confirm the deletion. Click “Yes” to proceed with the removal.
6. Guest Successfully Removed: After confirming the removal, the guest will be removed from your guest list. They will no longer receive any further updates or communications regarding the party.
7. Review the Updated Guest List: Take a moment to review the guest list to ensure that the guest has been successfully removed. This will help you keep an accurate record of the attendees to your party.
8. Repeat the Process: If you need to remove multiple guests, simply repeat steps 4-7 for each guest you wish to remove. Scentsy Workstation allows you to conveniently manage your guest list and keep it up to date.
By promptly removing guests who cannot attend the party, you can keep your guest list organized and ensure that your invitations and follow-up communications reach the intended recipients. This attention to detail will help you provide a seamless and personalized experience for your guests.
Now that you know how to remove guests from your guest list, let’s move on to the next step: sending out invitations to your guests.
Sending Invitations
Now that you have your guest list ready, it’s time to send out invitations to your party! Scentsy Workstation offers easy-to-use features for sending out invitations to your guests. Follow these steps to send invitations:
1. Access the Party Editor: Log in to your Scentsy Workstation account and navigate to the “Parties” tab. From the dropdown menu, select “Party Editor” to open the editing tool.
2. Select the Party: Choose the party for which you want to send invitations by clicking on it. This will take you to the party details page.
3. Generate Invitations: On the party details page, locate the option to send invitations and click on it. This will take you to the invitation generation page.
4. Customize the Invitation: You can personalize the invitation message to make it more engaging and appealing to your guests. Add a warm greeting, provide details about the party, and include any special instructions or requests. Scentsy Workstation provides a template for you to work with, or you can create a custom message.
5. Add Recipients: In the invitation generation page, you’ll find a section to add recipients. Choose the guests you want to invite from your guest list, or manually enter email addresses for guests who are not in your list. Scentsy Workstation allows you to select and add multiple guests simultaneously.
6. Preview the Invitation: Before sending out the invitations, it’s always a good idea to preview how they will appear to your guests. Take a moment to review the invitation message, ensuring that all the information is accurate and well-presented.
7. Send the Invitations: Once you are satisfied with the invitation message and recipients, click on the “Send” button to send out the invitations. Scentsy Workstation will deliver the invitations to your guests via email.
8. Track Invitation Status: Scentsy Workstation keeps track of the invitation status for each guest. You can easily see who has received, opened, or not yet viewed their invitation. This information allows you to follow up with guests who haven’t responded and answer any questions they may have.
By sending out personalized invitations to your guests, you can create excitement for your party and ensure that everyone is well-informed about the event. This step sets the tone for a memorable gathering with a Scentsy twist.
Now that you have sent out the invitations, let’s explore how you can edit the invitations and make any necessary updates as the party approaches.
Editing Invitations
As the party approaches, you may need to make changes or updates to the invitations you sent out. Luckily, Scentsy Workstation provides a straightforward process for editing invitations. Follow these steps to revise your invitations:
1. Access the Party Editor: Log in to your Scentsy Workstation account and navigate to the “Parties” tab. From the dropdown menu, select “Party Editor” to open the editing tool.
2. Select the Party: Choose the party for which you want to edit the invitations by clicking on it. This will take you to the party details page.
3. Generate Invitations: On the party details page, locate the option to send invitations and click on it. This will take you to the invitation generation page.
4. Edit the Invitation Message: Depending on the changes you need to make, edit the invitation message accordingly. You can update the greeting, modify the party details, or include any additional information you want to communicate to your guests.
5. Add/Remove Recipients: If there are new guests you would like to invite, you can add them to the recipient list. Similarly, if there are guests who should no longer receive the invitation, you can remove them from the list. Update the recipient list as necessary.
6. Preview the Invitation: Before finalizing the changes, take a moment to preview the revised invitation. Ensure that the updated information is accurate and that the invitation message reflects your intentions.
7. Resend the Invitations: After making the necessary edits, click on the “Send” or “Resend” button to send out the edited invitations to your guests. The updated invitations will be delivered to their email addresses.
8. Track Invitation Status: Just like before, Scentsy Workstation helps you track the status of each invitation. You can easily see if the revised invitation has been received, opened, or not yet viewed by your guests.
By having the ability to edit invitations in Scentsy Workstation, you can ensure that your guests receive updated and accurate information about your party. This feature allows you to provide a seamless and well-organized experience for both you and your guests.
Now that you know how to edit invitations, next we’ll explore how to track RSVPs and manage the guest responses effectively.
Tracking RSVPs
Keeping track of guest responses is crucial for planning and organizing your party effectively. Scentsy Workstation provides tools to help you track RSVPs and manage guest responses conveniently. Follow these steps to efficiently track RSVPs:
1. Access the Party Editor: Log in to your Scentsy Workstation account and go to the “Parties” tab. From the dropdown menu, select “Party Editor” to open the editing tool.
2. Select the Party: Choose the party for which you want to track RSVPs by clicking on it. This will take you to the party details page.
3. Manage the Guest List: On the party details page, locate the option to manage the guest list and click on it. This will bring you to the guest list management page.
4. View RSVP Status: In the guest list management page, you’ll be able to see the RSVP status of each guest. This includes who has confirmed their attendance, who has declined, and who has not yet responded.
5. Follow Up with Guests: Use the RSVP status to follow up with guests who have not yet responded to the invitation. Reach out to them via email or a phone call to inquire about their attendance and address any questions or concerns they may have.
6. Record Attendees: As guests confirm their attendance, make sure to record their attendance status in Scentsy Workstation. This will help you keep an accurate record of who will be attending your party.
7. Update the Guest List: If any guests initially responded with their RSVP but later need to change their response, update their status accordingly in the guest list. The ability to modify guest responses ensures that your guest list remains up to date.
8. Utilize Tools for RSVP Tracking: Scentsy Workstation offers various tools to help you track RSVPs efficiently. These tools can include automatic reminders, RSVP deadline reminders, and customizable RSVP status options.
By actively tracking RSVPs in Scentsy Workstation, you can ensure that you have an accurate count of attendees for your party. This enables you to plan and prepare accordingly, including organizing seating, preparing materials, and ensuring you have enough product on hand.
Now that you know how to track RSVPs, let’s move on to the next step: recording party sales and interactions to provide a smooth post-party experience.
Recording Party Sales
Accurately recording party sales is vital for tracking your business’s success and ensuring proper commission calculations. Scentsy Workstation provides a seamless process for recording party sales. Follow these steps to effectively record your party sales:
1. Access the Party Editor: Log in to your Scentsy Workstation account and go to the “Parties” tab. From the dropdown menu, select “Party Editor” to open the editing tool.
2. Select the Party: Choose the party for which you want to record sales by clicking on it. This will take you to the party details page.
3. Access the Sales Information: On the party details page, look for the sales information section. This is where you can record and track the sales made during the party.
4. Record Product Sales: In the sales information section, you’ll find an option to record the products sold during the party. Use the provided fields or dropdown menus to enter the product names, quantities, and prices.
5. Calculate Totals: Scentsy Workstation will automatically calculate the total sales based on the quantities and prices entered. Verify that the totals accurately reflect the sales made during the party.
6. Include Additional Sales: If there are any additional sales to record that weren’t specifically related to individual products, such as hostess rewards or specials, you can add them separately. Enter the relevant details and totals in the appropriate fields.
7. Save the Sales Record: After ensuring the sales record is complete and accurate, save your changes to record the sales officially. This will update the party’s sales data and allow you to easily track and report your overall business performance.
8. Review the Sales Report: Scentsy Workstation generates a comprehensive sales report for each party. Take a moment to review this report to ensure all sales are accounted for and accurately documented.
By diligently recording party sales in Scentsy Workstation, you can keep an organized record of your business transactions and monitor your progress toward reaching your sales goals. This information will also be valuable when planning future parties and evaluating your overall business performance.
Now that you have recorded the party sales, let’s move on to the next step: updating party notes to capture important details and observations from the event.
Updating Party Notes
Updating party notes is a crucial step in keeping track of important details, observations, and interactions from your parties. Scentsy Workstation allows you to conveniently update and maintain party notes. Follow these steps to effectively update your party notes:
1. Access the Party Editor: Log in to your Scentsy Workstation account and go to the “Parties” tab. From the dropdown menu, select “Party Editor” to open the editing tool.
2. Select the Party: Choose the party for which you want to update the notes by clicking on it. This will take you to the party details page.
3. Locate the Party Notes Section: On the party details page, locate the section dedicated to capturing party notes. This is typically found near the bottom of the page.
4. Add or Edit Notes: Depending on your needs, you can either add new notes or edit existing ones. Click on the relevant field to enter your notes or make revisions to the existing content.
5. Include Important Details: When updating party notes, include any significant details or observations you want to remember. This can include interactions with guests, feedback received, notable moments, or any insights that may help you in future parties or follow-up interactions.
6. Save Your Changes: After updating the party notes, make sure to save your changes. This ensures that the notes are properly recorded and available for future reference.
7. Review and Update Regularly: Periodically review your party notes to refresh your memory and gain valuable insights. Update the notes as needed, especially if there are any significant post-party interactions or follow-up activities related to the specific party.
8. Use Party Notes for Future Reference: Utilize the party notes as a resource when planning future parties or when engaging with guests from the same party again. The information captured in the notes can help you personalize your approach and create a memorable experience for both returning and new guests.
By consistently updating party notes in Scentsy Workstation, you can keep a comprehensive record of each party’s unique aspects and use this information to enhance your future hosting and customer interactions. These notes serve as a valuable tool in delivering exceptional service and growing your Scentsy business.
Now that we’ve covered how to update party notes, let’s conclude with a recap of the key steps involved in closing out a party effectively.
Closing Out the Party
Closing out a party is the final step in hosting a successful Scentsy event. It involves wrapping up all the loose ends and ensuring that all necessary actions have been taken. Follow these key steps to effectively close out your party:
1. Review Party Details: Start by reviewing all the party details, including the date, time, location, and any specific instructions or notes. Verify that everything went according to plan and update any necessary information for future reference.
2. Finalize Sales Record: Double-check that all party sales have been accurately recorded in Scentsy Workstation. Make any necessary additions or corrections to ensure that your sales data is complete and up to date.
3. Check RSVP Status: Review the RSVP status of your guests and ensure that you have accounted for all responses. Follow up with any guests who have not yet provided a response or those who require additional assistance.
4. Send Thank-You Notes: Express your gratitude to your party host and each guest who attended the event. Personalized thank-you notes can go a long way in showing your appreciation and building strong relationships with your customers.
5. Evaluate Party Performance: Take some time to reflect on the success of the party. Consider what worked well and what can be improved for future events. Use this evaluation to refine your hosting strategies and enhance the overall party experience.
6. Record Learnings and Insights: Capture any valuable learnings or insights from the party in your Scentsy Workstation party notes. Document any observations, guest preferences, product feedback, or marketing strategies that can inform your future business decisions.
7. Follow-Up with Guests: Engage in post-party follow-up activities, such as sending personalized product recommendations, offering exclusive promotions, or addressing any outstanding questions or concerns raised during the event. Timely and thoughtful follow-up can strengthen your customer relationships and lead to future sales opportunities.
8. Plan for Future Parties: Use the knowledge and experience gained from this party to plan future events. Consider the feedback received, the sales made, and the overall success of the party to guide your future party planning strategies and goals.
By effectively closing out your party, you can create a positive lasting impression with your guests and set the stage for future successful events. Taking the time to tie up loose ends, express gratitude, and learn from each event helps you grow and flourish as a Scentsy consultant.
Now that we’ve covered the closing-out process, you have the tools to host exceptional Scentsy parties and create memorable experiences for your customers!
Conclusion
Congratulations! You have now learned how to effectively edit a party in Scentsy Workstation. From setting up your party to managing the guest list, sending out invitations, tracking RSVPs, and recording party sales, you are equipped with the knowledge and tools to host successful Scentsy events.
By utilizing the Party Editor tool and its various features, you can customize and manage your parties effortlessly. The ability to update party details, add and remove guests, send invitations, and track RSVPs allows you to provide a personalized experience for your guests.
Recording party sales and updating party notes in Scentsy Workstation helps you keep track of your business performance, gather valuable insights, and deliver exceptional customer service. Remember to thank your party host and guests for their support and engagement, as building strong relationships is key to your long-term success.
As you continue on your journey as a Scentsy consultant, make use of the knowledge gained from each party to improve your hosting strategies and plan future events more effectively. Regularly evaluate your party performance, capture learnings, and implement changes to enhance your customer experiences.
With Scentsy Workstation, you have a powerful tool at your disposal to create memorable Scentsy parties, generate sales, and build lasting connections with your customers. Embrace the flexibility and customization options offered by the Party Editor to showcase the unique Scentsy experience.
Now, it’s time to put your newfound skills to practice. Go ahead and explore the Party Editor tool in Scentsy Workstation, edit your parties with confidence, and create unforgettable moments for your customers. Happy hosting!


