Introduction
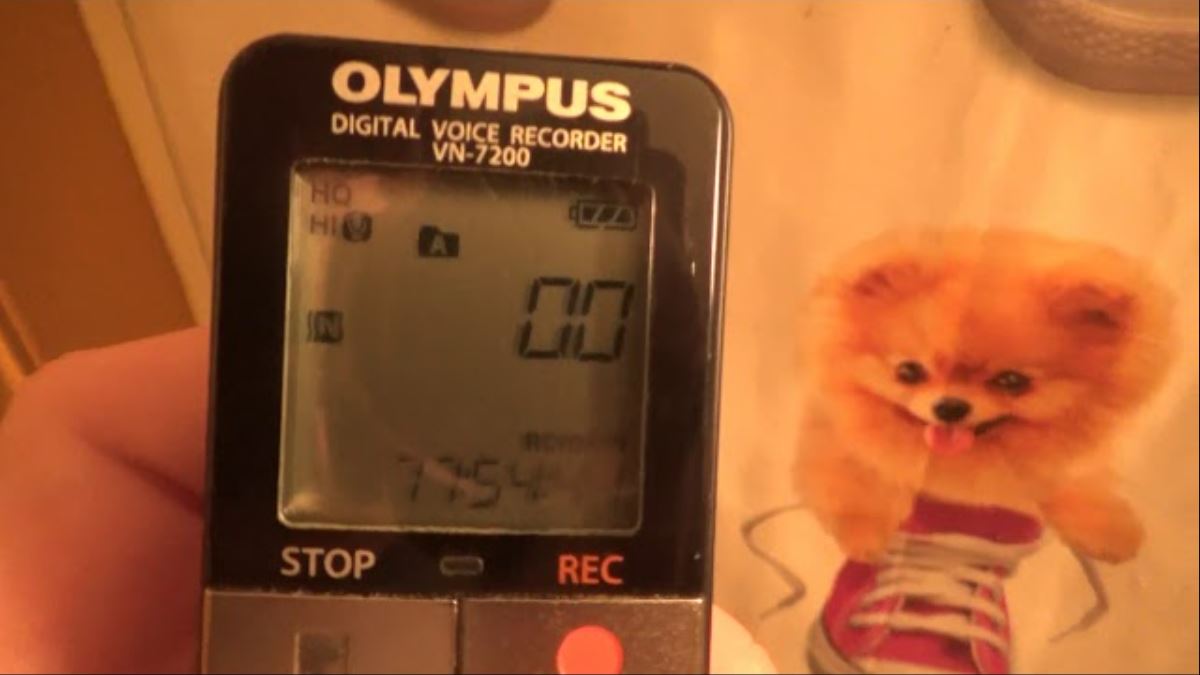
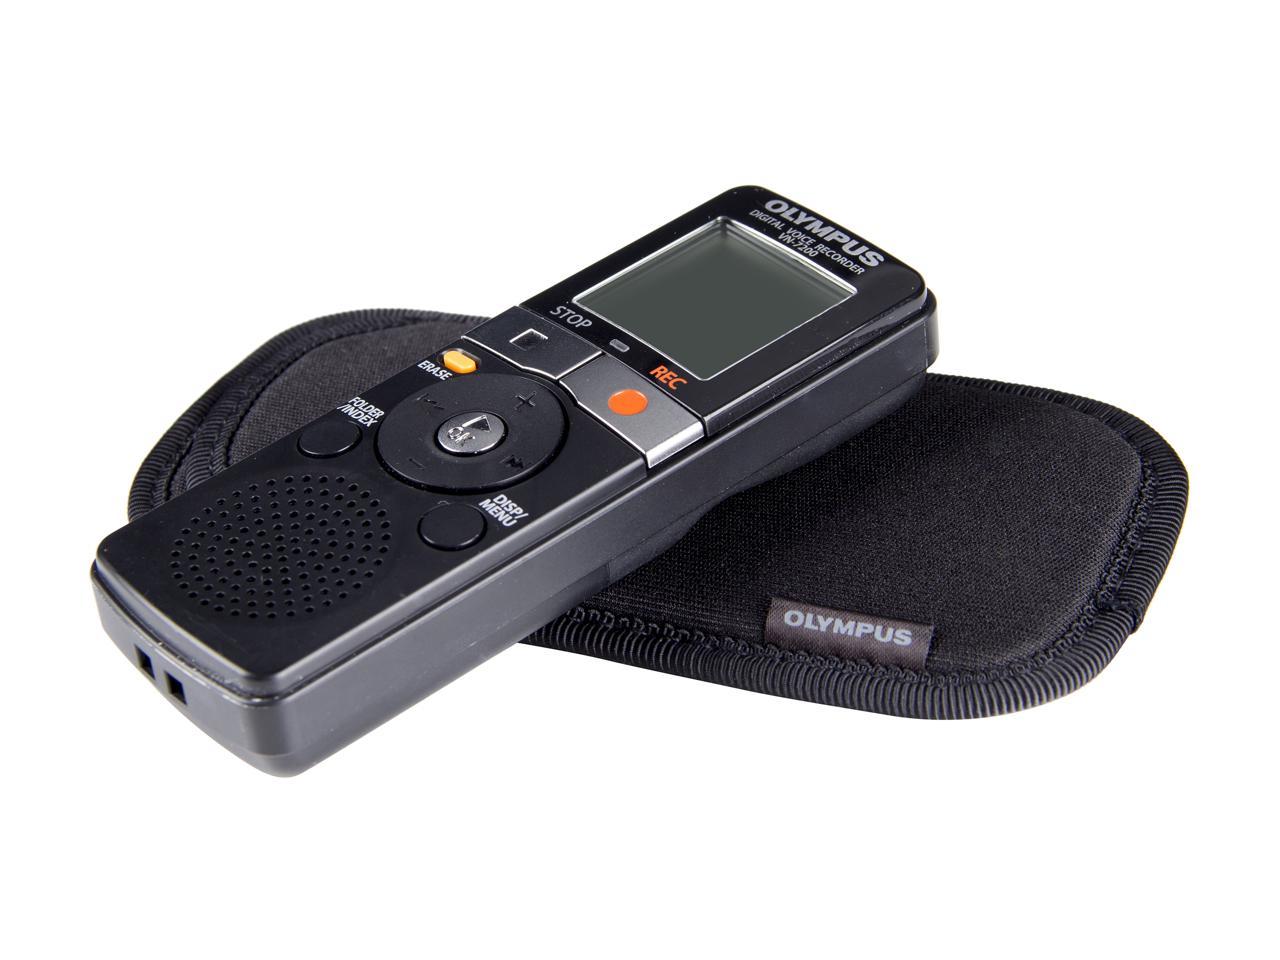
Welcome to this guide on how to download files from the Olympus Digital Voice Recorder VN-7200. The VN-7200 is a portable voice recorder with a variety of features that make it an excellent companion for capturing audio recordings on the go. Whether you use it for lectures, interviews, or personal memos, being able to easily transfer your recordings to your computer is essential.
In this article, I will walk you through a step-by-step process to help you download files from your VN-7200 recorder onto your computer. By following these instructions, you’ll be able to access and organize your recorded files more efficiently, freeing up space on your device and ensuring that your valuable recordings are safely stored.
The process involves connecting your VN-7200 recorder to your computer using a USB cable, installing the necessary software, selecting the files you want to download, choosing a destination folder, and initiating the downloading process. It’s a straightforward process, and I’ll provide detailed instructions to ensure you have a seamless experience.
Having your recordings accessible on your computer allows for easier playback, editing, and sharing. You can also create backups of your important recordings, providing an extra layer of security. Additionally, downloading your files from the recorder opens up opportunities for further organization and transcription using specialized software if desired.
So, without further ado, let’s dive into the process of downloading files from your Olympus Digital Voice Recorder VN-7200!
Step 1: Connect the Olympus Digital Voice Recorder VN-7200 to your computer
The first step in downloading files from your Olympus Digital Voice Recorder VN-7200 is to establish a connection between the recorder and your computer. To do this, you will need a USB cable that is compatible with your recorder.
Begin by locating the USB port on your VN-7200 recorder. It is typically located on the side or bottom of the device. Once you have located the USB port, take the USB cable and insert one end into the port on the recorder.
Next, find an available USB port on your computer and insert the other end of the USB cable into it. Most computers have multiple USB ports, so you can choose any available one. Make sure the connection is secure on both ends to ensure proper communication between the recorder and your computer.
Once the USB cable is connected, your computer should recognize the Olympus Digital Voice Recorder VN-7200 as a removable storage device. This will allow you to access the files stored on the recorder and transfer them to your computer.
Please note that if your computer does not recognize the recorder, you may need to install drivers or software specific to the VN-7200 recorder. Refer to the user manual that came with your device or visit the Olympus website for instructions on driver installation.
Now that you have successfully connected the Olympus Digital Voice Recorder VN-7200 to your computer, you are ready to move on to the next step of the downloading process. Make sure to keep the USB cable connected until you have completed the entire downloading process.
Step 2: Install the necessary software
In order to download files from your Olympus Digital Voice Recorder VN-7200, you will need to install the appropriate software on your computer. This software will allow you to access and manage the recordings on your device.
Start by checking the packaging or documentation that came with your VN-7200 recorder. Look for any instructions or a CD that may contain the necessary software. If you don’t have a CD or documentation, don’t worry! You can still download the required software from the official Olympus website.
Visit the Olympus website and navigate to the support or downloads page. Look for the software section specifically for the VN-7200 recorder. Make sure to select the software that is compatible with your computer’s operating system, such as Windows or macOS.
Once you have located the correct software, click on the download link to begin the download process. Depending on your internet connection speed, this may take a few minutes. Once the download is complete, locate the downloaded file on your computer.
Double-click on the downloaded file to start the installation process. Follow the on-screen prompts to install the software on your computer. Make sure to read and accept any license agreements or terms and conditions that may be presented during the installation.
Once the installation is complete, you should see the software’s icon on your desktop or in the list of installed programs. Double-click on the icon to open the software.
At this point, the necessary software for downloading files from your Olympus Digital Voice Recorder VN-7200 is installed and ready to use. In the next step, we will explore how to open the software and access the recordings on your device.
Step 3: Open the Olympus Digital Voice Recorder VN-7200 software
Now that you have installed the necessary software for your Olympus Digital Voice Recorder VN-7200, it’s time to open the software and prepare it for downloading your recorded files.
Locate the software icon either on your desktop or in the list of installed programs. Double-click on the icon to launch the Olympus Digital Voice Recorder software.
Once the software is open, you will be presented with a user-friendly interface that allows you to access and manage the recordings on your VN-7200 recorder.
Connect your VN-7200 recorder to your computer using the USB cable if you haven’t done so already. The software should automatically detect the connected recorder and display it in the software’s main window.
Take a moment to explore the features and options available in the software. You will typically find features like file management, playback controls, and options for organizing your recordings.
To proceed with downloading your files, locate the option that allows you to access the recordings on your VN-7200 recorder. This may be labeled as “Recordings,” “Files,” or something similar.
Click on this option to view the recordings stored on your device. You should see a list of recorded files displayed in the software’s interface.
At this point, you have successfully opened the Olympus Digital Voice Recorder VN-7200 software and connected your device. You are now ready to choose the files you want to download, which we will explore in the next step.
Step 4: Choose the files you want to download from the recorder
With the Olympus Digital Voice Recorder VN-7200 software open and your device connected, you are now ready to select the specific files you want to download from the recorder.
Take a look at the list of recorded files displayed in the software’s interface. You may see a thumbnail, file name, date recorded, and other relevant information for each file.
Scan through the list and identify the recordings you wish to download. You can choose to download individual files or select multiple files for a bulk download.
To select a single file, simply click on it. The file will be highlighted or display a checkmark to indicate that it has been selected.
If you want to select multiple files, hold down the Ctrl key (Windows) or the Command key (macOS) while clicking on the desired files. Each selected file will be highlighted or display a checkmark.
If you want to select all files in the list, look for a “Select All” option in the software’s interface. Click on it to automatically select all files for download.
Once you have chosen the files you want to download, you can proceed to the next step to select the destination folder where the downloaded files will be saved.
It’s worth noting that the selections you make in the software’s interface are not permanent. You can always go back and change your selection before initiating the download process.
Now that you have selected the recordings you want to download, let’s move on to the next step and choose the destination folder for the downloaded files.
Step 5: Select the destination folder for the downloaded files
After choosing the specific files from your Olympus Digital Voice Recorder VN-7200 that you want to download, it’s time to decide where you want these files to be saved on your computer. Selecting a destination folder is crucial for organizing and accessing your downloaded recordings.
In the software’s interface, look for an option or button that allows you to specify the destination folder. This option is typically labeled as “Save to,” “Destination,” or something similar.
Click on this option to open a file browser window, where you can navigate to the desired location on your computer.
Browse through your computer’s file hierarchy and choose a folder where you want the downloaded files to be stored.
If you already have a dedicated folder for your voice recordings, navigate to that folder. Alternatively, you can create a new folder specifically for the downloaded files.
Once you’ve selected the desired folder, confirm your choice by clicking the “Select” or “Save” button in the file browser window.
The software will now remember this folder as the destination for your downloaded files. Any files you download in the future will be saved in this designated folder.
Choosing the right destination folder is essential for easy access and organization of your downloaded recordings. It ensures that you can quickly locate and manage your files without having them scattered across different folders on your computer.
With the destination folder selected, you are now ready to proceed to the next step and initiate the downloading process for your chosen recordings.
Step 6: Start the downloading process
Now that you have chosen the specific files to download from your Olympus Digital Voice Recorder VN-7200 and selected the destination folder, it’s time to initiate the downloading process. This will transfer the selected recordings from the recorder to your computer.
In the software’s interface, look for a button or option that is labeled as “Download,” “Transfer,” or similar. This is the command that will start the downloading process.
Click on the designated button or select the appropriate option to initiate the download. The software will begin transferring the selected files from the VN-7200 recorder to the designated destination folder on your computer.
Depending on the size and number of files you are downloading, the process may take a few moments. You may see a progress bar or status indicator that shows the transfer’s progress.
It’s important to keep your VN-7200 recorder connected to your computer via the USB cable throughout the downloading process. Removing the USB connection prematurely may interrupt the transfer and result in incomplete or corrupted files.
Once the downloading process is complete, you will see a confirmation message or notification indicating that the selected recordings have been successfully transferred to the destination folder.
At this point, you can safely disconnect your VN-7200 recorder from your computer. Remove the USB cable by gently unplugging it from both the recorder and your computer.
Now that your recordings have been downloaded, you can access and manage them in the designated folder on your computer. You can listen to them, organize them into subfolders, rename them, or even edit them using compatible software.
With the downloading process successfully completed, you have accomplished the main objective of this guide. You can now move on to the last step, where I will guide you on how to disconnect your VN-7200 recorder from your computer.
Step 7: Disconnect the Olympus Digital Voice Recorder VN-7200 from your computer
After successfully downloading the desired files from your Olympus Digital Voice Recorder VN-7200 to your computer, it’s important to properly disconnect the recorder from your computer to avoid any potential data loss or damage.
Before disconnecting, ensure that all the files have been transferred and saved to the destination folder on your computer. Double-check that you have safely ejected or closed any open files on the recorder.
Once you have confirmed the successful transfer and closed any open files, you can safely disconnect the VN-7200 recorder from your computer.
Locate the USB cable that is connected to both the recorder and your computer. Gently unplug the USB cable from the USB port on your computer first, and then disconnect it from the VN-7200 recorder.
It’s important to handle the USB cable and recorder with care to avoid any accidental damage. Hold the cable near the connector and pull it straight out, avoiding any twisting or bending.
With the USB cable disconnected, your Olympus Digital Voice Recorder VN-7200 is now free from the computer’s connection. You can safely store the recorder or continue using it for capturing new recordings.
Remember to properly store your recorder in a safe place to avoid any physical damage or loss.
By following these steps and safely disconnecting your VN-7200 recorder from your computer, you’ve completed the entire process of downloading files from your recorder and ensuring their safe transfer to your computer.
Congratulations! You can now enjoy the convenience of accessing, managing, and organizing your voice recordings on your computer with the downloaded files.
Thank you for following this guide, and I hope it has been helpful in assisting you with the downloading process from your Olympus Digital Voice Recorder VN-7200!
Conclusion
In this guide, we have explored the step-by-step process of downloading files from the Olympus Digital Voice Recorder VN-7200. By following these instructions, you can easily transfer your recorded files from the device to your computer, enabling easier access, organization, and management of your voice recordings.
We began by connecting the VN-7200 recorder to the computer using a USB cable and ensuring a secure connection. Then, we installed the necessary software, either from the provided CD or by downloading it from the official Olympus website.
Once the software was installed, we opened it and accessed the recorded files on the VN-7200 recorder. We learned how to choose specific files for download and select a destination folder on the computer for the downloaded files.
After making the selections, we initiated the downloading process, transferring the chosen recordings from the recorder to the designated folder on the computer. We reminded ourselves to keep the USB cable connected until the downloading process was complete.
Finally, we discussed the importance of disconnecting the VN-7200 recorder from the computer safely. By following the proper steps to disconnect, we minimized the risk of data loss or damage to the device.
By downloading files from your Olympus Digital Voice Recorder VN-7200, you can conveniently access your recordings on your computer, freeing up space on the device and allowing for easier playback, transcription, and organization.
Remember to safely store and protect your recorder after disconnecting it from the computer, ensuring its longevity for future use.
Thank you for following this guide, and we hope it has been a helpful resource for you in the process of downloading files from your Olympus Digital Voice Recorder VN-7200.
Happy recording!