Introduction
Managing contacts on your Samsung Galaxy S3 is an essential task to keep your address book organized and up-to-date. Whether you need to remove a single contact or delete multiple ones at once, the Galaxy S3 provides various methods to make the process simple and efficient. In this article, we will walk you through the steps to delete contacts on your Samsung Galaxy S3.
Deleting unwanted or outdated contacts not only helps you declutter your phonebook but also ensures that you have accurate and relevant information at your fingertips. By removing unnecessary contacts, you can save storage space, improve device performance, and make it easier to find and reach the people who matter most to you.
We will explore three different methods for deleting contacts on your Samsung Galaxy S3. The first method will guide you on deleting a single contact at a time, ideal for removing individual entries. The second method will show you how to delete multiple contacts simultaneously, perfect for quickly getting rid of a large number of unwanted entries. Lastly, we will discuss how to delete contacts stored on your SIM card, allowing you to remove duplicate or outdated information.
Whether you are looking to tidy up your contacts list or simply want to free up some space on your device, let’s dive into the step-by-step instructions on how to delete contacts on your Samsung Galaxy S3.
Method 1: Deleting a Single Contact
If you only need to delete one contact from your Samsung Galaxy S3, follow these simple steps:
- Open the “Contacts” app on your Galaxy S3. You can usually find it on your home screen or in the app drawer.
- Browse through your contacts list and locate the contact you want to delete. Tap on their name to open their details.
- Once you’re on the contact details screen, look for the menu icon (usually represented by three vertical dots) located at the top right corner of the screen.
- Tap on the menu icon to open a dropdown menu of options.
- From the options available, select “Delete”.
- A confirmation prompt will appear, asking if you want to delete the contact. Review the details to ensure you are deleting the correct entry.
- Finally, tap on “OK” or “Delete” to confirm the deletion of the contact.
Once you complete these steps, the selected contact will be permanently deleted from your Samsung Galaxy S3. It is important to note that this action cannot be undone, so make sure you have selected the correct contact before confirming the deletion.
Deleting a single contact is a straightforward process that allows you to efficiently remove unwanted or outdated entries from your phonebook. By keeping your contact list clean and organized, you can easily find the relevant entries you need and avoid any confusion or clutter.
Method 2: Deleting Multiple Contacts
If you have a large number of contacts to delete on your Samsung Galaxy S3, using the following method will allow you to delete multiple contacts simultaneously:
- Open the “Contacts” app on your Galaxy S3.
- Navigate to the contacts list and tap on the menu icon situated at the top right corner of the screen (usually represented by three vertical dots).
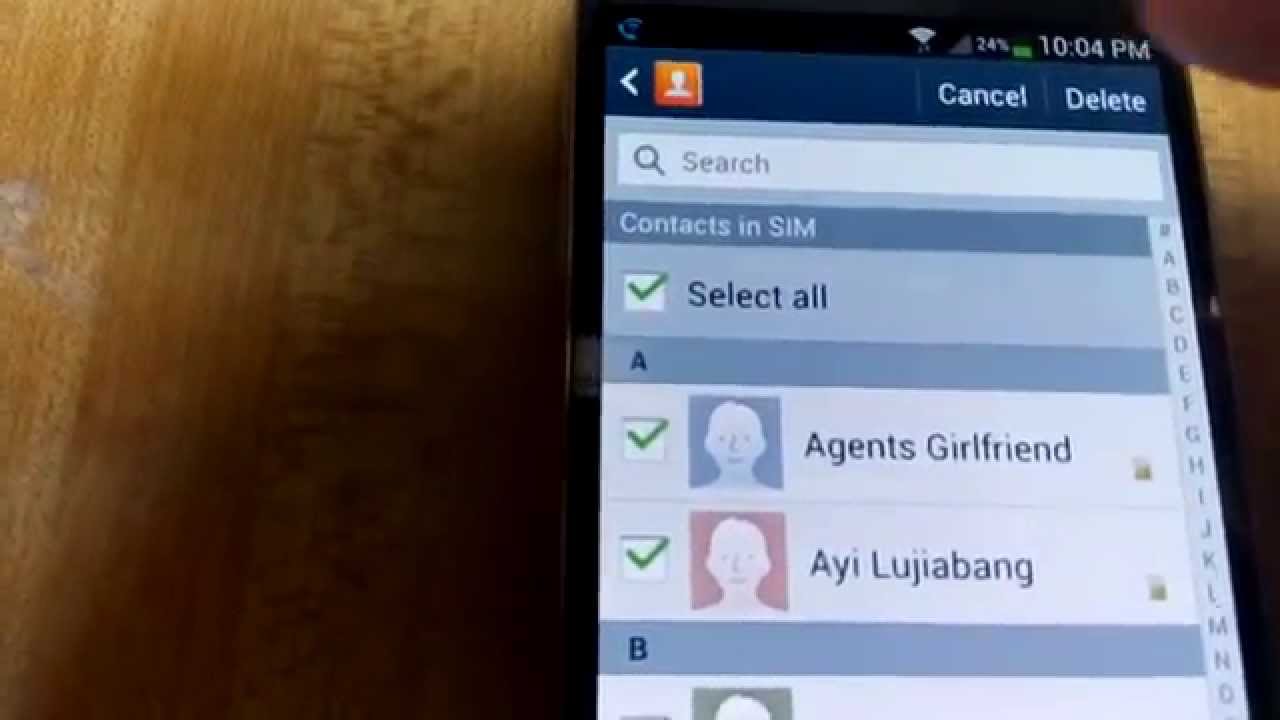
- From the dropdown menu, select “Select” or “Select Contact(s)”.
- A checkbox will appear next to each contact in the list. Tap on the checkboxes next to the contacts you want to delete. You can select multiple contacts by ticking the checkboxes next to each name.
- Once you’ve selected all the contacts you want to remove, look for the delete icon or “Delete” button, usually displayed at the top or bottom of the screen.
- Tap on the delete icon or button to proceed with deleting the selected contacts.
- A confirmation prompt will appear, asking if you want to delete the contacts. Review the information displayed to ensure you are deleting the correct contacts.
- Finally, tap on “OK” or “Delete” to confirm the deletion of the selected contacts.
By following these steps, you can easily delete multiple contacts in one go, saving you time and effort compared to deleting them individually. This method is particularly useful when you need to remove a group of contacts that you no longer need or if you want to clean up a portion of your address book.
Remember that once you confirm the deletion, the contacts will be permanently erased from your Samsung Galaxy S3. To avoid accidental deletions, double-check the selection before proceeding with the deletion process.
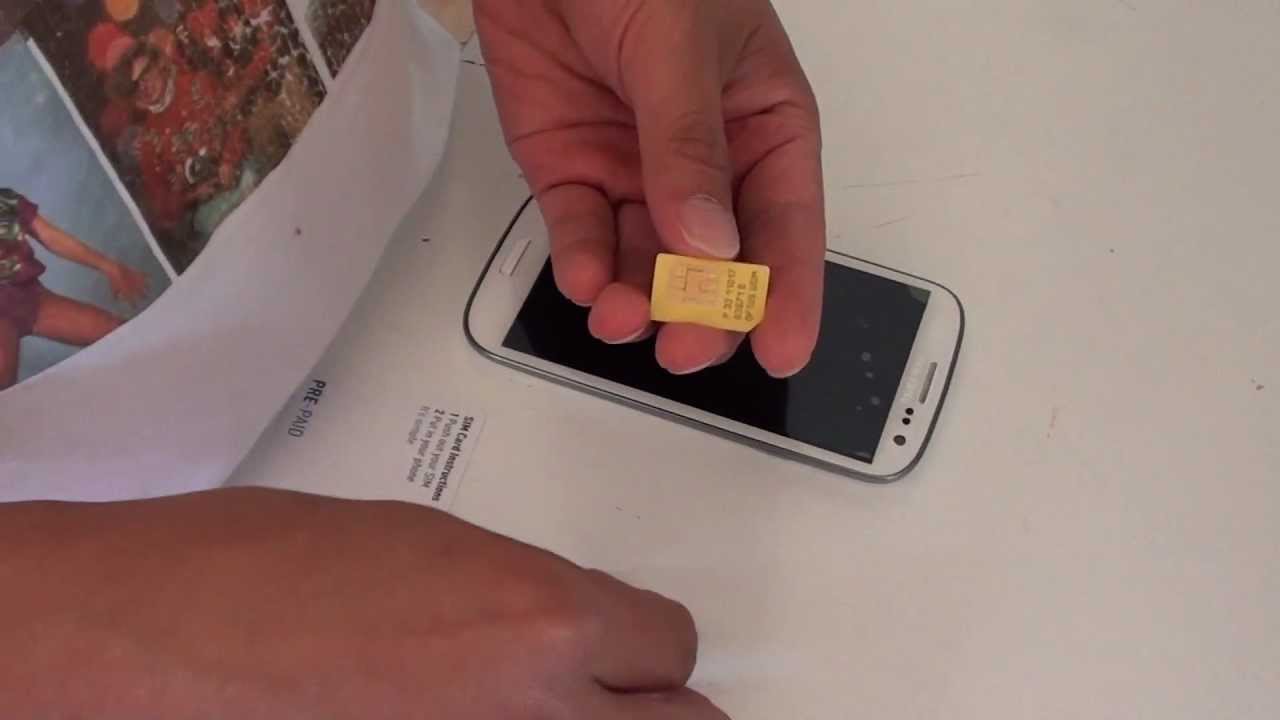
Method 3: Deleting Contacts from SIM Card
If you have contacts stored on your SIM card that you want to delete from your Samsung Galaxy S3, follow these steps:
- Go to the “Contacts” app on your Galaxy S3.
- Tap on the menu icon located at the top right corner of the screen (often represented by three vertical dots).
- From the dropdown menu, select “Settings” or “Manage Contacts”.
- In the settings menu, you should find an option such as “Import/Export” or “SIM card”.
- Select the option related to your SIM card to access the contacts stored on it.
- Once you access the SIM card contacts, you can browse through the list and select the contacts you want to delete. You can usually tap on each contact to highlight it or look for checkboxes next to the names.
- After selecting the contacts to remove, look for the delete option or icon, typically located at the top or bottom of the screen.
- Tap on the delete option or icon to confirm the deletion of the selected SIM card contacts.
- A confirmation prompt will appear, asking if you want to delete the contacts. Review the details to ensure you are deleting the correct entries.
- Finally, tap on “OK” or “Delete” to proceed with deleting the selected SIM card contacts.
By following these steps, you can easily delete contacts stored on your SIM card from your Samsung Galaxy S3. This method is especially useful if you have transferred contacts from another device or have duplicate or outdated information saved on your SIM card.
It is important to note that deleting contacts from your SIM card will not delete them from your phone’s internal storage. If you want to remove the contacts completely, make sure to also delete them using the previous methods mentioned in this article.
Removing unwanted contacts from your SIM card can help you maintain a clean and organized phonebook, ensuring that only relevant and useful contacts are stored on your Samsung Galaxy S3.
Conclusion
Managing your contacts on the Samsung Galaxy S3 is a simple yet essential task to ensure that your address book remains organized and up-to-date. In this guide, we explored three different methods to delete contacts on your Galaxy S3: deleting a single contact, deleting multiple contacts, and deleting contacts from the SIM card.
Deleting a single contact is a straightforward process that allows you to remove individual entries easily. This method is ideal for eliminating unwanted or outdated contacts from your phonebook.
Deleting multiple contacts at once is convenient when you have a large number of entries to remove. This method saves time and effort, making it a practical solution for decluttering your contacts list.
If you have contacts stored on your SIM card, deleting them can help eliminate duplicate or outdated information. This method ensures that your phonebook contains only the contacts that are relevant and necessary.
Remember, when deleting contacts, always review your selection to avoid accidentally removing important entries. Additionally, consider backing up your contacts before performing any deletion to prevent any data loss.
By following the steps outlined in this guide, you can efficiently delete unwanted contacts on your Samsung Galaxy S3, keeping your address book organized and ensuring that you have accurate and up-to-date information at your fingertips.
Now that you know how to delete contacts on your Galaxy S3, take the time to regularly review and manage your contacts to maintain a clean and efficient phonebook.