What is CPU Cooler Fan Speed?
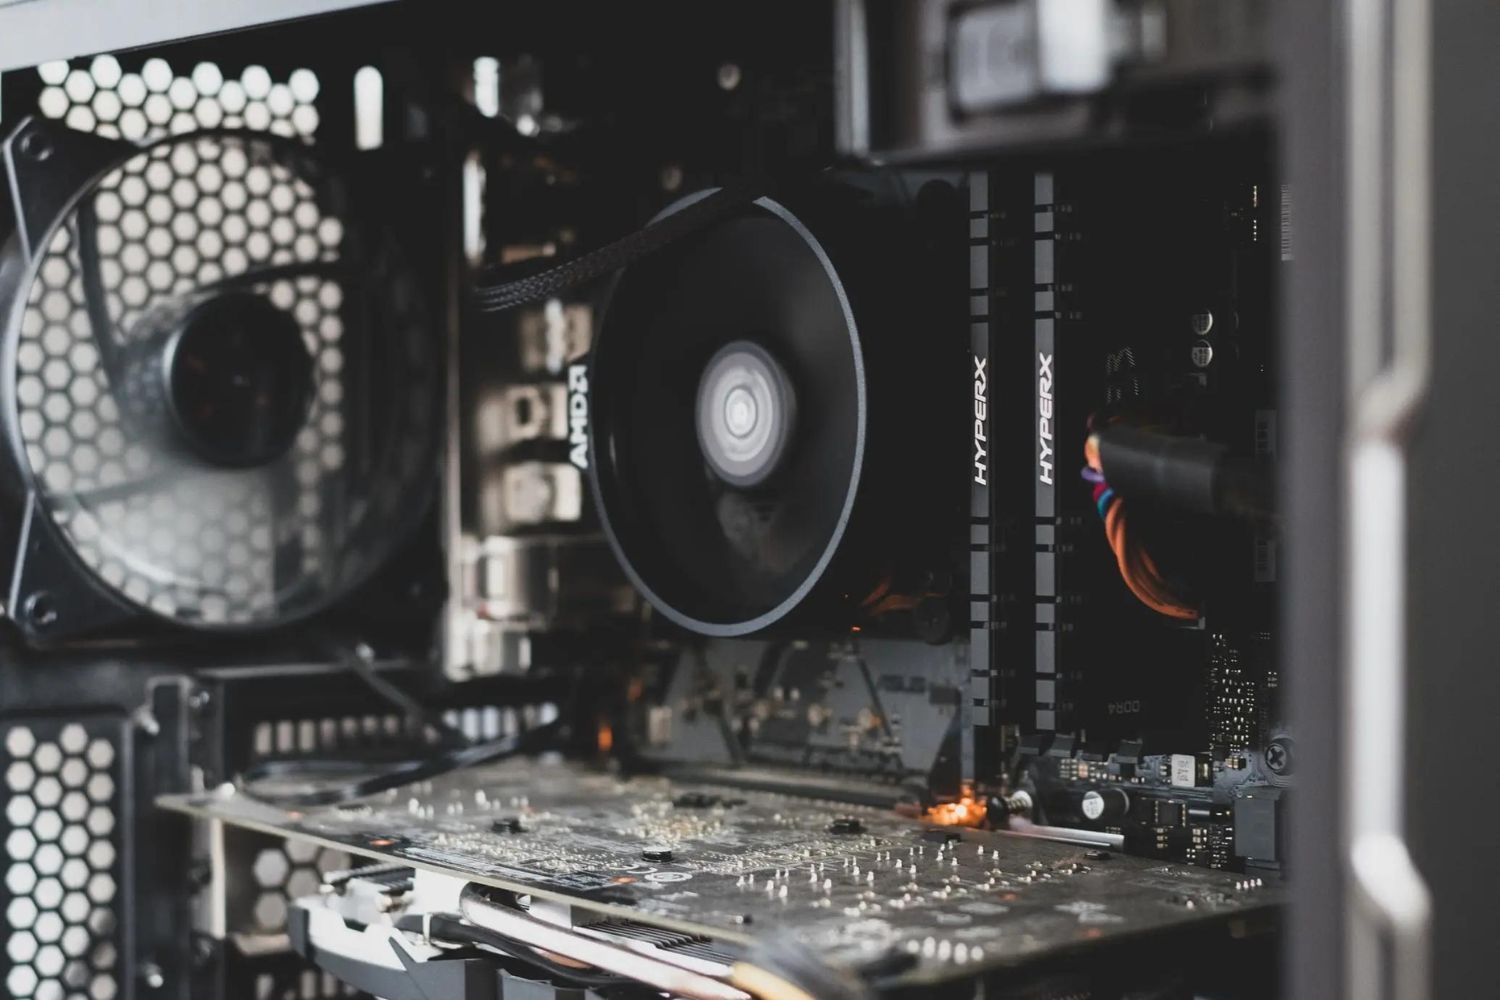
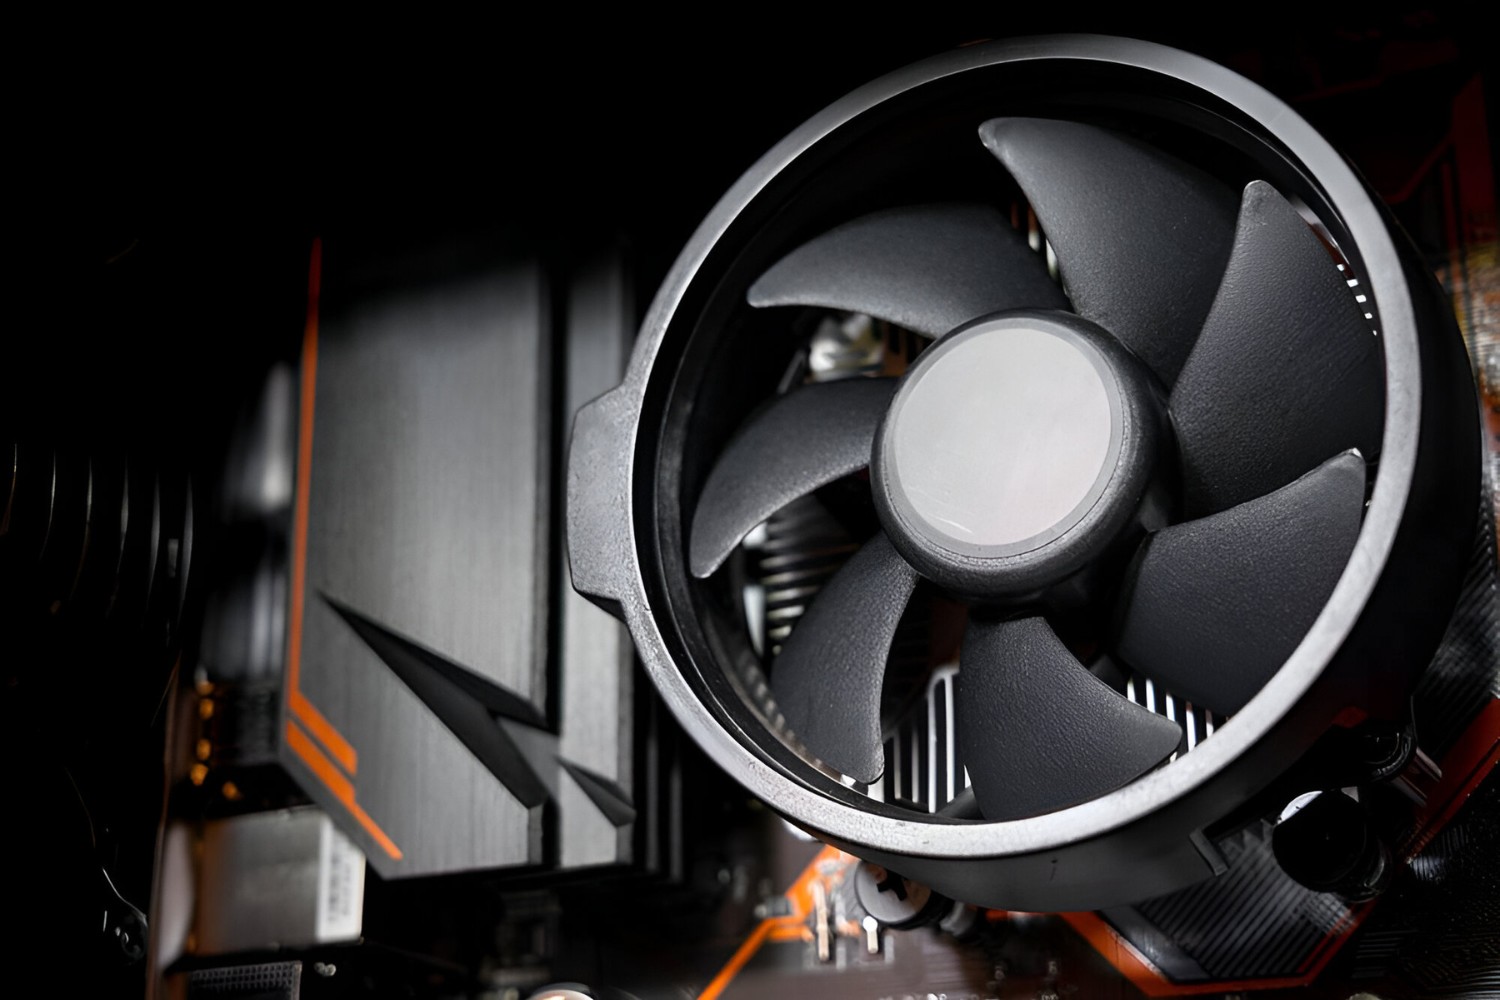
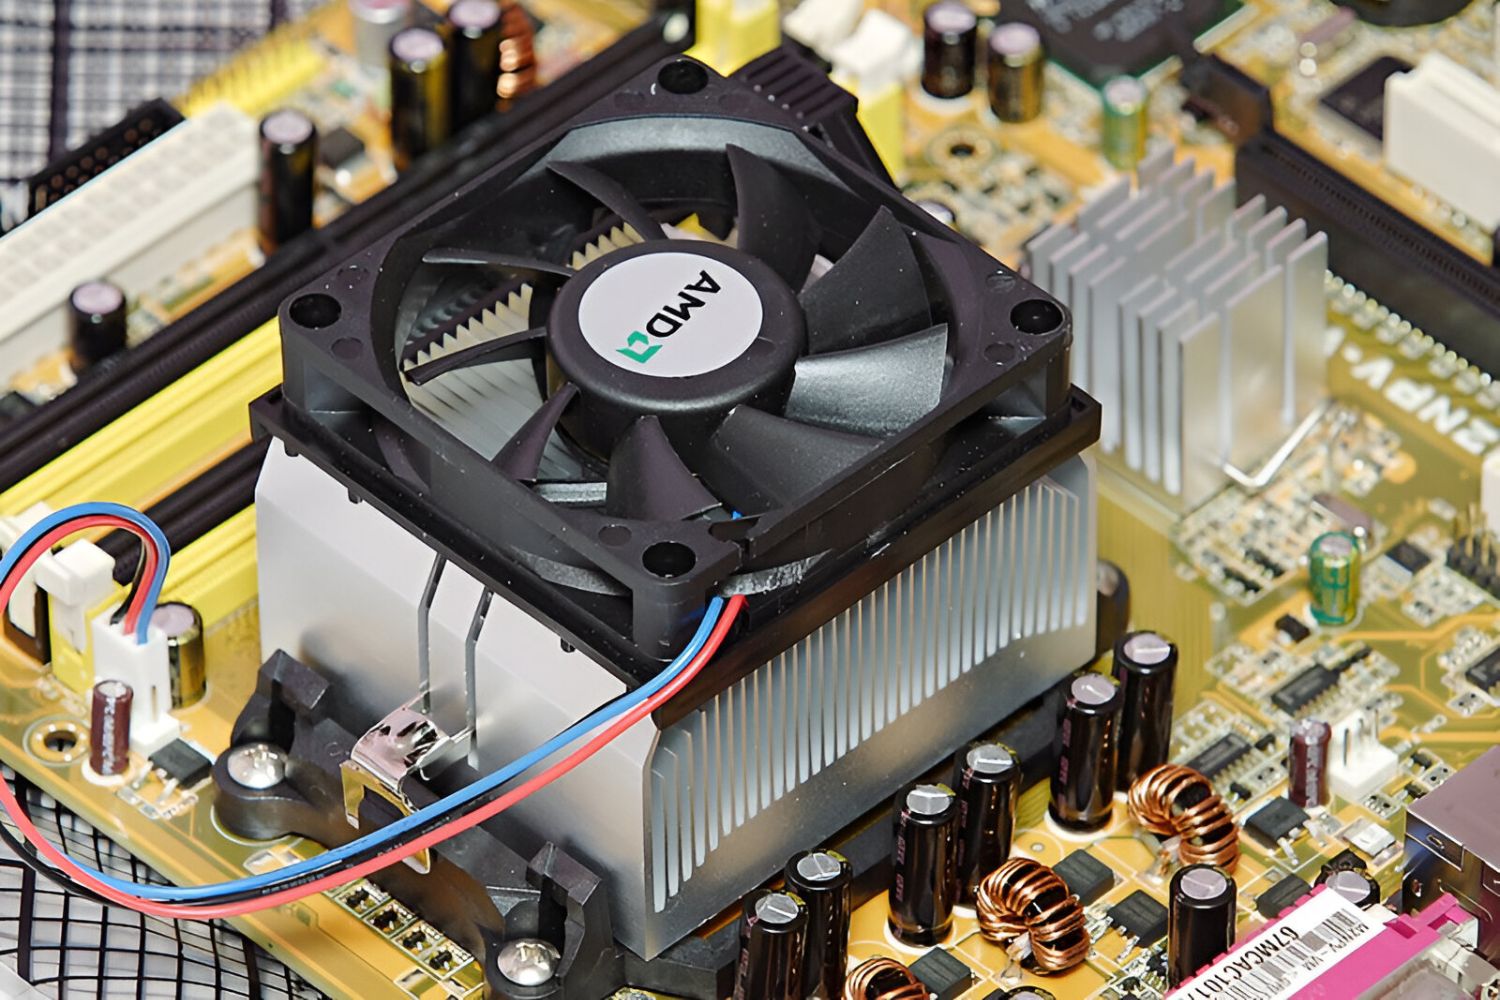
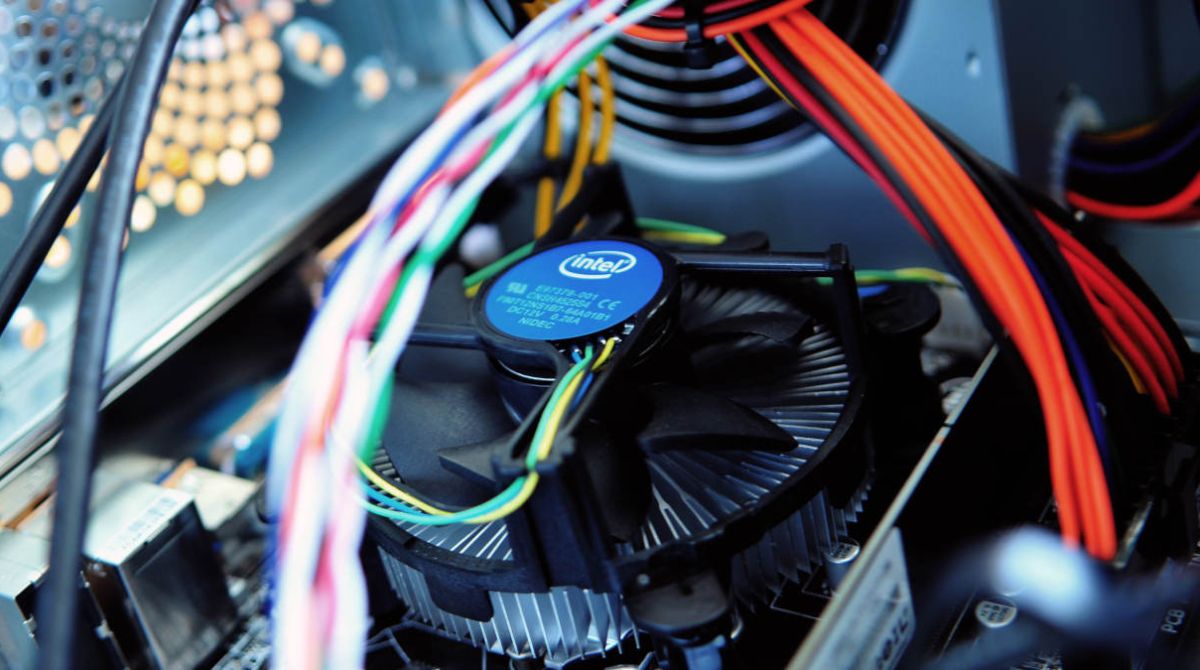
CPU cooler fan speed refers to the rotational speed of the fan attached to your computer’s CPU cooler. The CPU cooler is responsible for dissipating the heat generated by the processor, and the fan plays a crucial role in cooling it down. The fan speed is measured in revolutions per minute (RPM) and determines how fast the fan spins.
When the CPU generates heat during operation, the fan starts spinning faster to increase airflow and cool the processor. Conversely, when the CPU is not under heavy load, the fan slows down to conserve energy and reduce noise. The fan speed is automatically adjusted by the motherboard’s fan control system based on the temperature readings provided by sensors on the CPU.
The fan speed is an essential factor in maintaining your system’s stability, performance, and longevity. If the CPU runs too hot, it can result in overheating, which can lead to system crashes, reduced performance, and even permanent damage to the processor. On the other hand, running the fan at higher speeds than necessary can result in increased noise levels and unnecessary power consumption.
Monitoring and controlling your CPU cooler fan speed allows you to strike the right balance between cooling efficiency and noise levels. By regulating the fan speed, you can ensure your CPU operates within optimal temperature ranges while also keeping noise levels in check.
Controlling the CPU cooler fan speed can be done through various methods, including adjusting settings in the BIOS or using specialized software. The choice of method depends on your motherboard’s features and your preferences.
Next, we will explore the reasons why you might need to control your CPU cooler fan speed and the benefits it can bring to your computer system.
Why Do I Need to Control My CPU Cooler Fan Speed?
Controlling your CPU cooler fan speed provides several benefits that can improve your computer’s performance and user experience. Here are some reasons why you should consider managing your CPU cooler fan speed:
1. Temperature Management: Efficiently controlling the CPU cooler fan speed helps keep the processor temperature at an optimal level. If the CPU runs too hot, it can cause instability and reduced performance. By adjusting the fan speed, you can ensure the CPU remains within the recommended temperature range, enhancing system stability and longevity.
2. Noise Reduction: The fan noise can be a nuisance, especially if you frequently use your computer in a quiet environment. By controlling the fan speed, you can reduce the noise generated by the CPU cooler. This is particularly useful when performing less resource-intensive tasks, like web browsing or word processing, where lower fan speeds can maintain adequate cooling without excessive noise.
3. Power Efficiency: Higher fan speeds require more power, resulting in increased energy consumption. By fine-tuning the CPU cooler fan speed, you can strike a balance between cooling efficiency and power consumption. Keeping the fan speeds optimized can help reduce energy usage and improve the overall power efficiency of your system.
4. Customization: Some users prefer to customize the fan speed to suit their specific needs. For example, if you are an avid gamer who wants maximum cooling during intense gaming sessions, you can set higher fan speeds for improved heat dissipation. Conversely, if you prioritize a silent computing environment, you can lower the fan speed when performing less demanding tasks.
5. Extending Fan Lifespan: Constantly running the fan at high speeds can contribute to wear and tear. By controlling the fan speed and allowing it to rest when not under heavy load, you can extend the lifespan of your CPU cooler fan. This can save you from the hassle and cost of replacing a worn-out fan.
Controlling your CPU cooler fan speed ensures optimal temperature management, reduces noise levels, improves power efficiency, allows customization, and extends the fan’s lifespan. Now let’s explore how you can monitor and control the fan speed on your computer.
How Do I Check My CPU Cooler Fan Speed?
Checking your CPU cooler fan speed is essential to understand its current performance and make informed decisions about controlling it. Here are a few methods to check your CPU cooler fan speed:
1. BIOS: Most modern motherboards allow you to monitor the fan speed through the BIOS (Basic Input/Output System) settings. Restart your computer and enter the BIOS by pressing a specific key during the startup process (usually Del, F2, or F10). Look for the “Hardware Monitor” or “PC Health Status” section, where you can find the fan speed readings. The readings may be labeled differently depending on your motherboard manufacturer, such as “CPU Fan Speed” or “System Fan Speed.”
2. Software Monitoring Tools: There are numerous software programs available that can help you monitor your CPU cooler fan speed. These tools provide real-time readings of various system parameters, including fan speeds. Popular software options include HWMonitor, SpeedFan, and Open Hardware Monitor. Install one of these programs and launch it to view the fan speed readings.
3. Manufacturer Utilities: Some motherboard manufacturers provide their own software utilities for monitoring system parameters, including fan speeds. These utilities often offer additional features, such as fan speed control. Check your motherboard manufacturer’s website for any available software that is compatible with your system.
4. Third-Party Hardware Monitoring Devices: If you prefer a physical solution, you can consider using hardware monitoring devices. These devices connect to your system through USB or other interfaces and provide real-time information about various system parameters, including fan speeds. Examples of such devices include NZXT Grid+ V3 and Corsair Commander Pro.
When checking your CPU cooler fan speed, ensure that the reported readings are accurate and reliable. Sometimes, the readings might be misinterpreted if the monitoring software or motherboard utility is not properly calibrated. Consult your motherboard’s user manual or the software’s documentation for guidance on interpreting the fan speed readings accurately.
By using the methods mentioned above, you can effectively check your CPU cooler fan speed and gain valuable insights into its current performance. This information will help you make informed decisions when it comes to controlling and optimizing your CPU cooler fan speed for optimal system performance and user experience.
How to Control My CPU Cooler Fan Speed in BIOS
Controlling the CPU cooler fan speed in the BIOS (Basic Input/Output System) is a common method used by many users. Here are the general steps to follow when adjusting fan speed settings in the BIOS:
1. Restart Your Computer: Start by restarting your computer. During the boot-up process, you will need to enter the BIOS. The key to enter the BIOS varies depending on your motherboard manufacturer, but it is typically Del, F2, or F10. Check your motherboard manual or the BIOS splash screen for the specific key.
2. Enter BIOS Settings: Once you’re in the BIOS interface, navigate to the “Hardware Monitor,” “PC Health Status,” or a similar section. The location and name of this section may vary depending on your motherboard model and BIOS version. Refer to your motherboard’s user manual if you’re unsure about the section’s location.
3. Locate Fan Speed Control Options: Within the Hardware Monitor section, you should find options related to fan speed control. Look for settings such as “Fan Speed Control,” “Fan Control Mode,” or similar terminology. Different motherboards may have different labels for these settings.
4. Choose Fan Control Mode: Select the desired fan control mode that suits your needs. The most common options are “Automatic” and “Manual.” In the automatic mode, the motherboard adjusts the fan speed based on temperature readings. The manual mode allows you to set a fixed fan speed percentage.
5. Adjust Fan Speed: If you choose the manual mode, you can adjust the fan speed by entering a specific percentage value. Generally, lower values mean slower fan speeds and lower noise levels, while higher values result in increased fan speed and better cooling performance.
6. Save Changes and Exit: After making the necessary adjustments, save the changes by following the on-screen prompts. The specific keys to save and exit the BIOS may be referred to as “Save & Exit” or “Exit and Save Changes.” Once you exit the BIOS, your computer will boot up with the newly adjusted fan speed settings.
It’s important to note that not all motherboards offer advanced fan control options in the BIOS. Some manufacturers provide limited control, while others may have more extensive features. It’s best to consult your motherboard manual or manufacturer’s website for detailed instructions regarding fan speed control in the BIOS specific to your motherboard model.
By adjusting the fan speed settings in the BIOS, you can effectively control the CPU cooler fan speed to ensure optimal cooling performance and noise levels for your computer system.
How to Control My CPU Cooler Fan Speed with Software
In addition to adjusting fan speed settings in the BIOS, there is another method to control your CPU cooler fan speed – using specialized software. Here’s how you can control your CPU cooler fan speed with software:
1. Research Compatible Software: Before you can control your CPU cooler fan speed with software, you need to find a compatible program. There are several software options available, such as SpeedFan, HWMonitor, and Argus Monitor. Research and choose a program that is compatible with your motherboard model and offers the desired features.
2. Download and Install the Software: Once you’ve found the software that suits your needs, download it from the official website or a trusted source. Follow the installation instructions provided by the software developer to install it on your computer.
3. Launch the Software: After the installation is complete, launch the software. It should display various system parameters, including fan speed readings. The fan speed readings may be labeled differently depending on the software.
4. Adjust Fan Speed: Use the software’s interface to adjust the fan speed. The software allows you to set the fan speed manually or choose from predefined profiles. The predefined profiles are often categorized as silent, normal, and performance modes, offering different fan speed configurations based on your preferences.
5. Test and Monitor: Once you’ve adjusted the fan speed settings, test the changes by monitoring the CPU temperature and noise levels. Run resource-intensive tasks to ensure that the CPU remains within the desired temperature range while the fan operates at the desired speed.
6. Save Fan Speed Profiles: Some software programs allow you to save fan speed profiles. This feature is useful for different scenarios, such as gaming or general system usage. Saving profiles enables you to quickly switch between different fan speed configurations without manually adjusting them every time.
7. Automatic Fan Speed Control: In addition to manual control, some software programs offer automatic fan speed control. They use temperature sensors on the CPU to adjust the fan speed accordingly. This feature ensures that the fan speed dynamically changes based on the CPU’s temperature, providing optimal cooling without constant manual adjustments.
Remember to regularly update the software to ensure compatibility with the latest operating systems and motherboard models. Additionally, check the software’s documentation or visit the developer’s website for any troubleshooting steps or additional features specific to that program.
By using software to control your CPU cooler fan speed, you have more flexibility and customization options compared to the BIOS settings. It allows you to fine-tune the fan speed based on your specific requirements, resulting in efficient cooling and noise management for your computer system.
Tips for Optimizing CPU Cooler Fan Speed
Optimizing your CPU cooler fan speed is crucial for maintaining system performance, temperature management, and noise levels. Here are some valuable tips to help you optimize the CPU cooler fan speed:
1. Clean Your Computer Regularly: Dust and debris can accumulate on the CPU cooler and fan, obstructing airflow and reducing cooling efficiency. Regularly clean your computer, especially the CPU cooler and fan, to ensure unrestricted airflow and optimal cooling.
2. Ensure Proper Airflow in Your PC: Proper airflow is essential for efficient cooling. Make sure your computer case has adequate ventilation and properly positioned fans. Ideally, you should have intake fans at the front to bring in fresh air and exhaust fans at the back to expel hot air.
3. Consider Fan Placement and Configuration: Pay attention to the placement and configuration of your CPU cooler fan. Ensure that it is properly installed and making good contact with the CPU. If your case allows, consider additional fans or upgrading to more powerful fans for better airflow and cooling performance.
4. Configure Fan Curves: Some BIOS settings and software programs allow you to configure fan curves. Fan curves determine how fan speeds respond to CPU temperatures. Adjusting fan curves can help achieve a balance between keeping the CPU cool under heavy loads and minimizing unnecessary fan noise during idle or light usage.
5. Experiment with Fan Profiles: Many software programs and motherboard utilities offer predefined fan profiles. Experiment with these profiles to find the one that suits your needs best. For example, a silent profile can prioritize lower fan speeds and quieter operation, while a performance profile can maximize cooling at the expense of additional noise.
6. Monitor CPU Temperatures: Keep an eye on your CPU temperatures to ensure that they remain within safe operating limits. Use software monitoring tools to track temperature readings and adjust fan speed settings accordingly to maintain optimal cooling.
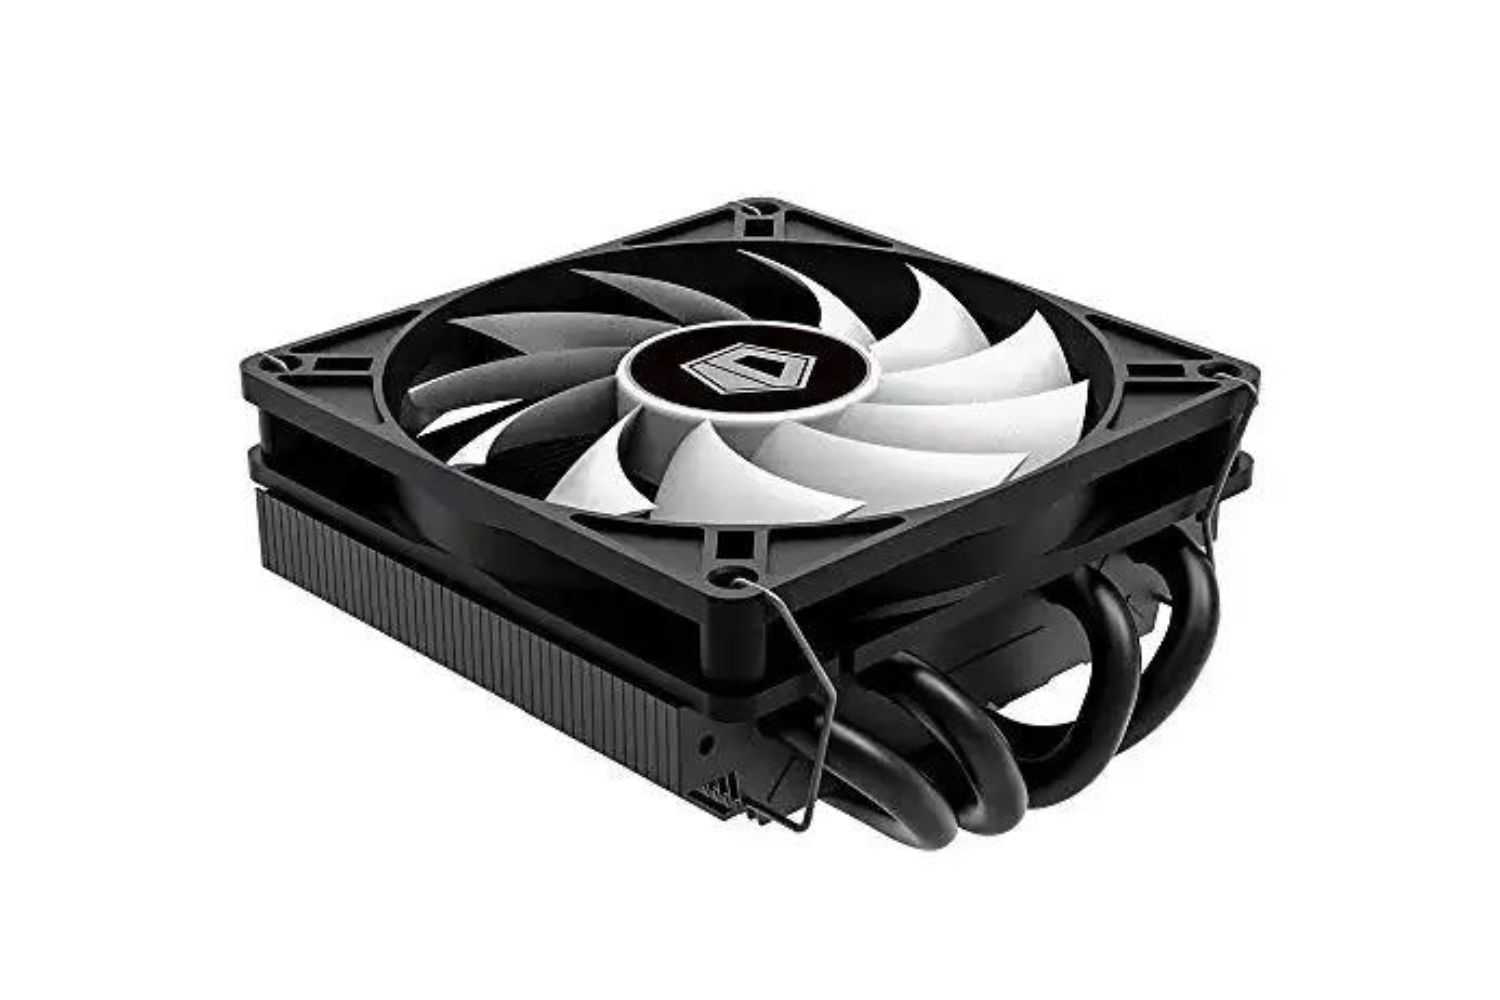
7. Consider Aftermarket CPU Coolers: If you find that your stock CPU cooler is not providing sufficient cooling or is too noisy, consider upgrading to an aftermarket CPU cooler. Aftermarket coolers often come with larger heatsinks and more efficient fans, resulting in improved cooling performance and lower noise levels.
8. Optimize Your PC’s Energy Settings: Adjusting your PC’s energy settings can indirectly impact the CPU cooler fan speed. Running your computer in power-saving modes may reduce fan speed and noise levels by minimizing CPU workload and heat generation during light usage scenarios.
Remember, every computer system is unique, and the optimal fan speed settings may vary depending on factors such as CPU model, workload, ambient temperature, and personal preferences. Experimentation and finding the balance that works best for your specific needs and system configuration may be necessary.
By utilizing these tips, you can optimize your CPU cooler fan speed to achieve efficient cooling, reduced noise levels, and a more comfortable computing experience.
Conclusion
Controlling and optimizing your CPU cooler fan speed is crucial for maintaining a stable and efficient computer system. By managing the fan speed, you can effectively balance temperature management, noise levels, and power efficiency. Whether you choose to adjust the fan speed in the BIOS or utilize specialized software, the goal remains the same – to find the optimal fan speed settings that meet your requirements.
Monitoring your CPU cooler fan speed allows you to keep the temperature of your processor within safe limits, ensuring stability and performance. Lowering the fan speed during light usage scenarios helps reduce noise levels, creating a more comfortable computing environment. Additionally, optimizing the fan speed contributes to power efficiency, saving energy and reducing unnecessary consumption.
While adjusting the fan speed, it is essential to consider other factors such as proper airflow in your PC, regular cleaning, and monitoring of CPU temperatures. These efforts combined can help you maintain an optimal system temperature and extend the lifespan of your CPU cooler. Additionally, experimenting with different fan profiles and configurations can offer customized cooling solutions tailored to your specific needs and preferences.
Ultimately, optimizing CPU cooler fan speed is all about finding the right balance. It requires understanding your system, monitoring its temperature, and adjusting the fan speed accordingly. By following the tips provided in this guide, you can achieve efficient cooling performance, lower noise levels, and enhance the overall experience of your computer usage.
Remember, every computer system is unique, and what works for one may not work for another. Don’t be afraid to experiment, make adjustments, and fine-tune your fan speed settings until you find the optimal configuration for your specific requirements.
Take control of your CPU cooler fan speed and unlock the potential for improved system performance, cool temperatures, and a quieter computing experience.


