Introduction
Are you looking to connect your Xbox gaming console to a monitor instead of a TV? Maybe you want to experience gaming in a smaller, more personalized setting, or you simply don’t have access to a television. Whatever the reason, connecting your Xbox to a monitor is a straightforward process that can enhance your gaming experience.
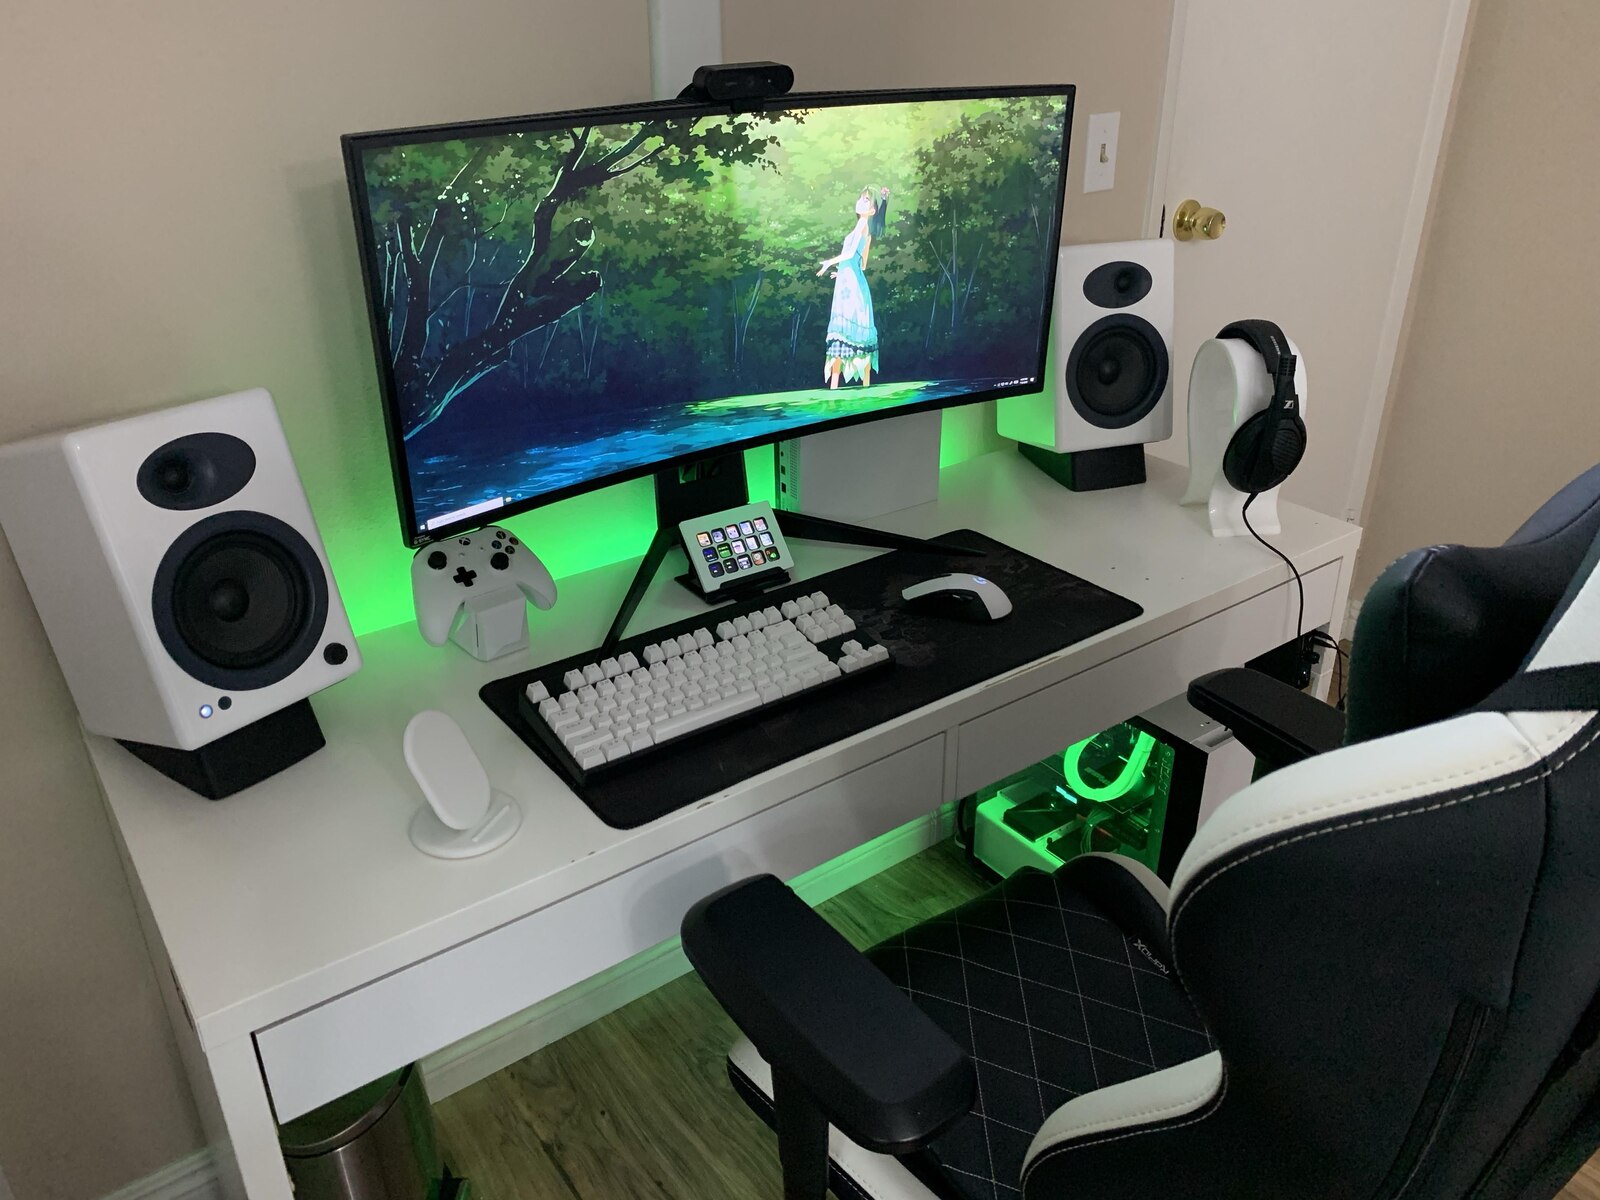
Using a monitor allows for crisp visuals and fast response times, making it an attractive option for gamers. Additionally, it offers a compact and portable setup, perfect for gaming on the go or in limited spaces. By following a few simple steps, you can easily connect your Xbox to a monitor and start enjoying your favorite games in no time.
In this guide, we’ll walk you through the process of connecting your Xbox to a monitor. We’ll cover the necessary requirements, including checking the monitor’s compatibility, and gathering the required cables and adapters. You’ll also learn how to adjust the monitor settings for optimal Xbox display and enable audio output from the console.
Whether you’re an avid gamer or a casual player, this guide will provide you with all the information you need to successfully connect your Xbox to a monitor. So, let’s dive in and get your gaming setup ready!
Requirements for Connecting Xbox to a Monitor
Before you begin the process of connecting your Xbox to a monitor, it’s important to ensure you have all the necessary requirements. Here’s a list of the items you’ll need:
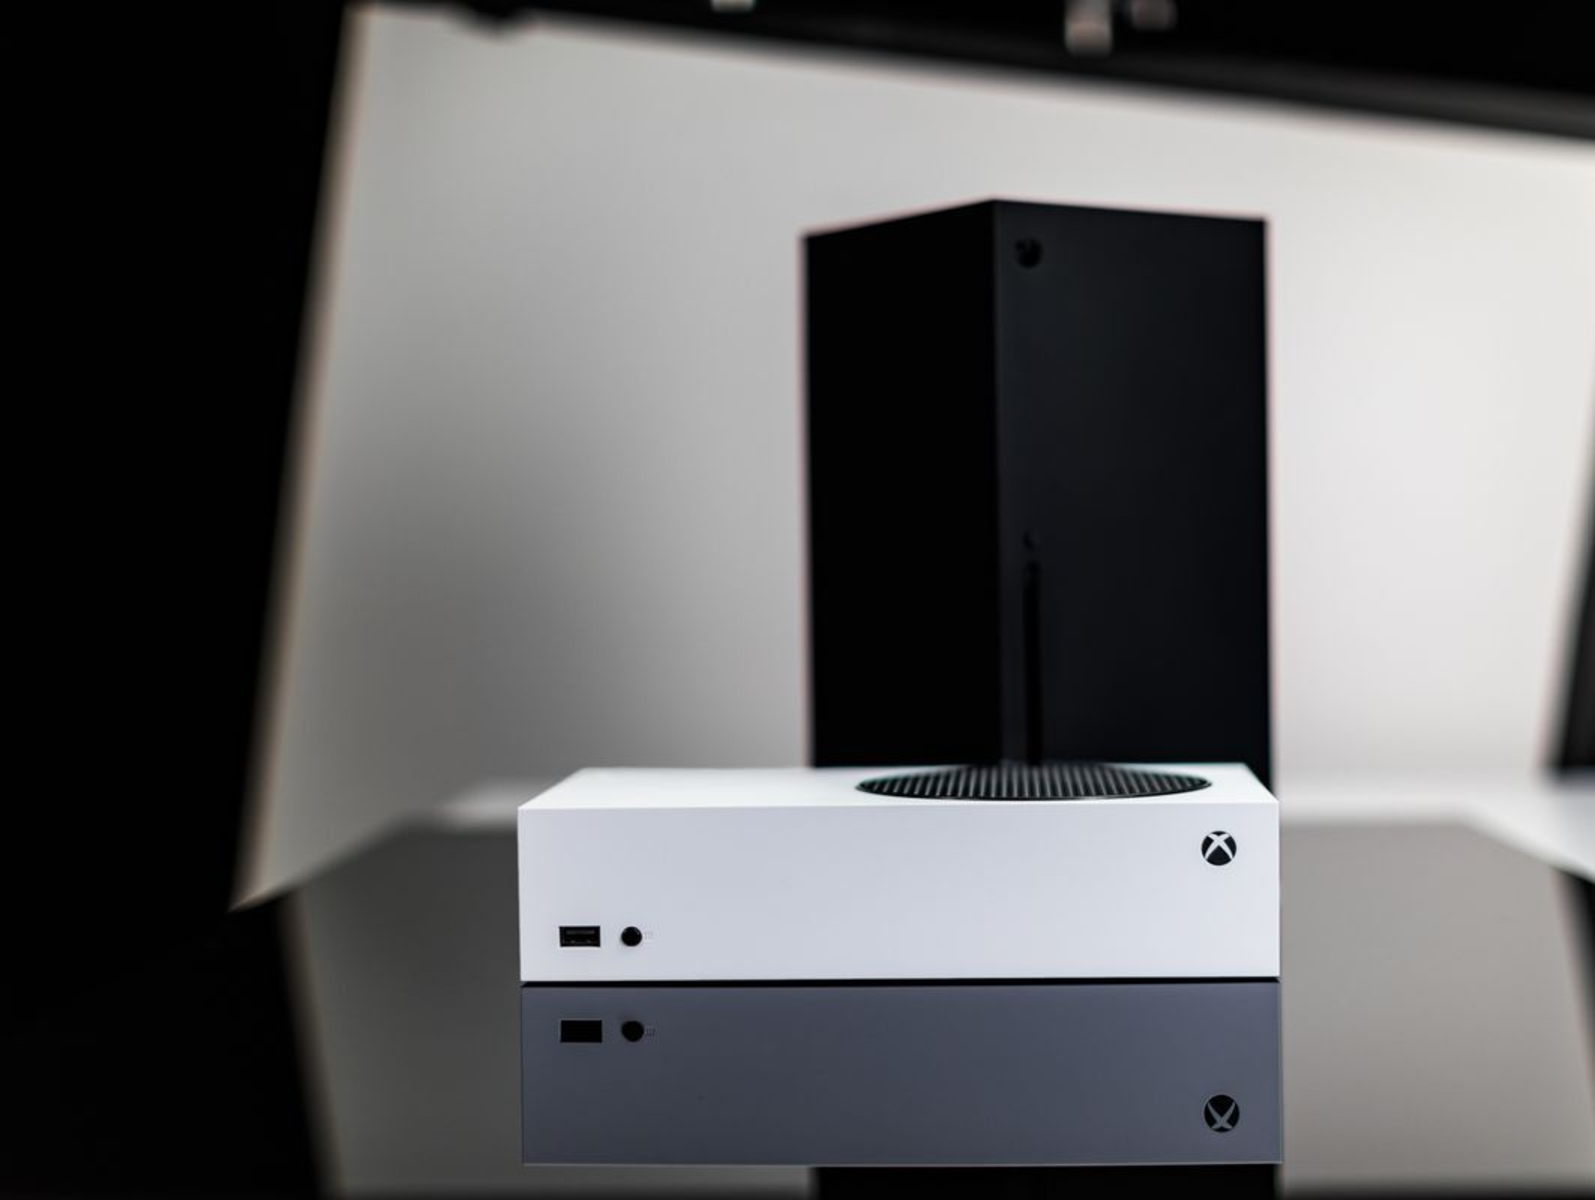
- Xbox Console: Of course, you’ll need an Xbox console to connect to the monitor. This can be an Xbox One, Xbox One S, Xbox One X, or the latest Xbox Series X/S.
- Monitor: Choose a monitor that has an HDMI input port. While other connection options may be available, such as VGA or DVI, HDMI provides the best quality and is the most commonly supported option.
- HDMI Cable: Ensure you have an HDMI cable that is long enough to reach from your Xbox to the monitor. It’s recommended to use a high-quality HDMI cable to guarantee a stable connection.
- Power Cable: Don’t forget to have the power cable for your Xbox console. Without it, you won’t be able to power on the console and make the necessary connections.
- Adapter (if needed): Depending on your monitor’s compatibility and the available ports, you may need an adapter to convert the HDMI signal to a different type, such as VGA or DVI. Make sure to check your monitor’s available ports and have the appropriate adapter if required.
Once you have gathered all the necessary items, you’re ready to proceed with connecting your Xbox to the monitor. Having these requirements readily available will ensure a smooth and hassle-free setup process.
Step 1: Check the Monitor’s Compatibility with Xbox
Before connecting your Xbox to a monitor, it’s crucial to ensure that your monitor is compatible with the Xbox console. Here’s what you need to do:
- Check HDMI Port: Look for an HDMI port on your monitor. This is the most common and recommended connection type for Xbox consoles. If your monitor doesn’t have an HDMI port, check if it has any other compatible ports like VGA or DVI.
- Resolution: Verify that your monitor supports the resolution output of your Xbox console. Most modern monitors support resolutions of 1080p or higher, which is ideal for gaming.
- Refresh Rate: Ensure that your monitor’s refresh rate is compatible with your Xbox console. Most monitors have a refresh rate of 60Hz, which is suitable for gaming. However, some higher-end monitors offer higher refresh rates, providing a smoother gaming experience.
- Input Lag: Check if your monitor has low input lag. Input lag is the delay between your actions on the controller and the corresponding response on the screen. For optimal gaming, choose a monitor with minimal input lag.
- Ease of Use: Consider the monitor’s ease of use, including adjustable settings, menu navigation, and any additional features that enhance the gaming experience.
By checking these compatibility factors, you can ensure that your monitor is suitable for connecting with your Xbox console. If you have any doubts or need more information, refer to the monitor’s user manual or contact the manufacturer for specific details about compatibility.
Step 2: Gather the Necessary Cables and Adapters
Once you’ve confirmed that your monitor is compatible with your Xbox console, the next step is to gather the necessary cables and adapters for the connection. Follow these steps:
- HDMI Cable: Ensure you have an HDMI cable that is long enough to reach from your Xbox console to the monitor. It’s recommended to use a high-speed HDMI cable to support high-quality video and audio signals.
- Power Cable: Make sure you have the power cable for your Xbox console on hand. This will be needed to power on the console and make the necessary connections.
- Adapter (if needed): Check if you require an adapter to connect the HDMI cable with the monitor. If your monitor only has VGA or DVI ports, you’ll need the appropriate adapter to convert and connect the HDMI cable to your monitor.
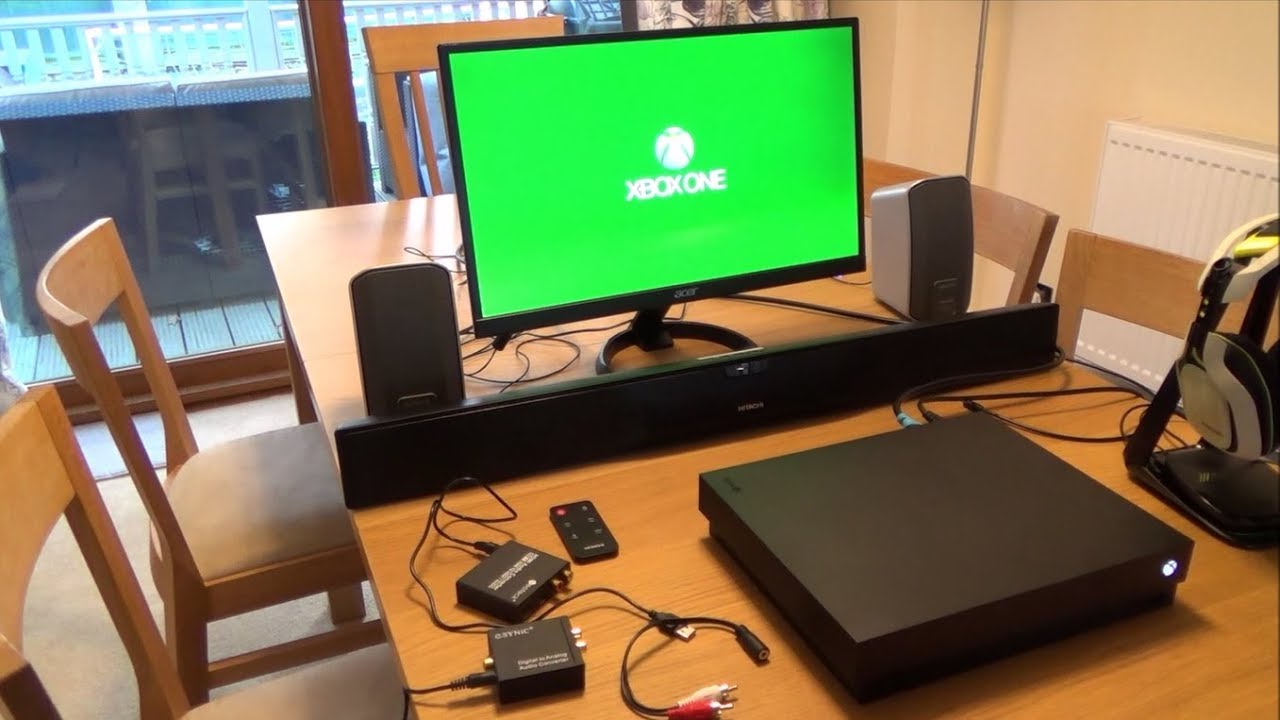
- Audio Options: Decide on the audio setup you prefer. If your monitor has built-in speakers or a headphone jack, you can directly connect your headphones or speakers to the monitor. Alternatively, you can use an external audio system by connecting it to the Xbox console.
It’s important to gather all the necessary cables and adapters before starting the setup to avoid any interruptions or delays. Double-check that you have the correct cables and adapters for your specific monitor and Xbox model, ensuring a seamless connection experience.
Step 3: Connect the Xbox to the Monitor via HDMI Cable
Now that you have all the required cables and adapters, it’s time to connect your Xbox console to the monitor. Follow these steps:
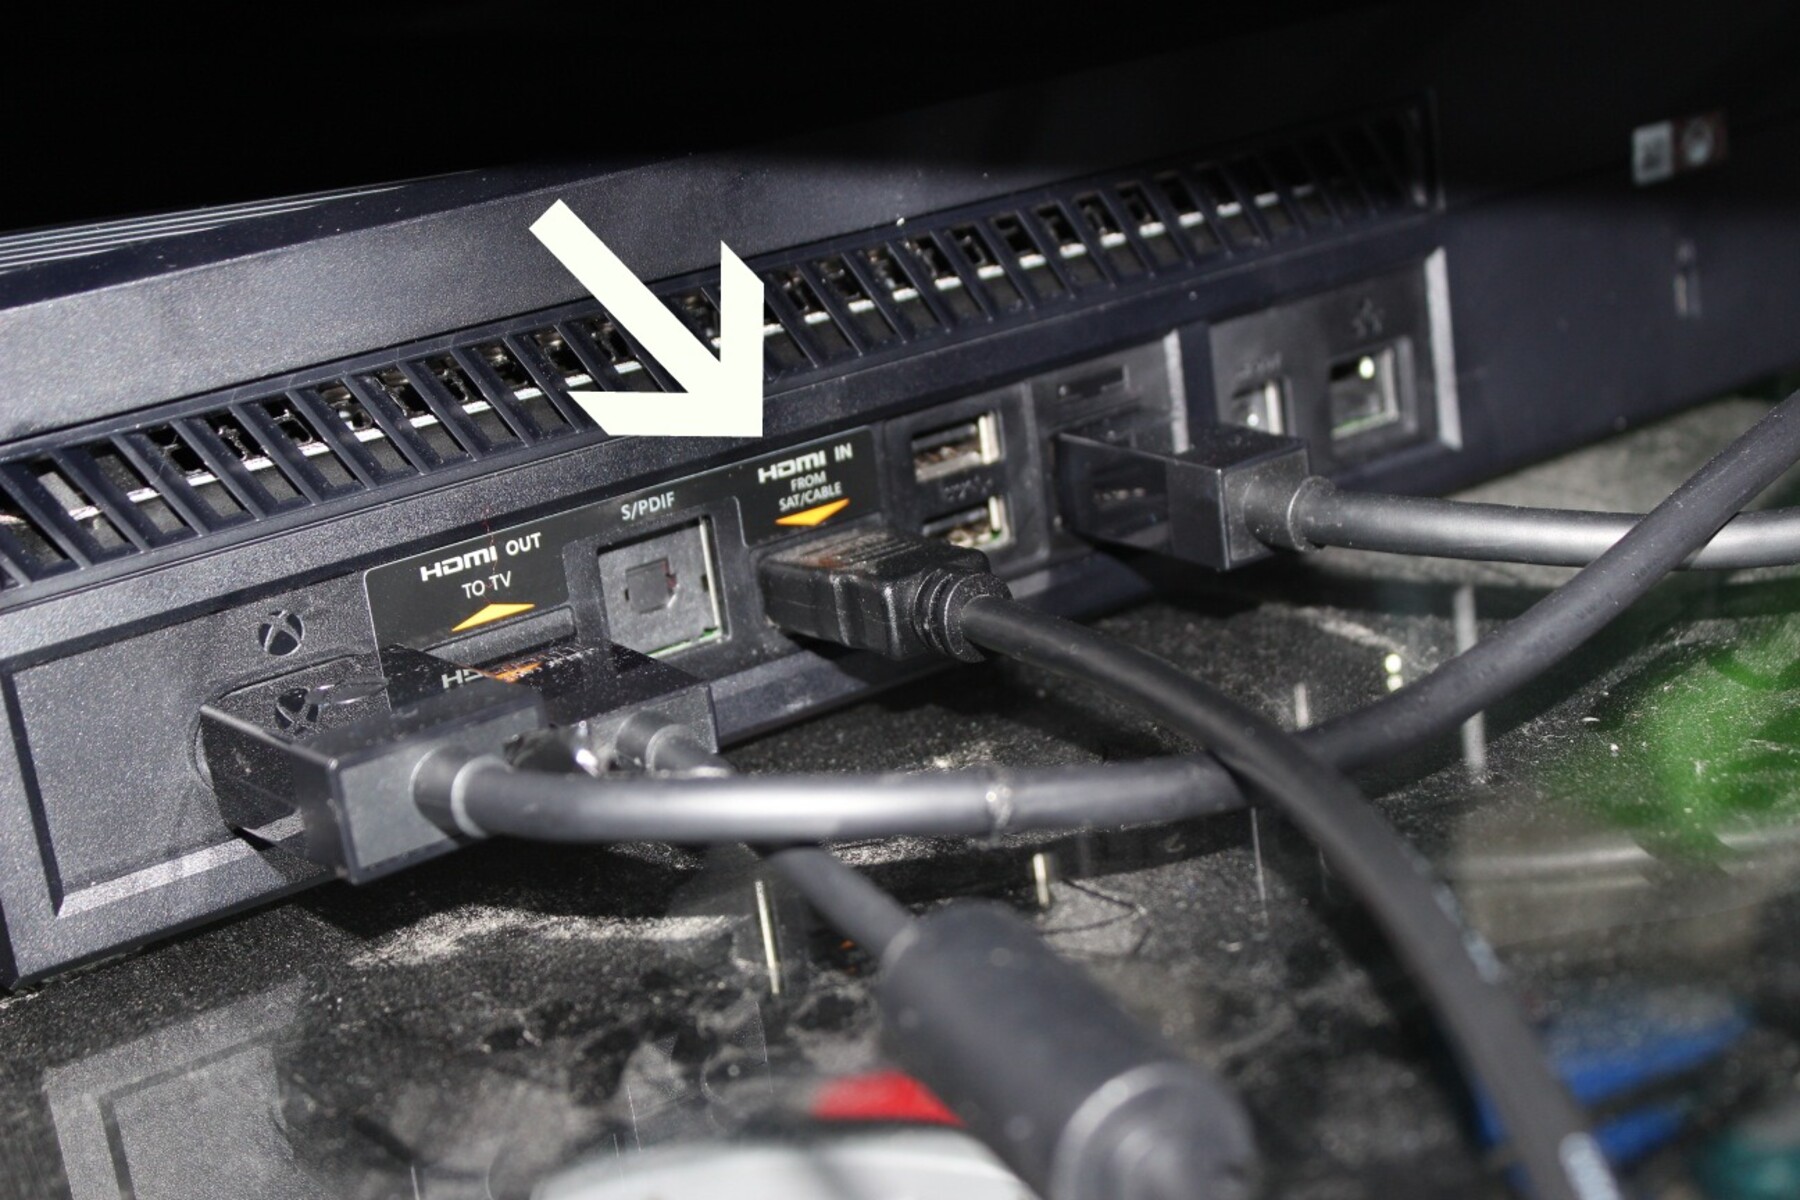
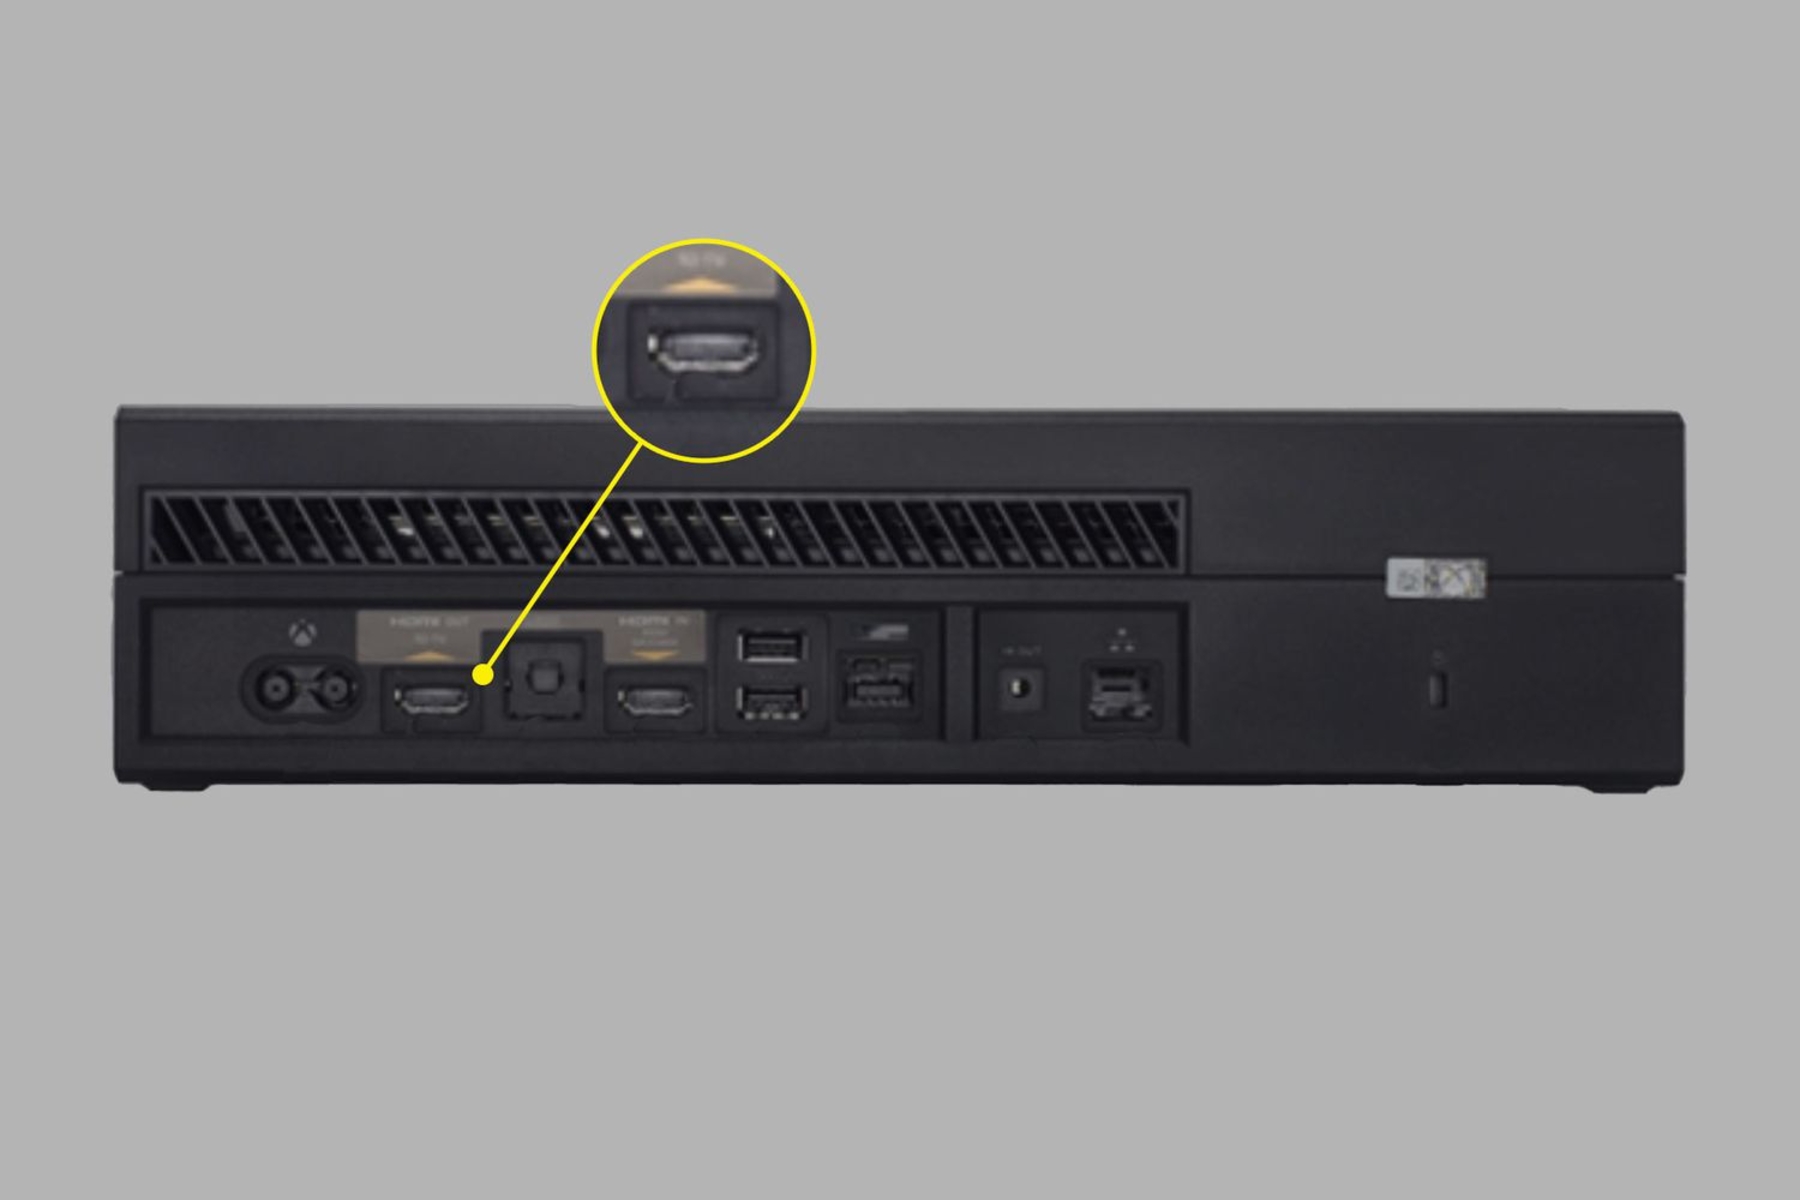
- Locate HDMI Ports: Identify the HDMI port on your Xbox console and the HDMI input port on your monitor. Typically, these ports are labeled as “HDMI” or have an HDMI icon beside them.
- Connect HDMI Cable: Take one end of the HDMI cable and plug it into the HDMI port on the back of your Xbox console. Ensure it is firmly inserted to establish a secure connection.
- Connect to Monitor: Take the other end of the HDMI cable and connect it to the HDMI input port on your monitor. This port may be located on the side or back, depending on the monitor model. Once again, ensure a secure connection by firmly inserting the cable.
With the HDMI cable successfully connected between your Xbox console and the monitor, the video output from the console will be transmitted to the monitor. The next step is to adjust the monitor settings to ensure optimal display quality.
Note: If you’re using an adapter to connect HDMI to VGA or DVI, plug the HDMI end into the Xbox console, and then connect the adapter to the VGA or DVI port on the monitor. Make sure to tighten any screws or fastenings to secure the connection.
Once the physical connection is established, you’re ready to proceed to the next step and configure the monitor settings for the Xbox display.
Step 4: Adjust Monitor Settings for Xbox Display
After connecting your Xbox console to the monitor, the next step is to adjust the monitor settings to ensure optimal display quality. Follow these steps:
- Access Monitor Menu: Most monitors have an on-screen display (OSD) menu that allows you to adjust various settings. Use the buttons on the monitor or the provided remote control (if applicable) to access the menu.
- Display Settings: Navigate to the display settings in the monitor menu. Look for options such as “Input” or “Source” and select HDMI as the input source for your Xbox console.
- Resolution and Aspect Ratio: Check if the monitor is set to the desired resolution and aspect ratio. For optimal gaming experience, select the native resolution of your monitor, which is usually 1080p or higher, and the appropriate aspect ratio, typically 16:9.
- Refresh Rate: If your monitor supports different refresh rates, ensure it is set to the maximum refresh rate supported by both the monitor and your Xbox console. A higher refresh rate will provide smoother and more fluid gameplay.
- Brightness and Contrast: Adjust the brightness and contrast settings to your preference. This can enhance the visuals and ensure a more vibrant gaming experience.
- Color and Gamma: Fine-tune the color and gamma settings if available. This can help achieve accurate color reproduction and better overall image quality.
Make sure to save the changes in the monitor menu after adjusting the settings. It’s also recommended to refer to the monitor’s user manual for specific instructions on navigating the menu and adjusting the settings.
Once you have optimized the monitor settings, you’re one step closer to enjoying your Xbox gaming experience on the monitor. However, remember to enable audio output from the Xbox console to complete the setup process.
Step 5: Enable Audio Output from the Xbox
After connecting your Xbox console to the monitor and adjusting the display settings, the next step is to enable audio output to ensure you have sound while gaming. Follow these steps:
- Access Xbox Settings: Power on your Xbox console and navigate to the settings menu. You can access the settings by pressing the Xbox button on your controller and selecting the gear icon.
- Audio Settings: Within the settings menu, locate the “Audio” or “Sound” section. This is where you can adjust the audio output settings of your Xbox console.
- Select Audio Output: In the audio settings, choose the desired audio output option. If you’ve connected your monitor with built-in speakers or a headphone jack, select the corresponding option. Alternatively, if you’re using an external audio system, choose the option that matches your setup.
- Adjust Volume: Once you’ve selected the audio output, you can adjust the volume level to your preference. Use the volume controls on your monitor or the audio system to increase or decrease the volume.
By enabling audio output from your Xbox console, you ensure that you’ll have sound while gaming. Depending on your audio setup, make sure to adjust the volume accordingly for an immersive gaming experience.
If you encounter any audio-related issues, such as no sound or distorted audio, double-check the connections between your Xbox console and the monitor, as well as any external audio devices. Ensure that all cables are securely connected and the correct audio settings are selected.
With the audio output enabled, you’re now ready to test the Xbox connection on the monitor and begin enjoying your favorite games!
Step 6: Test the Xbox Connection on the Monitor
After completing the previous steps of connecting your Xbox console to the monitor, adjusting the display settings, and enabling audio output, it’s time to test the connection to ensure everything is working properly. Follow these steps:
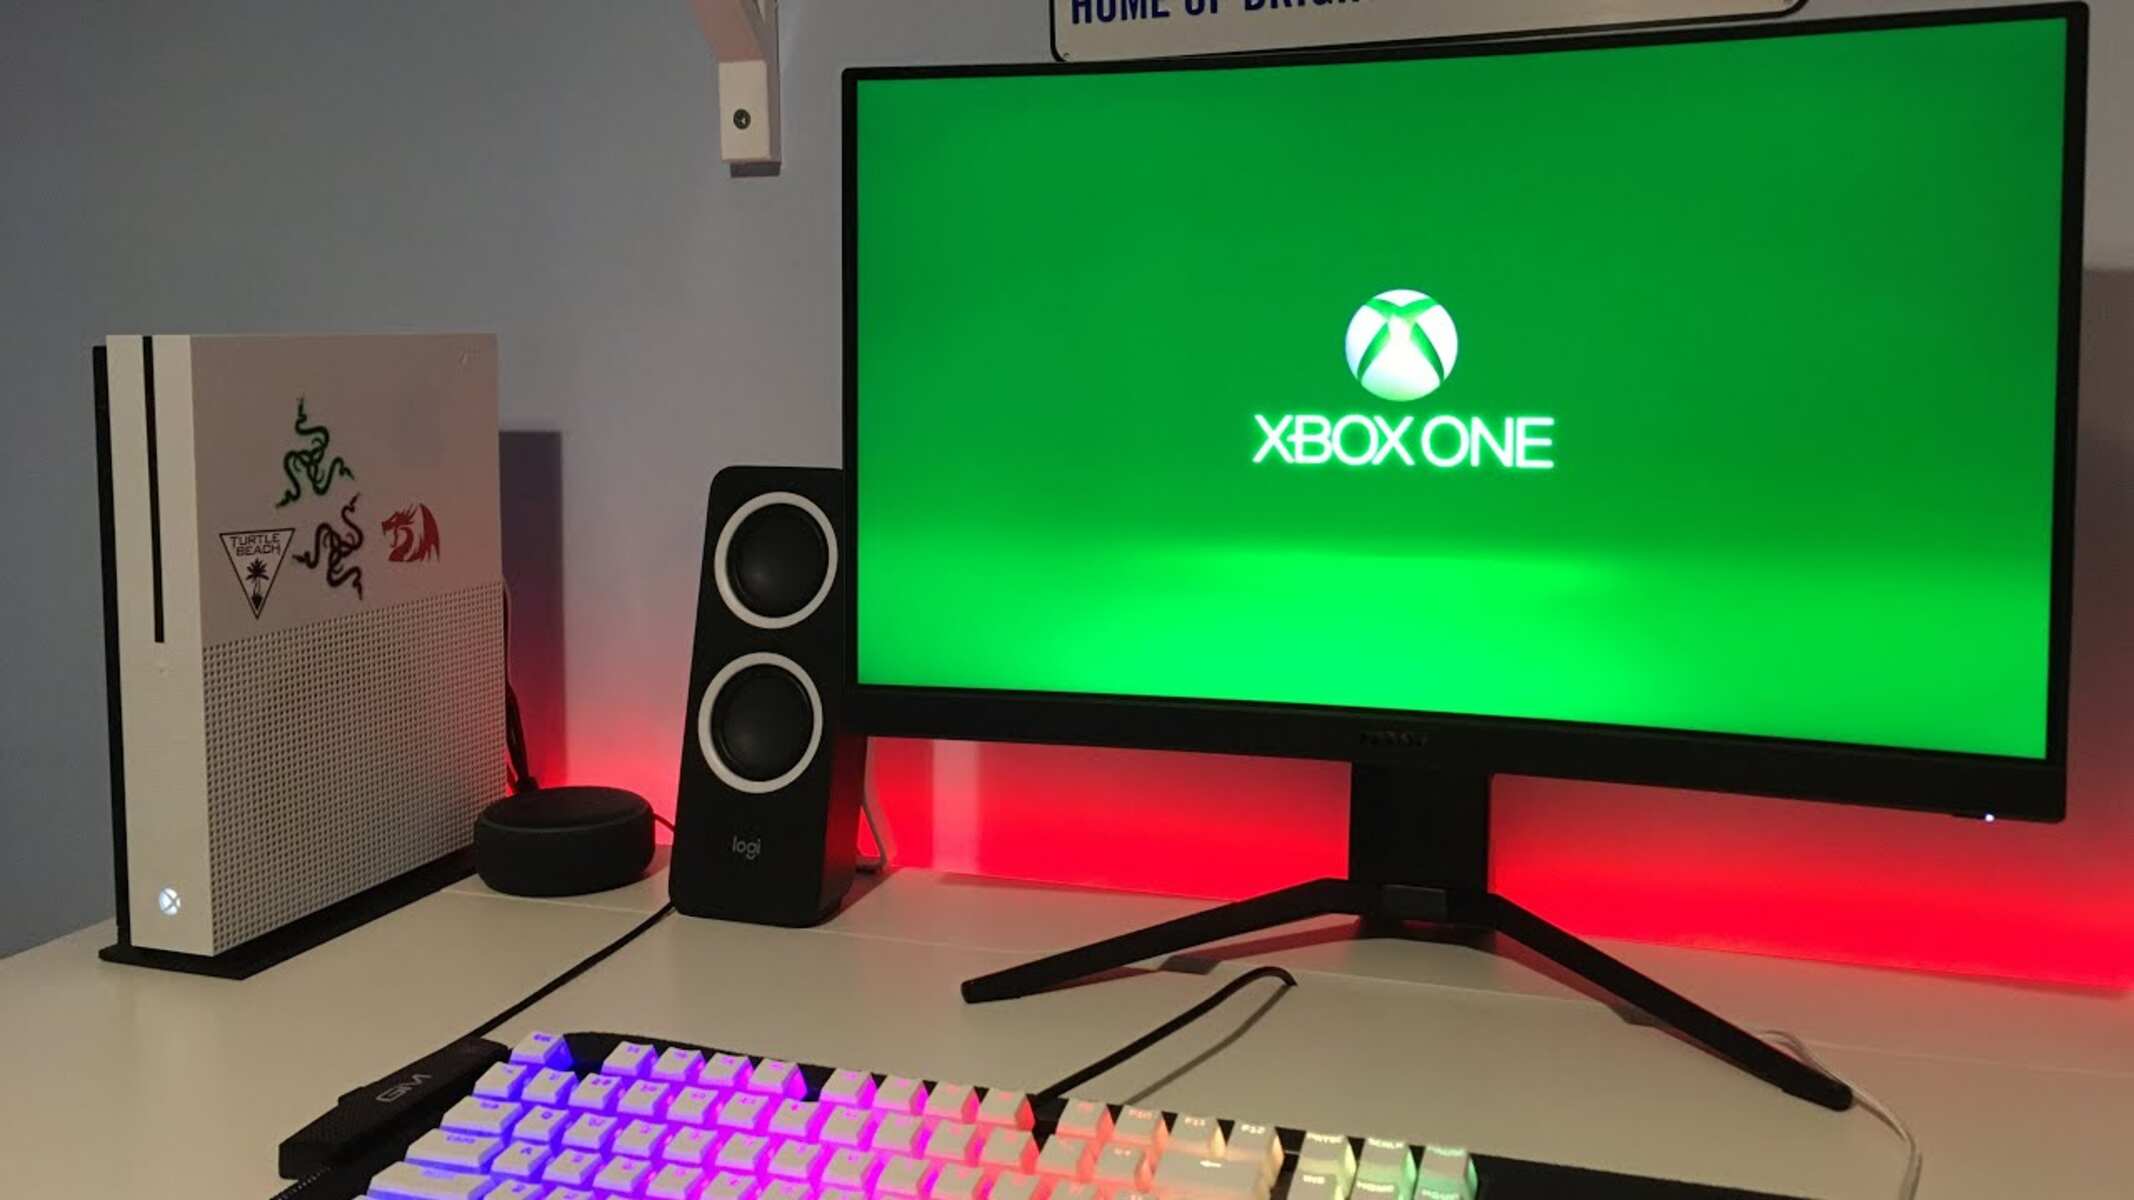
- Power on the Xbox: Turn on your Xbox console using the power button on the console itself or the Xbox controller.
- Monitor Input: Ensure that the monitor is set to the correct input source for your Xbox console. If you’ve connected via HDMI, select the corresponding HDMI input on the monitor.
- Check Display: Your Xbox console should now send the video signal to the monitor. Check if the display appears correctly on the screen without any distortion or abnormalities.
- Test Audio: Play a game or video on your Xbox console to test the audio output. Check if the sound is coming through the monitor speakers or the connected audio system. Adjust the volume as needed.
- Controller Functionality: Make sure that your Xbox controller is properly connected and functioning. Test the buttons and joysticks to ensure that they respond accurately on the screen.
- Gameplay Experience: Play your favorite game and experience gaming on the monitor. Notice the graphics quality, responsiveness, and overall gameplay experience.
By testing the connection and functionality of your Xbox console on the monitor, you can ensure that everything is working as expected. If you encounter any issues during the testing process, double-check the connections and settings, and refer to the troubleshooting tips for further assistance.
Congratulations! You have successfully connected your Xbox console to the monitor and tested the setup. Now you can fully enjoy an immersive gaming experience on the monitor, whether it’s for intense gaming sessions or casual gameplay.
Troubleshooting Tips
While connecting your Xbox console to a monitor is a relatively straightforward process, you may encounter some common issues along the way. Here are a few troubleshooting tips to help you resolve any potential problems:
- No Display on Monitor: Make sure that the HDMI cable is securely connected to both the Xbox console and the monitor. Check that the monitor is set to the correct input source for the Xbox console. Try disconnecting and reconnecting the HDMI cable to establish a proper connection.
- No Sound: If you’re not getting any sound, check that the audio output is properly configured on your Xbox console. Ensure that the volume is turned up on both the console and the monitor. If using an external audio system, verify that it is connected correctly and powered on.
- Unsupported Resolution: If your monitor doesn’t support the resolution output of your Xbox console, you may encounter a blank screen or distorted display. In this case, manually set the resolution on the Xbox console to match the supported resolution of your monitor.
- Adapter Issues: If you’re using an adapter to connect HDMI to a non-HDMI port on your monitor, make sure that the adapter is compatible and properly connected. Some adapters may require additional power or configuration, so refer to the adapter’s instructions or contact the manufacturer for assistance.
- Input Lag: If you notice input lag between your controller and the on-screen response, check if your monitor has a gaming mode or a low input lag setting. Enabling this setting can reduce input lag and provide a more responsive gaming experience.
- Audio Lag: In some cases, you may experience audio lag, where the sound doesn’t synchronize with the action on the screen. This can happen when using external audio systems. If possible, connect your headphones or speakers directly to the monitor to reduce audio lag.
If you’ve tried the troubleshooting tips above and are still experiencing issues, consult the user manuals of your Xbox console, monitor, and any adapters or audio equipment you’re using. Additionally, you can reach out to customer support for further assistance specific to your setup.
Remember, patience and persistence are key when troubleshooting. With the right troubleshooting steps, you can overcome any challenges and enjoy your gaming experience on your Xbox console and monitor combination.
Conclusion
Connecting your Xbox console to a monitor opens up new possibilities for gaming, offering a more personalized and immersive experience. By following the steps outlined in this guide, you can easily connect your Xbox to a monitor and harness the benefits of high-quality visuals and fast response times.
We began by checking the monitor’s compatibility with the Xbox console, ensuring that the necessary HDMI port and supported resolutions are available. Then, we discussed the importance of gathering the required cables and adapters, such as HDMI cables and power cables, to establish a secure connection.
With the cables and adapters in place, we moved on to the actual connection process. We guided you through connecting the Xbox console to the monitor using an HDMI cable, or via an adapter if needed. Additionally, we highlighted the significance of adjusting the monitor settings, including resolution, aspect ratio, refresh rate, and picture quality, to optimize the display for gaming.
A crucial aspect of the setup involves enabling audio output from the Xbox console. By selecting the appropriate audio output option and fine-tuning the volume, you can immerse yourself in the full gaming experience and enjoy the sound effects and music that accompany your games.
Lastly, we emphasized the importance of testing the Xbox connection on the monitor. Verifying the display quality, audio functionality, controller response, and overall gameplay experience allows you to ensure that everything is working smoothly.
If any issues arise during the setup process, we provided troubleshooting tips to help you resolve them. From checking the connections to adjusting settings, these tips can help you overcome common challenges and enjoy a seamless gaming experience.
Now, armed with the knowledge from this guide, you’re ready to connect your Xbox console to a monitor and embark on exciting gaming adventures. Whether you’re a casual gamer or a competitive player, this setup can provide a unique and immersive gaming environment tailored to your preferences. So, grab your Xbox console, find a compatible monitor, and get ready to elevate your gaming experience like never before!