Introduction
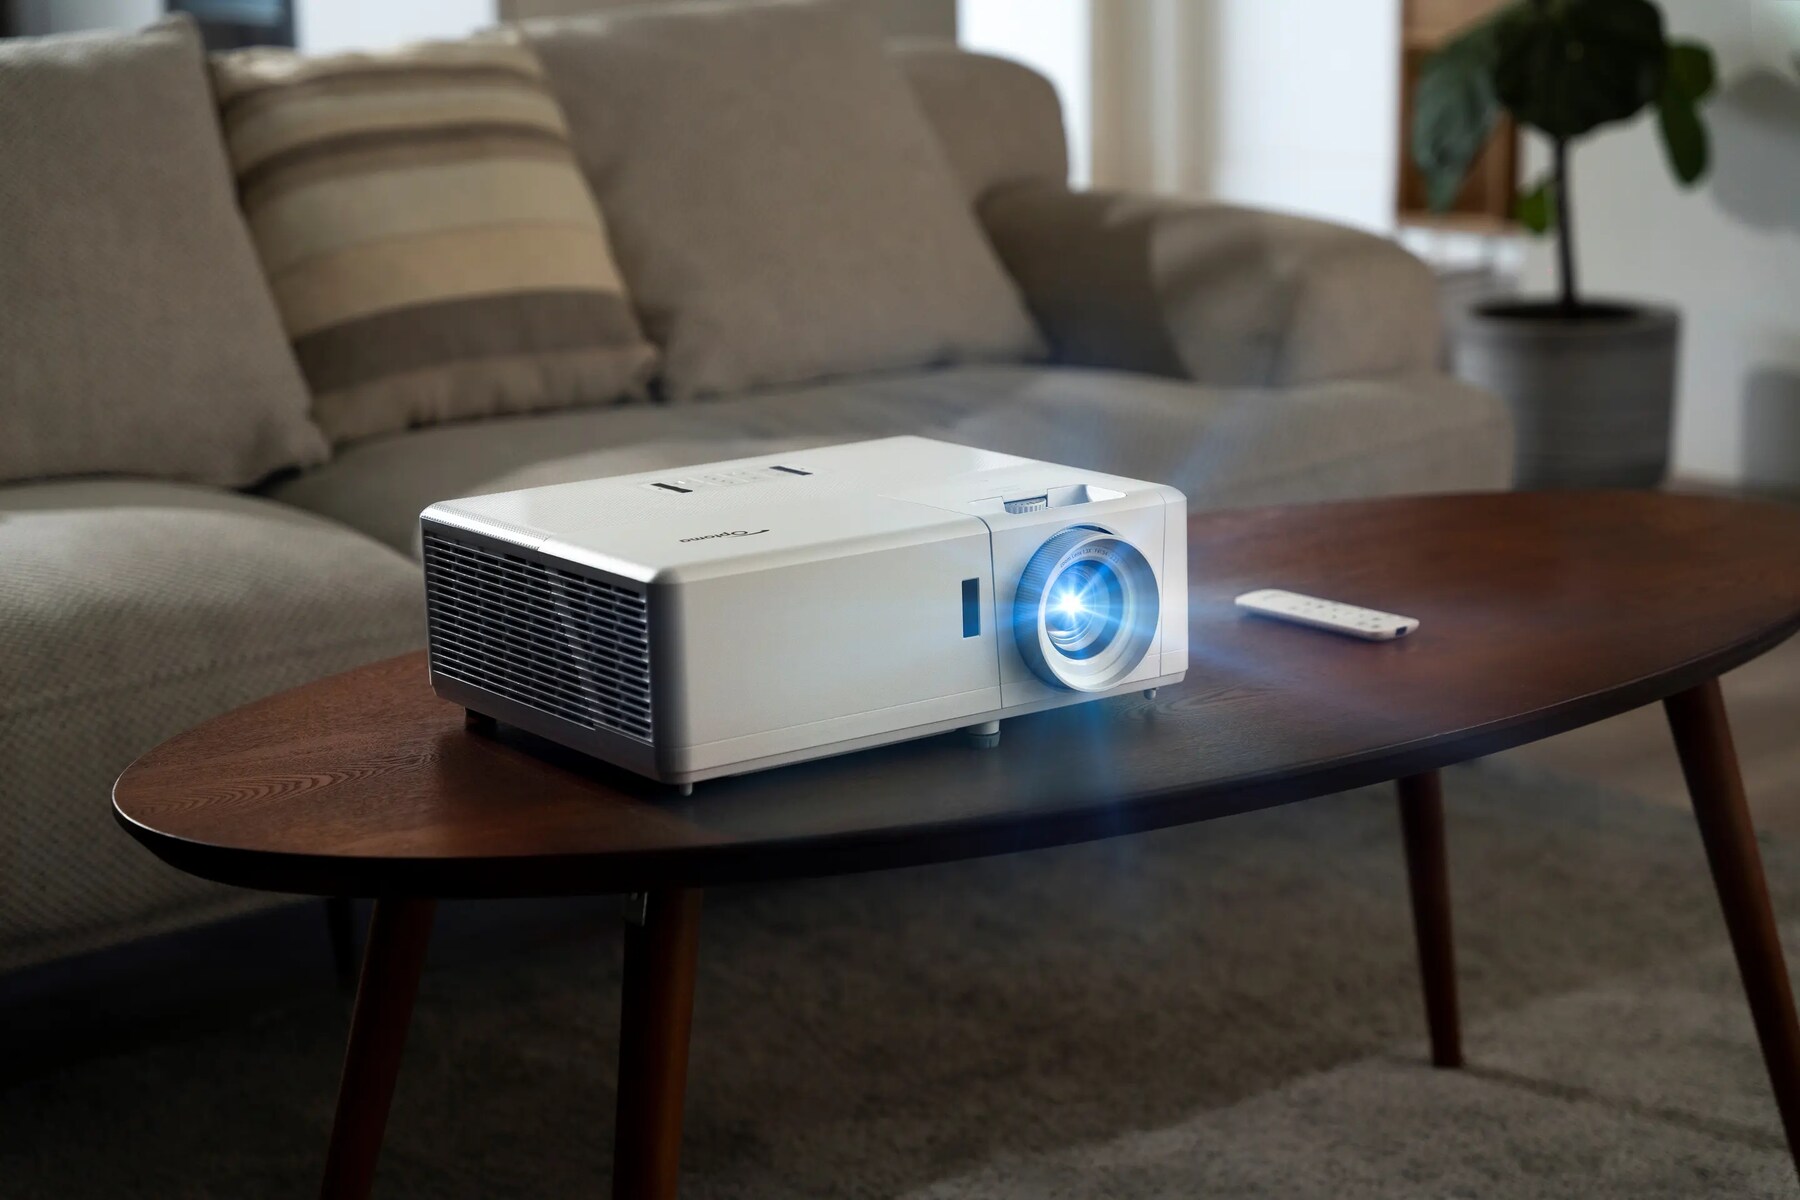
Welcome to this guide on how to connect to an Optoma projector wirelessly. Optoma projectors offer the convenience of wireless connectivity, allowing you to easily connect and project content from your devices without the need for cables or adapters. Whether you’re giving a presentation, sharing photos or videos, or enjoying a movie night, connecting to an Optoma projector wirelessly can streamline the process and enhance your overall viewing experience.
In this article, we will walk you through the step-by-step process of connecting your Optoma projector to a wireless network and connecting your devices to the projector wirelessly. We will also provide troubleshooting tips to help you overcome common issues that may arise during the setup or connection process.
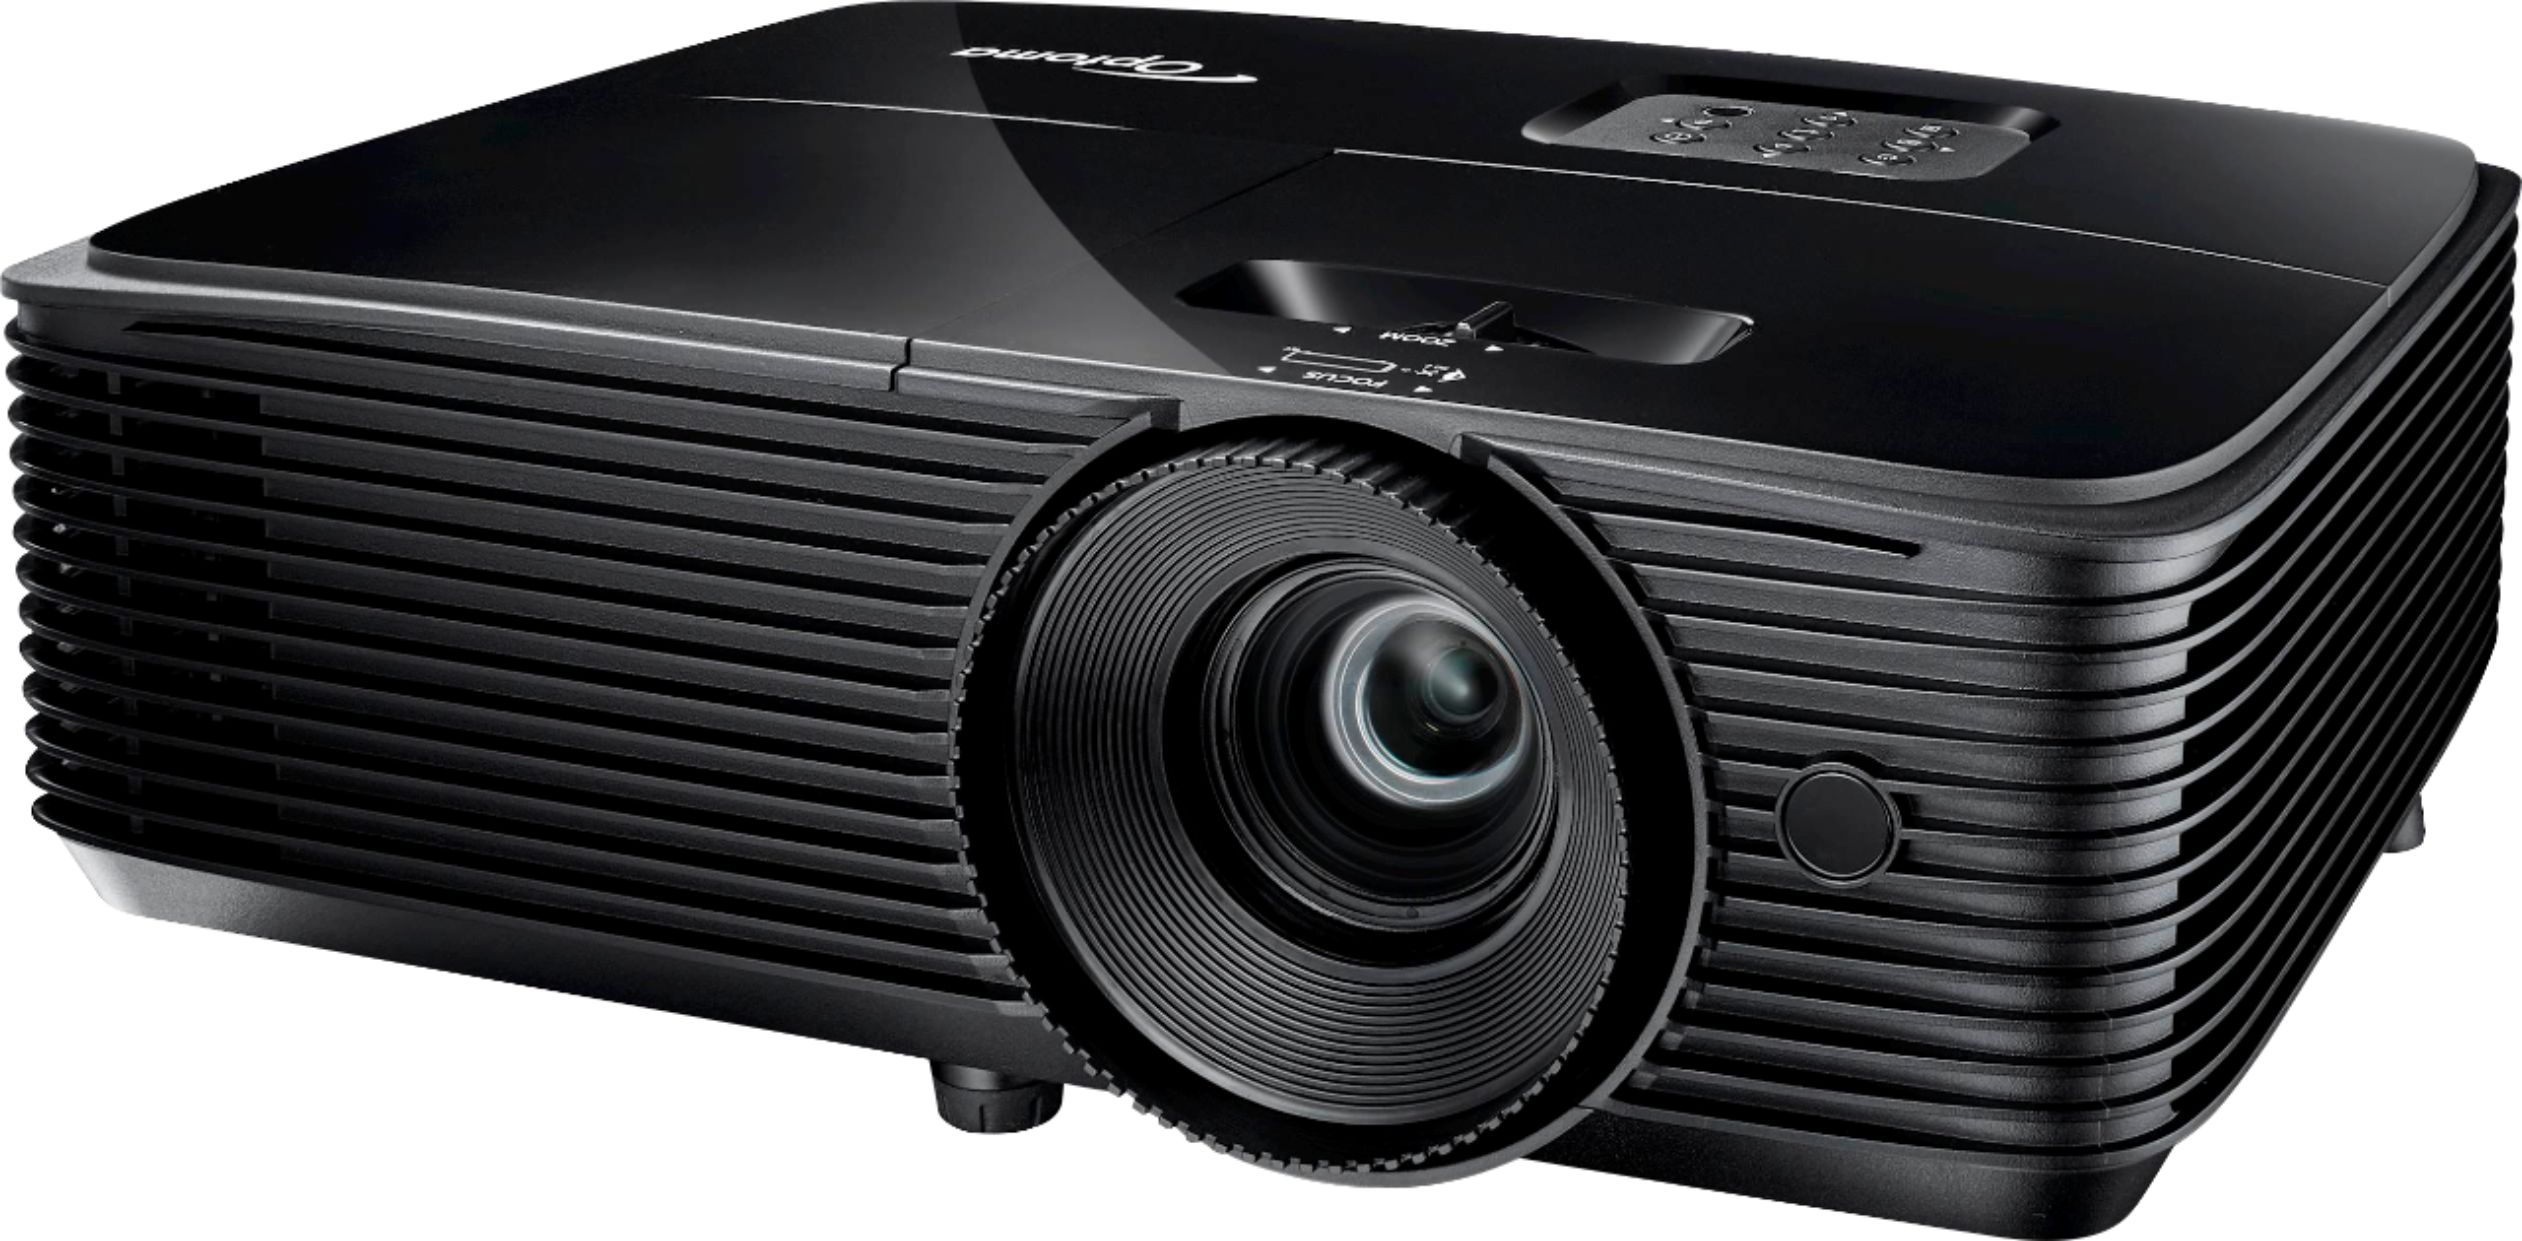
Before we begin, it’s important to note that not all Optoma projectors have built-in wireless capabilities. Therefore, the first step in this guide will be to check if your specific Optoma projector model is equipped with wireless functionality. If it is, you’ll be able to take advantage of the wireless features and benefits discussed in this article. If your projector doesn’t support wireless connectivity, don’t worry! There are still alternative ways to connect your devices to the projector using cables.
Now, without further ado, let’s dive into the details of how to connect your devices to an Optoma projector wirelessly!
Step 1: Checking the Projector’s Wireless Capabilities
The first step in connecting to an Optoma projector wirelessly is to determine whether your projector has built-in wireless capabilities or if you need to use an additional wireless adapter. To confirm this, follow these steps:
- Refer to the user manual: Start by checking the user manual that came with your Optoma projector. Look for information specific to the wireless capabilities of your model. The manual should provide details on whether the projector has built-in wireless functionality or if you need to purchase a separate wireless adapter.
- Check the projector settings: Power on the projector and navigate through the menu options to find the settings or configuration menu. Look for a section related to wireless connectivity. If you find options such as “Wi-Fi” or “Wireless Network,” it indicates that your projector has built-in wireless capabilities.
- Review the projector specifications: If you no longer have access to the user manual or cannot find the wireless settings on the projector, you can check the product specifications online. Visit the official Optoma website or search for your projector model on reputable technology websites. Look for information related to wireless connectivity. The product specifications should indicate whether your projector supports wireless connectivity out of the box or if you need to purchase a separate wireless adapter.
Once you have confirmed that your Optoma projector has built-in wireless capabilities, you can proceed to the next step. If your projector requires an additional wireless adapter, make a note of the specific adapter required, as you will need to purchase it separately. The adapter should be compatible with your Optoma projector model and enable wireless connectivity.
Now that you have determined the wireless capabilities of your Optoma projector, you are ready to connect it to a wireless network and enjoy seamless wireless connections with your devices. Continue reading the next section for detailed instructions on how to establish a wireless connection with your Optoma projector.
Step 2: Connecting the Optoma Projector to a Wireless Network
Once you have confirmed that your Optoma projector has built-in wireless capabilities, the next step is to connect it to a wireless network. Follow these steps to establish a wireless connection with your projector:
- Power on the Optoma projector and navigate to the settings or configuration menu. Look for the wireless network settings.
- Select the option to scan for available wireless networks. The projector will search for nearby networks and display a list of available options.
- Choose your desired wireless network from the list. If your network is secured with a password, you will be prompted to enter it. Use the remote control or the on-screen keyboard, if available, to input the password.
- After entering the correct network password, select the “Connect” or “Join” button. The projector will attempt to establish a connection with the wireless network.
- Wait for the projector to establish a successful connection. This may take a few moments, as the projector connects to the network and obtains an IP address.
- Once the connection is established, you will see an on-screen confirmation message or an icon indicating a successful connection to the wireless network.
It is important to ensure that the Optoma projector and the wireless router are within range of each other for a stable connection. Keep in mind that obstacles such as walls or other electronic devices may interfere with the wireless signal and affect the quality of the connection. Adjust the positions of the projector and wireless router if necessary to optimize the signal strength.
With the Optoma projector successfully connected to the wireless network, you are now ready to connect your devices wirelessly and project content onto the big screen. The next section will guide you through the process of connecting your devices to the Optoma projector wirelessly.
Step 3: Connecting Devices to the Projector Wirelessly
Now that your Optoma projector is connected to a wireless network, you can easily connect your devices wirelessly and project their content onto the big screen. Follow these steps to connect your devices to the projector:
- On the device you want to connect, such as a laptop, smartphone, or tablet, go to the settings menu and look for the Wi-Fi or network settings.
- Scan for available wireless networks and select the same network that the Optoma projector is connected to.
- Enter the password for the wireless network, if prompted.
- Once connected to the network, open the app or program you wish to display on the projector. It could be a presentation, video, or any other form of content.
- Look for a “Screen Mirroring” or “Cast” option within the app or program. Select it to search for available devices.
- Select the Optoma projector from the list of available devices. The device will establish a connection with the projector.
- Wait for the connection to be established. Once connected, you will see the content from your device being displayed on the projector screen.
Depending on the device and the software you are using, the steps to connect and mirror the display may vary slightly. However, the general process remains the same. Consult the user manual or the help section of your specific device or application for more detailed instructions.
It’s important to note that not all devices are compatible with wireless screen mirroring. Ensure that your device and the app or program you are using support this feature. If your device doesn’t support wireless screen mirroring, you may need to use a physical connector or adapter to connect it to the Optoma projector.
Now that you have successfully connected your device to the Optoma projector wirelessly, you can enjoy sharing and projecting various content on the big screen. Whether you’re giving a presentation, watching a movie, or sharing memorable moments with your friends and family, wireless connectivity adds convenience and flexibility to your projection experience.
Step 4: Troubleshooting Common Issues
While connecting and using your Optoma projector wirelessly is generally straightforward, you may encounter some common issues along the way. Here are a few troubleshooting tips to help you overcome these challenges:
- Weak wireless signal: If you notice a weak or unstable wireless signal between your Optoma projector and the wireless router, try moving the projector and the router closer to each other. Alternatively, consider using a Wi-Fi range extender to boost the signal strength.
- Authentication errors: If you are unable to connect to the wireless network due to authentication errors, double-check that you are entering the correct network password. Make sure it is case-sensitive and doesn’t contain any typos or extra spaces.
- Software compatibility: Ensure that the device you are trying to connect wirelessly is compatible with the Optoma projector’s screen mirroring or casting feature. Some devices may require specific apps or software to establish a connection.
- Interference from other devices: Other electronic devices operating within close proximity to the projector and the wireless network can interfere with the signal. Move any nearby devices, such as cordless phones or microwaves, away from the projector and the router to minimize interference.
- Firmware updates: Check for firmware updates for both your Optoma projector and the wireless router. Outdated firmware can cause compatibility issues and may prevent a successful wireless connection.
- Restarting devices: If you encounter any connectivity issues, try restarting both the Optoma projector and the device you are trying to connect. Sometimes, a simple restart can resolve temporary glitches.
- Contacting support: If you have tried the above troubleshooting steps and still cannot resolve the issue, reach out to Optoma support or consult the user manual for further assistance. They can provide specific guidance based on your projector model and help troubleshoot any unique problems you may be facing.
By following these troubleshooting tips, you can overcome common issues and ensure a smooth wireless connection between your devices and the Optoma projector.
Conclusion
Connecting to an Optoma projector wirelessly opens up a world of convenience and flexibility for sharing and projecting content. By following the steps outlined in this guide, you can easily connect your Optoma projector to a wireless network and seamlessly connect your devices to project their content onto the big screen.
Remember to check if your specific Optoma projector model has built-in wireless capabilities or if you need to purchase a separate wireless adapter. Ensure that your Optoma projector is connected to a stable wireless network before attempting to connect your devices.
During the setup process, troubleshooting common issues, such as weak signal, authentication errors, and interference, may be necessary. By following the troubleshooting tips provided, you can overcome these challenges and enjoy a smooth wireless connection experience.
Whether you’re giving a presentation, hosting a movie night, or sharing memorable moments with family and friends, connecting to an Optoma projector wirelessly enhances the overall viewing experience. Say goodbye to tangled cables and enjoy the freedom of wireless connectivity with your Optoma projector.
Now that you have been equipped with the knowledge and steps to connect to an Optoma projector wirelessly, go ahead and start enjoying the convenience and flexibility it offers. With just a few simple steps, you can transform your living room, office, or classroom into an immersive projection environment.