Introduction
Welcome to the future of home automation, where smart light bulbs can be controlled with a simple voice command. With the integration of Google Home and smart light bulbs, you can easily turn your home into a smart haven. Imagine the convenience of controlling your lights using only your voice, whether you’re lounging on the couch or lying in bed. In this guide, we’ll take you through the steps to connect your smart light bulb to Google Home and unlock a new level of control and convenience.
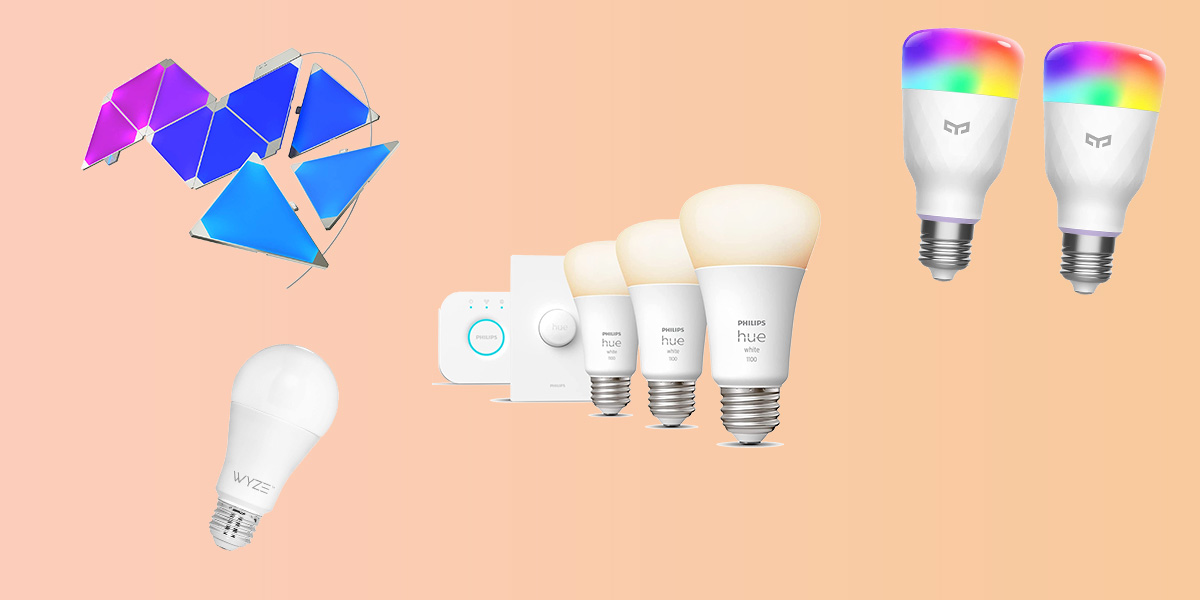
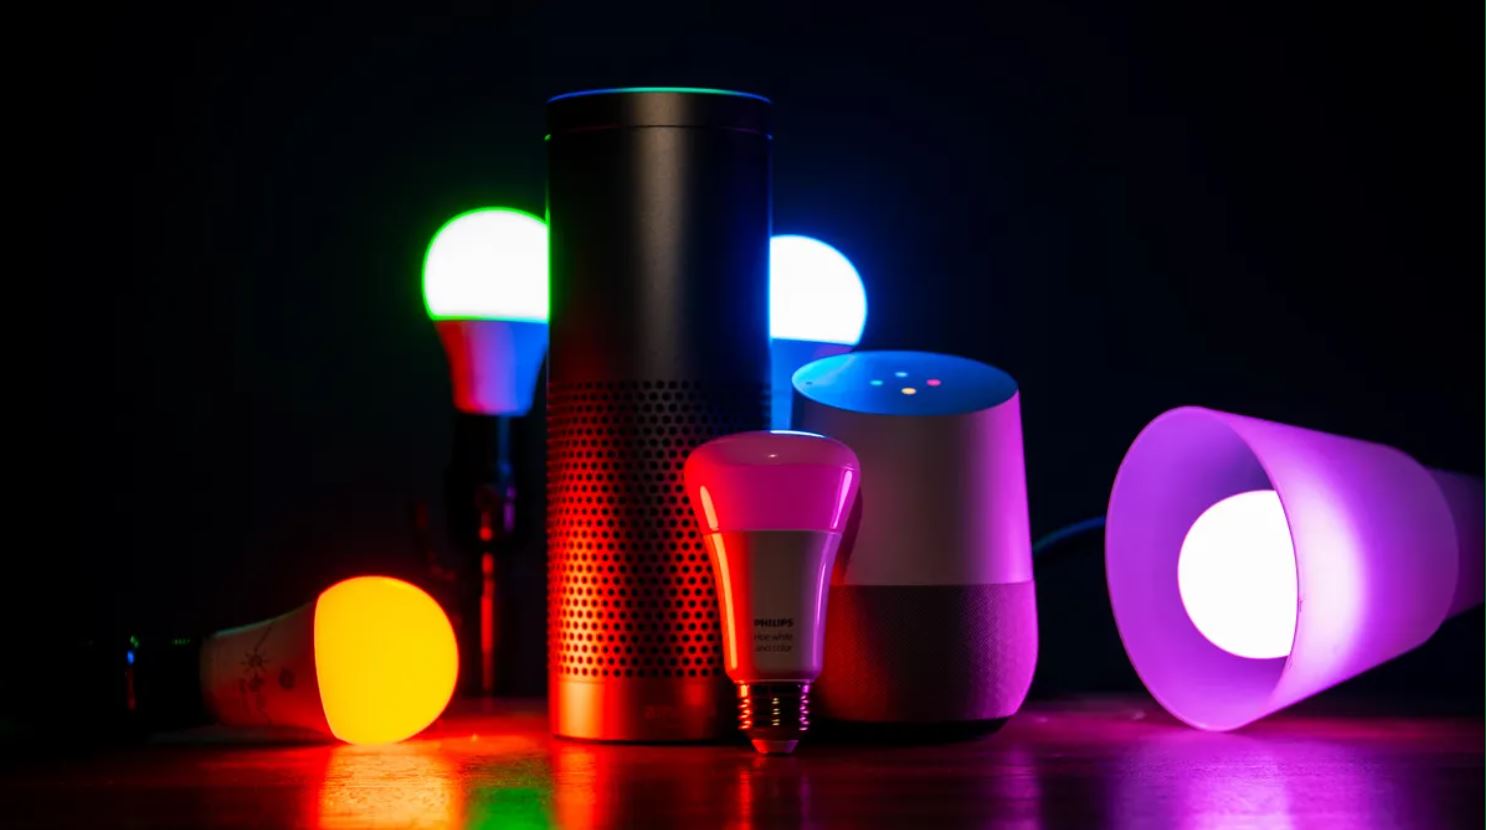
Smart light bulbs are Wi-Fi enabled bulbs that can be controlled using a smartphone or, in this case, a voice-controlled device like Google Home. These bulbs can be customized and personalized to suit your preferences, offering a wide range of colors, brightness levels, and scheduling options. The ability to control your lights using voice commands adds a whole new layer of convenience to your daily life.
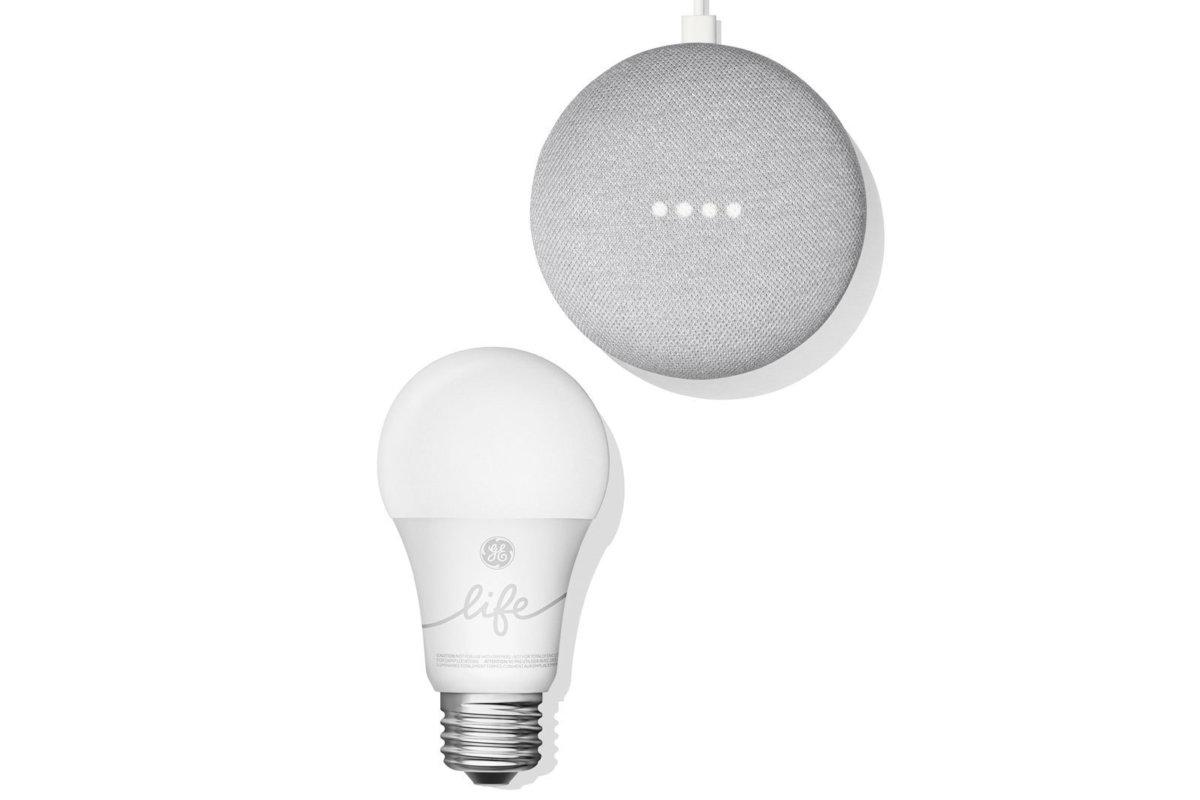
Before you get started, make sure you have a Google Home device and a compatible smart light bulb. It’s also important to ensure that your Wi-Fi network is stable and functioning properly. Once you have everything ready, you can begin the process of connecting your smart light bulb to Google Home.
In the following steps, we’ll walk you through the setup process, from connecting your smart light bulb to your home Wi-Fi network to adding it to the Google Home app. We’ll also guide you on how to link your Google Home app with your Google Assistant. By the end of this guide, you’ll be able to control your smart light bulb effortlessly using voice commands with Google Home.
Step 1: Set up your Google Home device
The first step in connecting your smart light bulb to Google Home is to set up your Google Home device. If you haven’t done so already, follow these simple steps:
- Plug in your Google Home device and ensure it is connected to a power source.
- Download the Google Home app from the App Store or Google Play Store, depending on your device.
- Open the Google Home app and follow the on-screen instructions to set up your Google Home device.
- Connect your mobile device to the same Wi-Fi network that you want to connect your smart light bulb to. This is important for seamless communication between your phone, Google Home, and the smart light bulb.
Once your Google Home device is set up and connected to your Wi-Fi network, you’re ready to move on to the next step.
Step 2: Install the smart light bulb
Now that your Google Home device is all set up, it’s time to install the smart light bulb. Follow these steps to get it up and running:
- Ensure the power to the light fixture is turned off. Safety is always a priority.
- Remove the existing light bulb from the fixture if there is one.
- Take your smart light bulb and screw it into the empty socket, just like you would with a regular light bulb.
- Turn on the power to the light fixture. The smart light bulb should now light up, indicating that it is installed properly.
It’s important to note that smart light bulbs may vary in design and installation process. Always refer to the manufacturer’s instructions specific to your smart light bulb when installing it. Once your smart light bulb is installed, you can proceed to the next step.
Step 3: Connect the smart light bulb to your home Wi-Fi network
Now that your smart light bulb is installed, it’s time to connect it to your home Wi-Fi network. Follow these steps:
- Open the Wi-Fi settings on your smartphone or tablet.
- Look for the Wi-Fi network that corresponds to your smart light bulb. It is usually mentioned in the user manual or on the packaging.
- Select the appropriate Wi-Fi network and enter the password if prompted.
- Wait for your smartphone or tablet to establish a connection with the smart light bulb’s Wi-Fi network.
Once the connection is established, the next step is to add the smart light bulb to the Google Home app.
It’s worth noting that some smart light bulbs require a bridge or hub for connectivity. In such cases, make sure to follow the manufacturer’s instructions on how to connect the smart light bulb to the hub before proceeding with the Wi-Fi network connection.
Having successfully connected your smart light bulb to your home Wi-Fi network, you’re one step closer to controlling it with ease using Google Home.
Step 4: Add the smart light bulb to the Google Home app
Now that your smart light bulb is connected to your home Wi-Fi network, it’s time to add it to the Google Home app. Here’s how:
- Open the Google Home app on your smartphone or tablet.
- Tap on the “+” icon at the top left corner of the screen to add a new device.
- Select “Set up device” and choose “Works with Google”.
- Scroll through the list of available devices and look for your specific smart light bulb brand or model.
- Follow the on-screen instructions to link your smart light bulb to the Google Home app.
- Once the setup is complete, you’ll see your smart light bulb listed in the Google Home app’s device list.
It’s important to note that the exact steps may vary depending on the brand and model of your smart light bulb. Follow the manufacturer’s instructions provided with your device for more specific guidance on adding it to the Google Home app.
With your smart light bulb successfully added to the Google Home app, you’re now ready to link it with your Google Assistant.
Step 5: Link your Google Home app with your Google Assistant
To control your smart light bulb using voice commands with Google Home, you’ll need to link your Google Home app with your Google Assistant. Follow the steps below:
- Open the Google Home app on your smartphone or tablet.
- Tap on the device icon in the top right corner of the screen to access the device settings.
- Select “Settings” from the drop-down menu.
- Scroll down and tap on “Assistant” in the list of settings.
- Tap on “Voice Match” and follow the on-screen instructions to teach your Google Assistant to recognize your voice.
- Once voice match is set up, go back to the Assistant settings and tap on “Home control”.
- Under the “Devices” tab, tap on the “+” icon to add a new device.
- Select your smart light bulb from the list of available devices.
- Follow the prompts to link your smart light bulb with your Google Assistant.
After completing these steps, your smart light bulb will be successfully linked to your Google Assistant. You’re now ready to control it with voice commands through Google Home.
Remember, you can use various voice commands to control your smart light bulb, such as “Hey Google, turn on the living room lights” or “Hey Google, dim the bedroom lights to 50%”. Experiment with different commands to find what works best for you.
Step 6: Control your smart light bulb using voice commands with Google Home
Now that your smart light bulb is linked with your Google Assistant, you can start enjoying the convenience of controlling it through voice commands with Google Home. Here’s how you can do it:
- Ensure that your Google Home device is properly set up and connected to your smart light bulb.
- Activate your Google Assistant by saying “Hey Google” or “Okay Google”.
- Give a voice command to control your smart light bulb. For example, you can say “Turn on the living room lights” or “Dim the bedroom lights to 50%”.
- You can also customize your voice commands by assigning specific names to different smart light bulbs or grouping them together. This way, you can control multiple bulbs with a single command. For instance, you can create a group called “Living Room” and say “Turn off the Living Room lights”.
- Experiment with other voice commands to explore the full range of features and capabilities offered by your smart light bulb.
By using voice commands, you can effortlessly control your smart light bulb without the need for any physical interaction. It’s a convenient and hands-free way to adjust the lighting in your home for any occasion or mood.
Additionally, you can also control your smart light bulb remotely using the Google Home app on your smartphone or tablet. This allows you to turn on/off or adjust the brightness of your lights even when you’re away from home.
With Google Home and your smart light bulb working together, you have the power to create the perfect ambiance in your home with just a few simple voice commands.
Conclusion
Connecting your smart light bulb to Google Home opens up a world of convenience and control. With just your voice, you can easily turn your lights on and off, adjust their brightness, and even change their colors. The integration of Google Home and smart light bulbs allows you to create customized lighting experiences to suit your every mood and need.
In this guide, we’ve walked you through the step-by-step process of connecting your smart light bulb to Google Home. From setting up your Google Home device to adding and controlling your smart light bulb through voice commands, you now have the knowledge to make your home a smart home.
Remember, it’s essential to choose a compatible smart light bulb and ensure a stable Wi-Fi connection for seamless operation. Always refer to the manufacturer’s instructions for specific guidance on setup and installation.
Now, go ahead and enjoy the convenience, comfort, and energy efficiency that come with controlling your lights using Google Home and your voice. Say goodbye to fumbling for switches or reaching for your phone – with Google Home and your smart light bulb, you’re just a voice command away from transforming your living spaces with light.