Introduction
When it comes to connecting audio devices to your QLED TV, there are various options available. One of the most popular and reliable methods is using optical audio. In this guide, we will explore how to connect optical audio to a QLED TV, step by step.
As technology continues to advance, the demand for high-quality audio has become more important than ever. Optical audio, also known as Toslink or SPDIF, allows for efficient and lossless transmission of digital audio signals. This makes it an excellent choice for connecting your QLED TV to soundbars, home theater systems, or audio receivers.
Whether you are a movie enthusiast, a gamer, or simply enjoy immersive sound quality, learning how to connect optical audio to your QLED TV can greatly enhance your audio experience. With its ability to transmit high-fidelity audio, optical audio ensures that every sound detail is captured, providing a truly immersive listening experience.
Before we dive into the step-by-step process of connecting optical audio to your QLED TV, it’s important to note that not all TVs are equipped with an optical audio port. Therefore, the first step is to check the compatibility of your QLED TV to ensure it has an optical audio port available.
Now that we have a brief understanding of what optical audio is and why it is beneficial, let’s move on to the next section, where we will check the compatibility of your QLED TV.
What is Optical Audio?
Optical audio, also known as Toslink or SPDIF (Sony/Philips Digital Interface), is a digital audio connection method that uses fiber optic cables to transmit audio signals from one device to another. Unlike traditional analog audio connections, optical audio uses light to transmit the audio data, which results in a clear and distortion-free sound.
The optical audio connection consists of two main components: the optical cable and the optical audio port. The cable itself is made up of a series of thin fiber optic strands enclosed in a protective covering. These strands carry the digital audio signals in the form of light pulses from the source device to the receiving device.
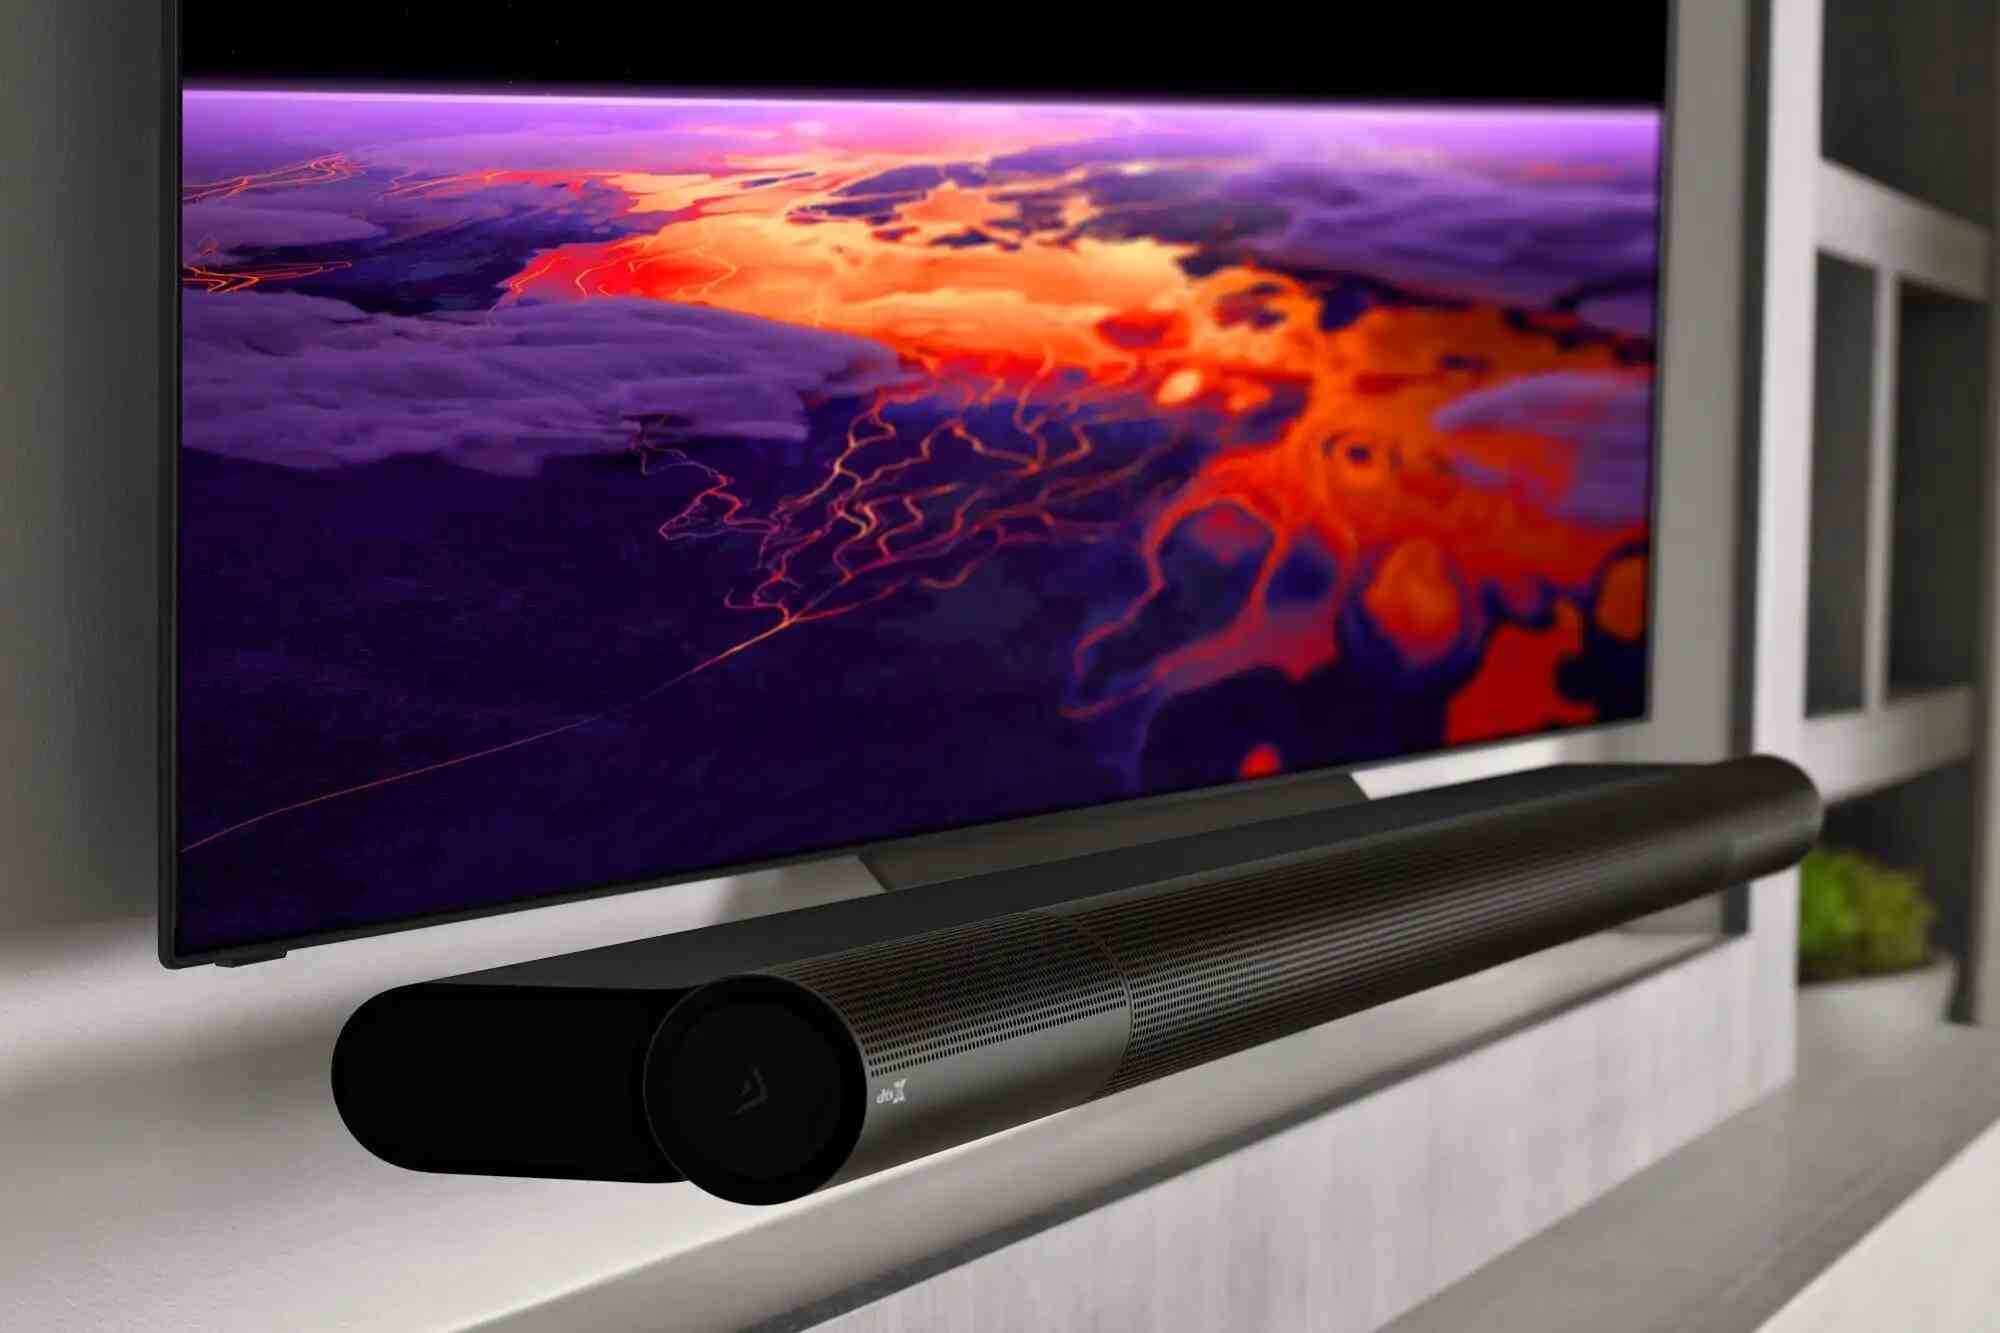
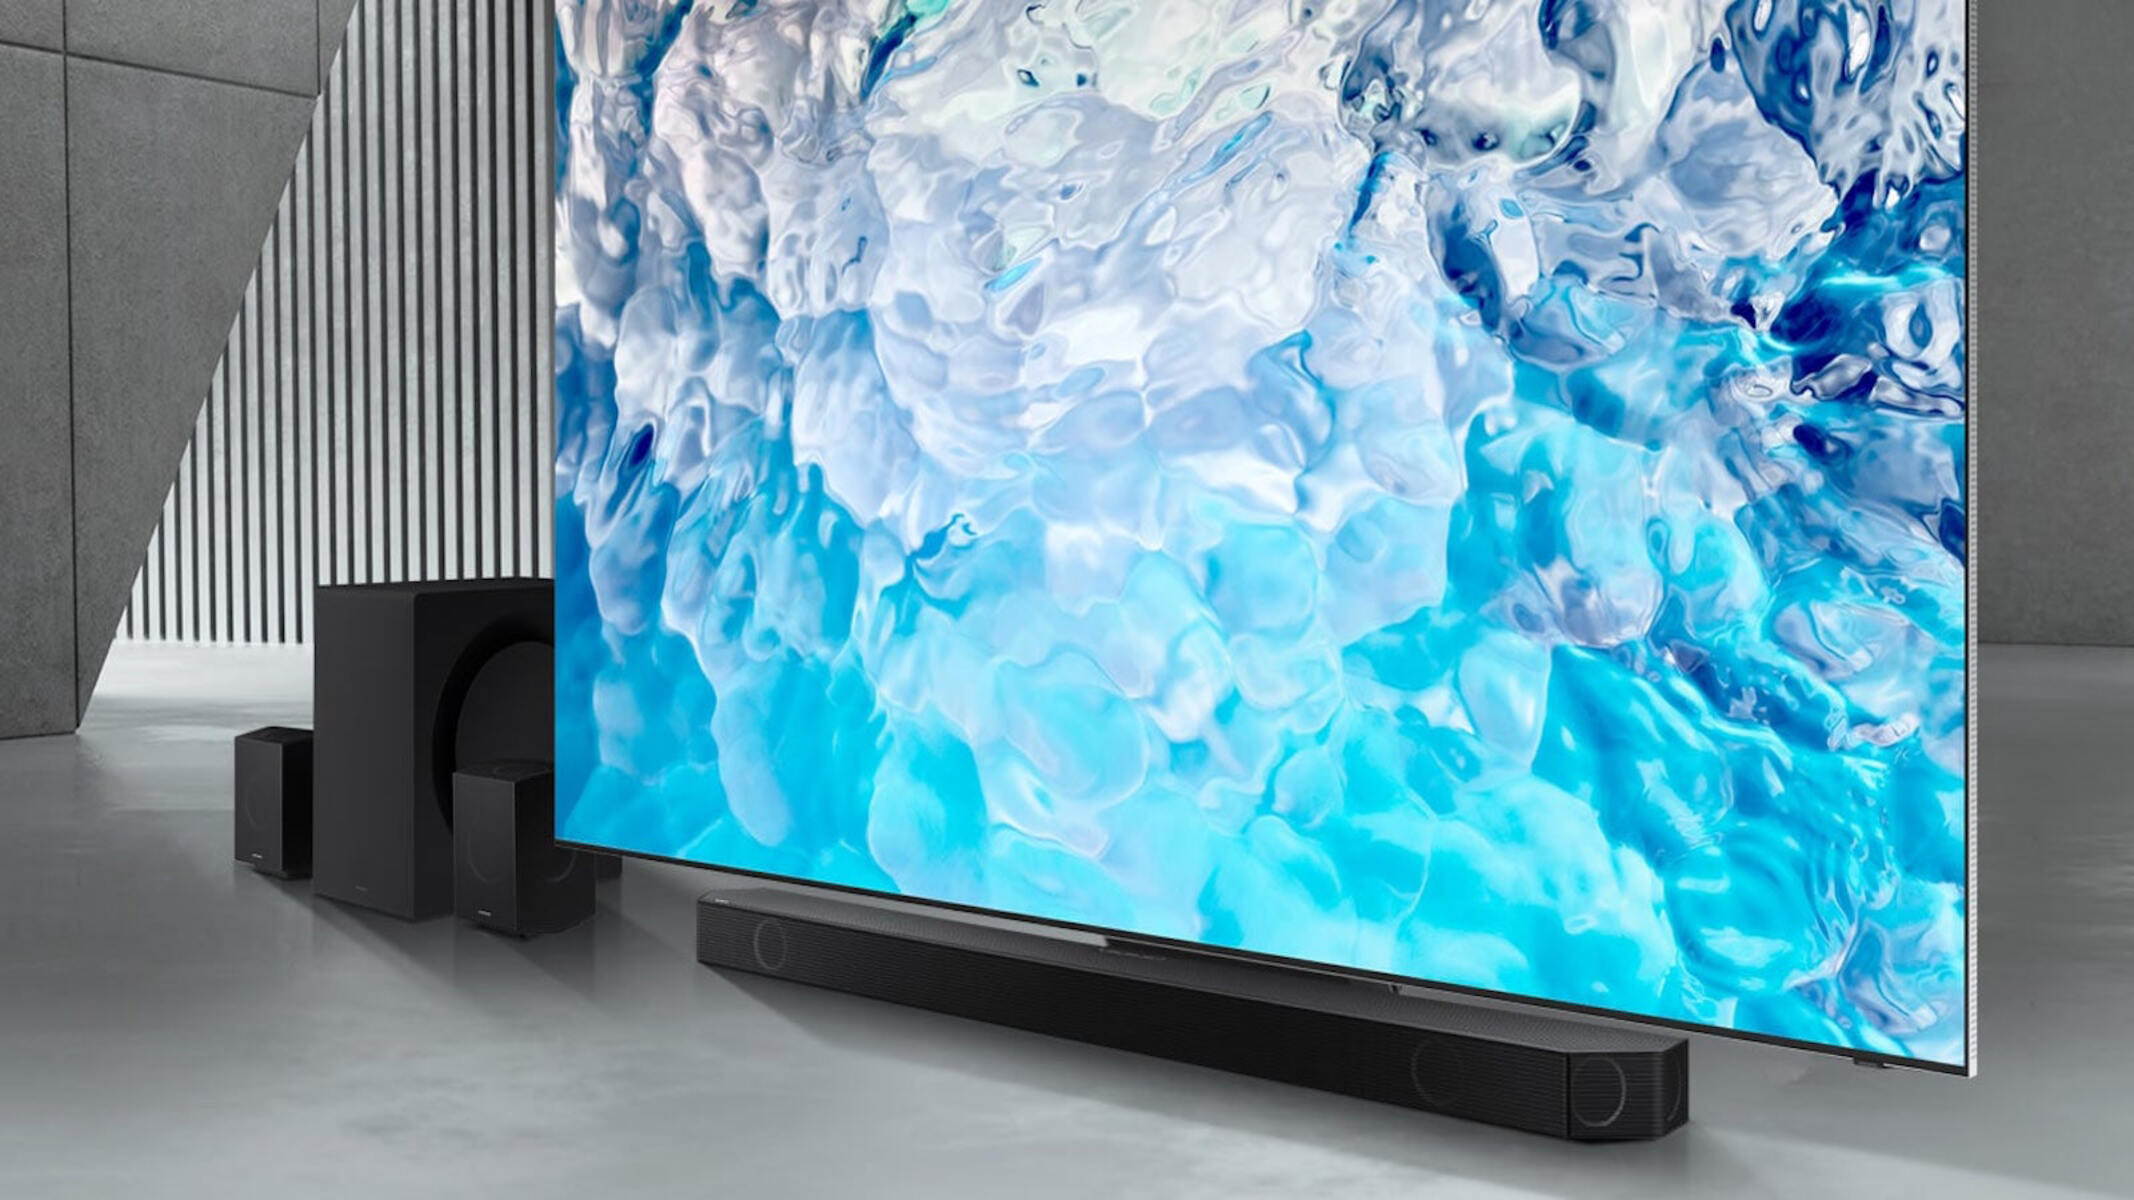
The optical audio port, typically found on audio devices such as soundbars, AV receivers, and TVs, is a small rectangular port with a cover that protects it from dust and damage. It is usually labeled “Toslink” or “Optical Audio” for easy identification.
One of the key advantages of optical audio is its ability to transmit high-quality audio without any degradation in sound quality. Since the audio signals are transferred digitally, there is no interference from electrical signals or electromagnetic fields, resulting in a cleaner and more accurate audio reproduction.
Another benefit of optical audio is its compatibility with various audio formats, including Dolby Digital, DTS, and PCM. This makes it a versatile choice for connecting different audio devices, such as Blu-ray players, game consoles, and set-top boxes, to your QLED TV.
Furthermore, optical audio connections can transmit audio signals over longer distances compared to analog connections without any loss in quality. This makes it ideal for home theater setups or situations where you need to place your audio devices far away from your TV.
In summary, optical audio is a reliable and efficient way to connect your QLED TV to external audio devices. Its ability to deliver high-fidelity audio, compatibility with various audio formats, and resistance to interference make it a popular choice for enhancing your audio experience.
Why Use Optical Audio?
There are several reasons why using optical audio is advantageous when connecting your QLED TV to external audio devices:
1. High-Quality Audio: Optical audio allows for the transmission of high-fidelity audio signals. It delivers clear and accurate sound without any loss or distortion, ensuring an immersive listening experience. Whether you’re watching movies, playing games, or listening to music, optical audio can enhance the overall audio quality.
2. Digital Transmission: Unlike analog audio connections, which convert the audio signal into electrical voltages, optical audio uses digital transmission. This means that the audio data remains in its original digital format throughout the entire transmission process. As a result, there is no loss of quality or degradation of the audio signal.
3. No Interference: Optical audio cables are immune to electromagnetic interference. Unlike analog cables, which can be prone to interference from nearby electrical or radio frequency sources, optical audio cables transmit signals using light. This interference-free transmission ensures that the audio signal remains clean and unaffected by external disruptions.
4. Compatible with Various Audio Formats: Optical audio supports a wide range of audio formats, including Dolby Digital, DTS, and PCM. This versatility allows you to connect your QLED TV to different audio devices, such as soundbars, home theater systems, or AV receivers, without worrying about compatibility issues.
5. Long-Distance Transmission: Optical audio cables are capable of transmitting signals over longer distances compared to analog cables. This flexibility is especially useful in setups where you need to place your audio devices far away from your QLED TV. Whether you have a dedicated home theater or a multi-room audio system, optical audio can ensure reliable transmission without signal loss.
6. Easy Setup: Connecting your QLED TV to external audio devices using optical audio is a straightforward process. The optical audio ports on both your TV and audio device are easily identifiable, usually marked with the label “Toslink” or “Optical Audio.” Simply connect one end of the optical cable to your QLED TV’s optical audio port and the other end to the corresponding port on your audio device, and you’re ready to enjoy enhanced audio.
In summary, optical audio provides superior audio quality, immune to interference, compatibility with different audio formats, long-distance transmission capabilities, and easy setup. These benefits make it an excellent choice for connecting your QLED TV to external audio devices for an enhanced audio experience.
Step 1: Check Compatibility
Before you can connect optical audio to your QLED TV, it’s essential to verify if your TV is equipped with an optical audio port. Follow these steps to check the compatibility:
1. Refer to the User Manual: Start by locating the user manual that came with your QLED TV. The manual will often provide information about the TV’s audio connections and available ports. Look for any references to an optical audio port or an audio output labeled “Toslink.”
2. Inspect the TV’s Rear Panel: Take a close look at the rear panel of your QLED TV. Look for any distinct audio ports or any labels indicating an optical audio connection. The optical audio port typically appears as a small square or rectangle with a cover.
3. Consult the TV’s On-Screen Menu: If you’re unable to locate the optical audio port on the rear panel, consult the TV’s on-screen menu. Navigate through the menu and look for audio settings or audio configuration options. Within those settings, you may find information about the available audio output ports, including the optical audio.
4. Online Research: If you’re still uncertain about your TV’s compatibility, consider conducting online research. Visit the manufacturer’s website or search for your specific QLED TV model. Look for product specifications or user forums that may provide detailed information about the audio connections available on your TV.
It’s important to note that not all QLED TVs have an optical audio port. Depending on the model or brand, some TVs may use alternative audio connections, such as HDMI ARC (Audio Return Channel) or RCA (Composite Audio). If you find that your TV does not have an optical audio port, you may still be able to connect external audio devices using these alternative methods.
By following these steps and confirming the compatibility of your QLED TV, you can ensure that you have the necessary hardware to proceed with the optical audio connection. Once you’ve verified the presence of an optical audio port, you can move on to the next step: locating the optical audio port on your TV.
Step 2: Locate the Optical Audio Port
Once you have confirmed that your QLED TV has an optical audio port, the next step is to locate its exact position. Follow these steps to find the optical audio port on your TV:
1. Turn off your TV: Before proceeding, ensure that your QLED TV is turned off. This will prevent any potential damage to the TV or the audio cable during the process.
2. Examine the Rear Panel: Carefully inspect the rear panel of your QLED TV. Look for a section dedicated to audio connections. You may find labels or icons near the audio ports, indicating their purpose. Look for the “Toslink” or “Optical Audio” label, as the optical audio port is typically labeled for easy identification.
3. Remove the Port Cover (if applicable): In some cases, the optical audio port may have a removable cover. If you see a protective cover on the port, gently remove it by sliding it off or unclipping it. Be gentle to prevent any damage to the internal components of the port.
4. Inspect the Port: Once you have located the optical audio port, take a closer look at its shape and configuration. The optical audio port is usually a small rectangular opening, often with a red light shining from within. This light indicates that the port is active and ready to transmit or receive an optical audio signal.
5. Note the Position: It is important to remember the exact location of the optical audio port on your QLED TV. This will be useful when connecting the optical cable in the next step. Take note of where it is situated relative to other audio ports or other components on the rear panel of your TV.
If you are having difficulty locating the optical audio port on your QLED TV, refer to the TV’s user manual or consult the manufacturer’s website for detailed instructions. Additionally, you can look for online resources, such as tutorials or videos, that specifically address the location of the optical audio port on your particular model of QLED TV.
Once you have successfully located the optical audio port on your QLED TV, you are ready to proceed with the next step: connecting the optical cable.
Step 3: Connect the Optical Cable
With the optical audio port on your QLED TV identified, it’s time to connect the optical cable. Follow these steps to ensure a proper connection:
1. Prepare the Optical Cable: Ensure you have an optical audio cable that is the appropriate length for your setup. Optical cables typically have a square-shaped connector on each end, which aligns with the optical audio ports on your devices. Remove any protective caps or covers from the ends of the cable.
2. Align the Cable and the Port: Position yourself behind your QLED TV, and carefully align the square-shaped end of the optical cable with the optical audio port on the TV. Make sure that the cable connector and the port are aligned properly to prevent any damage to the cable or the port.
3. Insert the Cable: Once aligned, gently push the optical cable connector into the optical audio port on your QLED TV. Ensure that the connection is secure, but avoid applying excessive force as it may damage the delicate internal components.
4. Secure the Connection: Once the cable is inserted, you may hear or feel a slight click, indicating that the connector is securely in place. Give the cable a gentle tug to confirm that it is firmly connected to the TV but avoid pulling too forcefully.
5. Connect the Other End: Take the other end of the optical cable and locate the optical audio port on your external audio device, such as a soundbar or AV receiver. Align the cable’s connector with the port and insert it in a similar manner to how you connected it to the TV. Ensure a secure connection by checking for any clicks or resistance.
6. Switch on Devices: After connecting the optical cable, switch on your QLED TV and the external audio device. Make sure both devices are powered on and set to the appropriate input/source.
Congratulations! You have successfully connected the optical cable between your QLED TV and the external audio device. The optical connection ensures the transmission of high-quality digital audio signals between the devices.
Remember to refer to the user manuals of your QLED TV and external audio device for any specific guidelines or troubleshooting information related to connecting optical audio cables.
Now that the physical connection is established, it’s time to adjust the audio settings on your QLED TV to ensure the optimal audio experience, which we will cover in the next step.
Step 4: Adjust TV Settings
Once the optical cable is connected between your QLED TV and the external audio device, it’s necessary to adjust the TV settings to enable the proper audio output. Follow these steps to adjust the audio settings on your QLED TV:
1. Access the TV Menu: Use your QLED TV’s remote control to access the TV menu. Look for a button on the remote labeled “Menu” or an icon that resembles a gear or settings.
2. Select the Audio Settings: Within the TV menu, navigate to the audio settings options. This may be listed as “Sound,” “Audio,” or similar. Use the directional buttons on the remote to highlight and select the audio settings option.
3. Choose the Audio Output: Look for the audio output settings within the audio settings menu. Depending on the TV model, this may be labeled as “Audio Output,” “Sound Output,” or similar. Select this option to proceed.
4. Select Optical Audio: Within the audio output settings, you should see a list of available audio output options. Look for the option that mentions “Optical Audio,” “Toslink,” or similar terminology. Select this option to set the optical audio as the audio output.
5. Adjust Additional Settings: Depending on your QLED TV model, you may have additional audio settings that you can adjust for optimal sound performance. Explore the menu options for settings such as sound modes, equalizer, or audio enhancements. Adjust these settings according to your preferences.
6. Save and Exit: After making the necessary audio settings adjustments, save the changes and exit the menu by selecting the appropriate options or pressing the “Exit” or “Return” button on your remote.
By adjusting the audio settings on your QLED TV, you ensure that the audio is being properly routed through the optical connection to your external audio device. This step is important to ensure that you get the desired audio output and take advantage of the enhanced audio capabilities offered by the optical connection.
It’s important to note that the menu structure and options may vary depending on the brand and model of your QLED TV. If you encounter any difficulties or confusion while adjusting the TV settings, refer to the TV’s user manual or consult the manufacturer’s website for more detailed instructions pertaining to your specific model.
With the audio settings adjusted, you are now ready to enjoy superior sound quality and an immersive audio experience with your QLED TV and connected external audio device.
Troubleshooting Tips
While connecting optical audio to your QLED TV is generally a straightforward process, you may encounter some common issues or challenges. Here are some troubleshooting tips to help you overcome any potential problems:
1. No Audio Output: If you don’t hear any sound after connecting the optical cable, check the audio input settings on your external audio device. Ensure that it is set to receive audio from the optical input. You may need to consult the device’s user manual or menu options for specific instructions.
2. No Optical Audio Port: If you discover that your QLED TV doesn’t have an optical audio port, you can consider using alternative audio connections. Check if your TV supports HDMI ARC (Audio Return Channel) or RCA (Composite Audio) connections, which can provide audio output to external devices.
3. Poor Audio Quality: If you experience distorted or poor audio quality, check the optical cable connections. Ensure that both ends of the cable are securely plugged into their respective ports. Additionally, inspect the cable for any visible damage or wear, as this can affect audio transmission. Consider trying a different optical cable to see if the issue is resolved.
4. TV Not Recognizing the Audio Device: If your QLED TV doesn’t recognize the connected audio device, try the following steps:
– Ensure that the audio device is powered on and set to the correct input/source.
– Disconnect and reconnect the optical cable at both ends to establish a secure connection.
– Power cycle both the TV and the audio device by turning them off, unplugging them from the power source, waiting for a few minutes, and then plugging them back in and powering them on again.
5. Audio Sync Issues: If you notice a delay between the audio and video when using the optical audio connection, go into your QLED TV’s settings and look for an “Audio Delay” or “Audio Sync” option. Adjusting this setting can help synchronize the audio output with the video playback.
6. Consult Technical Support: If you have exhausted all troubleshooting options and are still experiencing issues, reach out to the technical support of your QLED TV or the manufacturer of your external audio device. They can provide additional guidance and assistance specific to your setup.
Remember to consult the user manuals and documentation of your QLED TV and audio device for any device-specific troubleshooting instructions. Additionally, utilizing online forums or support communities can often provide helpful insights and solutions from other users who may have faced similar challenges.
By following these troubleshooting tips, you can address common problems and ensure a seamless audio experience when connecting optical audio to your QLED TV.
Conclusion
Connecting optical audio to a QLED TV can greatly enhance your audio experience by delivering high-quality, distortion-free sound. By following the step-by-step guide, you can successfully connect your QLED TV to external audio devices, such as soundbars or AV receivers, using an optical audio cable.
First, it is essential to check the compatibility of your QLED TV to ensure it has an optical audio port. Locate the port on the rear panel of your TV or consult the user manual for guidance. Once the port is identified, connect one end of the optical cable to the TV’s port and the other end to the corresponding port on your audio device.
After the physical connection is established, adjust the audio settings on your QLED TV to enable the proper audio output via the optical connection. Access the TV menu, navigate to the audio settings, and select the optical audio as the preferred output. Make any additional audio adjustments based on your preferences or requirements.
If you encounter any issues during the process, refer to the troubleshooting tips provided to address common problems, such as no audio output or poor audio quality. Taking these steps can help you resolve any challenges and ensure a seamless audio connection between your QLED TV and external audio devices.
Now that you’re equipped with the knowledge to connect optical audio to your QLED TV, you can enjoy an immersive audio experience while watching movies, playing games, or listening to music. Enhance your audio quality and elevate your entertainment with the power of optical audio.
Remember to consult the user manuals and documentation of your specific QLED TV and audio devices for detailed instructions and device-specific information. Enjoy your audio journey with the crystal-clear sound provided by optical audio.