Introduction
Connecting your Mac Air to a projector allows you to display your screen on a larger surface, making it ideal for presentations, movie nights, or sharing content with a larger audience. However, the process of connecting a Mac Air to a projector may seem daunting if you’re not familiar with the necessary steps.
In this guide, we will walk you through the process of connecting your Mac Air to a projector, ensuring a seamless and hassle-free experience. Whether you’re a student, professional, or simply want to enjoy a cinematic experience at home, we’ve got you covered.
Before we delve into the steps, it’s essential to note that the exact process of connecting your Mac Air to a projector may vary depending on the model of your Mac Air and the type of projector you’re using. However, the basic steps remain the same, and we will provide you with the necessary information to adapt to your specific setup.
So, let’s get started and uncover the steps to connect your Mac Air to a projector, so you can share your screen with ease.
Step 1: Check your Mac Air ports
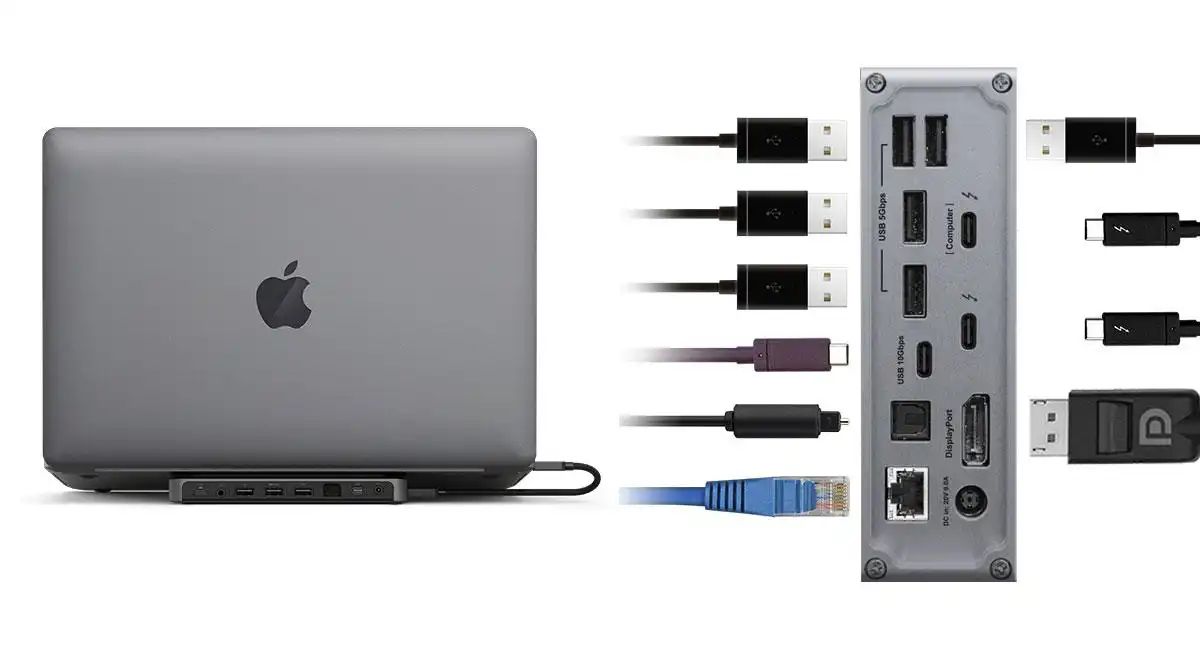
Before you begin connecting your Mac Air to a projector, it’s important to determine the available ports on your Mac Air. Different Mac Air models may have different ports, so it’s crucial to know which ports are present on your device. This will ensure that you choose the right adapter for connecting to the projector.
Most modern Mac Air models feature either a Thunderbolt 3 (USB-C) port or a Mini DisplayPort. The Thunderbolt 3 port is a versatile port that supports high-speed data transfer, video output, and charging. On the other hand, if your Mac Air has a Mini DisplayPort, it is specifically designed for video output.
To check the ports on your Mac Air, start by locating the side of the MacBook Air. Look for a thin, rectangular port that matches the description of either Thunderbolt 3 or Mini DisplayPort. It’s important to note that the Thunderbolt 3 port may also double as a USB-C port, so it may be labeled accordingly.
If you’re unsure about the specific ports on your Mac Air, consult the user manual or the official Apple website for detailed information about your particular model. Knowing which ports your Mac Air has will help you move on to the next step of selecting the appropriate adapter for connecting to the projector.
By following this first step of checking your Mac Air ports, you’ll have a clear understanding of the available connectivity options. This knowledge is essential for choosing the correct adapter and ensuring a successful connection between your Mac Air and the projector. Let’s move on to the next step to find the right adapter for your Mac Air.
Step 2: Get the right adapter
Once you’ve determined the available ports on your Mac Air, the next step is to select the appropriate adapter that will allow you to connect your Mac Air to the projector. The type of adapter you’ll need depends on the ports available on your Mac Air and the input ports on the projector.
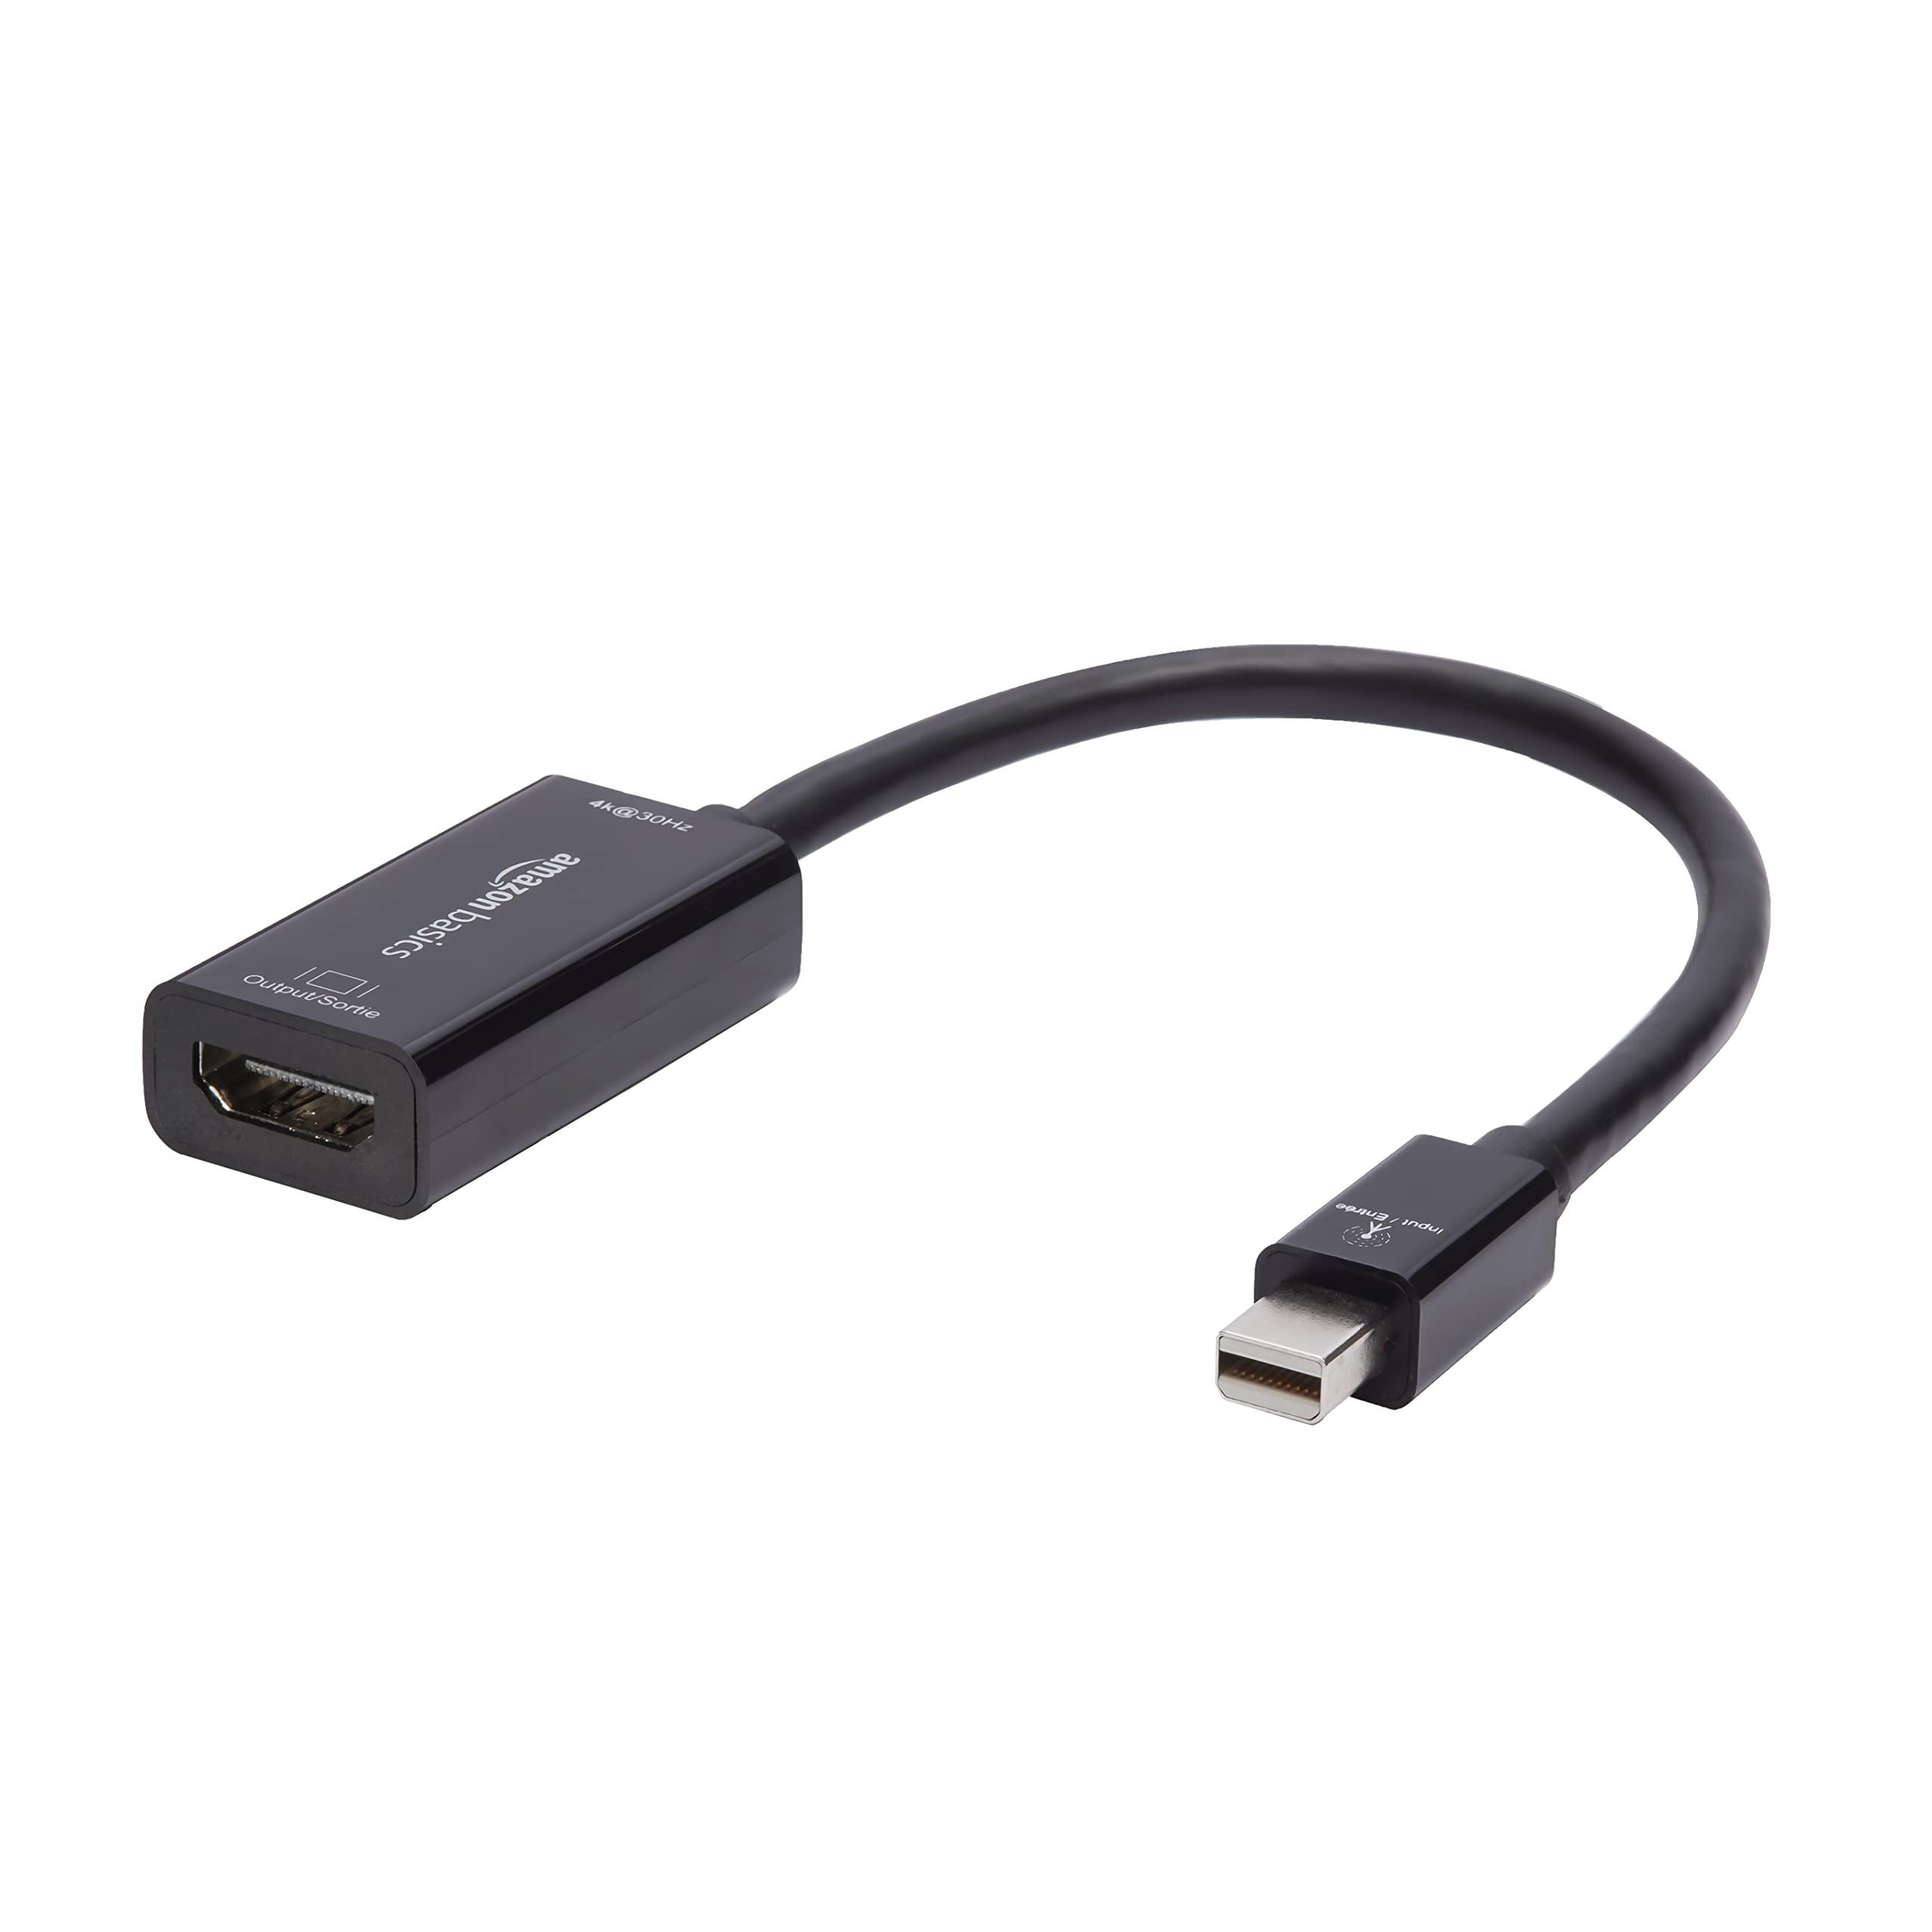
If your Mac Air has a Thunderbolt 3 (USB-C) port, you will need a Thunderbolt 3 to HDMI or Thunderbolt 3 to VGA adapter, depending on the input ports of the projector. These adapters will enable you to transmit both audio and video signals from your Mac Air to the projector.
On the other hand, if your Mac Air has a Mini DisplayPort, you will require a Mini DisplayPort to HDMI or Mini DisplayPort to VGA adapter. These adapters function in a similar way to the Thunderbolt 3 adapters, allowing you to connect your Mac Air to the projector and project the screen onto a larger display.
When selecting an adapter, ensure that it is compatible with both your Mac Air model and the input ports of the projector. It’s recommended to opt for adapters from reputable brands to ensure better compatibility and reliability.
Before purchasing the adapter, consider factors such as the length of the cable, the build quality, and any additional features that may be essential for your specific needs. For example, if you anticipate the need for audio output, ensure that the adapter supports audio transmission.
Once you’ve obtained the suitable adapter, you are one step closer to connecting your Mac Air to the projector. In the next step, we will guide you through the process of connecting the adapter to your Mac Air.
Step 3: Connect the adapter to your Mac Air
Now that you have the appropriate adapter for your Mac Air, it’s time to connect it to your device. The process may vary slightly depending on the type of adapter you have, but the fundamental steps remain the same.
Start by locating the respective port on your Mac Air. If you have a Thunderbolt 3 (USB-C) port, simply insert the adapter into the port until it clicks into place. Ensure that the adapter is firmly connected to guarantee a stable connection.
If your Mac Air has a Mini DisplayPort, align the connector on the adapter with the Mini DisplayPort on your Mac Air. Carefully insert the adapter into the Mini DisplayPort until it is securely connected.
Once the adapter is connected to your Mac Air, it’s crucial to ensure that it is properly seated. Give it a gentle tug or wiggle to confirm that it is securely attached and won’t disconnect during the projection process.
Some adapters require an additional step of securely screwing them into place. If your adapter includes a screw, align it with the corresponding slot near the port on your Mac Air, and tighten it using a screwdriver or your fingers. This added step provides extra stability and prevents accidental disconnections.
After connecting the adapter, take a moment to double-check that it is firmly and securely attached to your Mac Air. Now that the adapter is connected, we can move on to the next step of connecting the projector to the adapter.
Step 4: Connect the projector to the adapter
With the adapter successfully connected to your Mac Air, it’s time to connect the projector to the adapter. This step may require a different cable depending on the type of adapter and the input ports available on the projector.
If you’re using a Thunderbolt 3 (USB-C) to HDMI or Thunderbolt 3 to VGA adapter, you will need an HDMI or VGA cable, respectively, to connect the projector to the adapter. Ensure that the cable is of good quality and has the appropriate connectors for both the adapter and the projector.
If you have a Mini DisplayPort to HDMI or Mini DisplayPort to VGA adapter, you will also need an HDMI or VGA cable to connect the projector to the adapter. Similar to the Thunderbolt 3 adapters, make sure to use a high-quality cable that matches the required connectors.
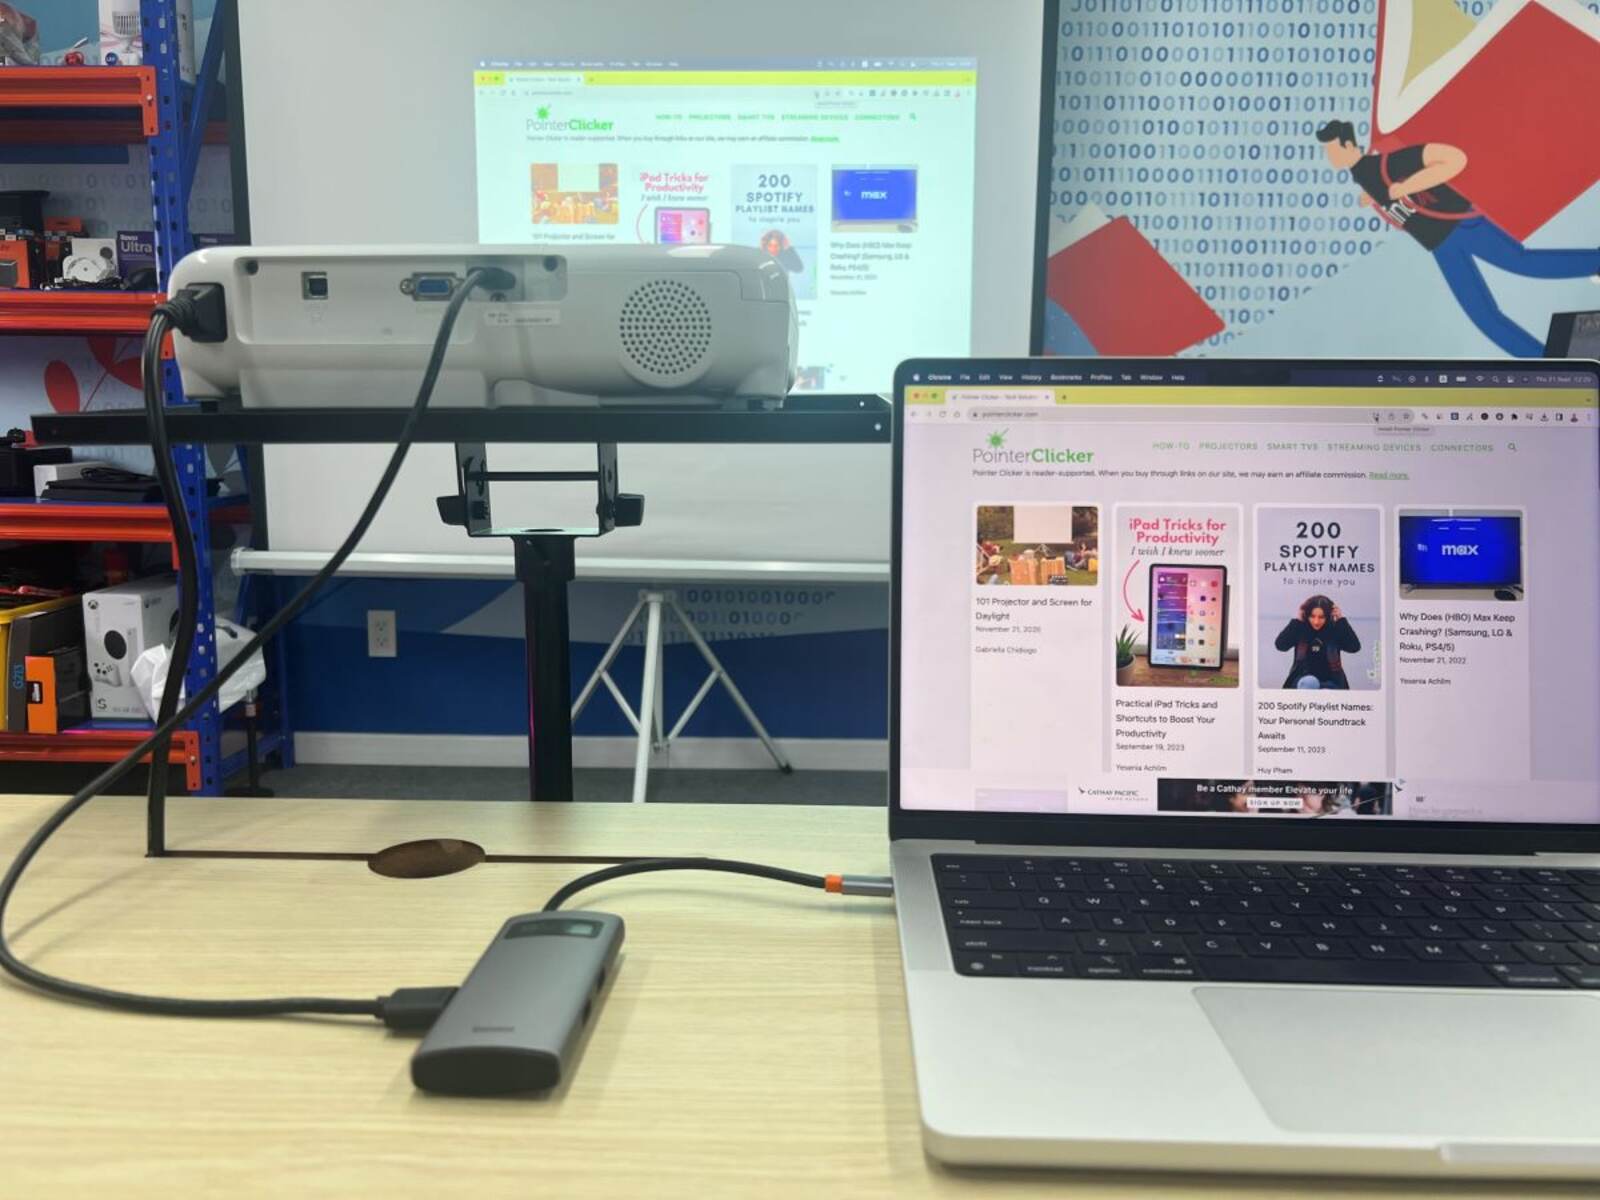
Start by connecting one end of the HDMI or VGA cable to the corresponding port on the adapter. Ensure that the cable is fully inserted and securely connected. Then, connect the other end of the cable to the appropriate input port on the projector. Most projectors have dedicated HDMI or VGA ports for receiving external video signals.
Once both ends of the cable are securely connected, gently push the connectors to make sure they are fully inserted. Give the cable a slight tug to confirm that it is securely attached to both the adapter and the projector.
If your audio system is separate from the projector and you want to transmit audio, check for an audio output port on your adapter and connect an audio cable to it. Then, connect the other end of the audio cable to your audio system.
It is crucial to use the appropriate cables and ensure a secure connection between the adapter, cable, and projector. Once everything is connected, we’re ready to move on to the next step: adjusting the display settings on your Mac Air.
Step 5: Adjust display settings on your Mac Air
After connecting your Mac Air to the projector, it’s time to adjust the display settings to ensure that your screen is correctly projected. By adjusting these settings, you can optimize the display resolution, adjust the screen layout, and enable mirroring if needed.
To begin, go to the Apple menu at the top left corner of your Mac Air screen and select “System Preferences.” Within the System Preferences menu, locate and select “Displays.”
In the Displays settings, you will be presented with various options to customize your display settings. Start by selecting the “Arrangement” tab, which allows you to adjust how the screens are organized and positioned in relation to each other.
If you want to duplicate the Mac Air screen exactly on the projector, ensure that the “Mirror Displays” option is checked. This will display the same content simultaneously on both the Mac Air screen and the projector.
Alternatively, you can choose to extend your desktop to the projector. In this mode, you can have different content on your Mac Air screen and the projector, effectively increasing your screen real estate.
Next, navigate to the “Display” tab, where you can select the desired resolution for the projector. Your Mac Air should automatically detect the optimal resolution for the projector, but you can manually adjust it if necessary. Choose the resolution that provides the best quality and clarity for your projected content.
Additionally, you may need to set the refresh rate for the projector. This will vary depending on the capabilities of your specific projector. In most cases, a default refresh rate of 60Hz should work fine, but you can experiment with different options to find the optimal setting.
Make sure to test the display settings and adjust them as needed to ensure that everything is correctly projected onto the screen. This is a crucial step to ensure that your content is visually appealing and accurately represented on the projector.
Now that you have adjusted the display settings on your Mac Air, we can proceed to the next step: setting up the projector itself.
Step 6: Set up the projector
With your Mac Air connected to the projector and display settings adjusted, it’s time to set up the projector itself to ensure optimal viewing. Follow these steps to properly set up the projector:
1. Position the projector: Find a suitable location for the projector, ensuring that it is placed on a stable surface. Consider the distance between the projector and the screen or wall for optimal image size and clarity.
2. Power on the projector: Plug the projector into a power source and turn it on. Allow the projector to warm up, as specified in the manufacturer’s instructions.
3. Adjust focus and zoom: Use the focus and zoom controls on the projector to adjust the image sharpness and size. Fine-tune these settings until the projected image is clear and aligned with the screen or wall.
4. Correct keystone distortion: If the projector’s image appears distorted or skewed, use the keystone correction feature to correct it. Keystone correction ensures that the projected image is square and properly aligned.
5. Test the audio (if applicable): If your projector has built-in speakers or an audio output, test the audio to ensure it is functioning correctly. Adjust the volume settings as needed and consider using external speakers for better sound quality.
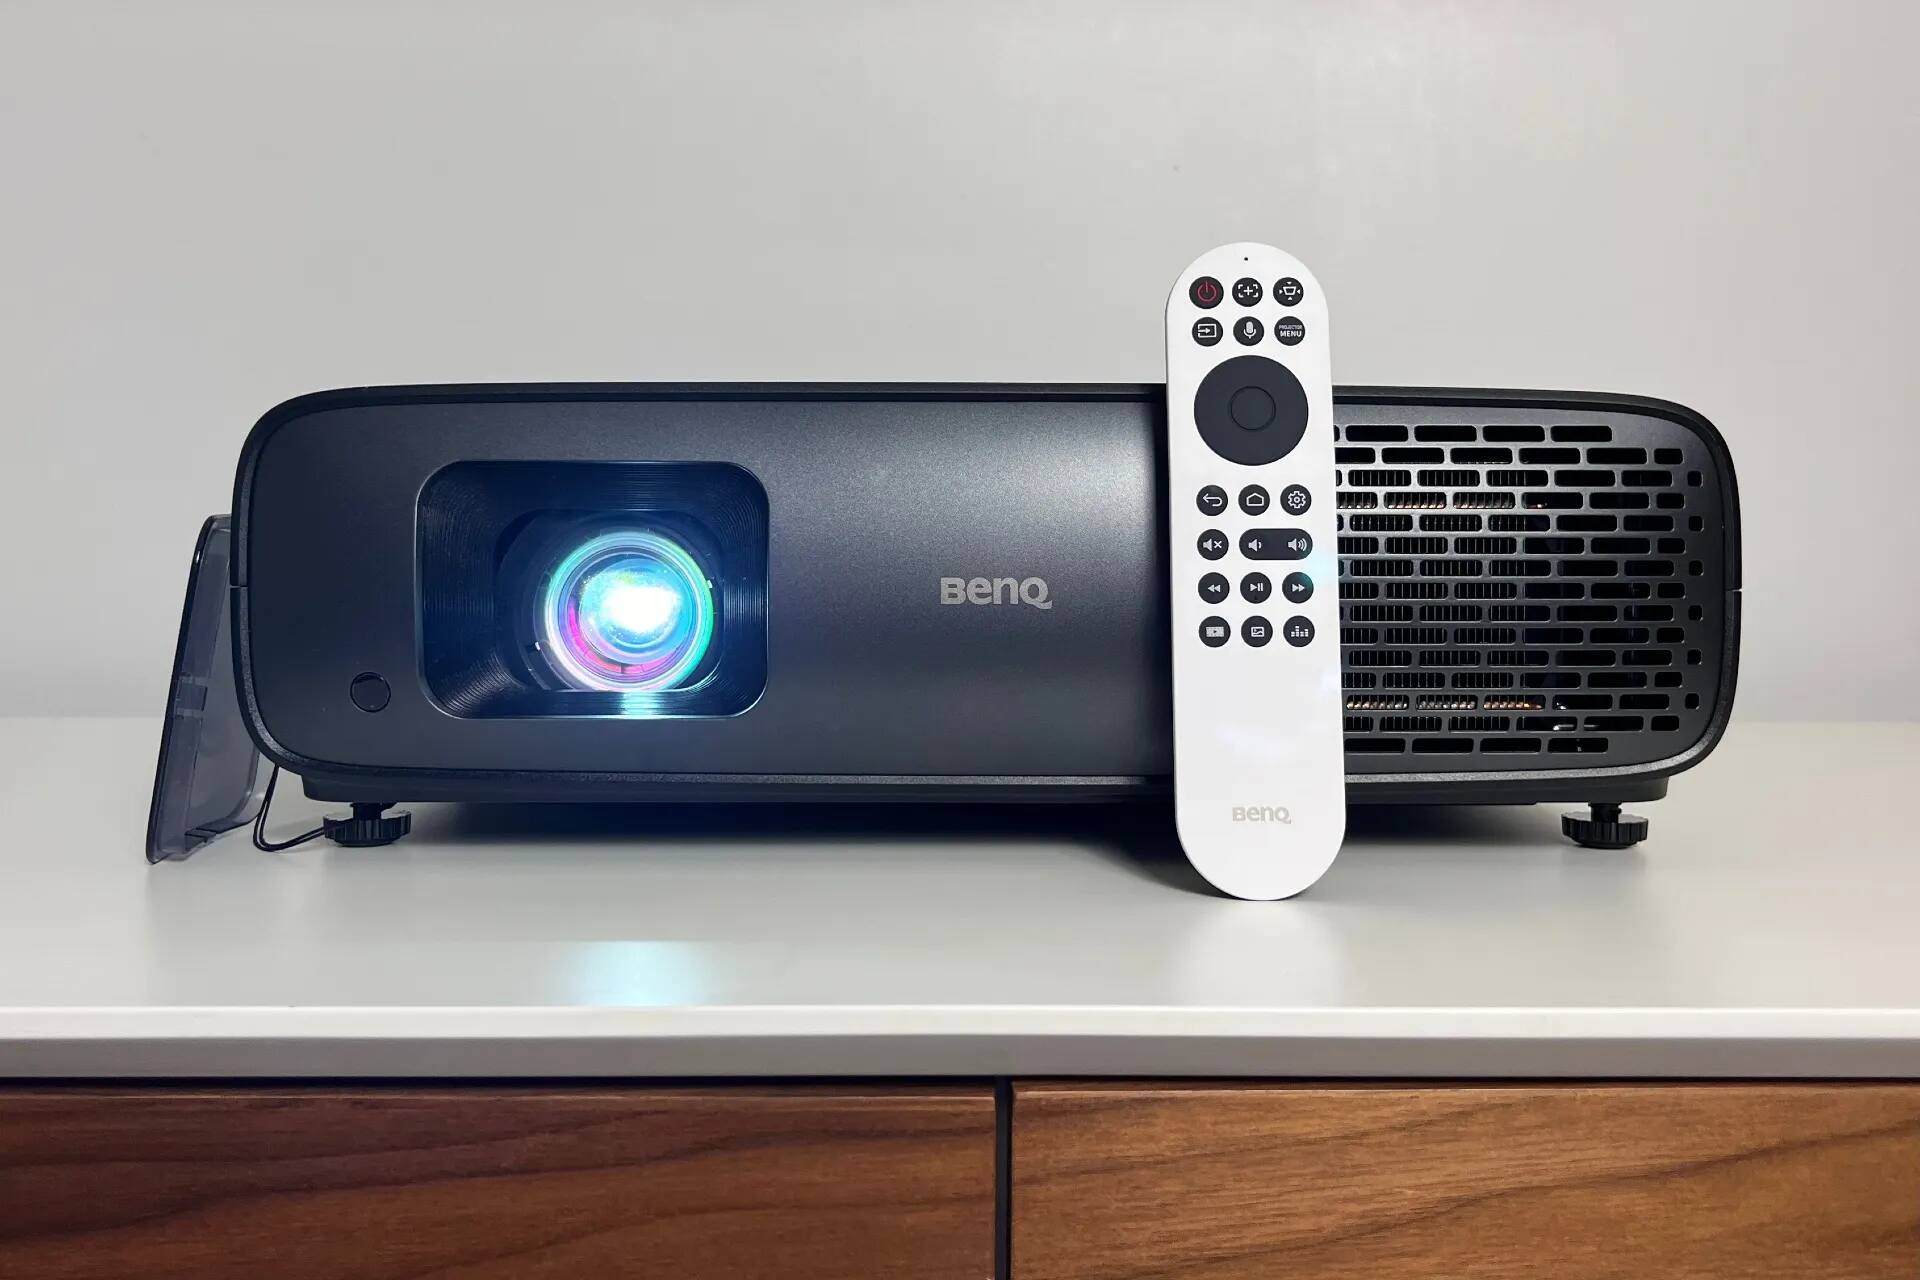
6. Familiarize yourself with remote control (if applicable): If your projector comes with a remote control, take a moment to familiarize yourself with its functions. This will allow you to easily navigate through the projector’s settings and make adjustments conveniently.
By following these steps, you will ensure that your projector is properly set up for optimal viewing. Take the time to double-check all the connections and projector settings before starting your presentation or enjoying your favorite movie.
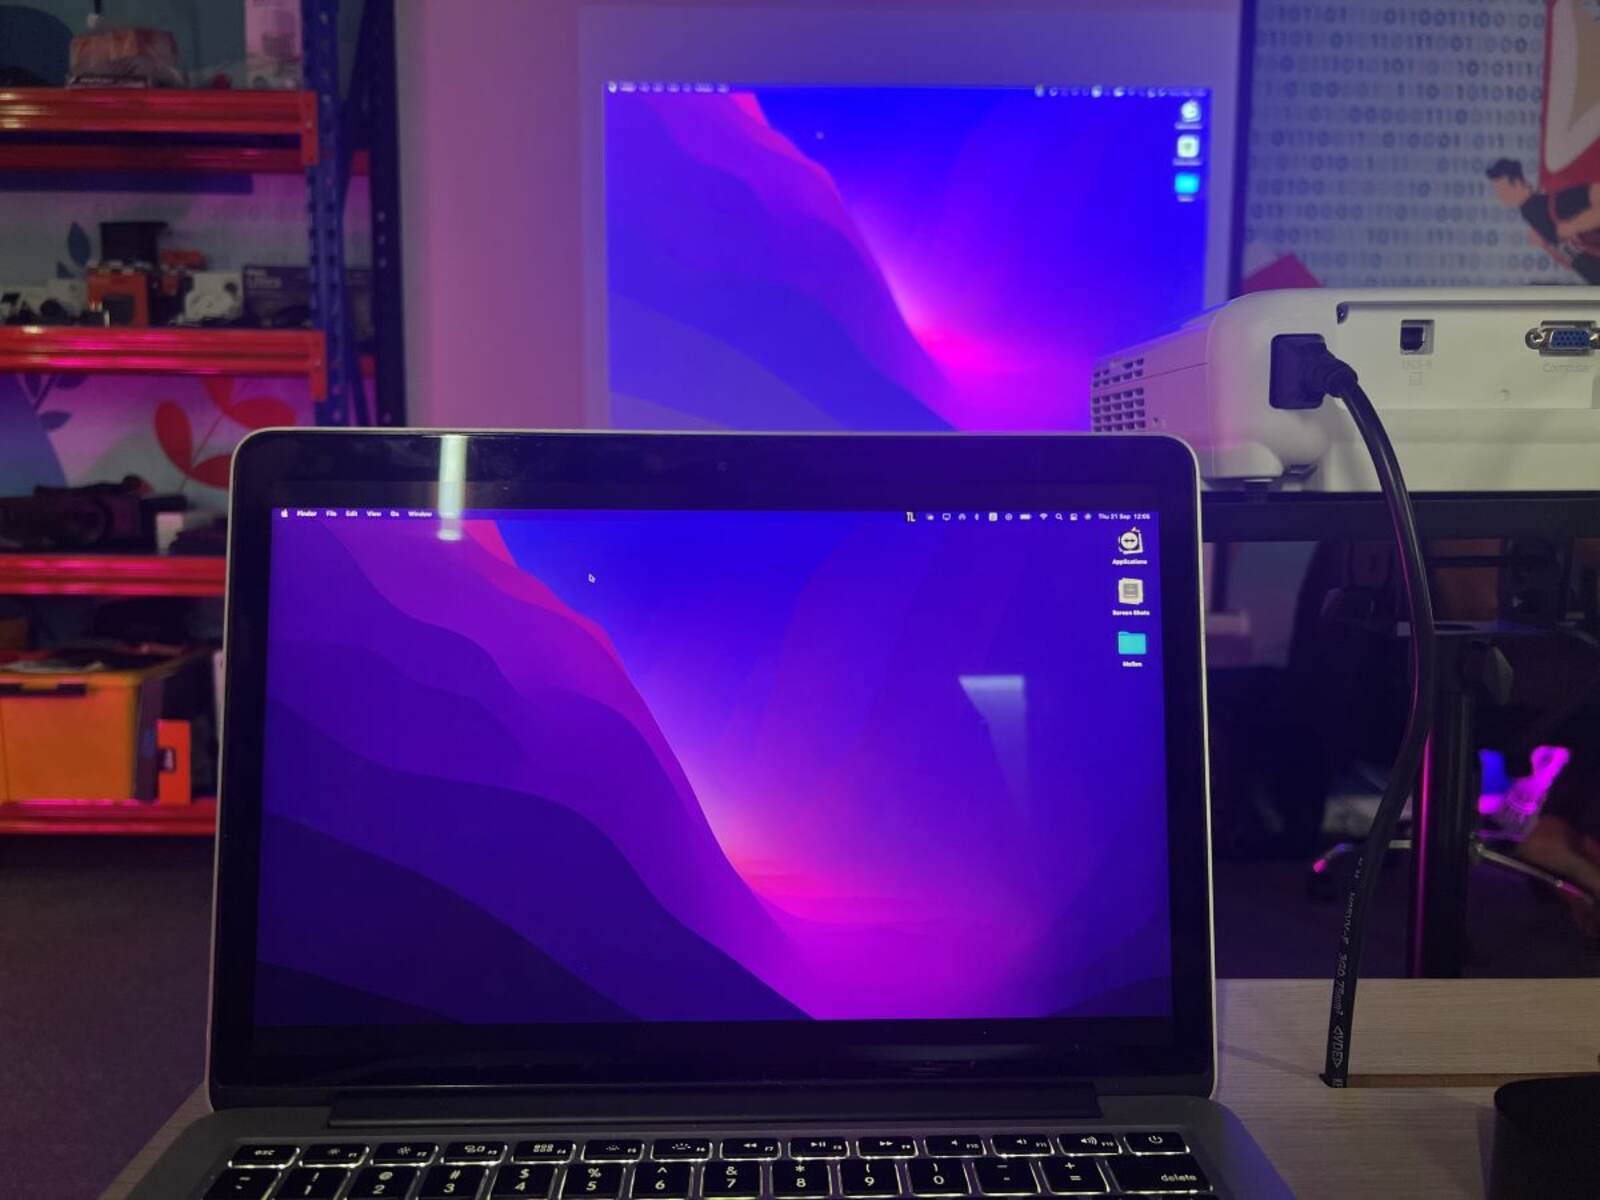
Now that your Mac Air and projector are connected, and everything is set up, you’re ready to share your screen and enjoy a larger display. Remember to adjust the display settings on your Mac Air for the best visual experience, and make any necessary tweaks to the projector’s settings. With everything in place, you can now seamlessly project your Mac Air screen onto the projector and showcase your content with ease.
Conclusion
Connecting your Mac Air to a projector opens up a world of possibilities, allowing you to share your screen on a larger display and engage with a larger audience. By following the steps outlined in this guide, you can connect your Mac Air to a projector with ease and enjoy the benefits of a bigger screen.
We started by checking the ports on your Mac Air, ensuring you know which adapter is needed. Then, we moved on to selecting the right adapter based on your port type and the input ports of the projector. We then proceeded to connect the adapter to your Mac Air and ensured a secure connection.
Next, we connected the projector to the adapter using the appropriate cables and made sure the connections were secure. Afterward, we adjusted the display settings on your Mac Air, allowing you to fine-tune the resolution, layout, and mirroring options according to your preferences.
Finally, we walked you through the process of setting up the projector itself, including positioning, focusing, keystone correction, and audio testing. With everything in place, you are now ready to project your Mac Air screen onto the larger display and enjoy a seamless experience.
Remember, these steps may vary slightly depending on the specific model of your Mac Air and the type of projector you are connecting to. Always consult the manufacturer’s instructions and documentation for precise guidance tailored to your devices.
Now that you have successfully connected your Mac Air to a projector, you can elevate your presentations, movie nights, or sharing sessions to a whole new level. Enjoy the convenience and immersive experience that comes with projecting your screen onto a larger display, and make the most out of your Mac Air’s capabilities.
So go ahead, connect your Mac Air to a projector and share your screen on a bigger canvas. Embrace the versatility and enhanced visual experience that this setup offers, and make a lasting impression on your audience.