Introduction
Welcome to this guide on how to connect an IP camera to a wireless router. In today’s increasingly connected world, IP cameras have become popular for home security and surveillance. These cameras provide high-quality video monitoring and can be accessed remotely through the internet.
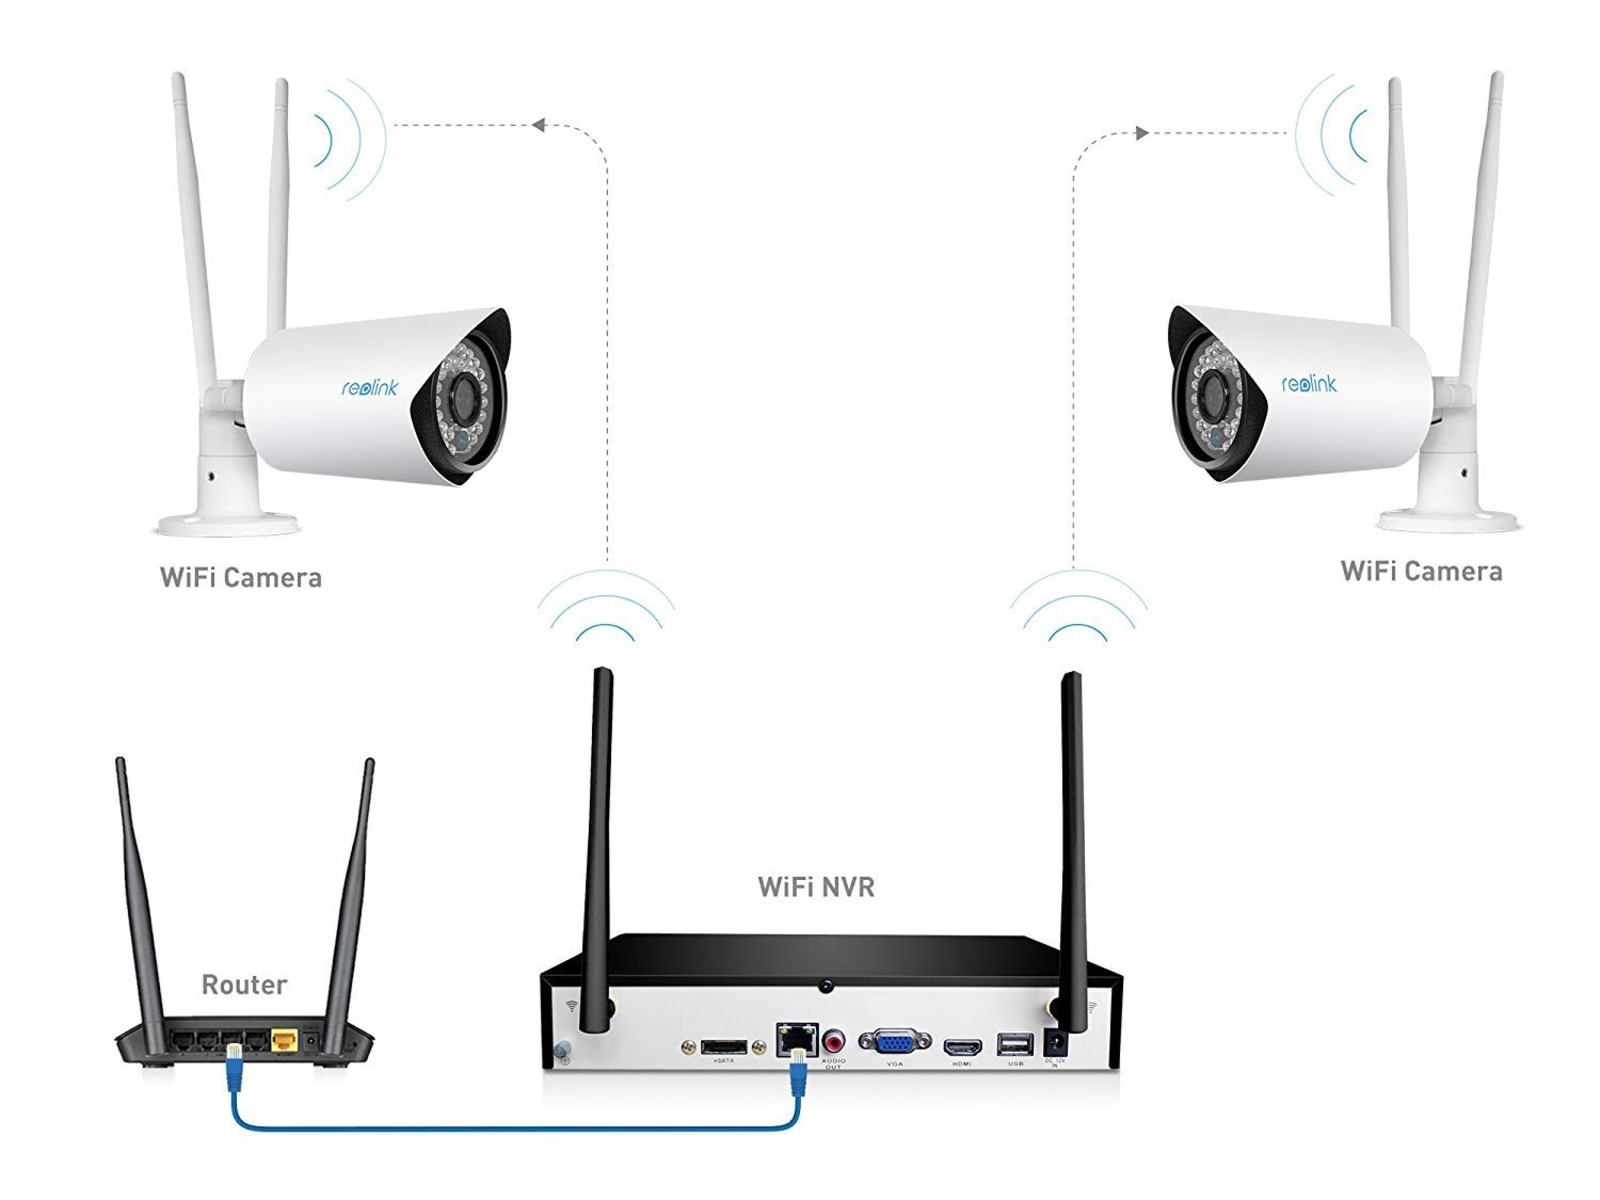
Setting up your IP camera to connect to a wireless router is essential for wireless functionality and flexibility of camera placement. By connecting to your router, you can access the camera’s feed from anywhere in the world, using your smartphone, tablet, or computer.
This guide will walk you through the process of connecting an IP camera to a wireless router, ensuring that you can enjoy the benefits of reliable and convenient remote monitoring. Before we dive into the steps, make sure you have the necessary equipment at hand.
Disclaimer: It’s important to note that the process of connecting an IP camera to a wireless router may vary depending on the camera manufacturer and model. Therefore, it’s always recommended to refer to the specific instructions provided by the camera’s manufacturer in addition to following this guide.
Now, let’s gather the necessary equipment and get started with the setup process.
Step 1: Gather all the necessary equipment
Before you begin connecting your IP camera to a wireless router, it’s essential to gather all the necessary equipment. Having everything prepared will streamline the setup process and ensure a smooth and hassle-free experience. Here’s a list of the equipment you’ll need:
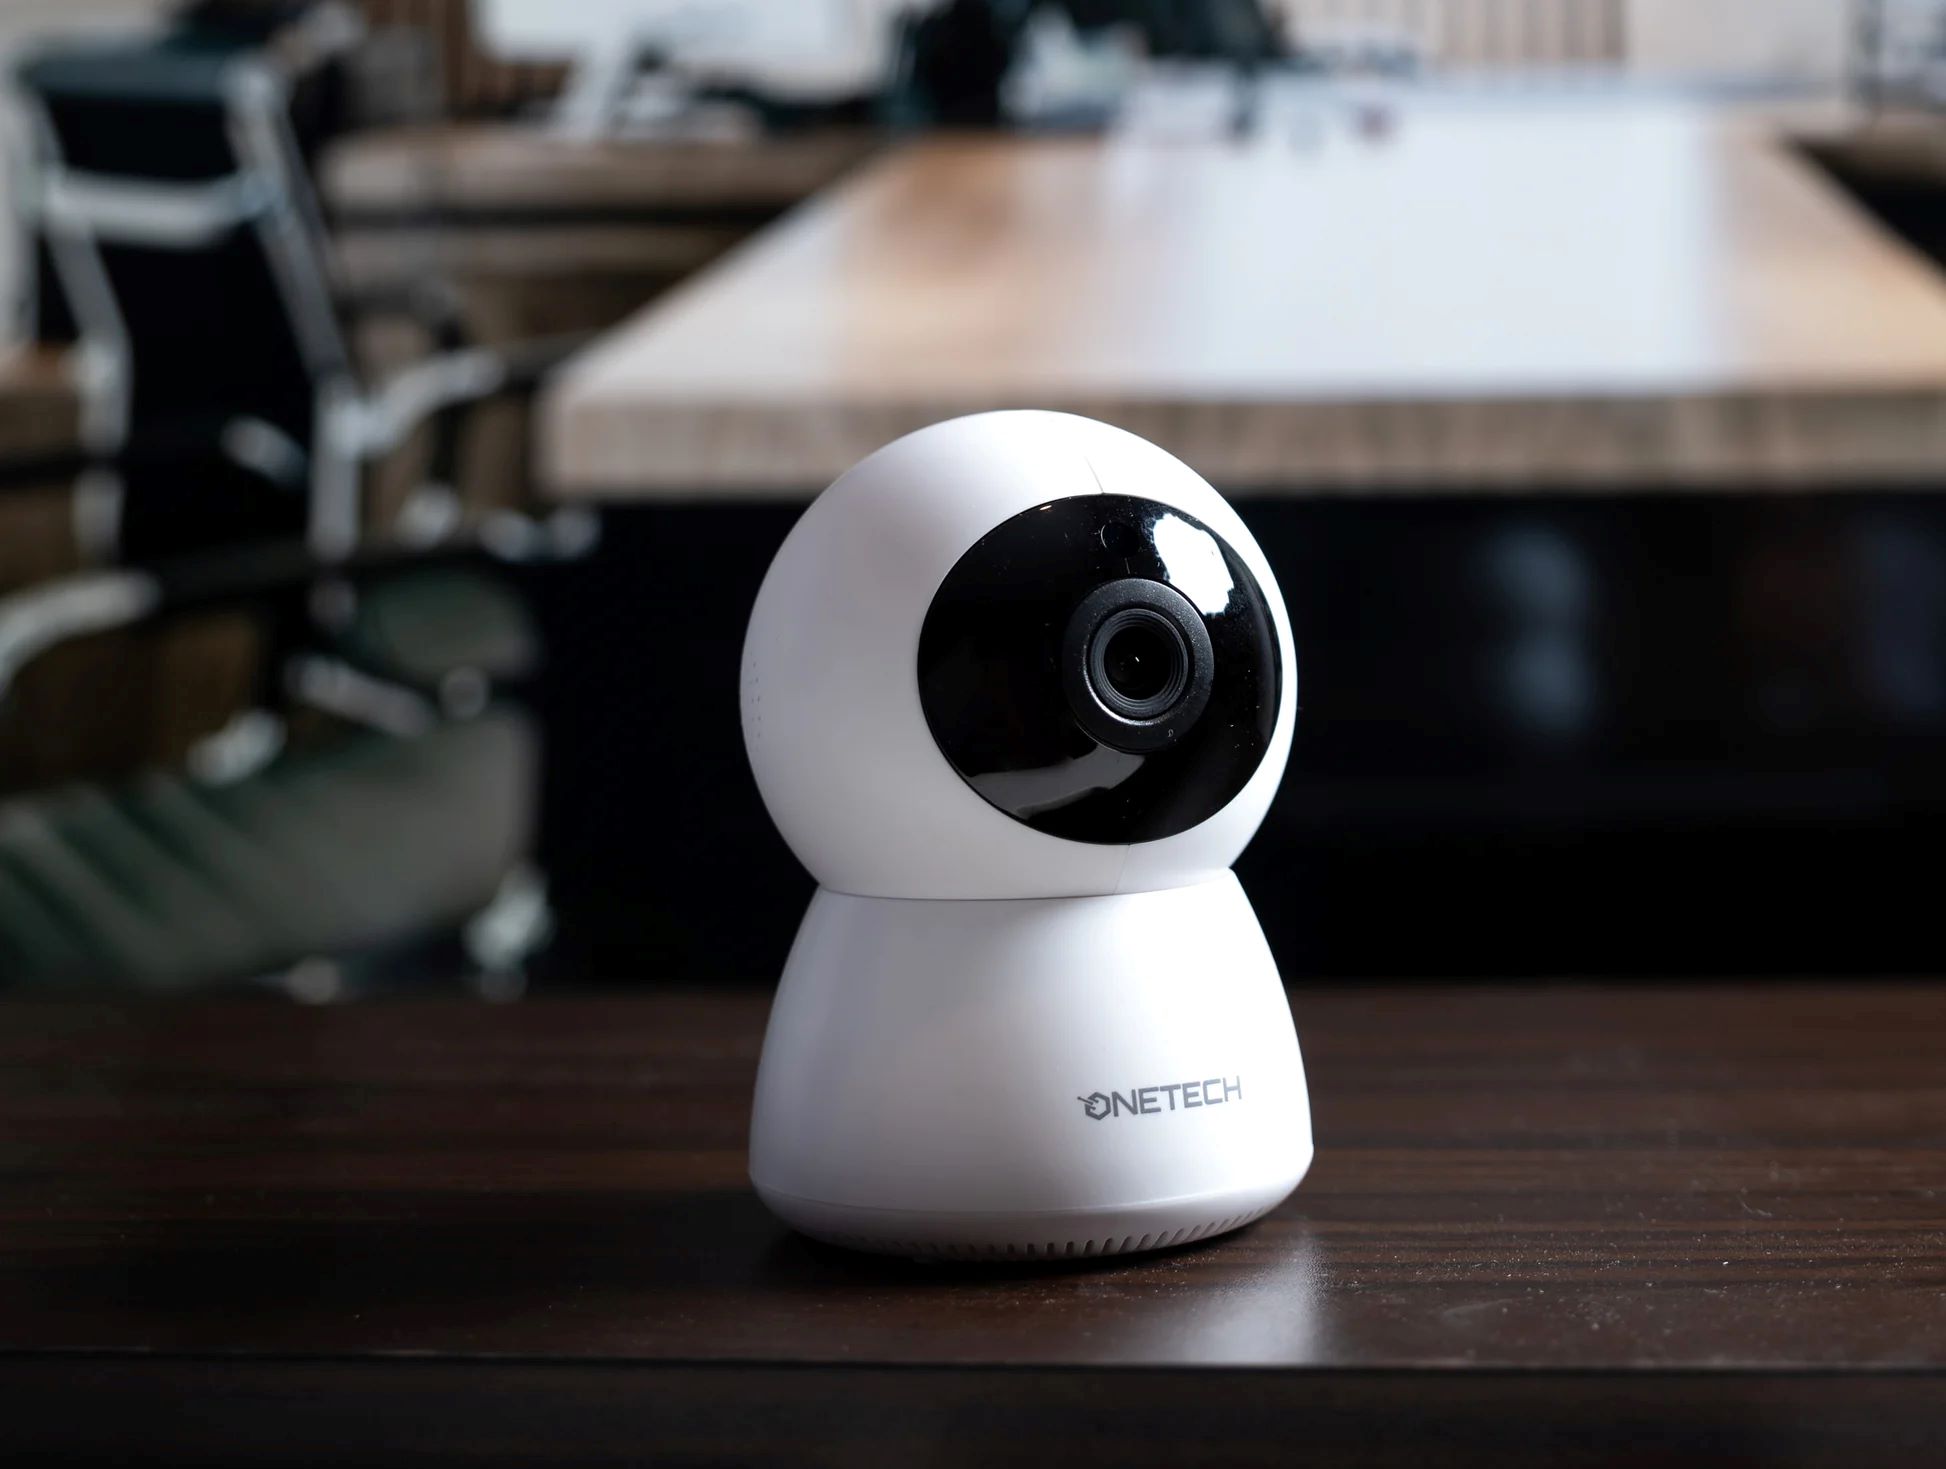
- IP camera: Choose a high-quality IP camera with the features that meet your needs. Ensure that it supports wireless connectivity and has an Ethernet port for initial setup.
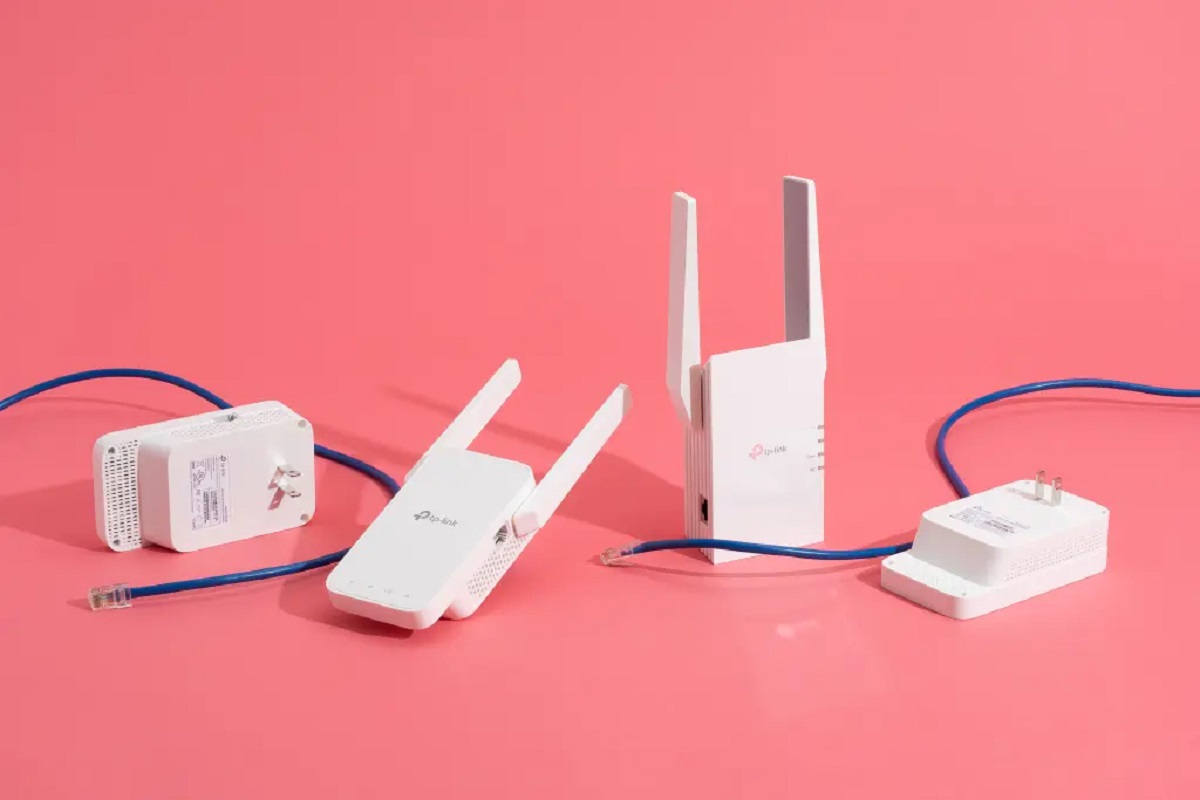
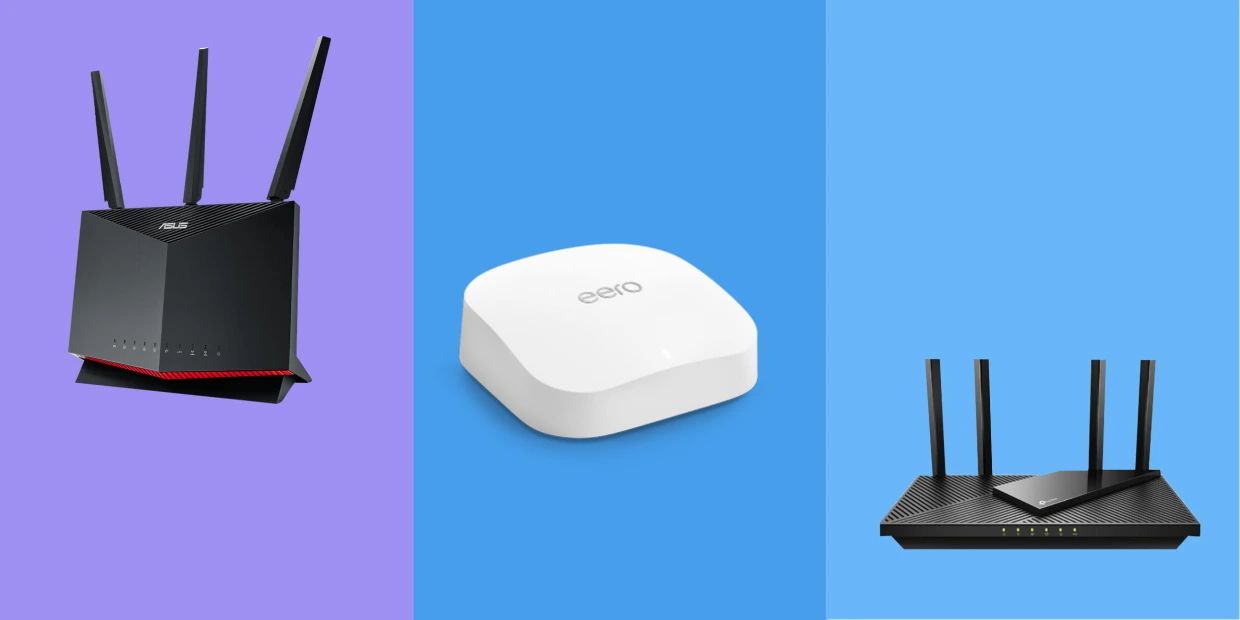
- Wireless router: Make sure you have a wireless router with an available Ethernet port. Most modern routers support Wi-Fi connectivity, allowing you to connect your IP camera wirelessly.
- Ethernet cable: You’ll need an Ethernet cable to establish the initial connection between the IP camera and the router.
- Power adapter: Connect the IP camera to a power source using the provided power adapter. Ensure that the power outlet is within reach of the camera’s intended placement location.
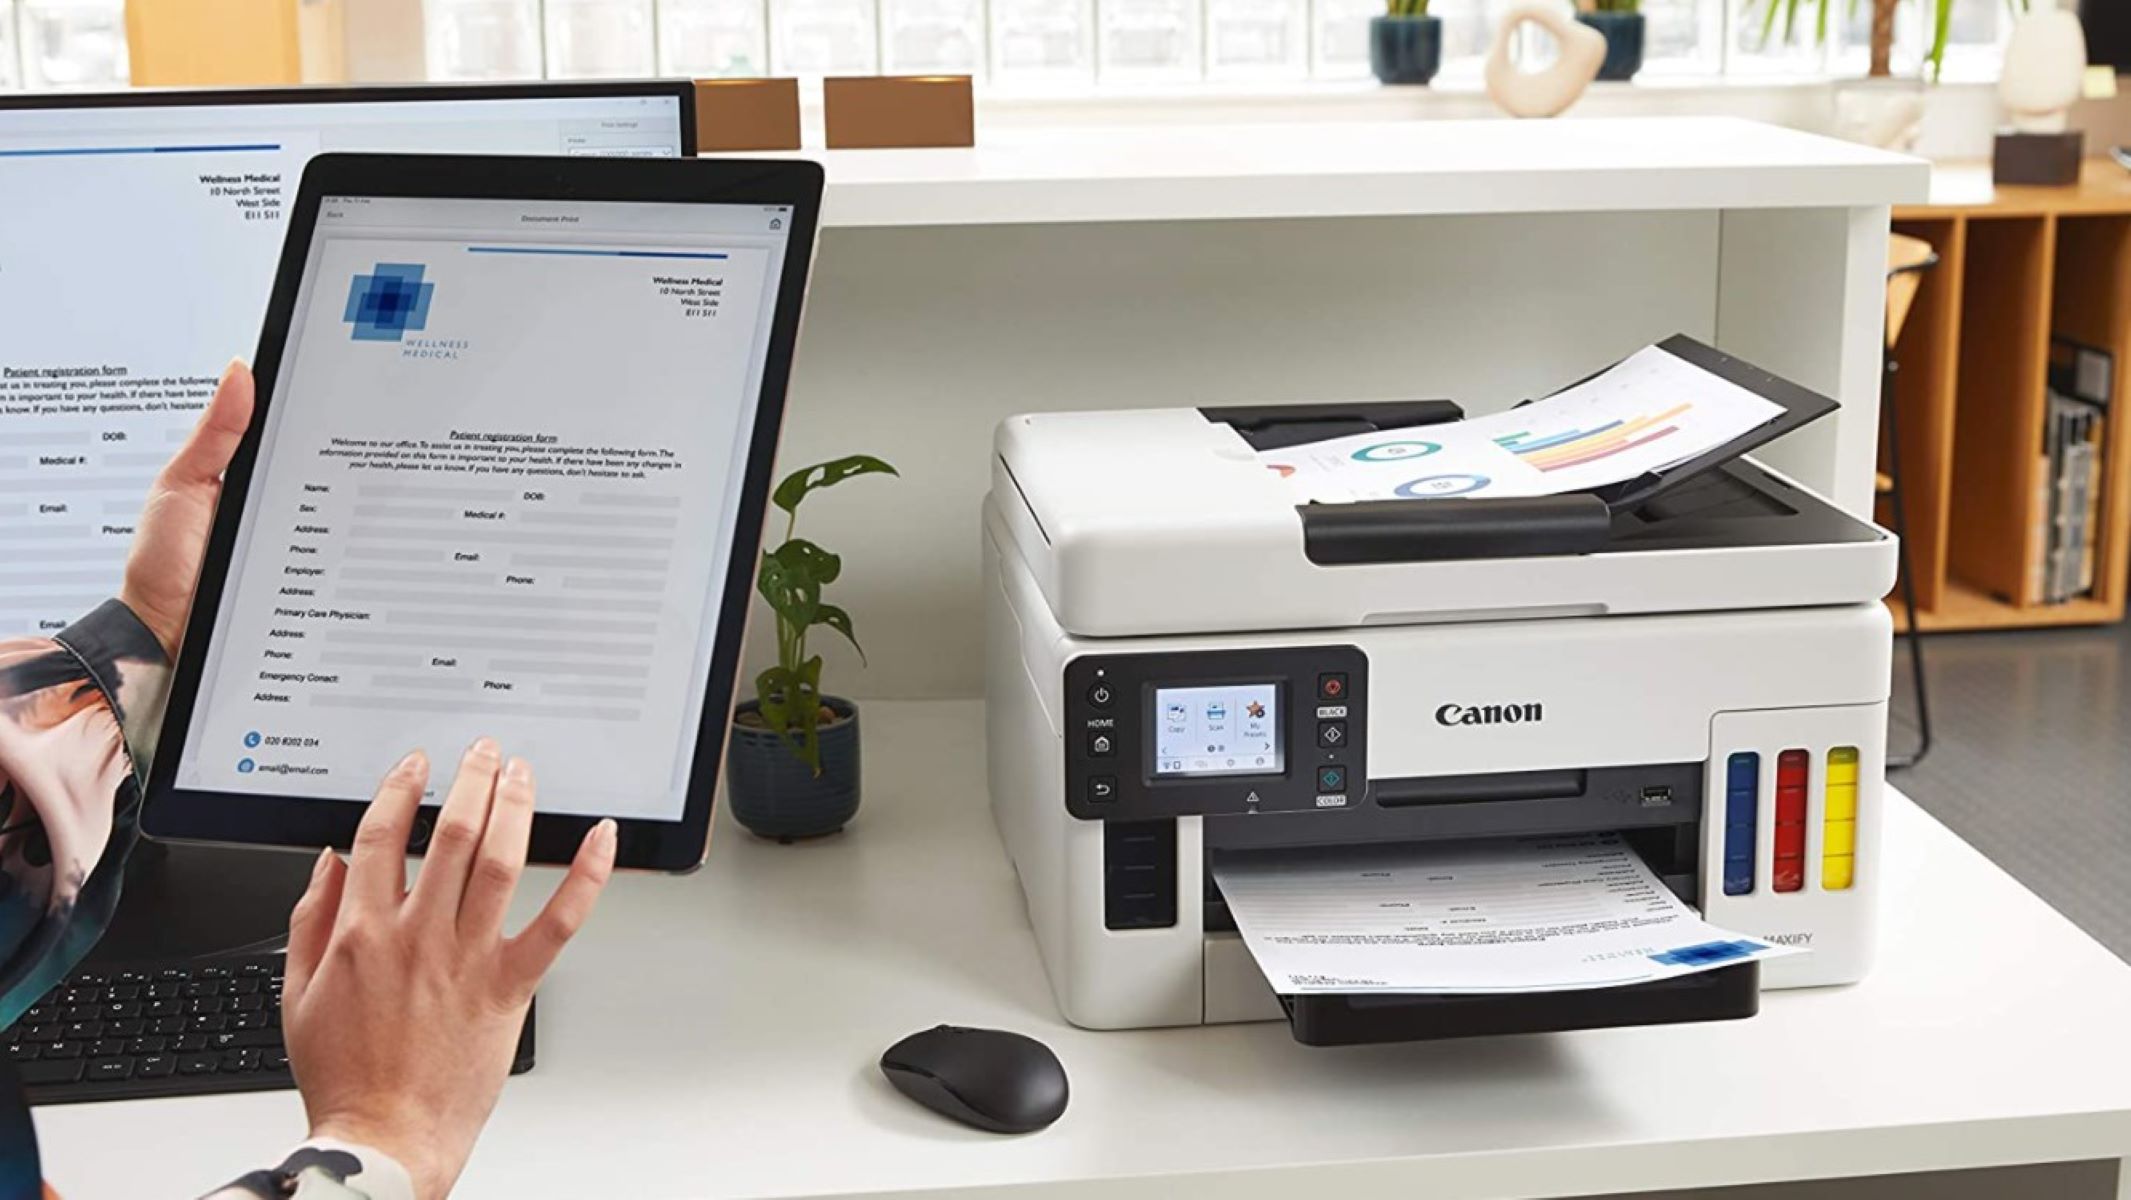
- Smartphone, tablet, or computer: You’ll need a device with internet access to configure the IP camera’s settings and monitor the camera feed remotely.
Once you have gathered all the necessary equipment, you’re ready to move on to the next step of the setup process. Having everything prepared will save you time and ensure a more efficient installation of your IP camera.
Step 2: Connect the IP camera to a power source
Now that you have all the equipment ready, it’s time to connect the IP camera to a power source. The power source will provide the necessary electricity to operate the camera and ensure continuous monitoring. Follow these steps to connect the IP camera to a power source:
- Locate the power input port on the IP camera. It is usually located at the back or bottom of the camera.
- Plug one end of the power adapter into the power input port of the IP camera.
- Connect the other end of the power adapter to a nearby power outlet. Ensure that the power outlet is within reach of the camera’s intended placement.
- Check if the IP camera’s power indicator light turns on. This indicates that the camera is receiving power.
It’s important to ensure that the IP camera is properly connected to a power source for uninterrupted functionality. Make sure the power adapter is securely plugged into both the camera and the power outlet. If you encounter any issues with the power connection, double-check the cables and try a different power outlet if necessary.
With the IP camera successfully connected to a power source, you can now proceed to the next step of the setup process. Remember, a stable power connection is crucial for ensuring the camera operates efficiently and provides you with reliable monitoring of your desired area.
Step 3: Reset the IP camera to its default settings
Resetting the IP camera to its default settings is an important step in the setup process. It ensures that any previous configurations or network settings are cleared, allowing you to start fresh with the camera’s initial setup. Follow these steps to reset the IP camera:
- Locate the reset button on the IP camera. The position of the reset button may vary depending on the camera model.
- Using a small, pointed object like a paperclip or a pin, press and hold the reset button for about 10-15 seconds.
- Release the reset button. The IP camera will start the reset process, and the indicator lights may flash to indicate that the reset is in progress.
- Wait for a few moments until the IP camera completes the reset process. The camera will restart, and all previous settings will be restored to their default values.
Resetting the IP camera is necessary to clear any existing network configurations and ensure that you have full control over the setup process. By restoring the camera to its default settings, you can proceed with configuring the camera to connect to your wireless router.
It’s important to note that resetting the IP camera will erase any custom settings you may have configured previously. Make sure to take note of any specific settings or configurations before resetting the camera so that you can reconfigure them later if needed.
With the IP camera successfully reset, you are now ready to move on to the next step and establish a connection between the camera and your wireless router.
Step 4: Connect the IP camera to the router using an Ethernet cable
Now that you have reset the IP camera to its default settings, it’s time to establish the initial connection between the camera and your wireless router. This connection will allow you to configure the camera’s settings and enable wireless functionality. Follow these steps to connect the IP camera to the router using an Ethernet cable:
- Locate the Ethernet port on the IP camera. It is usually labeled as “LAN” or “Ethernet”.
- Take one end of the Ethernet cable and insert it into the Ethernet port on the IP camera.
- Connect the other end of the Ethernet cable to an available Ethernet port on your wireless router.
- Ensure that the Ethernet cable is securely connected to both the camera and the router.
By connecting the IP camera to the router using an Ethernet cable, you establish a direct communication link between the two devices. This allows you to access the camera’s interface through your computer or mobile device and perform the necessary configurations.
Keep in mind that this step is temporary and is only required for the initial setup process. Once the camera is connected to the router and configured, you can disconnect the Ethernet cable and start using the camera wirelessly.
With the IP camera successfully connected to the router via the Ethernet cable, you can now proceed to the next step and configure the camera’s settings to enable wireless functionality and remote access.
Step 5: Configure the IP camera’s settings
Once you have established the connection between the IP camera and the router, it’s time to configure the camera’s settings. This step is crucial for enabling wireless functionality and remote access to the camera’s feed. Follow these steps to configure the IP camera’s settings:
- Open a web browser on your computer or mobile device.
- Enter the default IP address of the camera in the browser’s address bar. The default IP address can usually be found in the camera’s user manual or on the manufacturer’s website.
- A login page will appear. Enter the default username and password for the IP camera. Again, you can find these credentials in the camera’s documentation.
- Once you are logged in, you will be able to access the camera’s web interface, which allows you to configure various settings.
- Navigate to the wireless settings section and select your wireless network from the available networks list.
- Enter your wireless network’s password to establish the connection between the IP camera and the router.
- Save the settings and wait for the camera to restart.
Configuring the IP camera’s settings is essential for enabling wireless functionality and ensuring that you can access the camera’s feed remotely. Make sure to enter the correct wireless network name (SSID) and password to establish a secure connection.
In addition to the wireless settings, you can also customize other camera settings such as video quality, motion detection, and recording options through the web interface. Take your time to explore the available settings and adjust them according to your preferences and requirements.
Once you have configured the IP camera’s settings, you are ready to test the connection and adjust the camera angle for optimal monitoring.
Step 6: Test the connection and adjust the camera angle
After configuring the IP camera’s settings, it’s important to test the connection and ensure that everything is working properly. Additionally, you may need to adjust the camera’s angle to achieve the desired monitoring coverage. Follow these steps to test the connection and adjust the camera angle:
- Access the camera’s web interface using your computer or mobile device.
- Navigate to the camera’s live view or monitoring page.
- Verify that you can see the camera feed and that it is streaming smoothly.
- If there are any issues with the connection, double-check the camera’s wireless settings and ensure that the camera is within range of the router.
- Make any necessary adjustments to the camera’s angle or position to ensure optimal monitoring coverage. This may involve panning the camera left or right, tilting it up or down, or adjusting the zoom level.
- Monitor the camera feed from your computer or mobile device to ensure that the camera is capturing the desired area effectively.
- If needed, you can also explore additional features and settings in the camera’s web interface, such as scheduling, motion detection, or video recording options.
Testing the connection and adjusting the camera angle allows you to ensure that the IP camera is working correctly and providing optimal coverage of the monitored area. It’s important to make any necessary adjustments to meet your specific needs and requirements.
By successfully completing these steps, you have successfully connected and configured your IP camera to a wireless router. Now you can enjoy the benefits of remote access and monitoring, keeping an eye on your desired area from anywhere in the world.
Conclusion
Connecting an IP camera to a wireless router opens up a world of possibilities for remote monitoring and home security. By following the steps outlined in this guide, you can easily set up your IP camera and enjoy the benefits of wireless functionality.
We started by gathering all the necessary equipment, including the IP camera, wireless router, Ethernet cable, power adapter, and a device with internet access. With everything prepared, we then connected the IP camera to a power source, ensuring it receives the necessary electricity to operate.
Next, we reset the IP camera to its default settings, clearing any previous configurations and allowing a fresh start to the setup process. Once the camera was reset, we connected it to the router using an Ethernet cable, establishing the initial communication between the two devices.
With the physical connections in place, we proceeded to configure the IP camera’s settings through its web interface. By entering the appropriate wireless network details and saving the settings, we enabled wireless functionality and remote access to the camera’s feed.
After configuring the camera, we tested the connection and adjusted the camera angle to ensure optimal monitoring coverage. By verifying the camera feed and making any necessary adjustments, we could be confident in the camera’s performance and its ability to capture the desired area effectively.
In conclusion, connecting an IP camera to a wireless router can greatly enhance your home security and surveillance capabilities. With remote access and wireless functionality, you can monitor your property from anywhere at any time. By following the steps outlined in this guide, you can successfully set up your IP camera and enjoy the peace of mind that comes with enhanced security and surveillance.