Introduction
External Solid State Drives (SSDs) have become increasingly popular among laptop users due to their faster speeds and larger storage capacities. Connecting an external SSD to your laptop can greatly improve its performance, allowing you to store and access data more efficiently. Whether you need additional storage space, want to speed up your system, or need a portable backup solution, connecting an external SSD to your laptop is a straightforward process that requires a few simple steps.
In this guide, we will explore the benefits of using an external SSD, discuss how to choose the right one for your needs, and provide a step-by-step tutorial on connecting and using it with your laptop. By the end of this article, you will have a clear understanding of how to connect and maximize the usage of an external SSD, empowering you to enjoy faster data transfer speeds and expand your storage capabilities.
Before we dive into the details, it’s important to note that the specific instructions may vary depending on the type of laptop and SSD you are using. However, the general principles and steps outlined in this guide will provide you with a solid foundation and help you navigate the process with ease.
Benefits of Using an External SSD
There are several advantages to using an external SSD with your laptop. Let’s explore some of the key benefits:
- Faster Speeds: One of the most significant advantages of an external SSD is its exceptional speed. Compared to traditional hard disk drives (HDDs), SSDs offer faster read and write speeds, resulting in quicker file transfers and reduced waiting times. This means you can access your data, launch applications, and perform tasks more efficiently, enhancing your overall productivity.
- Improved Performance: By connecting an external SSD to your laptop, you can significantly boost its performance. The fast data transfer speeds of an SSD allow your system to respond quicker and handle resource-intensive tasks with ease. Whether you’re editing videos, running virtual machines, or playing graphics-intensive games, an external SSD can provide a noticeable performance upgrade.
- Increased Storage Capacity: Many laptops come with limited storage capacity, which can quickly fill up with files, documents, photos, and videos. An external SSD offers a convenient and portable solution for expanding your storage space. With larger capacities available, you can store a vast library of media, backup important files, and carry your data wherever you go.
- Portability: External SSDs are compact and lightweight, making them highly portable. Whether you’re a student, professional, or frequent traveler, having an external SSD allows you to carry your important files and data with you without the need for bulky external hard drives. Simply slip the SSD into your bag or pocket, and you’re ready to go.
- Data Security and Backup: Losing valuable data can be devastating. With an external SSD, you can easily create backups of your important files and documents. SSDs offer robust data protection and have a lower risk of mechanical failure compared to traditional HDDs. Additionally, some external SSDs come with built-in encryption features, providing an extra layer of security for your sensitive data.
By utilizing an external SSD with your laptop, you can enjoy faster speeds, improved performance, increased storage capacity, portability, and enhanced data security. Now that we understand the benefits, let’s move on to the next step: choosing the right external SSD for your laptop.
Choosing the Right External SSD
When selecting an external SSD for your laptop, there are a few key factors to consider to ensure compatibility and optimal performance. Let’s explore these factors below:
- Storage Capacity: Determine how much storage space you require. Consider the types of files you’ll be storing and whether you need room for future expansion. SSDs come in various sizes, ranging from 250GB to several terabytes, so choose an option that meets your storage needs.
- Interface: Check the ports available on your laptop and choose an external SSD that has a compatible interface. The most common interfaces are USB 3.0, USB 3.1, and Thunderbolt. USB 3.0 is a popular choice for most laptops as it offers fast transfer speeds and is backward compatible with older USB ports.
- Speed: Consider the read and write speeds of the external SSD. Faster speeds will result in quicker data transfers and improved overall performance. Look for SSDs that offer high-speed transfers, such as SSDs with NVMe technology, for maximum efficiency.
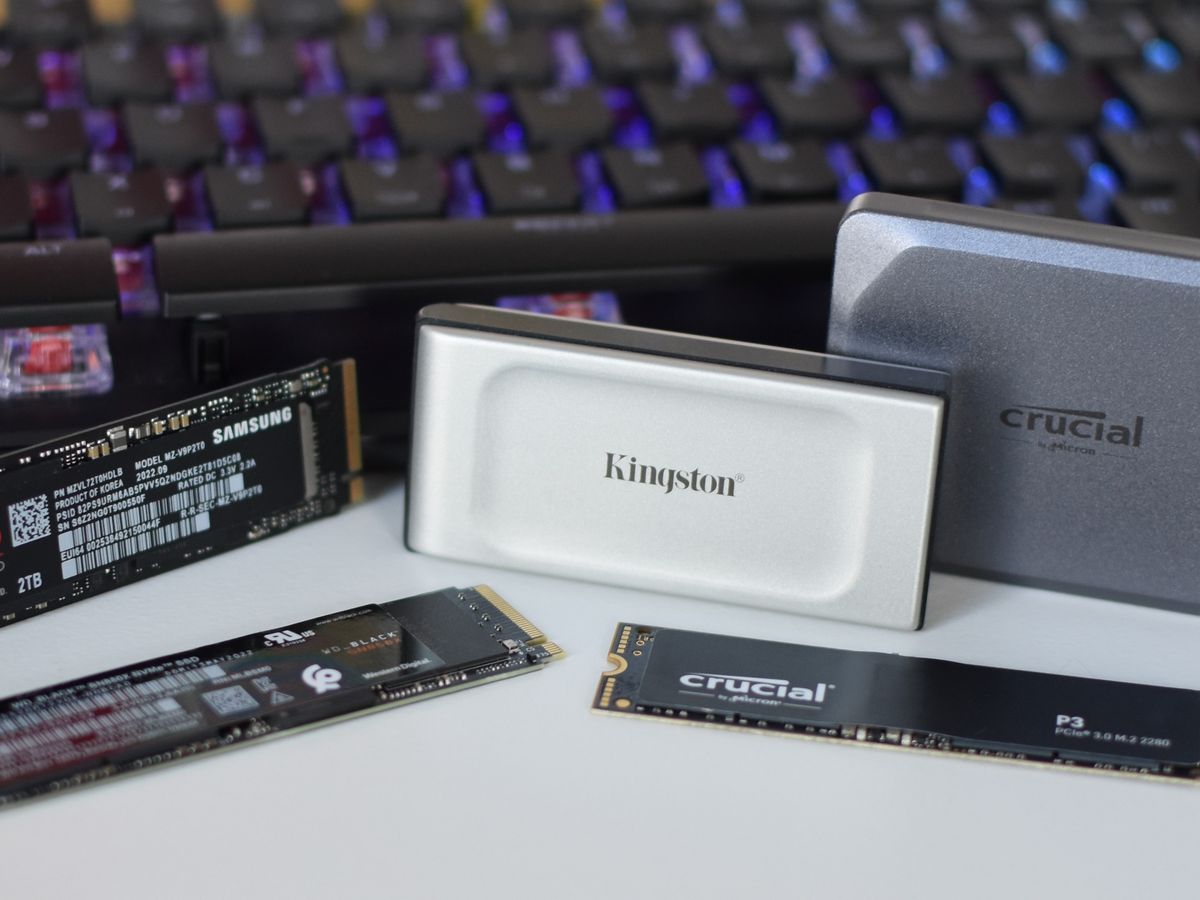
- Form Factor: External SSDs come in different shapes and sizes. Some are designed to be compact and portable, while others offer a larger form factor and additional features. Consider your usage scenario and decide whether a smaller, more portable SSD or a larger, feature-rich SSD suits your needs better.
- Price: Set a budget for your external SSD purchase. Prices can vary depending on the brand, capacity, and performance of the SSD. Consider the value for money and choose an option that fits within your budget without compromising on performance and reliability.
By considering the storage capacity, interface, speed, form factor, and price of the external SSD, you can make an informed decision that meets your specific requirements.
Now that you have a clear understanding of how to choose the right external SSD, let’s move on to the next section: connecting the SSD to your laptop.
Step 1: Check the Type of USB Port on Your Laptop
Before connecting your external SSD to your laptop, it’s important to determine the type of USB port you have. This will ensure that you choose the correct adapter or cable for the connection. Here’s how to check the USB port on your laptop:
- Inspect the Physical Ports: Examine the sides and back of your laptop for USB ports. USB ports are rectangular in shape and may be marked with the USB logo. Different generations of USB ports may have different physical appearances. Common types include USB 2.0, USB 3.0, USB 3.1, and USB-C.
- Refer to the Laptop’s User Manual: If you’re unsure about the type of USB port on your laptop, consult the user manual that came with your laptop. It should provide detailed information about the available ports and their specifications.
- Use Device Manager (Windows): On Windows laptops, you can also use the Device Manager to check the type of USB ports. Press the Windows key + X, and select “Device Manager” from the menu. Expand the “Universal Serial Bus controllers” section to view the USB ports listed. Right-click on a USB port and select “Properties” to see its specifications.
- Check System Information (Mac): On Mac laptops, you can use the System Information app to find out the type of USB ports. Click on the Apple menu, select “About This Mac,” and then click on “System Report.” Under the “Hardware” section, expand “USB” to see the USB ports and their specifications.
By following these steps, you will be able to identify the type of USB port on your laptop. This knowledge is crucial for selecting the appropriate adapter or cable in the next step. Once you have determined the USB port type, you can proceed to the next step: purchasing the right adapter or cable for your external SSD.
Step 2: Purchase the Appropriate USB Adapter or Cable
After identifying the type of USB port on your laptop, the next step is to purchase the appropriate USB adapter or cable to connect your external SSD. This step is crucial to ensure compatibility and a secure connection between your laptop and the SSD. Here’s how to choose the right adapter or cable:
- Research and Compatibility: Determine the specific USB adapter or cable that is compatible with your laptop’s USB port type. Pay attention to the USB generation (e.g., USB 3.0, USB 3.1, USB-C) and ensure that the adapter or cable supports the same generation.
- Check the SSD Connector: Examine the connector type on your external SSD. Some SSDs feature a USB-A connector, while others may have a USB-C or Thunderbolt connector. Ensure that the adapter or cable you purchase has the appropriate connector to match your SSD.
- Consider Quality and Durability: Look for adapters or cables that are made with high-quality materials and have a sturdy construction. This will ensure a reliable and long-lasting connection between your laptop and the external SSD.
- Read Reviews and Recommendations: Before making a purchase, read reviews and seek recommendations from trusted sources or online communities. This can help you gain insights into the reliability and performance of different adapters or cables.
- Purchase from Reputable Sellers: To ensure authenticity and warranty coverage, purchase the adapter or cable from reputable sellers or official manufacturer websites. This will give you peace of mind and guarantee better customer support, should you encounter any issues.
By following these guidelines, you can ensure that you purchase the appropriate USB adapter or cable for connecting your external SSD to your laptop. Once you have obtained the necessary adapter or cable, you’re ready to move on to the next step: connecting the external SSD to your laptop.
Step 3: Connect the External SSD to Your Laptop
With the appropriate USB adapter or cable in hand, you are now ready to connect your external SSD to your laptop. Follow these steps to establish a secure connection:
- Power Off Your Laptop: Before connecting any devices, ensure that your laptop is powered off. This precautionary step protects both your laptop and the external SSD from any potential voltage surges or data transfer errors.
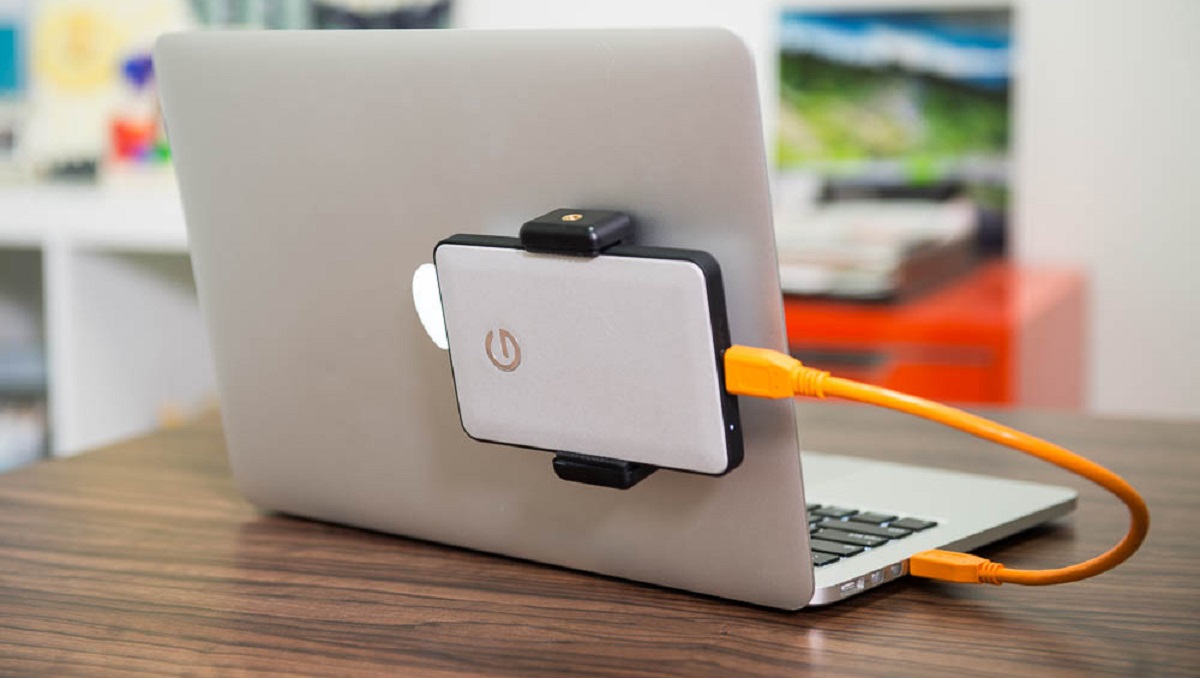
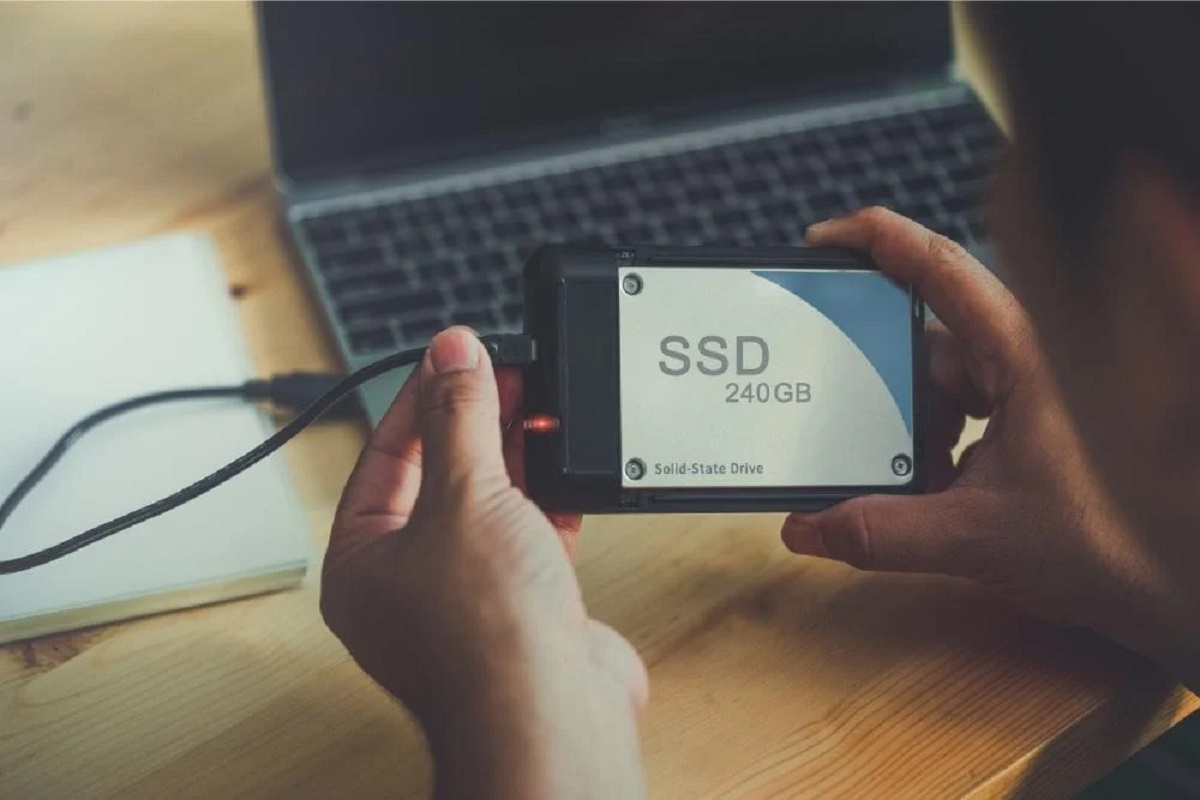
- Connect the USB Adapter or Cable: Attach one end of the USB adapter or cable to the USB port on your laptop. Ensure that it is inserted securely to establish a stable connection. If you are using an adapter, connect the appropriate connector end to your laptop’s USB port.
- Connect the External SSD: Plug the other end of the adapter or cable into the USB port on your external SSD. Again, ensure that the connection is secure. If your SSD has a separate power source, such as a power adapter or USB power cable, make sure to connect it as well for proper functionality.
- Power On Your Laptop: Once all connections are made, power on your laptop. It may take a few moments for your laptop to recognize the external SSD.
- Confirm Connection: After your laptop has finished booting up, check for the external SSD’s presence. Depending on your operating system, you can verify the connection by navigating to the “My Computer” or “This PC” section. Your external SSD should be listed as an available drive or storage device.
By following these steps, you can successfully connect your external SSD to your laptop. If the SSD is not detected, ensure that the adapter or cable is properly connected, try using a different USB port, or consult the manufacturer’s guidelines for troubleshooting assistance.
In the next step, we will discuss formatting your external SSD to ensure optimal performance and compatibility with your laptop.
Step 4: Formatting Your External SSD
After connecting your external SSD to your laptop, you may need to format it before you can start using it. Formatting prepares the SSD for data storage, ensuring compatibility and optimal performance. Follow these steps to format your external SSD:
- Open Disk Management (Windows): On Windows laptops, right-click on the “Start” button and select “Disk Management” from the menu. This will open the Disk Management utility, which displays all connected storage devices, including your external SSD.
- Select the External SSD: Locate your external SSD in the list of drives. It may appear as “Unallocated” or with a capacity label. Right-click on the SSD and select “Format” from the context menu.
- Choose File System and Allocation Unit Size: In the Format window, choose the desired file system for your external SSD. For Windows compatibility, select “NTFS.” If you plan to use the SSD with both Windows and Mac computers, consider selecting “exFAT” for cross-platform compatibility. Additionally, choose an allocation unit size based on your requirements or leave it as the default setting.
- Assign a Volume Label (Optional): You can assign a name or label to your external SSD for easier identification. Enter a desired volume label in the corresponding field. This step is optional but recommended for better organization.
- Start the Formatting Process: Double-check your settings, and then click on the “Format” button to start the formatting process. Be aware that this process will erase all data on the SSD, so ensure that you have backed up any important files beforehand.
- Wait for Formatting to Complete: The formatting process may take a few minutes, depending on the size of your SSD. Once the process is complete, you will see a notification indicating a successful format.
After formatting your external SSD, it will be ready to use with your laptop. You can now begin transferring files, creating backups, or using it for any other storage needs. If you encounter any issues during the formatting process or have questions specific to your operating system, refer to the manufacturer’s documentation or seek online support.
In the next step, we will discuss how to use your external SSD on your laptop effectively.
Step 5: Using Your External SSD on Your Laptop
Now that your external SSD is formatted and ready to use, let’s explore how to effectively utilize it on your laptop. Follow these steps to make the most out of your external SSD:
- Organize Your Files: Create folders and directories on your external SSD to keep your files organized. This will make it easier to locate and access specific data whenever you need it.
- Transfer Files: To transfer files to your external SSD, simply drag and drop them from your laptop’s internal storage to the SSD. You can also use copy-paste commands or file explorer utilities to facilitate the transfer process.
- Create Backups: Take advantage of your external SSD’s storage capacity to create backups of your important files and documents. Regularly back up your data to ensure its safety and protect against accidental loss or system failure.
- Install Applications: Some laptops allow you to install applications directly onto an external SSD. This can help free up space on your internal storage and improve overall system performance. Check your laptop’s settings or consult the software documentation for instructions on installing applications to an external drive.
- Use as a Bootable Drive (Optional): If desired, you can configure your external SSD as a bootable drive, allowing you to run your operating system directly from the SSD. This can significantly improve your laptop’s startup time and overall performance. Refer to your laptop’s BIOS settings or consult online resources for instructions on setting up the external SSD as a bootable drive.
- Safely Eject the SSD: When you’re finished using the external SSD, it’s important to safely eject it from your laptop to avoid data corruption. On Windows, right-click on the SSD in the File Explorer and select “Eject.” On Mac, drag the SSD icon to the Trash or use the “Eject” option in the Finder. Wait for the system to confirm that it’s safe to disconnect the SSD before physically unplugging it.
By following these steps, you can effectively use your external SSD on your laptop. Whether it’s for storing files, creating backups, or even running applications, the external SSD offers convenience, improved performance, and expanded storage capabilities.
If you encounter any issues while using your external SSD or have specific questions about its functionality, refer to the manufacturer’s documentation or seek assistance from their customer support. Enjoy the benefits of your external SSD and make the most out of its capabilities!
Troubleshooting Common Issues
While connecting and using an external SSD on your laptop is usually a straightforward process, you may encounter some common issues along the way. Here are a few troubleshooting tips for addressing these common issues:
- SSD Not Detected: If your laptop does not recognize the external SSD, check the connections first. Ensure that the USB adapter or cable is properly connected to both the laptop and the SSD. Try using a different USB port on your laptop to rule out any port-related issues. If the problem persists, try connecting the SSD to another computer to determine if it is an issue with the SSD or your laptop’s configuration.
- Slow Transfer Speeds: If you’re experiencing slow transfer speeds while using your external SSD, there are a few potential causes. Firstly, ensure that you’re using a USB port that matches the supported USB generation of your SSD (e.g., USB 3.0 or USB 3.1). USB 2.0 ports may limit the transfer speeds. Additionally, make sure that the USB adapter or cable is functioning properly. Updating your laptop’s USB drivers or firmware may also help improve transfer speeds.
- File System Compatibility: If you plan to use the external SSD with both Windows and Mac computers, ensure that you have formatted it with the exFAT file system. This file system is compatible with both operating systems and allows for seamless file transfers. However, bear in mind that some features and limitations may vary between the two platforms.
- Insufficient Power: Some external SSDs may require additional power, especially if they do not draw power directly from the USB port. If your SSD is not functioning properly or not being detected, check if it requires a separate power source. Make sure to connect this power source as instructed by the manufacturer.
- Data Loss or Corruption: To prevent data loss or corruption, always ensure that you safely eject the external SSD before disconnecting it from your laptop. Abruptly removing the SSD without properly ejecting it can result in file system errors or incomplete transfers. Follow the recommended procedures for safely ejecting the SSD on your respective operating system.
If you encounter any other issues or have specific questions related to your external SSD, consult the manufacturer’s documentation or reach out to their customer support for further assistance. Remember to provide details about your laptop model, operating system, and the specific issue you’re facing to help them better assist you.
By troubleshooting common issues and resolving any potential hurdles, you can ensure a seamless and hassle-free experience with your external SSD.
Conclusion
Connecting an external SSD to your laptop can greatly enhance its performance and provide you with additional storage capacity. By following the steps outlined in this guide, you can easily connect and utilize the benefits of an external SSD.
We started by exploring the benefits of using an external SSD, including faster speeds, improved performance, increased storage capacity, portability, and data security. These advantages make external SSDs a valuable accessory for laptop users.
We then discussed how to choose the right external SSD for your laptop, considering factors such as storage capacity, interface, speed, form factor, and price. Selecting the right SSD ensures compatibility and optimal performance.
The step-by-step instructions covered checking the type of USB port on your laptop, purchasing the appropriate USB adapter or cable, connecting the external SSD to your laptop, formatting the SSD, and effectively using it on your laptop. These steps provide a comprehensive guide to successfully connect and utilize your external SSD.
We also addressed common troubleshooting issues such as SSD detection problems, slow transfer speeds, file system compatibility, power requirements, and avoiding data loss or corruption. These troubleshooting tips will help you resolve any hurdles you may encounter while using your external SSD.
Remember to consult the manufacturer’s documentation or customer support for specific instructions and recommendations tailored to your SSD model and laptop configuration.
With an external SSD connected to your laptop, you can enjoy faster data transfer speeds, improved performance, increased storage space, and convenient portability. Make the most out of your external SSD and elevate your laptop usage experience.
Now, embark on your journey with your newly connected external SSD and enjoy the benefits it brings to your laptop!


