Introduction
Welcome to the world of wireless connectivity! In today’s digital age, having a reliable and secure wireless network is essential for seamless internet access and uninterrupted communication. One of the key components in setting up a wireless network is a wireless router. If you have recently purchased a Netgear N300 wireless router and are wondering how to connect it, you’ve come to the right place.
Setting up a Netgear N300 wireless router may seem intimidating at first, but fear not! In this guide, we will walk you through the step-by-step process to help you get your router up and running quickly and easily. By following these instructions, you’ll be able to connect multiple devices, such as computers, smartphones, and smart TVs, to your wireless network and enjoy high-speed internet access throughout your home or office.
Before we begin, it’s important to note that the exact steps may vary slightly depending on the specific model of your Netgear N300 router. However, the general process remains the same for most models, and this guide will provide you with a solid foundation to get started.
So, let’s dive in and learn how to connect your Netgear N300 wireless router!
Step 1: Unbox the Router and Gather the Required Equipment
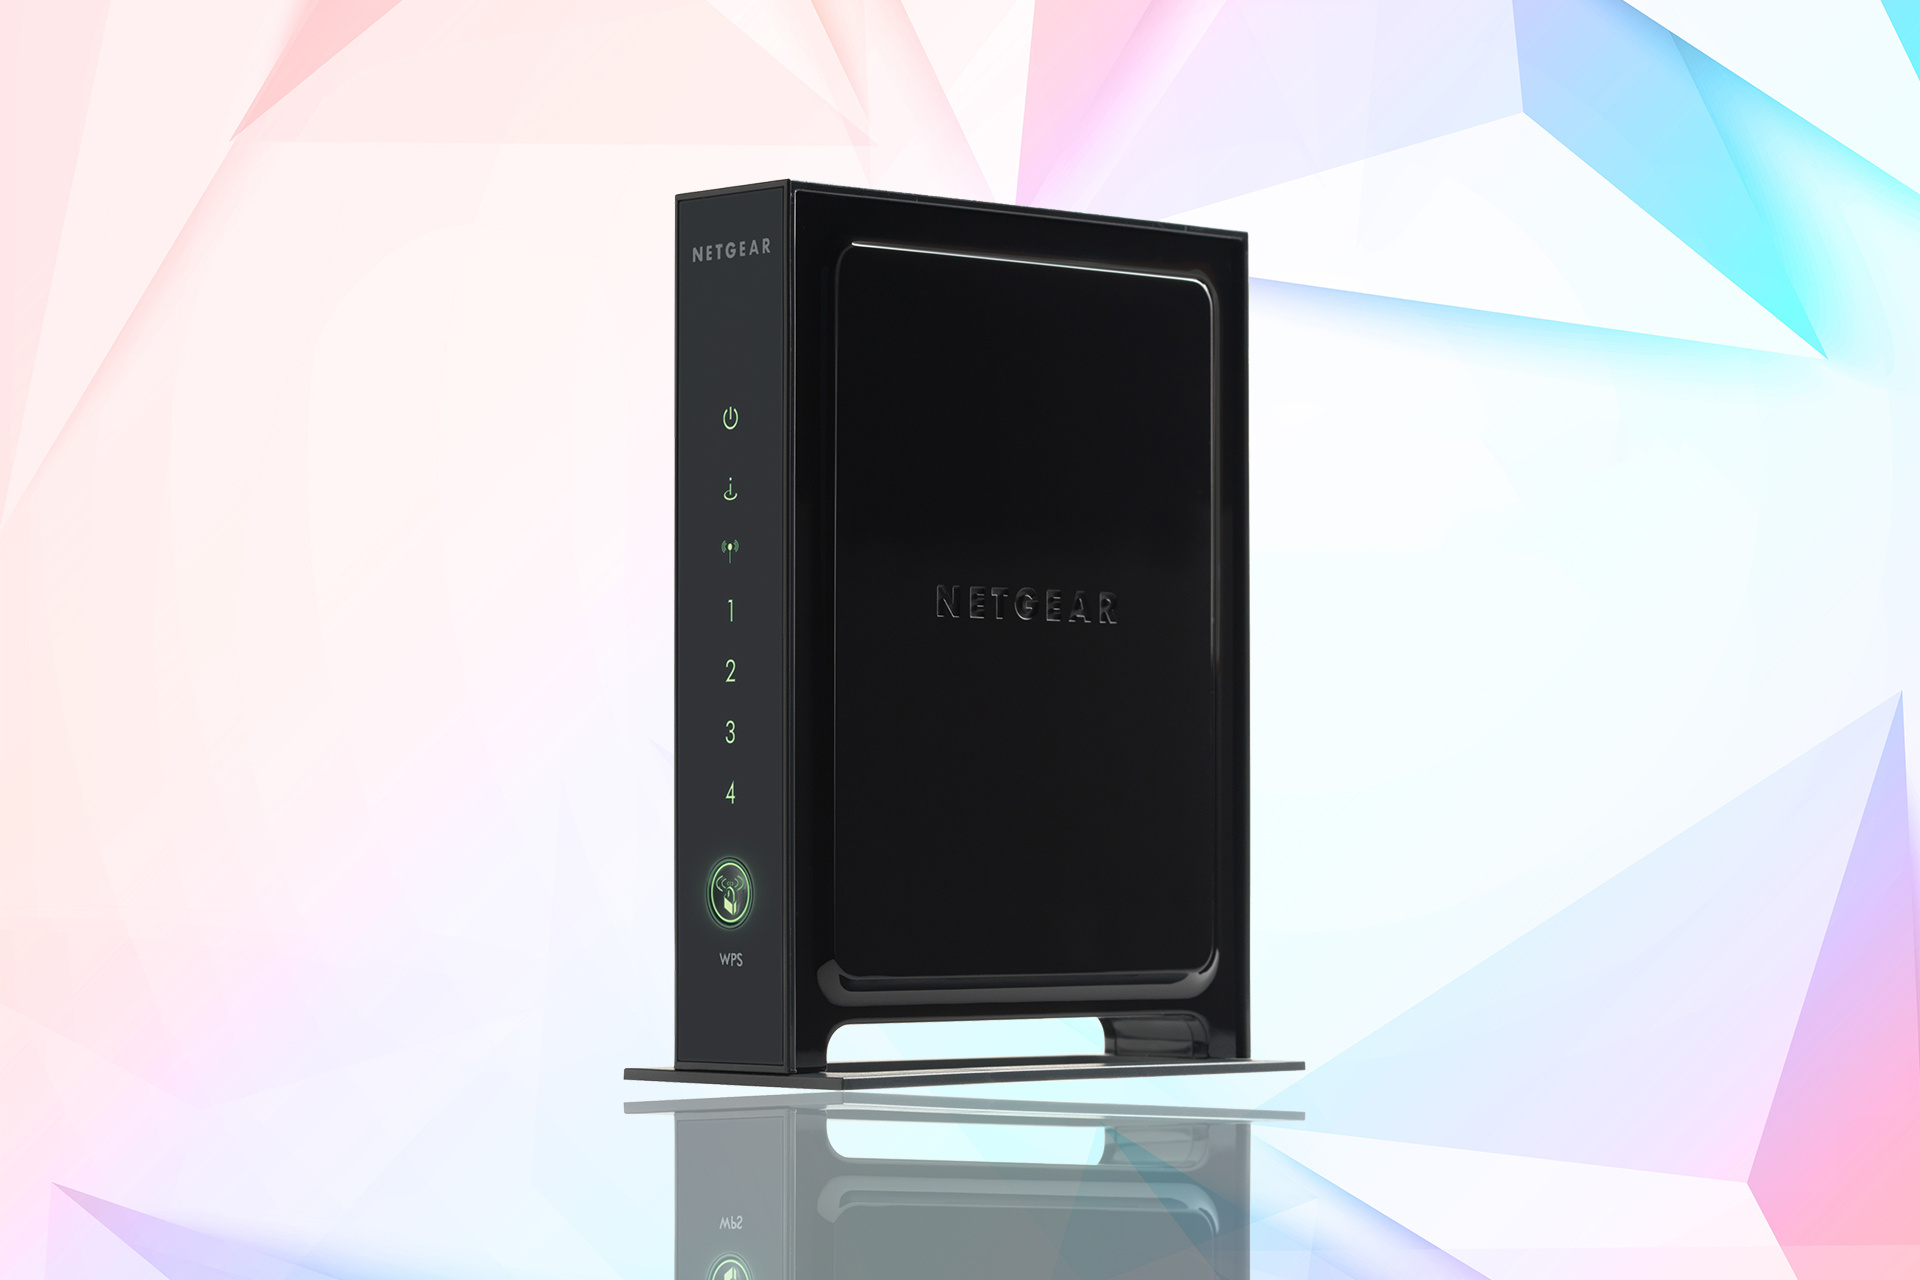
The first step in setting up your Netgear N300 wireless router is to unbox the router and gather all the necessary equipment. Here’s what you’ll need:
- The Netgear N300 wireless router
- A power adapter
- An Ethernet cable
- A computer or laptop
- A modem
- An internet service provider (ISP) account
Once you have gathered all the required equipment, follow these steps:
- Find a suitable location for your router. It should be placed in a central area of your home or office for optimal wireless coverage.
- Unbox the router and remove all the packaging materials.
- Connect one end of the power adapter to the router’s power port and the other end to a power outlet.
- Wait for the router to power up. It usually takes a few minutes for the initial setup to complete.
- Connect one end of the Ethernet cable to the router’s WAN port and the other end to your modem’s LAN port.
- If you have a separate modem, make sure it is connected to the internet service provider (ISP) through the appropriate cable (such as a coaxial cable or telephone line).
- Ensure that your computer or laptop is powered on and has a working Ethernet port.
By completing step one, you are now ready to move on to the next step, which involves connecting the router to a power source. Let’s continue our journey towards a successfully connected Netgear N300 wireless router!
Step 2: Connect the Router to a Power Source
Now that you have unboxed the Netgear N300 wireless router and gathered all the required equipment, it’s time to connect the router to a power source. Follow these steps:
- Locate the power port on the back of the router. It is typically labeled “Power” or marked with a power symbol.
- Take the power adapter that came with the router and plug one end into the power port on the router.
- Connect the other end of the power adapter to a nearby power outlet.
- Ensure that the power outlet is functioning properly by plugging in another device and verifying that it powers on.
- Once the router is connected to the power source, check if the power LED indicator on the router lights up. This indicates that the router is receiving power.
- Wait for the router to fully power up. This may take a few minutes.
- To confirm that the router is successfully powered on, check for other LEDs on the router that indicate connectivity and activity. The specific LED indicators and their meanings can be found in the router’s user manual.
By following these steps, you have successfully connected your Netgear N300 wireless router to a power source. The next step is to connect the router to your modem, which we will cover in the following section. Stay tuned!
Step 3: Connect the Router to the Modem
Now that you have connected the Netgear N300 wireless router to a power source, the next step is to establish a connection between the router and your modem. This will enable your router to access the internet. Follow these steps:
- Locate the WAN (Wide Area Network) port on the back of your router. It is typically labeled “Internet” or “WAN”.
- Take one end of the Ethernet cable and insert it into the WAN port on the router.
- Connect the other end of the Ethernet cable to the LAN (Local Area Network) port on your modem. The LAN ports on the modem are usually labeled with numbers or “LAN”.
- Ensure that the connection between the router and the modem is secure. The Ethernet cable should fit snugly into both ports.
- Once the physical connection is established, power on your modem. This may involve connecting it to a power source and waiting for it to fully power up.
- Wait for a few moments to allow the router to establish a connection with the modem. During this time, the router will automatically detect the internet connection.
- To ensure that the connection is successful, check the router’s LED indicators. The WAN or internet LED should be lit to indicate that the router has successfully established a connection with the modem.
Once the Netgear N300 wireless router is connected to the modem, you have successfully completed the third step in the setup process. You are now ready to move on to the next step, which involves connecting a computer or laptop to the router. Let’s continue our journey towards a fully functional wireless network!
Step 4: Connect a Computer to the Router
Now that you have successfully connected your Netgear N300 wireless router to the modem, it’s time to connect a computer or laptop to the router. Follow these steps:
- Ensure that your computer or laptop is powered on and has a working Ethernet port.
- Take one end of another Ethernet cable and insert it into one of the LAN ports on the back of the router.
- Connect the other end of the Ethernet cable to the Ethernet port on your computer or laptop.
- Once the physical connection is established, give the router and your computer or laptop a moment to recognize each other.
- On your computer or laptop, open a web browser of your choice, such as Chrome, Firefox, or Safari.
- In the address bar of the web browser, type in the default IP address for Netgear routers, which is typically “192.168.1.1.
- Press the “Enter” key on your keyboard.
- You will be directed to the Netgear router login page.
- Enter the default username and password for your router. This information can usually be found in the router’s user manual or on the bottom of the router itself.
- After successfully logging in, you will have access to the router’s settings and configuration options.
By following these steps, you have successfully connected your computer or laptop to the Netgear N300 wireless router. You are now ready to move on to the next step, which involves setting up the router using a web browser. Let’s continue our journey towards a fully functional wireless network!
Step 5: Set Up the Router Using a Web Browser
After connecting your computer or laptop to the Netgear N300 wireless router, it’s time to set up the router using a web browser. The web-based setup wizard makes it easy to configure the router’s settings. Follow these steps:
- Open a web browser on your computer or laptop.
- In the address bar of the web browser, enter the default IP address for Netgear routers, which is typically “192.168.1.1.
- Press the “Enter” key on your keyboard.
- You will be directed to the Netgear router login page.
- Enter the default username and password for your router. This information can usually be found in the router’s user manual or on the bottom of the router itself.
- After successfully logging in, you will be taken to the router’s web-based setup wizard.
- Follow the on-screen instructions provided by the setup wizard to configure your router’s settings.
- You will have the option to set up a new wireless network name (SSID) and password, as well as customize other advanced settings such as security, parental controls, and guest access.
- Make sure to save any changes you make during the setup process.
Once you have completed the setup process using the web browser, your Netgear N300 wireless router will be configured and ready to go. You can now move on to the next step, which involves configuring the wireless settings for your network. Get ready to enjoy wireless connectivity throughout your home or office!
Step 6: Configure Wireless Settings
Now that you have successfully set up your Netgear N300 wireless router using the web-based setup wizard, it’s time to configure the wireless settings for your network. Follow these steps:
- After completing the setup process, you will be redirected to the router’s administration page.
- Find the section for wireless settings. This is usually labeled as “Wireless” or “Wi-Fi” in the router’s menu.
- Within the wireless settings, you will find options to customize your wireless network name (SSID) and password.
- Enter a unique and easily identifiable name for your wireless network in the SSID field. This will be the name that shows up when devices search for available networks.
- Choose a strong and secure password for your wireless network. Make sure it is not easily guessable and contains a combination of uppercase and lowercase letters, numbers, and special characters.
- Consider enabling wireless security features such as WPA2-PSK (Wi-Fi Protected Access 2 – Pre-Shared Key) to enhance the security of your network.
- Once you have made the necessary changes, save the settings.
- Your router will then apply the new wireless settings and your network will be updated accordingly.
Configuring the wireless settings for your Netgear N300 wireless router allows you to create a secure and personalized network for your devices. By following these steps, you have successfully configured the wireless settings and your network is now ready for devices to connect.
Now that you have completed the wireless configuration, it’s time to move on to the final step – connecting your devices to the router. Let’s get started!
Step 7: Connect Devices to the Router
After configuring the wireless settings on your Netgear N300 wireless router, it’s time to connect your devices to the router. Follow these steps:
- On the device you want to connect, such as a computer, smartphone, or tablet, open the Wi-Fi settings.
- You will see a list of available networks. Look for the network name (SSID) that you set up earlier in the wireless settings.
- Select your network from the list.
- Enter the password that you set for your wireless network.
- Once you have entered the password, the device will attempt to connect to the network.
- If the password is correct, the device will successfully connect to the network, and you will have internet access.
- Repeat this process for each device you want to connect to the router.
By following these steps, you can easily connect multiple devices to your Netgear N300 wireless router. Whether it’s a laptop, smartphone, smart TV, or gaming console, all your devices can now enjoy high-speed internet access throughout your home or office.
Remember to periodically check your router’s settings and update the firmware to ensure optimal performance and security. You can do this by accessing the router’s administration page and following the instructions provided by Netgear.
Congratulations! You have successfully connected your devices to the Netgear N300 wireless router and completed the setup process. Enjoy the convenience and freedom of wireless connectivity in your home or office.
Conclusion
Setting up a Netgear N300 wireless router can seem daunting at first, but by following the step-by-step instructions provided in this guide, you can easily connect your router and enjoy wireless connectivity in no time.
In this guide, we covered the essential steps to connect your Netgear N300 wireless router:
- Unboxing the router and gathering the required equipment
- Connecting the router to a power source
- Connecting the router to the modem
- Connecting a computer to the router
- Setting up the router using a web browser
- Configuring the wireless settings
- Connecting devices to the router
By following these steps, you can set up a secure and reliable wireless network, allowing multiple devices to access the internet with ease.
Remember to consult the user manual and specific documentation for your Netgear N300 model for any unique features or additional instructions.
Now that you have successfully set up your Netgear N300 wireless router, you can enjoy the benefits of wireless connectivity, whether it’s for work, entertainment, or staying connected with family and friends.
Don’t forget to periodically check for router firmware updates, as they can improve performance, enhance security, and provide new features. Access the router’s administration page to find and install these updates.
We hope this guide has been helpful in assisting you to set up your Netgear N300 wireless router. Enjoy the convenience and freedom of a fast and reliable wireless network!