Introduction
Connecting two TVs together using HDMI is a convenient way to expand your viewing experience, allowing you to enjoy your favorite shows, movies, and games on a larger screen. Whether you want to synchronize video playback for a multi-room setup or simply mirror the content on different TVs, HDMI provides a seamless and high-quality connection.
HDMI, which stands for High-Definition Multimedia Interface, is a widely-used audio and video interface that enables the transmission of uncompressed digital data between devices. It supports high-definition video and multi-channel audio, making it the go-to standard for connecting TVs, Blu-ray players, gaming consoles, and other multimedia devices.
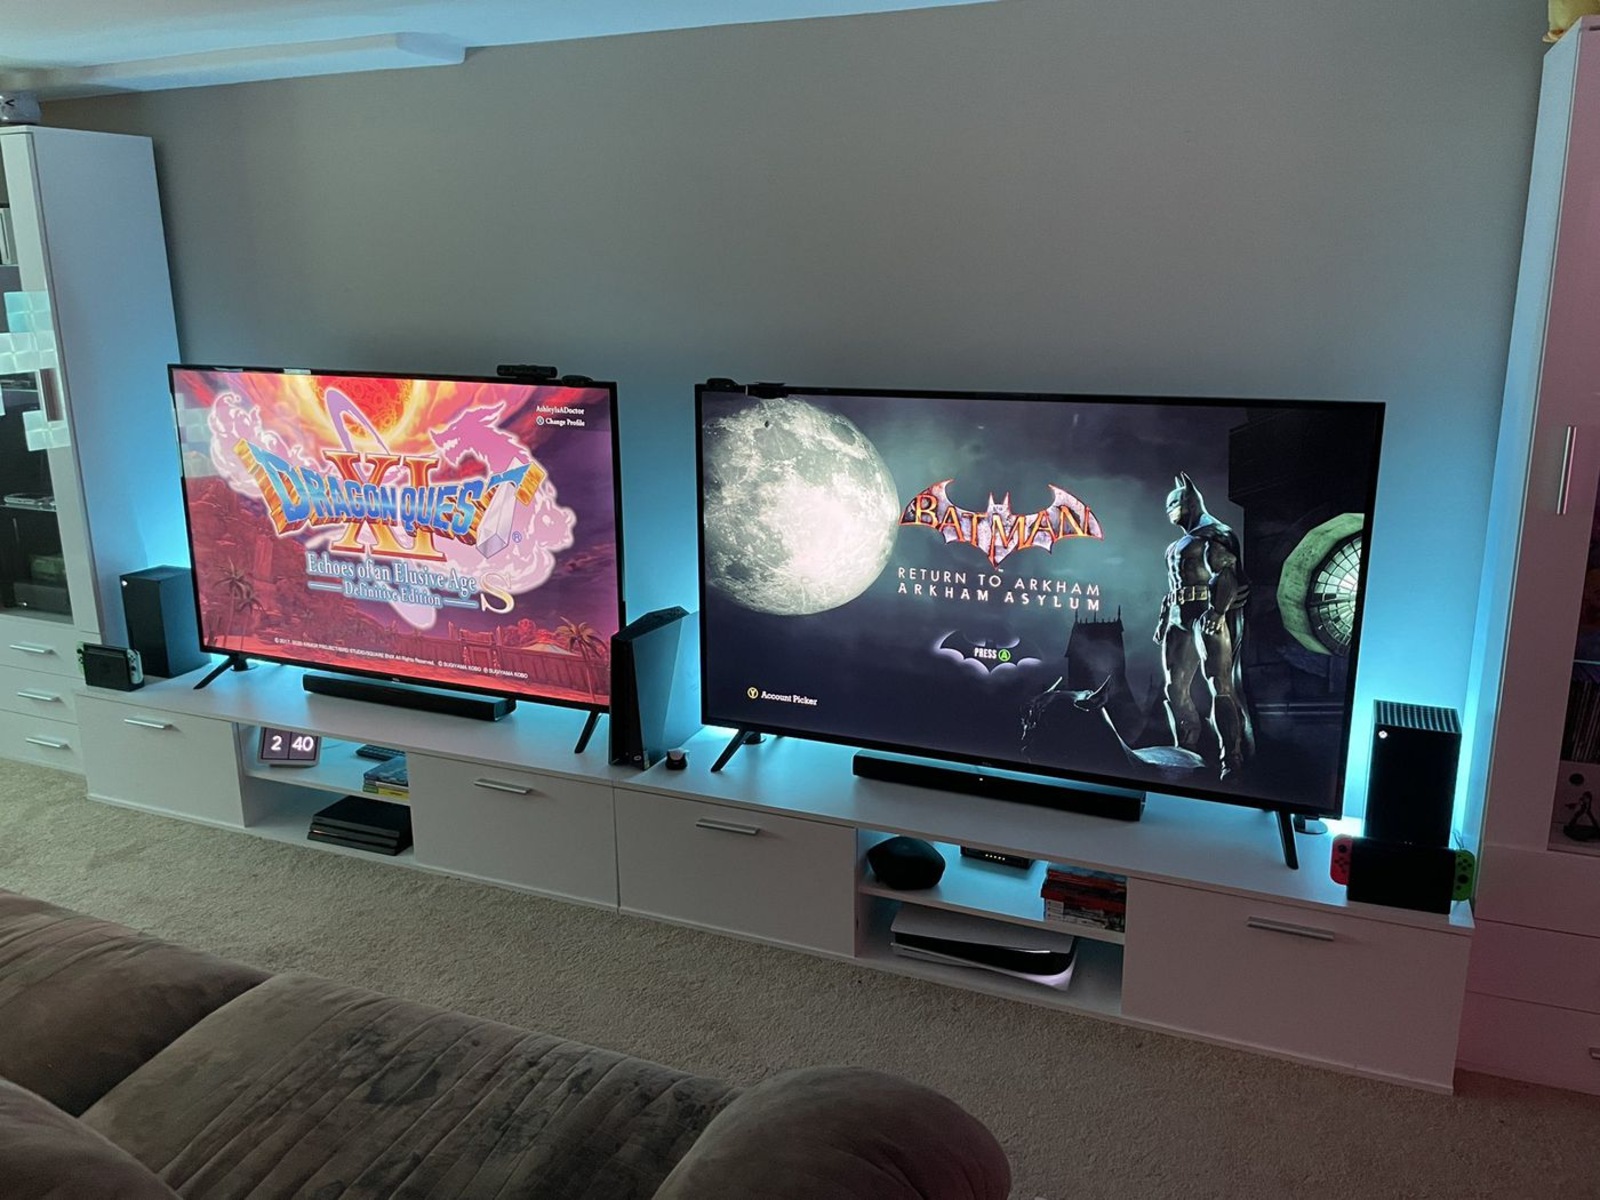
By connecting two TVs together with an HDMI cable, you can create an immersive and synchronized viewing experience. This allows you to watch your favorite shows or movies in multiple rooms or even set up a dual-screen gaming setup for a more immersive gaming experience.
Furthermore, connecting two TVs with HDMI eliminates the need for messy cable management or additional setups. With just a single cable, you can transmit both audio and video signals, simplifying the entire process and enabling you to enjoy your content in high definition with ease.
In the next sections, we will guide you through a step-by-step process on how to connect two TVs together with HDMI. We will cover all the necessary equipment you’ll need, how to check your TVs for compatibility, how to connect the HDMI cable, and how to adjust the settings to ensure everything works seamlessly. So, let’s get started and take your TV viewing experience to the next level with the power of HDMI connectivity.
What is HDMI?
HDMI, which stands for High-Definition Multimedia Interface, is a standardized audio and video interface that allows the transmission of uncompressed digital data between electronic devices. It was developed to deliver a superior audio and video experience by simplifying the connection process and ensuring the highest quality signal transmission.
HDMI cables have become the standard for connecting various devices, such as TVs, gaming consoles, Blu-ray players, computer monitors, and audio equipment. They have largely replaced the older analog methods of connecting devices, such as VGA or RCA cables, due to their superior performance.
One of the key features of HDMI is its ability to transmit high-definition video and audio signals without any loss in quality. Whether you’re watching your favorite movies in 4K resolution or enjoying immersive surround sound, HDMI ensures a crystal-clear and immersive audiovisual experience.
HDMI cables come in different versions, with each version offering improved capabilities and features. The most common versions include HDMI 1.4, HDMI 2.0, and HDMI 2.1. These versions support different resolutions, refresh rates, color spaces, and audio formats, accommodating the evolving needs of multimedia devices.
In addition to transmitting audio and video signals, HDMI also supports other features such as CEC (Consumer Electronics Control) and ARC (Audio Return Channel). CEC allows you to control multiple connected devices with a single remote control, simplifying the user experience. ARC enables audio to be sent from the TV back to the audio system, eliminating the need for a separate audio cable.
Overall, HDMI has revolutionized the way we connect our electronic devices. It offers a seamless and high-quality connection, ensuring that you can enjoy your favorite content in the best possible way. Its widespread adoption and versatility have made it the standard interface in the world of digital entertainment.
Benefits of Connecting Two TVs Together With HDMI
Connecting two TVs together using HDMI provides a range of benefits that enhance your viewing experience and offer flexibility in how you consume media. Whether you want to enjoy synchronized video playback in multiple rooms or create a dual-screen setup for gaming, HDMI connectivity opens up new possibilities. Here are some of the key benefits:
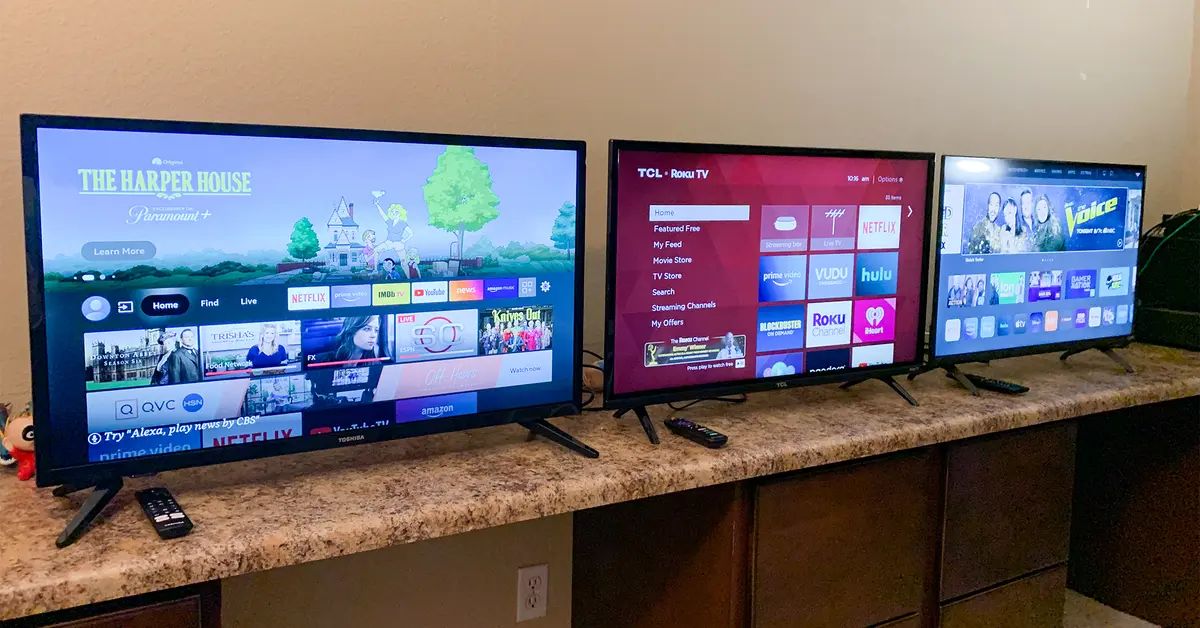
- Expanded viewing experience: Connecting two TVs allows you to expand your viewing experience by extending the content to multiple screens. You can watch your favorite shows or movies in different rooms, ensuring that everyone gets to enjoy the entertainment.
- Multi-room setup: HDMI connectivity enables you to create a multi-room setup where the same content is displayed on all connected TVs simultaneously. This is great for hosting parties or gatherings, ensuring that everyone can watch the same sporting event or movie from any room.
- Mirror content: If you have multiple TVs placed in the same room, connecting them with HDMI allows you to mirror the content from one screen to another. This is useful for situations where you want to ensure everyone has a clear view of the content, for example, during presentations or in large gatherings.
- Gaming benefits: For gamers, connecting two TVs together can create a dual-screen gaming setup for an immersive experience. You can extend the game display across both screens, providing a wider field of view and enhancing gameplay. This is particularly beneficial for racing or simulation games.
- Easier cable management: By using HDMI cables, you simplify the cable management process. Instead of dealing with multiple cables for video and audio connections, HDMI combines both into a single cable. This reduces clutter and makes the setup cleaner and more organized.
- High-definition quality: HDMI supports high-definition video and audio transmission, ensuring a superior viewing experience. You can enjoy crisp and clear visuals along with immersive sound, enhancing the overall entertainment value of your content.
With HDMI connectivity, you can unlock the full potential of your TVs and create a more immersive and versatile entertainment setup. Whether you want to extend the viewing experience to multiple rooms, mirror content, or enhance gaming, connecting two TVs together with HDMI provides a seamless and high-quality solution.
Required Equipment
Before you connect two TVs together with HDMI, there are a few essential equipment items you’ll need to ensure a successful setup. Here’s a list of the required equipment:
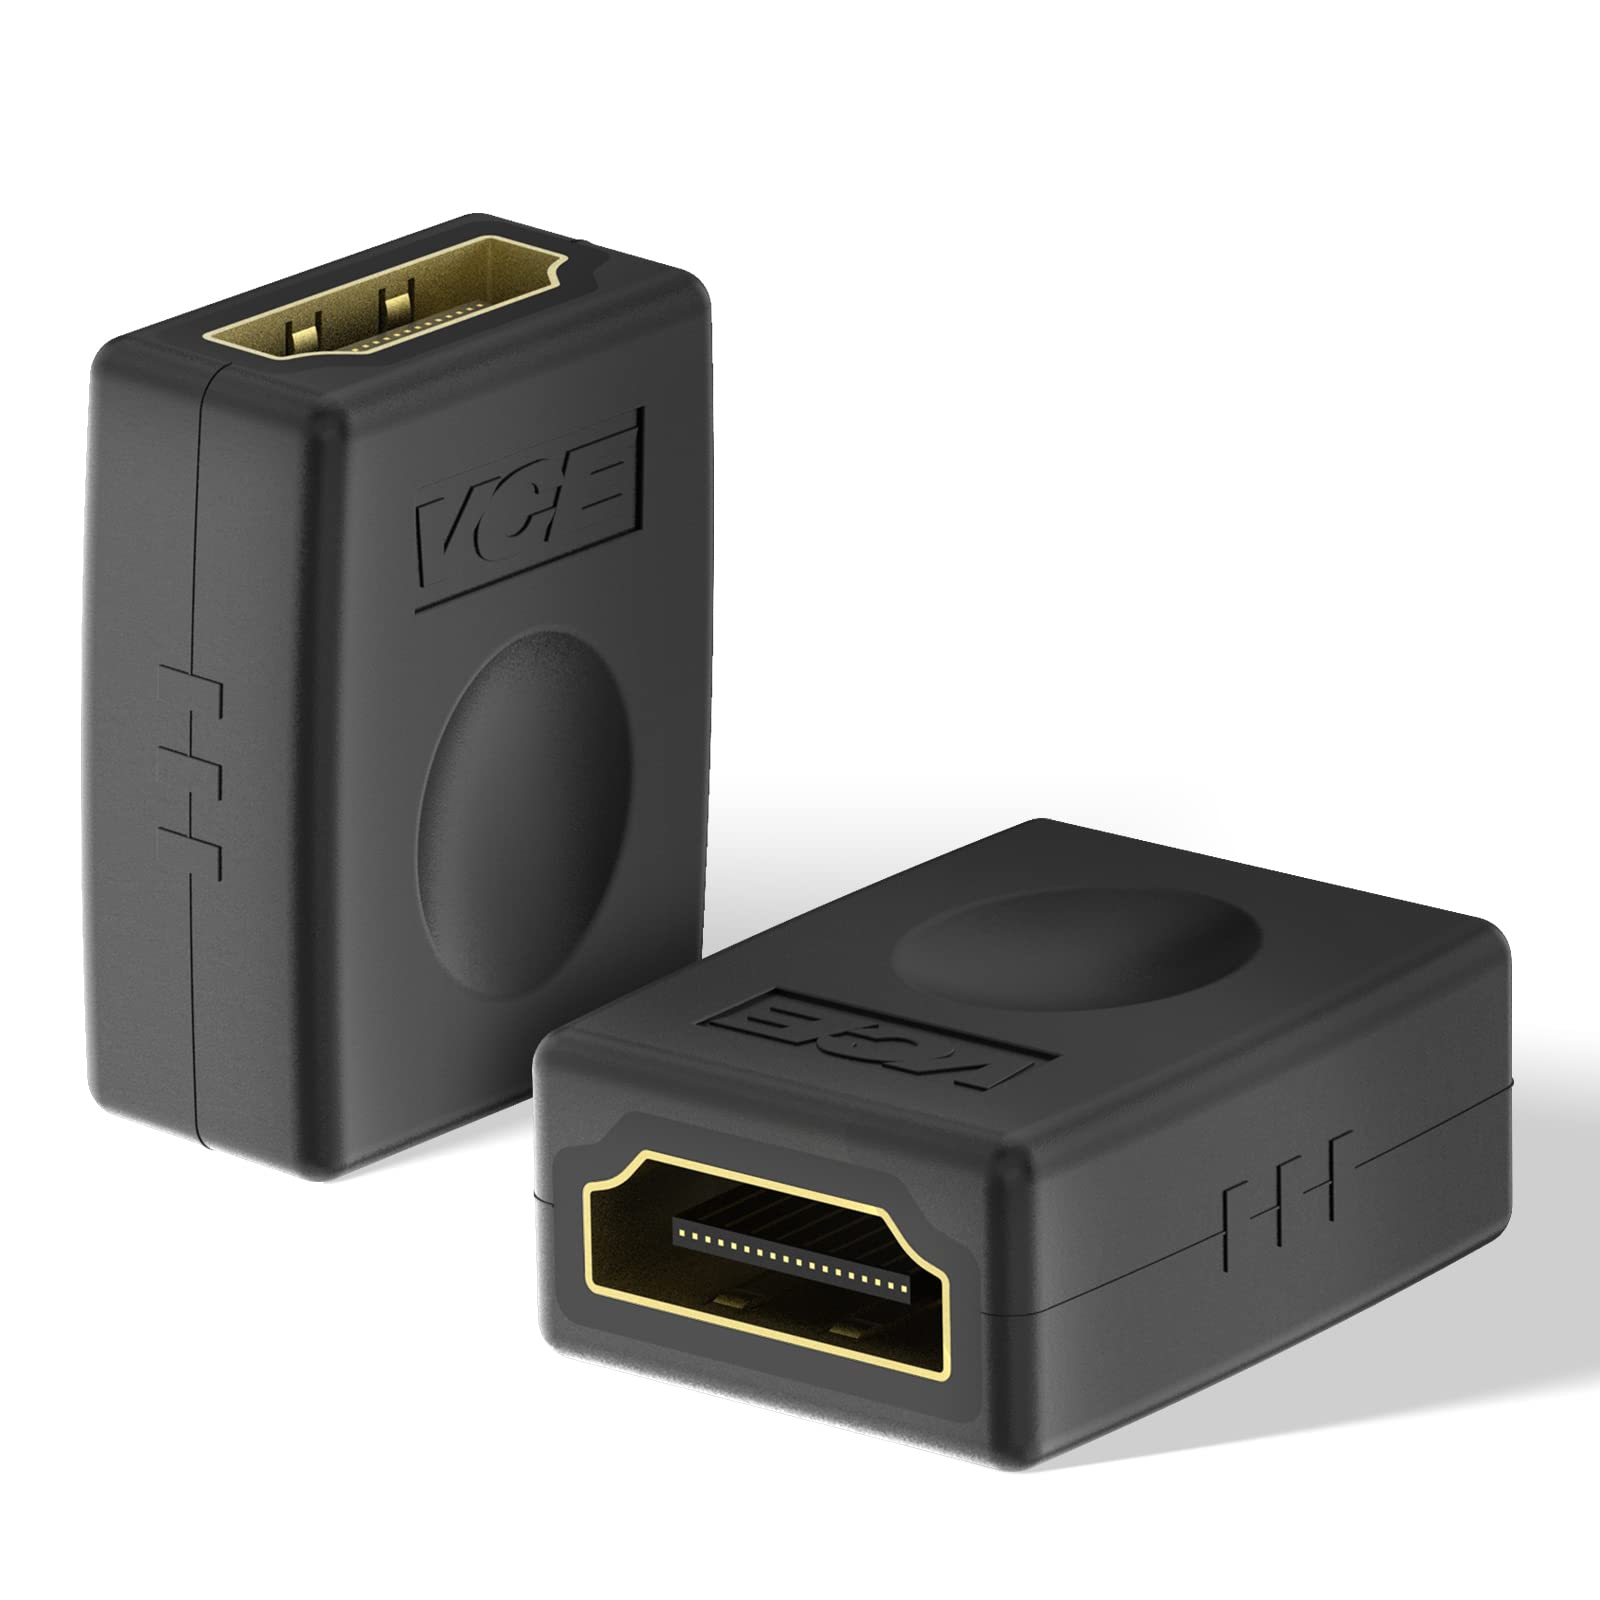
- HDMI Cable(s): The most crucial item you’ll need is an HDMI cable. The type of HDMI cable you need will depend on the specific HDMI ports available on your TVs. Make sure you have a cable that supports the appropriate HDMI version for optimal performance.
- TVs with HDMI Ports: Ensure that both TVs have HDMI ports available. Most modern TVs come equipped with HDMI ports, but it’s always a good idea to double-check. Look for HDMI labels or symbols on the TV’s input panel or consult the user manual.
- Auxiliary Devices: If you’re planning to connect additional devices, such as gaming consoles, Blu-ray players, or streaming devices, to your TVs, ensure you have these devices and their respective HDMI cables readily available.
- Power Cables: Make sure you have the necessary power cables to connect and power on your TVs and any auxiliary devices you’ll be connecting. Check that all power outlets are easily accessible and have enough capacity for multiple devices.
- Remote Control: Having the remote control for each TV is essential to change settings and control the devices. Ensure that you have the remote controls readily available and that they are in proper working condition.
It’s important to note that the length of the HDMI cables should be appropriate for the distance between the TVs. Measure the distance between the TVs and choose HDMI cables that are long enough to comfortably connect the devices without strain or tension.
Additionally, if you plan on extending the connection to multiple rooms or a significant distance, you may need an HDMI splitter or repeater to boost the signal strength and maintain a stable connection. These devices can amplify the HDMI signal to ensure a reliable connection across longer distances.
Once you have gathered all the required equipment, you’re ready to proceed with connecting your TVs together using HDMI.
Step 1: Check your TVs
Before you start connecting your TVs together with HDMI, it’s crucial to ensure that both TVs are compatible and equipped with HDMI ports. Follow these steps to check your TVs:
- Inspect the TV panels: Examine the back or side panels of each TV to locate the available ports. Look for HDMI labels or symbols near the ports to identify them easily. The number of HDMI ports may vary depending on the TV model.
- Refer to the user manual: If you’re having trouble finding the HDMI ports, consult the user manual that came with your TVs. The manual will provide detailed information on the ports’ locations and any specific features or limitations regarding HDMI connectivity.
- Identify the HDMI version: Determine the HDMI version supported by your TVs. This information can usually be found in the user manual or by doing a quick online search using the model number of your TVs. This will help you choose the appropriate HDMI cable for optimal performance.
- Consider external devices: Take into account any external devices you plan to connect to your TVs, such as gaming consoles or Blu-ray players. Ensure these devices also have HDMI ports and are compatible with the HDMI version supported by your TVs.
- Check for any HDMI restrictions: Some older TVs may have limitations on HDMI capabilities, such as limited resolution support or HDCP (High-bandwidth Digital Content Protection) compatibility. Check if there are any specific restrictions or considerations mentioned in the user manual or on the manufacturer’s website.
By thoroughly checking your TVs, you can verify their compatibility and determine the necessary steps to connect them using HDMI. This ensures a smooth setup process and helps avoid any hardware compatibility issues that may arise.
Once you have verified that both TVs have HDMI ports and are compatible, you’re ready to move on to the next step of the process.
Step 2: Determine the HDMI Ports
After confirming that your TVs have HDMI ports, the next step is to determine the specific HDMI ports you will use for the connection. Follow these steps to identify the HDMI ports:
- Inspect the TV panels: Look at the back or side panels of each TV to locate the HDMI ports. These ports are typically labeled as “HDMI” and numbered accordingly (e.g., HDMI 1, HDMI 2, etc.).
- Take note of the HDMI labels: Pay attention to the labeling of the HDMI ports. Some TVs may have multiple HDMI ports, and each port may have specific features or functionality, such as ARC (Audio Return Channel) or MHL (Mobile High-Definition Link) support. Understanding these labels will assist you in choosing the appropriate ports for your setup.
- Consider the TV’s input selection: On each TV, locate the input selection or source menu. This allows you to choose the input source from which the TV receives the signal. Typically, you can access the input selection menu by pressing the “Input” or “Source” button on the TV remote control. Navigate through the options until you find the HDMI input associated with the HDMI port you want to use.
- Make a mental or written note: Once you have determined the HDMI port that you will use on each TV, make a mental note or write it down for future reference. This will help you easily identify the correct input source when switching between different inputs on your TVs.
By determining the HDMI ports on each TV, you will have a clear understanding of where to connect the HDMI cable. Taking note of the specific HDMI ports will also be useful when configuring the TV settings in the following steps.
Now that you have identified the HDMI ports on your TVs, you can proceed to the next step of connecting the HDMI cable.
Step 3: Connect the HDMI Cable
With the HDMI ports identified, it’s time to connect the HDMI cable between the two TVs. Follow these steps to ensure a proper connection:
- Power off the TVs: Before connecting the HDMI cable, make sure both TVs are powered off. This prevents any potential damage to the devices and ensures a safe connection process.
- Locate the HDMI ports: Refer back to the HDMI ports you identified in Step 2. Connect one end of the HDMI cable securely into the HDMI output port of the first TV.
- Connect to the second TV: Take the other end of the HDMI cable and plug it into the HDMI input port of the second TV. Ensure a firm connection to avoid any loose connections that may cause signal loss.
- Power on the TVs: After the HDMI cable is connected, power on both TVs. This allows them to recognize the HDMI connection and properly configure the settings.
- Choose the correct input source: Using the TV remote control, access the input selection or source menu on each TV. Select the input source associated with the HDMI port that the cable is connected to. This ensures that the correct signal is received from the connected device.
Once the HDMI cable is securely connected and the TVs are powered on, you should see the content from the source device displayed on the second TV. If not, double-check the cable connections and input source settings. It’s also important to ensure that the source device is powered on and transmitting a signal.
Remember, the quality of the HDMI cable can have an impact on the signal transmission. It’s recommended to use high-quality HDMI cables that support the HDMI version of your devices for optimal performance.
Now that the HDMI cable is successfully connected, it’s time to proceed to Step 4 and adjust the TV settings to ensure a seamless viewing experience.
Step 4: Adjust TV Settings
After connecting the HDMI cable between the two TVs, it’s essential to adjust the TV settings to ensure a smooth and synchronized viewing experience. Follow these steps to adjust the settings:
- Picture and Display Settings: Access the settings menu on each TV and navigate to the picture or display settings. Adjust parameters such as brightness, contrast, sharpness, and color settings to your preference. Ensure that the picture settings are consistent on both TVs for a uniform viewing experience.
- Audio Settings: Next, navigate to the audio settings on each TV. Choose the appropriate audio output configuration, such as stereo or surround sound, depending on your setup. Ensure that the audio settings are consistent on both TVs for synchronized sound.
- Input Source Labeling: Some TVs allow you to customize the labeling of the input sources. If desired, rename the input source associated with the HDMI connection, such as “TV 1” or “Living Room TV,” to make it easier to identify on the input selection or source menu.
- Check HDMI Control Settings: Certain TVs have HDMI Control settings that enable communication between connected HDMI devices. Explore the TV settings and make sure that HDMI Control or HDMI-CEC (Consumer Electronics Control) is enabled, as this allows for easier control of devices connected via HDMI.
Additionally, if you are planning to mirror the content or extend the display across both TVs, adjust the display settings accordingly. Most TVs provide options to choose between duplicate display (mirroring) or extended display modes. Configure these settings based on your preferences and requirements.
It’s important to note that the exact steps and options for adjusting TV settings may vary depending on the TV brand and model. Consult the TV’s user manual or online resources for specific instructions related to your TVs.
Once you have adjusted the settings on both TVs, the content should be synchronized, and you can enjoy an immersive viewing experience across multiple screens.
In the next step, we will test the connection between the TVs to ensure everything is working as expected.
Step 5: Test the Connection
After connecting the HDMI cable and adjusting the TV settings, it’s crucial to test the connection between the two TVs to ensure that everything is working as expected. Follow these steps to test the connection:
- Select the correct input source: On each TV, use the remote control to select the input source associated with the HDMI connection. This ensures that the TVs are receiving the signal from the connected device.
- Verify synchronized content: Play a video or select a TV show/movie to verify that the content is displayed simultaneously on both TVs. It should mirror or extend across the screens, depending on the display settings you configured in Step 4.
- Check audio synchronization: Pay attention to the audio playback on both TVs. Ensure that the sound is synchronized and is in line with the visuals. If there is any noticeable delay or mismatch, adjust the audio settings or consult the user manual for troubleshooting steps.
- Test different sources: Connect additional devices, such as gaming consoles or Blu-ray players, to the TVs via HDMI and test the connection with different sources. Confirm that the signal is transmitted correctly and that the content is displayed on both TVs without any issues.
- Adjust as necessary: If you encounter any issues or inconsistencies during the testing phase, go back and double-check the HDMI cable connections, TV settings, and input sources. Make any necessary adjustments or consult the user manual for troubleshooting guidance.
By testing the connection between the TVs, you can ensure that the HDMI setup is functioning properly and that the content is accurately displayed on both screens. It’s important to note that occasional troubleshooting or adjustments may be necessary to achieve the desired results.
Once you have verified that the connection is working as expected, you can sit back, relax, and enjoy your favorite shows, movies, or games on the extended or mirrored screens.
Frequently Asked Questions (FAQs)
Here are some commonly asked questions about connecting two TVs together with HDMI:
-
Can I connect different TV brands together using HDMI?
Yes, HDMI is a universal standard and supports compatibility between different TV brands. As long as both TVs have HDMI ports, you can connect them together regardless of the brands. -
Can I connect more than two TVs together with HDMI?
Yes, you can connect more than two TVs together using HDMI. However, you may need additional equipment, such as an HDMI splitter, to distribute the signal among multiple TVs. -
What HDMI version should I use for optimal performance?
The HDMI version you should use depends on your specific devices and their capabilities. It’s recommended to use the latest HDMI version supported by your TVs for optimal performance and compatibility. -
Do I need a special HDMI cable for connecting two TVs together?
In most cases, a standard HDMI cable will suffice for connecting two TVs together. However, if you are extending the connection over a significant distance, you may need an HDMI cable with higher bandwidth or an HDMI repeater to maintain signal integrity. -
Can I use HDMI to connect a TV and a computer together?
Yes, HDMI can be used to connect a TV and a computer together. By connecting the HDMI output of your computer to the HDMI input of your TV, you can display your computer’s screen on the TV. This is useful for presentations or enjoying multimedia content on a larger screen. -
Can I use HDMI to connect a TV and a soundbar together?
Yes, HDMI can be used to connect a TV and a soundbar together. Many soundbars have HDMI ports that allow you to connect them to your TV using an HDMI cable. This enables you to enhance the audio experience by utilizing the soundbar’s speakers.
If you have any specific concerns or questions not covered in this FAQ section, it’s recommended to consult the user manuals of your TVs or reach out to the manufacturer for further assistance.
Conclusion
Connecting two TVs together using HDMI is a straightforward process that allows you to expand your viewing experience and create a more immersive setup. By following the steps outlined in this guide, you can connect the TVs with an HDMI cable, adjust the settings, and test the connection to ensure everything works seamlessly.
HDMI provides numerous benefits, including the ability to enjoy synchronized video playback in multiple rooms, create a dual-screen gaming setup, or mirror content for a larger audience. It simplifies cable management and ensures high-definition audio and video transmission, enhancing the overall viewing experience.
Before connecting the TVs, it’s important to check their compatibility and locate the HDMI ports. Choose the appropriate HDMI cable for your setup, connect the cable securely, and power on the TVs. Adjust the TV settings, including picture, audio, and input source labeling, to achieve the desired setup. Finally, test the connection by verifying synchronized content and adjusting settings as necessary.
Remember to refer to the user manuals of your TVs for specific instructions related to your brand and model. If you encounter any issues or have specific concerns, consult the manufacturer or seek professional assistance.
With the power of HDMI connectivity, you can elevate your TV viewing experience and enjoy your favorite movies, shows, and games on multiple screens, creating a more immersive and versatile entertainment setup.


