Introduction
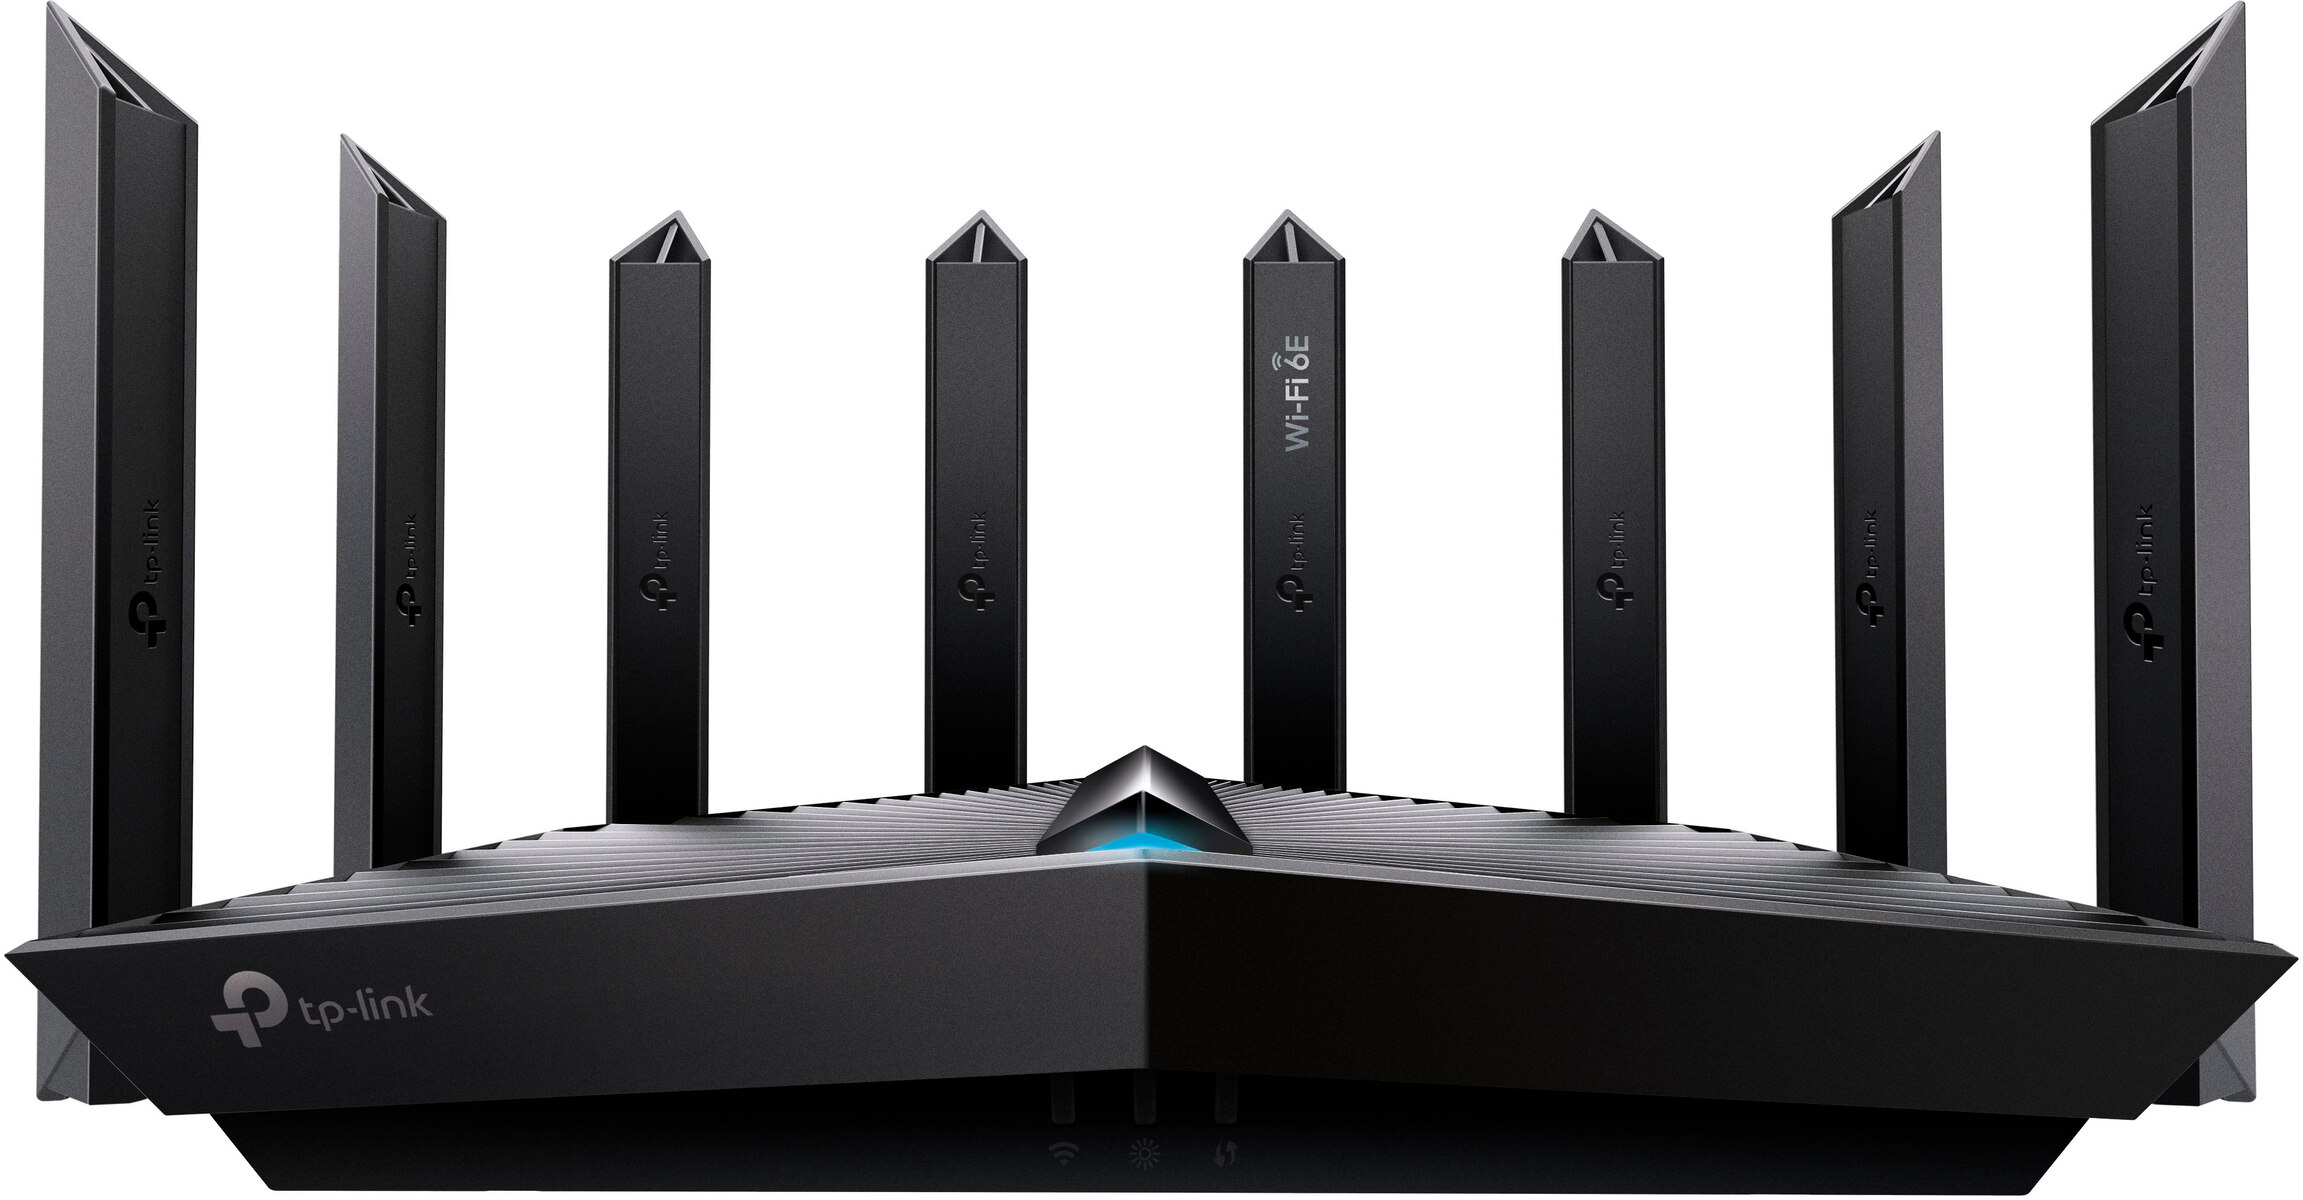
Setting up a TP-Link wireless router for BSNL broadband can greatly enhance your internet experience, providing you with a reliable and secure network connection. Whether you’re a home user or a small business, the configuration process is simple and straightforward, even for those who are not tech-savvy.
A TP-Link wireless router allows you to connect multiple devices to the internet simultaneously, ensuring seamless browsing, streaming, and online gaming. With its advanced features and user-friendly interface, you can easily customize your network settings to meet your specific requirements.
In this guide, we will walk you through the step-by-step process of configuring your TP-Link wireless router for BSNL broadband. We will cover everything from connecting the router to the modem to securing your network and optimizing its performance.
It is important to note that the exact steps and settings may vary slightly depending on the model of your TP-Link router. However, the general principles and concepts remain the same, ensuring that you have a solid foundation to work with regardless of the specific model you own.
By the end of this guide, you will have a fully functional TP-Link wireless router configured to work seamlessly with your BSNL broadband connection. So, let’s dive in and get started on your journey to a faster, more secure, and reliable internet connection.
Step 1: Connect the TP-Link wireless router to BSNL broadband modem
Before you begin configuring your TP-Link wireless router, you need to establish a physical connection between the router and your BSNL broadband modem. Follow these steps:
- Start by powering off your BSNL broadband modem and your TP-Link router.
- Using an Ethernet cable, connect one end to the LAN port of your modem and the other end to the WAN port of your TP-Link wireless router. Ensure that the connections are securely plugged in.
- Turn on your BSNL broadband modem and wait for it to complete the startup process. This usually takes a couple of minutes.
- Once the modem is fully started, turn on your TP-Link wireless router.
- Wait for the router to boot up and establish a connection with the modem. This may take a few minutes, so be patient.
- Once the router has successfully connected to the modem, the WAN light on the router should turn solid or indicate a successful connection.
- At this point, you have successfully connected your TP-Link wireless router to your BSNL broadband modem. You are now ready to access the router’s web interface and proceed with the configuration process.
It’s important to note that if you are using a DSL modem, you may need to input your BSNL broadband username and password in the router’s web interface. This information can be obtained from your BSNL service provider. If you are unsure about the configuration settings, it’s always best to contact BSNL customer support for assistance.
Now that the physical connection is established, let’s move on to accessing the TP-Link router’s web interface in the next step.
Step 2: Access the TP-Link router web interface
In order to configure your TP-Link wireless router, you need to access its web interface. This interface allows you to customize various settings and options according to your preferences. Follow these steps to access the web interface:
- Make sure your computer or device is connected to the TP-Link router either via an Ethernet cable or through a wireless connection.
- Open a web browser of your choice (such as Chrome, Firefox, or Safari) on your computer or device.
- In the address bar of the web browser, type in the default IP address of your TP-Link router. The default IP address is usually ‘192.168.0.1’ or ‘192.168.1.1’, but it can vary depending on the specific model.
- Press Enter to proceed.
- You will be prompted to enter a username and password to access the router’s web interface. By default, the username and password are usually both ‘admin’. However, if you have changed these credentials in the past or if they do not work, refer to the user manual or the bottom of the router for the correct login details.
- Once you have entered the username and password correctly, click on the ‘Login’ or ‘Submit’ button.
If the login is successful, you will be redirected to the TP-Link router’s web interface dashboard. This is where you can access and configure various settings, including Internet connection, wireless network, security, and more.
It’s important to note that if you are unable to access the router’s web interface, ensure that you have entered the correct IP address and login credentials. Additionally, check your network connection and make sure you are connected to the TP-Link router.
Now that you have accessed the TP-Link router’s web interface, let’s move on to configuring the Internet connection settings in the next step.
Step 3: Configure the Internet connection settings
Once you have accessed the TP-Link router’s web interface, it’s time to configure the Internet connection settings. Follow these steps to ensure a proper setup:
- In the web interface dashboard, locate the ‘Quick Setup’ or ‘WAN’ option. Click on it to begin configuring the Internet connection.
- Select the appropriate connection type based on your BSNL broadband connection. If you are using DSL, choose ‘PPPoE’ or ‘Dynamic IP’ if your BSNL connection is dynamic. For other connection types, consult your BSNL service provider for the correct option.
- Enter the required information, such as your BSNL broadband username and password, in the designated fields. This information can be obtained from your BSNL service provider. If you are unsure about the configuration settings, it’s best to contact BSNL customer support for assistance.
- If you are using a static IP address for your BSNL broadband connection, enter the necessary IP address, subnet mask, gateway, and DNS server information as provided by your BSNL service provider.
- Click on the ‘Save’ or ‘Apply’ button to save the settings and establish the Internet connection.
- Wait for a moment while the router applies the changes and establishes the connection. This process may take a few minutes.
- Once the connection is successfully established, you should see the Internet status as ‘Connected’ or similar in the router’s web interface.
It’s important to note that the exact steps and options may vary slightly depending on the model of your TP-Link router. However, the general principles and concepts remain the same, ensuring a smooth setup process regardless of the specific model.
Once you have configured the Internet connection settings, you are ready to proceed to the next step and configure the wireless network settings.
Step 4: Configure the wireless network settings
After setting up the Internet connection, it’s time to configure the wireless network settings on your TP-Link router. Follow these steps to create a wireless network:
- In the TP-Link router’s web interface dashboard, navigate to the ‘Wireless’ or ‘Wireless Settings’ section.
- Locate the ‘SSID’ or ‘Network Name’ field and enter a name for your wireless network. This is the name that will be displayed when devices search for available networks.
- Select the appropriate wireless security mode. It is highly recommended to choose ‘WPA2-PSK’ for better security. This will require you to set a wireless network password.
- Enter a strong and memorable password in the ‘Password’ or ‘Key’ field. Make sure to use a combination of letters, numbers, and special characters to enhance the security of your network.
- Choose a preferred wireless channel that has low interference from other nearby networks. You can select ‘Auto’ for the router to automatically choose the best channel, or you can manually select a channel.
- Click on the ‘Save’ or ‘Apply’ button to save the wireless network settings.
- Wait for a few moments while the router applies the changes and updates the wireless network. This may take a moment.
- Once the changes are saved, your TP-Link router will broadcast the wireless network with the configured settings.
Remember to make note of the wireless network name (SSID) and password you have set, as you will need this information to connect your devices wirelessly.
It’s important to note that configuring the wireless network settings helps secure your network from unauthorized access and ensures a stable and reliable wireless connection for your devices.
Now that you have successfully configured the wireless network settings, let’s move on to the next step: changing the default login credentials of your TP-Link router.
Step 5: Change the default login credentials
Changing the default login credentials of your TP-Link router is crucial for protecting your network from unauthorized access. Follow these steps to set up a personalized username and password:
- Access the TP-Link router’s web interface by entering the IP address in your web browser and logging in with the default username and password.
- Navigate to the ‘System Tools’ or ‘Administration’ section in the router’s web interface.
- Look for the ‘Change Password’ or ‘Admin Password’ option and click on it.
- Enter the current username and password in the respective fields. These are the default credentials provided by TP-Link, usually ‘admin’ for both.
- Next, enter your desired username and password in the appropriate fields. Make sure to choose a strong password that combines upper and lowercase letters, numbers, and special characters.
- Click on the ‘Save’ or ‘Apply’ button to save the new login credentials.
Once the changes are saved, your TP-Link router will now require the new username and password to access the web interface.
Changing the default login credentials helps safeguard your router against unauthorized access and ensures that only authorized individuals can make changes to the router’s settings.
Remember to keep your new username and password in a secure place and avoid using easily guessable information such as birthdays or common words.
With the default login credentials changed, you have taken an important step towards securing your TP-Link router and network.
Next, let’s explore how to enable additional security features to further protect your network in the next step.
Step 6: Enable additional security features
Ensuring the security of your TP-Link wireless router is essential to protect your network and personal information. Follow these steps to enable additional security features:
- In the TP-Link router’s web interface, navigate to the ‘Wireless’ or ‘Wireless Settings’ section.
- Look for the ‘Wireless Security’ or ‘Security’ settings.
- Enable MAC filtering, which allows you to specify which devices can connect to your wireless network based on their MAC addresses. Add the MAC addresses of your devices to the allowed list.
- Enable WPS (Wi-Fi Protected Setup) to simplify the process of connecting devices to your network securely. However, be cautious as WPS can have vulnerabilities.
- Enable guest network access if you want to provide internet access to visitors without giving them access to your main network. Assign a unique name and password for the guest network.
- Enable firewall settings to protect your network from unauthorized access and potential attacks from the internet. Configure the firewall settings based on your preferences and security needs.
- Consider enabling VPN (Virtual Private Network) passthrough if you use VPN services to protect your internet connection.
- Click on the ‘Save’ or ‘Apply’ button to apply the changes and enable the additional security features.
Enabling these additional security features adds layers of protection to your TP-Link wireless network, helping to keep your connection secure and safeguard your personal information.
Keep in mind that some of the features may not be available on all TP-Link router models. Refer to your router’s user manual or TP-Link’s official website for specific instructions related to your model.
By enabling these security features, you can have peace of mind knowing that your TP-Link wireless network is fortified against potential threats.
With the additional security features enabled, we’re one step closer to finalizing the setup. Let’s proceed to the next and final step: testing the configuration and ensuring everything is working properly.
Step 7: Test the configuration and finalize the setup
Once you have completed the configuration of your TP-Link wireless router, it is important to test the setup to ensure everything is working correctly. Follow these steps to test the configuration and finalize the setup:
- Ensure your computer or device is connected to the wireless network you have set up using the new SSID and password.
- Open a web browser on your device and try accessing a website to check if you have an internet connection.
- If you can access websites without any issues, it means your TP-Link router is properly connected to the BSNL broadband modem and configured correctly.
- Test the connectivity of other devices connected to your wireless network, such as smartphones, tablets, or smart home devices. Check if they can connect to the internet and function properly.
- If you encounter any issues, double-check the configurations you have made, particularly the Internet connection settings and wireless network settings. Ensure that the passwords and network names match.
- If the issues persist, try restarting both your TP-Link router and your BSNL broadband modem. Allow them to fully boot up and establish a connection before retesting the devices’ internet connectivity.
- If you are still experiencing problems, consult the TP-Link user manual, the TP-Link support website, or reach out to their customer support for further assistance.
By completing the testing process and ensuring all devices are functioning properly, you can finalize the setup of your TP-Link wireless router for BSNL broadband. You can now enjoy a reliable and secure internet connection for all your home or office devices.
Remember to periodically check for firmware updates for your TP-Link router and apply them when available. Firmware updates can bring important security enhancements and new features to improve the performance of your router.
Congratulations! You have successfully configured and set up your TP-Link wireless router for BSNL broadband. Enjoy your fast and secure internet connection!
Conclusion
Configuring a TP-Link wireless router for BSNL broadband is a relatively straightforward process that can significantly improve your internet experience. By following the steps outlined in this guide, you can set up a reliable and secure network for your home or small business.
From connecting the router to the BSNL broadband modem to configuring the Internet and wireless network settings, each step is crucial in ensuring a seamless and secure connection. By changing the default login credentials and enabling additional security features, you can protect your network from unauthorized access and potential threats.
It’s important to note that the specific steps and options may vary depending on the model of your TP-Link router. However, the general principles and concepts discussed in this guide provide a solid foundation for the configuration process.
Regularly testing the configuration and checking the performance of your devices connected to the network helps ensure the setup is functioning properly. If any issues arise, referring to the TP-Link user manual, support website, or contacting customer support can provide further assistance.
By taking the time to configure and set up your TP-Link wireless router for BSNL broadband, you can enjoy a reliable and secure internet connection for all your online activities. Remember to periodically update your router’s firmware to benefit from the latest security enhancements and performance improvements.
Now that you have completed the setup process, sit back and enjoy the benefits of a fast, secure, and stable network connection provided by your TP-Link wireless router.


