Introduction
Welcome to our guide on how to clear the cache on your Samsung Galaxy! Whether you’re experiencing performance issues or simply want to optimize your device’s functionality, clearing the cache can be an effective solution. Cache files are temporary data stored by apps and the system to help speed up processes and improve user experience. However, over time, these files can accumulate and cause your device to slow down or behave erratically.
In this article, we will walk you through the step-by-step process of clearing both app and system cache on your Samsung Galaxy device. We’ll also provide specific instructions for popular Samsung Galaxy models.
Before we get started, it’s important to note that clearing the cache will not delete any personal data or settings on your device. However, it will remove temporary files and data stored by apps and the system, which may improve your device’s performance.
Now, let’s dive into the reasons why clearing the cache on your Samsung Galaxy device is beneficial and how you can do it effortlessly!
Why should you clear cache on your Samsung Galaxy?
Clearing the cache on your Samsung Galaxy device can bring several benefits and improve your overall user experience. Here are some of the main reasons why you should consider clearing the cache:
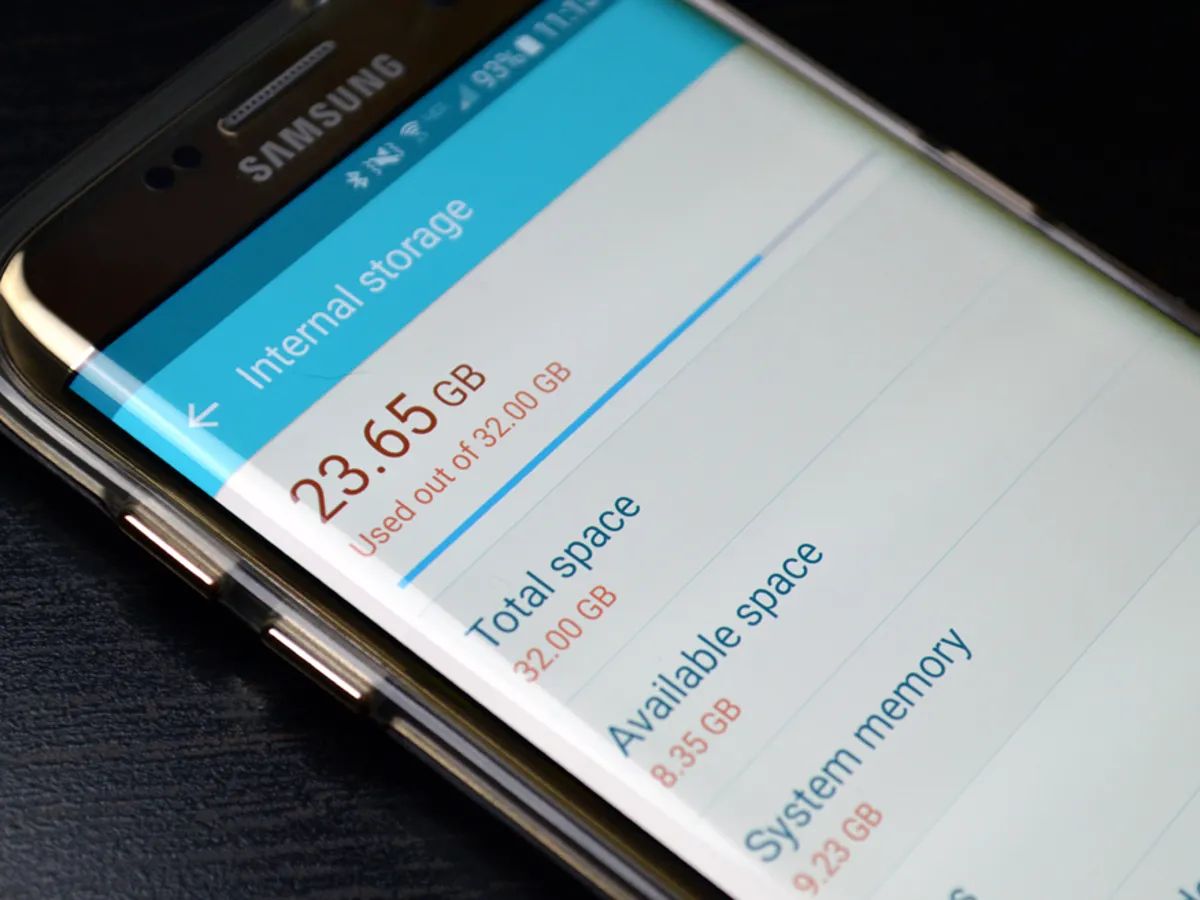
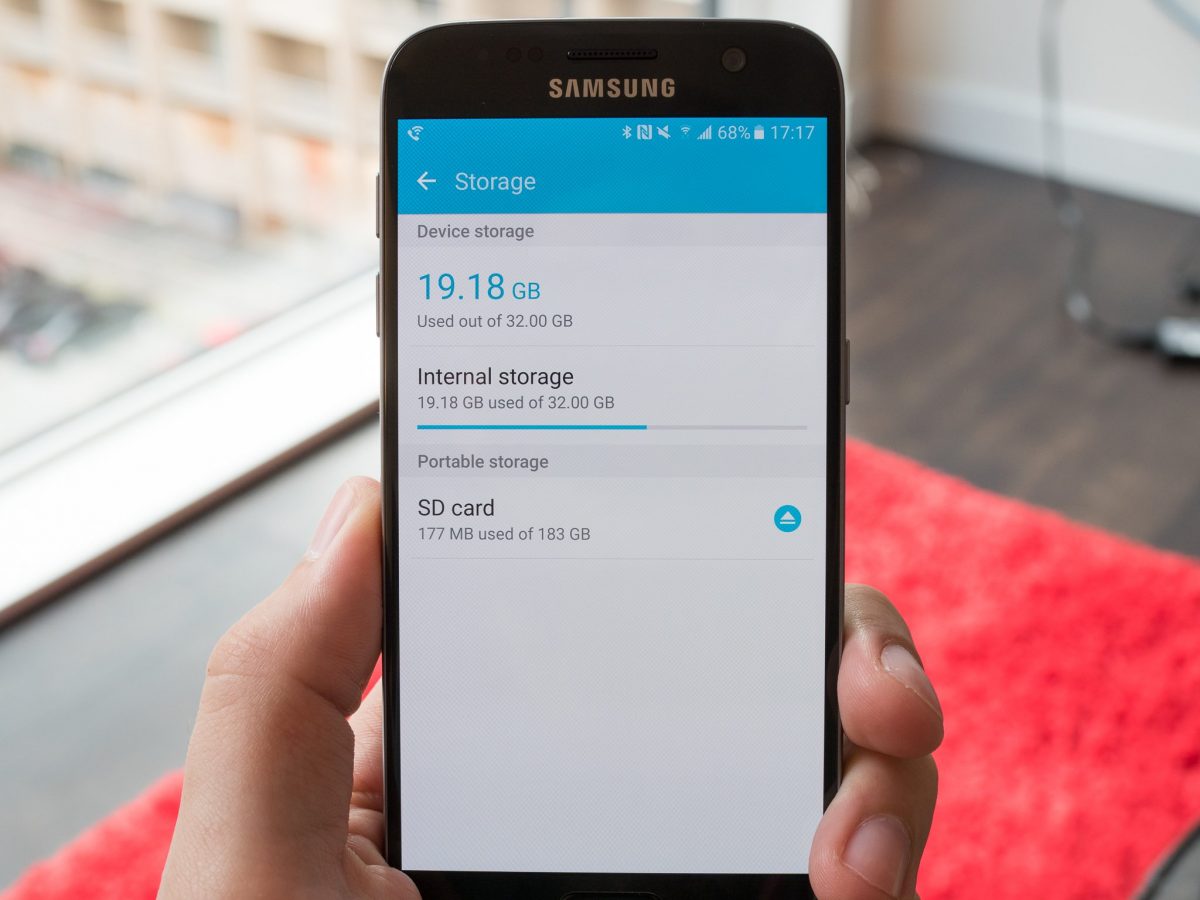
1. Free up storage space: As you use various apps and browse the internet, cache files accumulate on your device. These files can take up a significant amount of storage space over time. By clearing the cache, you can reclaim valuable storage space and ensure that your device runs smoothly.
2. Enhance performance: Cached data enables apps to load faster by storing temporary information. However, when cache files become outdated or corrupted, they can actually slow down your device. Clearing the cache helps to remove unnecessary and outdated data, allowing apps to run more efficiently.
3. Resolve app issues: If you’re experiencing issues with a specific app, such as crashes, freezes, or lagging, clearing the app’s cache can often solve the problem. Clearing the cache removes any temporary data or settings that may be causing the app to malfunction.
4. Fix system glitches: System cache files can also accumulate and cause glitches, such as unresponsive buttons, slow interface, or general performance issues. Clearing the system cache can help resolve these glitches and improve the overall stability of your Samsung Galaxy device.
5. Improve battery life: Some apps continuously run in the background and use up system resources, including battery power. By clearing the cache, you can prevent these apps from consuming unnecessary resources, leading to improved battery life.
Now that you understand the reasons why clearing the cache on your Samsung Galaxy device is important, let’s explore the step-by-step process of clearing both app and system cache.
How to clear app cache on Samsung Galaxy?
If you’re experiencing issues with a specific app, clearing its cache can help resolve the problem. Here’s how you can clear app cache on your Samsung Galaxy device:
Step 1: Start by accessing the Settings menu on your Samsung Galaxy device. You can do this by swiping down from the top of the screen and tapping the gear icon or by locating the Settings app in your app drawer.
Step 2: In the Settings menu, scroll down and select “Apps” or “Applications,” depending on your device model.
Step 3: You will now see a list of all the apps installed on your device. Tap on the app for which you want to clear the cache.
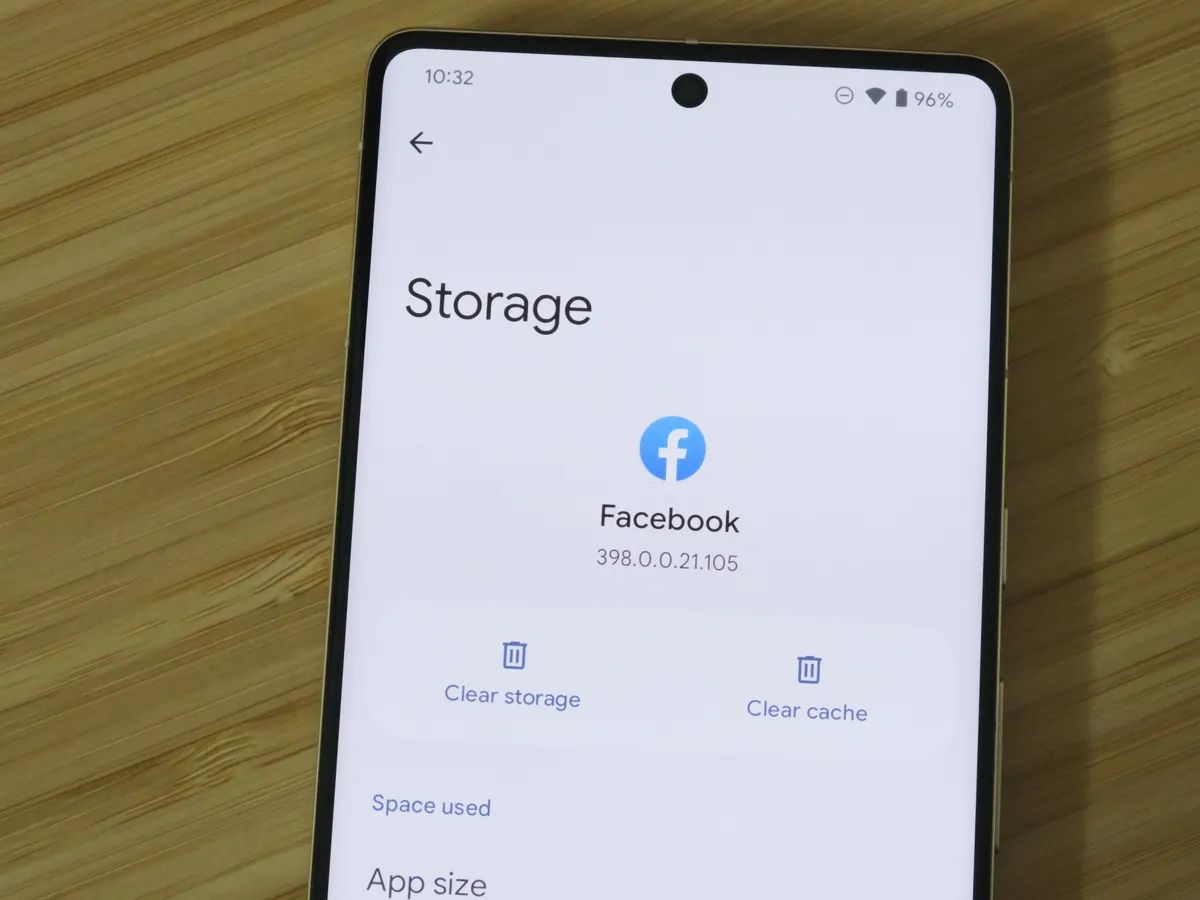
Step 4: Once you’re on the app’s settings page, tap on “Storage” or “Storage & cache”.
Step 5: On the Storage page, you will see options to clear the cache and clear data for the app. Tap on “Clear cache” to remove the temporary files stored by the app.
Step 6: A confirmation prompt will appear. Tap “OK” to confirm the cache clearing process.
Step 7: Repeat these steps for any other apps you want to clear the cache for.
That’s it! You have successfully cleared the app cache on your Samsung Galaxy device. You should notice improved app performance and potentially resolved issues. However, keep in mind that clearing the cache for certain apps, such as social media or messaging apps, may require you to log back in and re-download some data.
Next, we’ll explore how to clear the system cache on your Samsung Galaxy device to further optimize its performance.
How to clear system cache on Samsung Galaxy?
In addition to clearing app cache, clearing the system cache on your Samsung Galaxy device can help improve performance and resolve system-related issues. Here’s how you can clear the system cache:
Step 1: Start by powering off your Samsung Galaxy device. Press and hold the Power button until the power options menu appears, then select “Power off” or “Turn off”.
Step 2: Once your device is powered off, press and hold the Volume Up button, the Power button, and the Home button simultaneously. Continue holding until the Samsung logo appears on the screen.
Step 3: When the Samsung logo appears, release all buttons and wait for the Android Recovery menu to appear.
Step 4: In the Android Recovery menu, use the Volume Down button to navigate to the “Wipe cache partition” option. Once highlighted, press the Power button to select it.
Step 5: A confirmation prompt will appear. Use the Volume Down button to highlight “Yes” and press the Power button to confirm.
Step 6: Wait for the system cache to be cleared. This process may take a few minutes. Once completed, the Android Recovery menu will reappear.
Step 7: Use the Volume Down button to navigate to the “Reboot system now” option and press the Power button to select it.
Your Samsung Galaxy device will now reboot, and the system cache will be cleared. This should help improve system performance and resolve any glitches or issues related to the system cache.
Please note that the steps to access the Android Recovery menu may vary slightly depending on your Samsung Galaxy device model. In case you are unable to access the Android Recovery menu following the steps above, we recommend referring to the specific instructions for your device model.
Now that you know how to clear both app and system cache on your Samsung Galaxy device, let’s explore the process for clearing cache on specific Samsung Galaxy models in the next section.
Clearing cache on specific Samsung Galaxy models
The process of clearing cache on Samsung Galaxy devices may vary slightly depending on the specific model you have. Here are instructions for clearing cache on some popular Samsung Galaxy models:
1. Samsung Galaxy S20: To clear app cache on the Samsung Galaxy S20, go to Settings > Apps > [App Name] > Storage > Clear cache. To clear the system cache, turn off your device, then press and hold Volume Up, Power, and Bixby buttons until the Android Recovery menu appears. Use the Volume Down button to navigate to “Wipe cache partition” and select it with the Power button.
2. Samsung Galaxy S10: On the Samsung Galaxy S10, go to Settings > Apps > [App Name] > Storage > Clear cache to clear app cache. To clear the system cache, turn off your device, then press and hold Volume Up, Power, and Bixby buttons until the Android Recovery menu appears. Use the Volume Down button to navigate to “Wipe cache partition” and select it with the Power button.
3. Samsung Galaxy Note 10: To clear app cache on the Samsung Galaxy Note 10, go to Settings > Apps > [App Name] > Storage > Clear cache. To clear the system cache, turn off your device, then press and hold Volume Up, Power, and Bixby buttons until the Android Recovery menu appears. Use the Volume Down button to navigate to “Wipe cache partition” and select it with the Power button.
4. Samsung Galaxy A51: On the Samsung Galaxy A51, you can clear app cache by going to Settings > Apps > [App Name] > Storage > Clear cache. To clear the system cache, turn off your device, then press and hold Volume Up and Power buttons until the Samsung logo appears. Release the Power button but continue holding Volume Up until the Android Recovery menu appears. Use the Volume Down button to navigate to “Wipe cache partition” and select it with the Power button.
Please note that these are general instructions, and the exact steps may vary depending on the software version and customization of your Samsung Galaxy device. If you have a different model or are unsure about the specific steps, we recommend referring to the user manual or contacting Samsung support for assistance.
Now that you’re equipped with the knowledge of how to clear cache on various Samsung Galaxy models, let’s explore the benefits of regularly clearing the cache in the next section.
Benefits of clearing cache on Samsung Galaxy
Regularly clearing the cache on your Samsung Galaxy device can bring several benefits that enhance its performance and overall user experience. Let’s explore the key advantages of clearing cache:
1. Improved device performance: Over time, cache files accumulate and can slow down your device. By clearing the cache, you remove temporary data and outdated files, resulting in improved device performance, faster app loading times, and smoother overall functioning.
2. Free up storage space: Cache files can consume a significant amount of storage space on your device. Clearing the cache frees up valuable storage space, allowing you to store more apps, photos, and other important data.
3. Enhanced app performance: When you clear the cache for specific apps, you remove temporary files that can cause apps to lag, freeze, or crash. Clearing the app cache improves their performance, ensuring a more seamless and enjoyable user experience.
4. Resolved app and system issues: Clearing the cache can help resolve various app and system-related issues. Whether it’s an app crashing frequently or the system behaving sluggishly, clearing the cache can often fix these problems, restoring your device’s functionality.
5. Improved battery life: Cached data from certain apps running in the background can consume battery power unnecessarily. By clearing the cache, you optimize resource usage and potentially extend your device’s battery life.
6. Enhanced privacy and security: Cached data can sometimes include sensitive information, such as login credentials or temporary files from secure apps. Clearing the cache regularly ensures that this data is removed, reducing the risk of privacy breaches or unauthorized access.
7. Reduces app and system crashes: Outdated or corrupt cache files can lead to app and system crashes. Clearing the cache regularly helps prevent these crashes, ensuring a more stable and reliable performance of your Samsung Galaxy device.
Incorporating cache clearing as a part of your device maintenance routine can greatly enhance the performance, storage capacity, and overall user experience of your Samsung Galaxy device. Now that you understand the benefits, let’s address some common questions about clearing cache on Samsung Galaxy devices.
Frequently Asked Questions (FAQs)
Here are some commonly asked questions about clearing cache on Samsung Galaxy devices:
Q1: Does clearing the cache delete any personal data?
No, clearing the cache does not delete any personal data or settings on your Samsung Galaxy device. It only removes temporary files and data stored by apps and the system.
Q2: How often should I clear the cache on my Samsung Galaxy device?
There is no set frequency for clearing the cache. However, it is recommended to do it periodically, especially if you notice performance issues or app glitches. Clearing the cache once every few months can help keep your device running smoothly.
Q3: Will clearing the cache delete my app data or login information?
No, clearing the cache will not delete your app data or login information. It only removes temporary files and data that can be easily regenerated by the apps when you use them again. However, clearing data instead of the cache will delete app settings and personal data, so be cautious when selecting the option.
Q4: What is the difference between clearing app cache and clearing app data?
Clearing the app cache removes temporary files and data that are used to speed up the app’s performance. Clearing app data, on the other hand, deletes all app settings and personal data, including login information. It is recommended to clear the cache first before resorting to clearing app data.
Q5: Can I clear cache for all apps at once?
Yes, some Samsung Galaxy devices have an option to clear cache for all apps at once. To find this option, go to Settings > Storage > Cached data. Tapping on “Cached data” will prompt a confirmation message, and once you confirm, it will clear the cache for all apps on your device.
Q6: Will clearing the system cache on my Samsung Galaxy device delete anything important?
No, clearing the system cache will not delete anything important. It only removes temporary files and data that are not essential for the operating system. Clearing the system cache can help resolve system-related issues and improve device performance.
Remember to exercise caution when clearing cache and follow the appropriate steps for your Samsung Galaxy model to ensure a smooth process.
Now that we have covered the frequently asked questions about clearing cache, let’s conclude our guide.
Conclusion
Clearing the cache on your Samsung Galaxy device is a simple yet effective way to optimize its performance and enhance your user experience. By taking the time to clear both app and system cache, you can free up storage space, improve device speed, resolve app issues, and even extend battery life.
In this guide, we walked you through the step-by-step process of clearing app and system cache on Samsung Galaxy devices. We also provided specific instructions for popular Samsung Galaxy models. Remember to consult your device’s user manual or reach out to Samsung support if you have any model-specific questions.
Regularly clearing cache is a good device maintenance practice. It is recommended to clear the cache periodically, especially when you notice performance issues with your apps or your Samsung Galaxy device as a whole. However, keep in mind that clearing cache will not delete any personal data or settings.
We hope this guide has been helpful in empowering you to clear cache on your Samsung Galaxy device. By following these steps, you can ensure that your device runs smoothly, apps perform optimally, and you have ample storage space for your needs.
Thank you for reading, and enjoy using your optimized Samsung Galaxy device!