Introduction
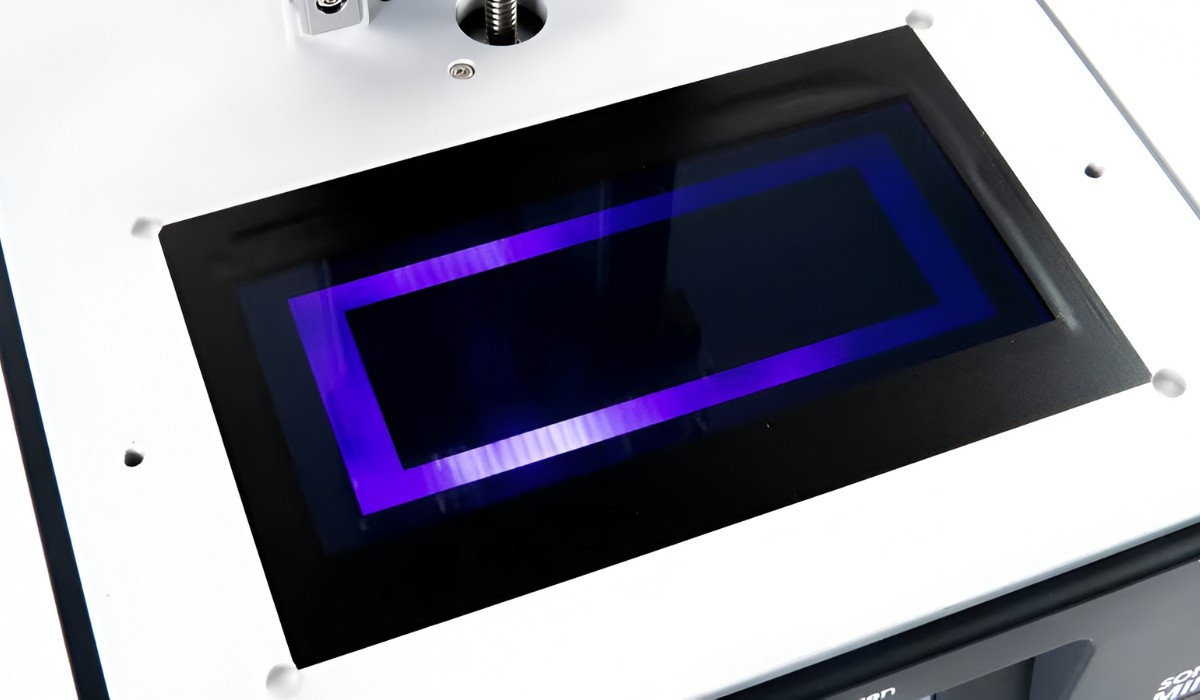
Welcome to our guide on how to clean a resin 3D printer screen! If you own a resin 3D printer, you know that keeping the screen clean is essential for achieving high-quality prints. Resin printers use a LCD or LED screen to project UV light and cure the resin in precise layers, and over time, resin residue and debris can accumulate on the screen, affecting print quality and potentially damaging the screen.
In this article, we will walk you through the step-by-step process of cleaning the resin 3D printer screen, along with the materials you will need and some tips and precautions to ensure a successful cleaning session. Whether you are a beginner or an experienced user, proper maintenance of your resin 3D printer screen is crucial to ensure optimal performance and longevity of your equipment.
By following the guidelines provided in this article, you will be able to keep your resin 3D printer screen in excellent condition, leading to better print quality and prolonging the life of your machine. So, let’s dive in and learn how to effectively clean the resin 3D printer screen!
Why is cleaning the resin 3D printer screen important?
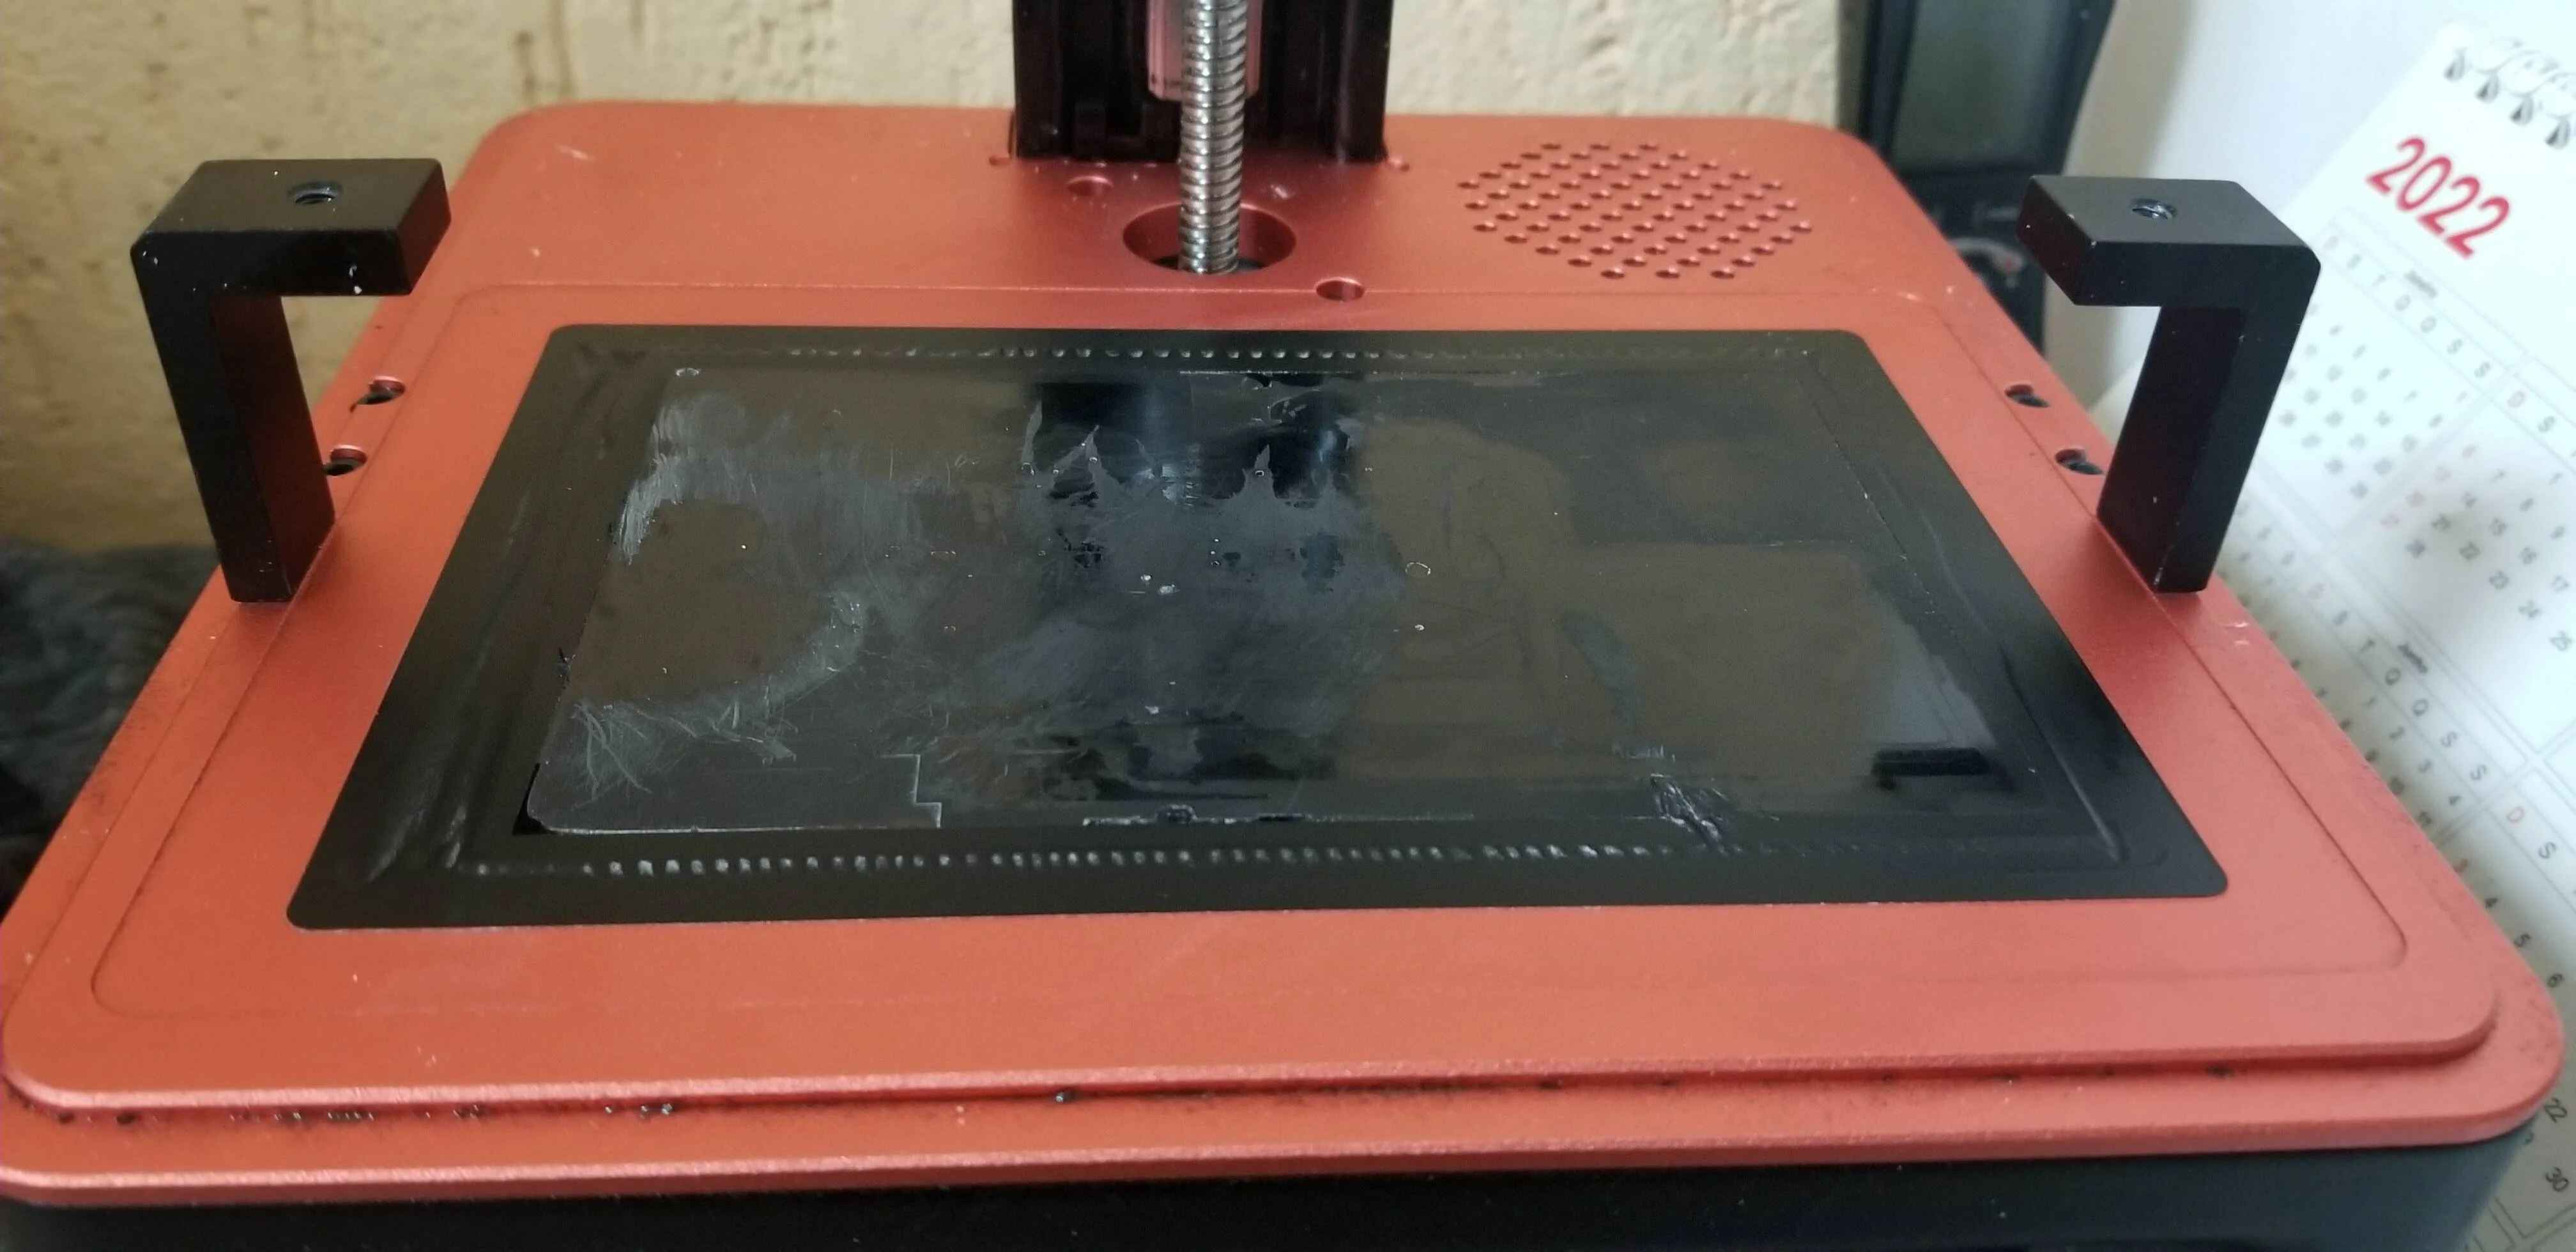
Cleaning the resin 3D printer screen is of utmost importance for several reasons. First and foremost, a clean screen ensures that you get high-quality prints with precise details and accurate dimensions. Over time, resin residue, dust, and debris can accumulate on the screen, causing inconsistencies in the UV light projection. This can lead to blurry prints, loss of fine details, and even failed prints.
Furthermore, a dirty screen can negatively impact the lifespan of your 3D printer. The resin residue can seep into the tiny crevices and gaps of the screen, causing it to become less effective over time. This can result in degraded image quality, reduced screen responsiveness, and ultimately lead to the need for screen replacement. By regularly cleaning the resin 3D printer screen, you can prevent the buildup of residue and extend the lifespan of your equipment.
Another crucial reason to clean the resin 3D printer screen is the prevention of potential damage. Resin is a sticky substance that can harden on the screen when exposed to UV light. If not cleaned properly, this hardened resin can become difficult to remove and may require aggressive cleaning methods that can scratch or damage the screen. Regular cleaning allows for easier removal of resin residue and helps preserve the integrity of the screen surface.
In addition, maintaining a clean resin 3D printer screen reduces the risk of contamination. Dust particles and other debris can settle on the screen and mix with the uncured resin, leading to impurities in the printing process. This can result in flawed prints with unwanted blemishes and imperfections. By keeping the screen clean, you minimize the chances of contamination and ensure that your prints come out clean and flawless.
Overall, cleaning the resin 3D printer screen is essential for achieving optimal print quality, prolonging the lifespan of your equipment, preventing potential damage, and minimizing the risk of contamination. By dedicating a few minutes to regularly clean your screen, you’ll reap the benefits of improved prints and a more efficient 3D printing experience.
What materials do you need for cleaning the resin 3D printer screen?
Before you start cleaning the resin 3D printer screen, it’s important to gather the necessary materials for a successful cleaning session. Here are the materials you will need:
- Isopropyl Alcohol (IPA): IPA is a crucial component for cleaning the resin 3D printer screen. It is highly effective in removing resin residue and other contaminants without leaving behind unwanted residues. Look for a high concentration of 90% or higher for optimal cleaning results.
- Microfiber cloth: A soft microfiber cloth is an excellent tool for gentle cleaning of the resin 3D printer screen. Avoid using paper towels or abrasive materials that may scratch or damage the screen. The microfiber cloth effectively removes dirt and debris without leaving any lint behind.
- Protective gloves: Since you will be dealing with IPA and potentially resin residue, it’s important to wear protective gloves to avoid direct contact with your skin. Nitrile gloves are a great option as they provide adequate protection and allow for dexterity.
- Soft-bristle brush: A small, soft-bristle brush can be useful for dislodging stubborn resin residue or dust particles that may be stuck on the screen. Choose a brush with gentle bristles to avoid scratching the screen.
- Container: You will need a container to hold the IPA during the cleaning process. A small glass or plastic container will suffice. Make sure it is clean and free of any contaminants before use.
- Water: Some manufacturers recommend rinsing the screen with water after cleaning with IPA to remove any remaining residue. Ensure the water is clean and free of impurities to prevent further contamination.
These materials are readily available and can be purchased from hardware stores, online retailers, or even your local pharmacy. Having them on hand will make the cleaning process smoother and more efficient.
Remember to check your printer manufacturer’s guidelines or user manual for any specific recommendations on cleaning materials. Some manufacturers may provide cleaning kits or recommend alternative solutions, so always follow their instructions for the best results.
Step-by-step guide on cleaning the resin 3D printer screen
Properly cleaning the resin 3D printer screen requires a systematic approach to ensure that you effectively remove resin residue and debris without causing damage. Follow these steps for a successful cleaning session:
- Power off and unplug the printer: Before you begin cleaning, make sure to power off the resin 3D printer and unplug it from the power source. This is important for your safety and to prevent any accidental damage to the equipment.
- Prepare the cleaning solution: Fill a small container with enough isopropyl alcohol (IPA) to submerge the microfiber cloth. The IPA should have a concentration of 90% or higher for optimal cleaning results.
- Put on protective gloves: To protect your skin from direct contact with the IPA and resin residue, wear nitrile or other appropriate protective gloves.
- Dampen the microfiber cloth: Dip the microfiber cloth into the container with the IPA solution. Wring out any excess liquid to avoid dripping on the printer or other components.
- Gently wipe the resin 3D printer screen: Using the dampened microfiber cloth, gently wipe the screen in a circular motion. Start from one side and work your way across the entire surface. Be cautious and avoid applying excessive pressure to prevent any potential damage to the screen.
- Focus on stubborn residue: If there are stubborn resin residue or dust particles remaining on the screen, use a soft-bristle brush to gently dislodge them. Be careful not to scratch the screen and ensure that the brush bristles are clean and free from debris.
- Rinse (if recommended): If your printer manufacturer recommends rinsing the screen with water, dampen a clean microfiber cloth with clean water and gently wipe the screen to remove any remaining residue. Ensure that the cloth is not soaked, as excessive moisture can be harmful to the printer.
- Dry the screen: After cleaning and rinsing (if applicable), use a dry microfiber cloth to carefully dry the resin 3D printer screen. Make sure there is no moisture left on the screen before powering the printer back on.
- Dispose of cleaning materials: Properly dispose of any used cleaning materials, such as the microfiber cloth and gloves, according to local regulations and guidelines.
- Power on the printer: Once the screen is clean and dry, you can safely power on the resin 3D printer and resume your printing activities.
Following these steps will help you maintain a clean resin 3D printer screen and ensure optimum performance and print quality. Make sure to refer to your printer manufacturer’s guidelines as well, as they may provide specific instructions or recommendations for cleaning.
Tips and precautions for cleaning the resin 3D printer screen
While cleaning the resin 3D printer screen is a simple process, it’s important to take certain precautions and follow some tips to ensure a safe and effective cleaning session. Here are some valuable tips to keep in mind:
- Follow the manufacturer’s guidelines: Always refer to your printer manufacturer’s guidelines or user manual for specific instructions on cleaning the resin 3D printer screen. Different printers may have different requirements or recommendations.
- Avoid using harsh chemicals: Stick to using isopropyl alcohol (IPA) as the cleaning solution for the screen. Avoid using harsh solvents or cleaners as they may damage the screen or other printer components. Stick to the recommended IPA concentration and do not dilute it with water or other substances.
- Be gentle: When wiping the screen with a microfiber cloth or using a soft-bristle brush, be gentle and avoid applying excessive pressure. Scrubbing too hard or using abrasive materials can scratch or damage the screen surface.
- Use a lint-free cloth: Ensure that the microfiber cloth you use for cleaning is clean, soft, and lint-free. Any lint or debris left behind on the screen can affect print quality or cause further contamination.
- Protect the surrounding areas: When cleaning the screen, be mindful of other sensitive components or areas of the printer. Prevent any drips or spills from coming into contact with these areas to avoid potential damage.
- Dry the screen thoroughly: After cleaning and possibly rinsing the screen, ensure that it is completely dry before turning the printer back on. Moisture can affect the performance of the printer and may lead to malfunctions or damage.
- Regularly clean the screen: Incorporate regular cleaning of the resin 3D printer screen into your maintenance routine. The frequency of cleaning will depend on usage, but aiming for once every few weeks or whenever you notice a buildup of residue is a good practice.
- Keep the cleaning area well-ventilated: When working with isopropyl alcohol, make sure the area is well-ventilated. IPA may emit fumes that could be harmful if inhaled in excessive amounts. Consider opening a window or using a fan to improve air circulation.
- Dispose of cleaning materials properly: After cleaning, dispose of used cleaning materials, such as the microfiber cloth and gloves, in accordance with local regulations. These materials may contain resin residue or mild chemicals and should not be thrown into regular household waste.
By following these tips and taking necessary precautions, you will be able to effectively clean your resin 3D printer screen without risking damage to the equipment or compromising the print quality. Maintenance is key to the longevity and optimal performance of your printer, so make cleaning the screen a regular part of your 3D printing routine.
How often should you clean the resin 3D printer screen?
The frequency of cleaning the resin 3D printer screen can vary depending on several factors, including the amount of usage and the specific resin used. However, as a general guideline, it is recommended to clean the screen regularly to maintain optimal print quality and prevent the buildup of residue and debris.
A good starting point is to clean the resin 3D printer screen after every print or every few prints. This ensures that any residual resin or debris left on the screen is promptly removed before it has a chance to accumulate and affect subsequent prints. Regular cleaning in this manner helps maintain the integrity of the screen and prevents any potential clogging or distortion of the UV light projection.
In addition to cleaning after each print or every few prints, it’s a good practice to perform a more thorough cleaning session once every few weeks. This entails using isopropyl alcohol (IPA) or a recommended cleaning solution to remove any remaining residue or contaminants from the screen. This periodic cleaning helps to maintain consistent print quality and prevents long-term deterioration of the screen.
However, it is important to note that the specific cleaning frequency may vary depending on the printer model, the resin type, and the printing environment. Some printers may require more frequent cleaning due to their design or the nature of the resin being used. If you notice a significant decrease in print quality or start experiencing failed prints, it may be an indication that the screen needs cleaning more frequently.
Always refer to the manufacturer’s guidelines or user manual for recommendations on cleaning the resin 3D printer screen. They may provide specific instructions or guidelines tailored to your particular printer model. Following the manufacturer’s recommendations will ensure that you maintain the screen properly without risking damage to the equipment.
Ultimately, the goal is to strike a balance between regular cleaning sessions and not overdoing it. Cleaning too frequently can potentially wear down the screen or introduce unnecessary moisture to the printer. By monitoring print quality, being aware of the resin buildup, and following the manufacturer’s guidelines, you will be able to determine how often you should clean the resin 3D printer screen to achieve optimal printing results.
Conclusion
Cleaning the resin 3D printer screen is a vital part of maintaining optimal print quality and prolonging the lifespan of your equipment. By regularly cleaning the screen, you can prevent resin buildup, remove debris, and ensure accurate UV light projection for precise and flawless prints.
In this guide, we have provided you with step-by-step instructions on how to clean the resin 3D printer screen effectively. We have also shared valuable tips and precautions to help you achieve the best results without risking damage to the screen or other components of your printer.
Remember to gather the necessary materials, such as isopropyl alcohol (IPA), microfiber cloths, gloves, and a soft-bristle brush, before starting the cleaning process. Follow the manufacturer’s guidelines and recommendations specific to your printer model, and adjust the cleaning frequency based on your usage and print quality.
By incorporating regular screen cleaning into your maintenance routine, you can ensure optimal performance, prevent potential damage, and minimize the risk of contamination. Keeping the resin 3D printer screen clean will not only enhance the print quality but also contribute to a smoother 3D printing experience overall.
Now that you have the knowledge and guidance on how to clean the resin 3D printer screen, there’s no excuse not to maintain your printer in top-notch condition. So, take the necessary steps, get your cleaning materials ready, and enjoy high-quality prints with your clean resin 3D printer screen!


