Introduction
When it comes to computer hardware, RAM (Random Access Memory) plays a crucial role in the overall performance and speed of your system. It serves as a temporary storage space for data that the computer needs to access quickly. Whether you’re looking to upgrade your RAM or simply want to know more about the components inside your computer, checking the brand of your RAM can provide valuable insights.
Knowing the brand of your RAM can help you understand its quality, compatibility, and potential performance capabilities. Different RAM brands have different reputations in terms of reliability, speed, and support, so being aware of the brand can assist you in making informed decisions regarding upgrades or troubleshooting.
While it’s easy to identify some components in a computer visually, such as the processor or hard drive, RAM modules are often concealed within the computer case. This makes it necessary to rely on alternative methods to check the brand of your RAM.
In this article, we will explore various methods you can use to determine the brand of your RAM. We will cover both physical methods, such as checking labels on the RAM modules themselves, as well as digital methods, including using software tools built into your operating system and third-party applications.
Whether you are a computer enthusiast, a professional technician, or simply curious about your system’s hardware, understanding how to check the brand of your RAM will undoubtedly assist you in optimizing your computer’s performance and ensuring compatibility for future upgrades.
Why do you need to check the brand of your RAM?
Checking the brand of your RAM is essential for several reasons. Let’s explore why it’s important to know the brand of your RAM:
1. Compatibility: Different computer systems have varying requirements when it comes to RAM compatibility. Checking the brand of your RAM allows you to ensure that it is compatible with your motherboard and other hardware components. Certain brands may have specific requirements or optimizations that make them more suitable for certain systems.
2. Performance: RAM performance can vary depending on the brand. Some brands may offer faster speeds or better latency timings, which can have a significant impact on the overall performance of your computer. By knowing the brand of your RAM, you can make informed decisions about whether to upgrade or replace your current modules to improve system performance.
3. Warranty and Support: Different RAM brands offer different warranty periods and customer support options. Checking the brand of your RAM allows you to understand the warranty coverage and the level of support you can expect in case of any issues or defects. This information is crucial for troubleshooting and ensuring a reliable computing experience.
4. Future Upgrades: If you plan on upgrading your RAM in the future, knowing the brand of your current modules can help you make the right choice. By sticking with the same brand, you can ensure compatibility and potentially take advantage of any optimizations or features that the brand offers. Additionally, knowing the brand can assist in troubleshooting any compatibility or performance issues that may arise during the upgrade process.
5. Quality Assurance: Different RAM brands have varying reputations for quality control and reliability. By checking the brand of your RAM, you can evaluate the overall reputation and reliability of the manufacturer. This information is especially important if you are purchasing new RAM modules or building a custom computer.
Considering the importance of compatibility, performance, warranty, future upgrades, and quality assurance, checking the brand of your RAM is crucial for maximizing your computer’s performance, ensuring long-term reliability, and making informed decisions when it comes to upgrades or troubleshooting.
Method 1: Checking the physical labels on the RAM modules
One of the most straightforward ways to determine the brand of your RAM is by examining the physical labels on the RAM modules themselves. Here’s how you can do it:
1. Power off your computer: Before handling any computer components, it’s essential to power off your computer and unplug it from the power source. This ensures your safety and prevents any potential damage to the RAM or other hardware.
2. Open your computer case: Depending on your computer model, you may need to remove screws or unlatch a panel to access the internal components. Consult your computer’s manual or search online for instructions on how to open the case.
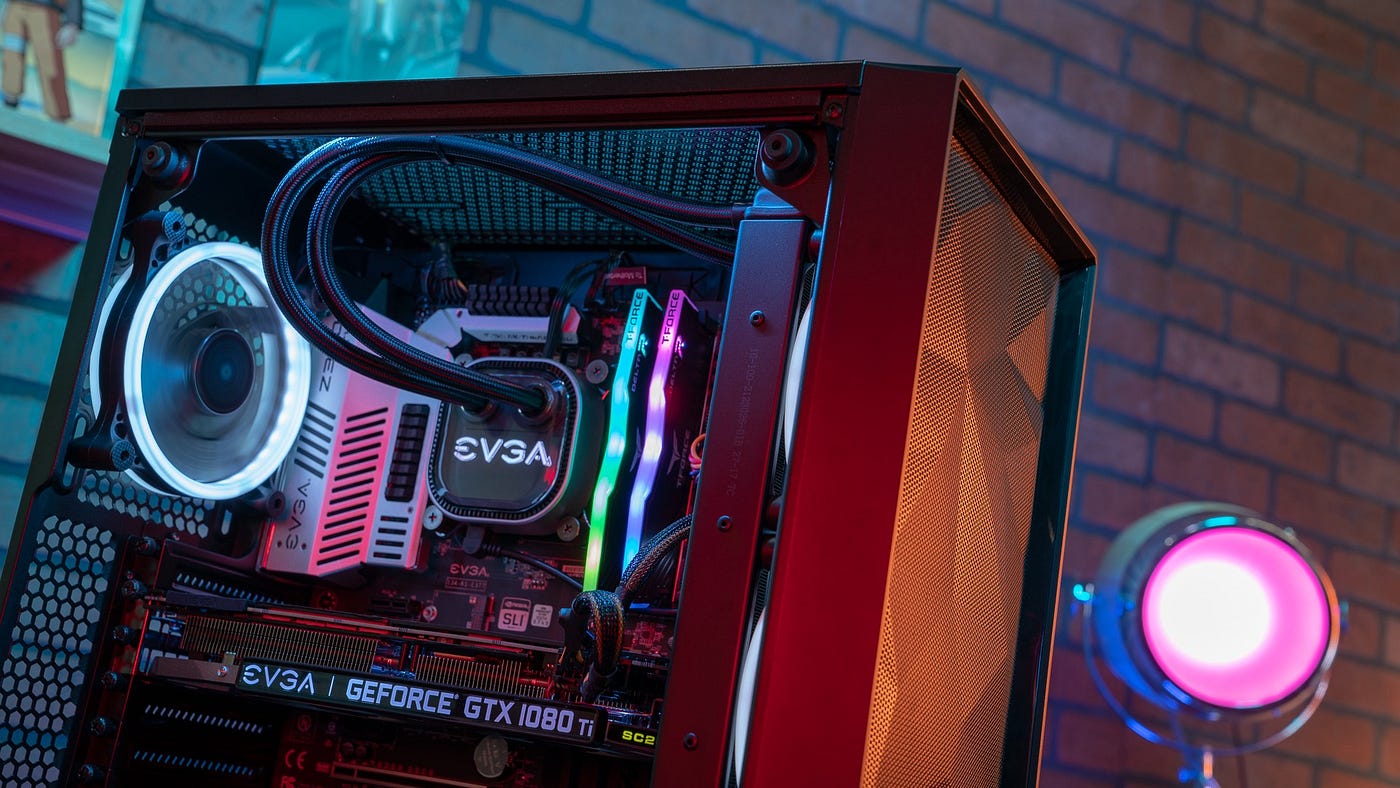
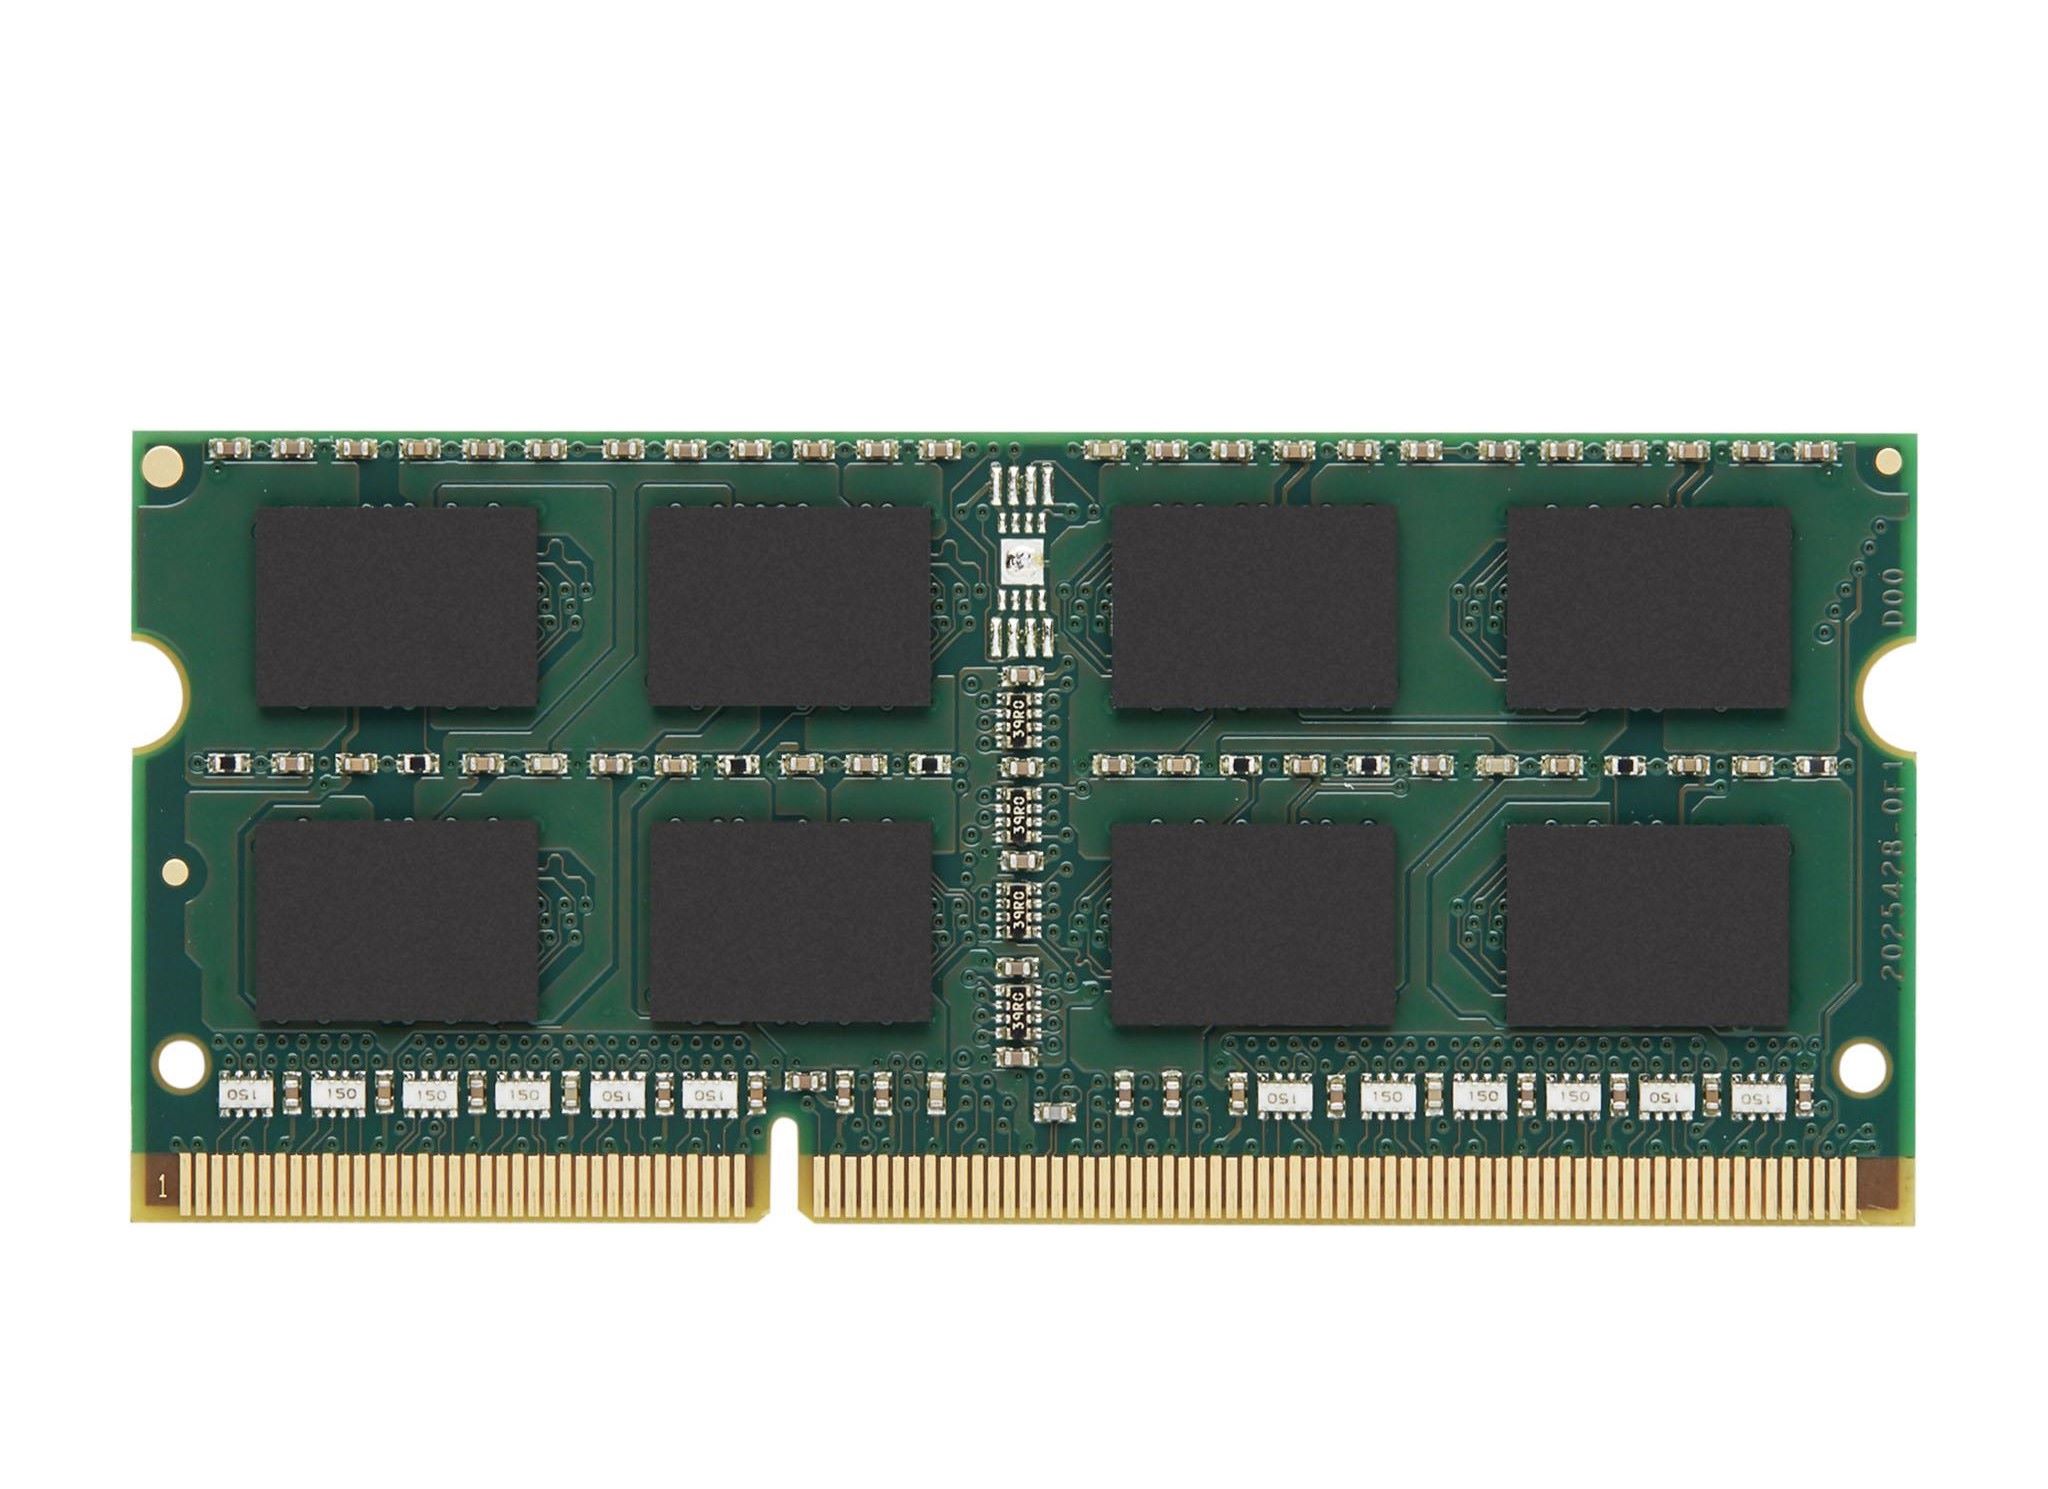
3. Locate the RAM modules: Once you’ve opened the case, locate the RAM modules. These are small rectangular circuit boards that are typically secured in slots on the motherboard. RAM modules are often distinguishable by their different color and shape compared to other components.
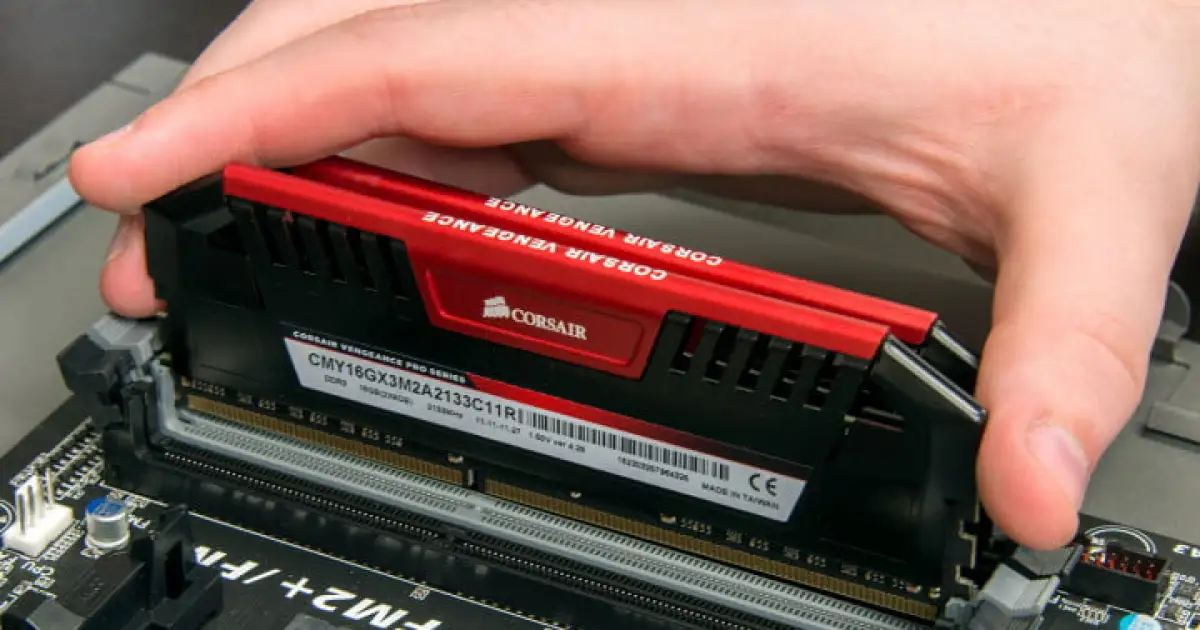
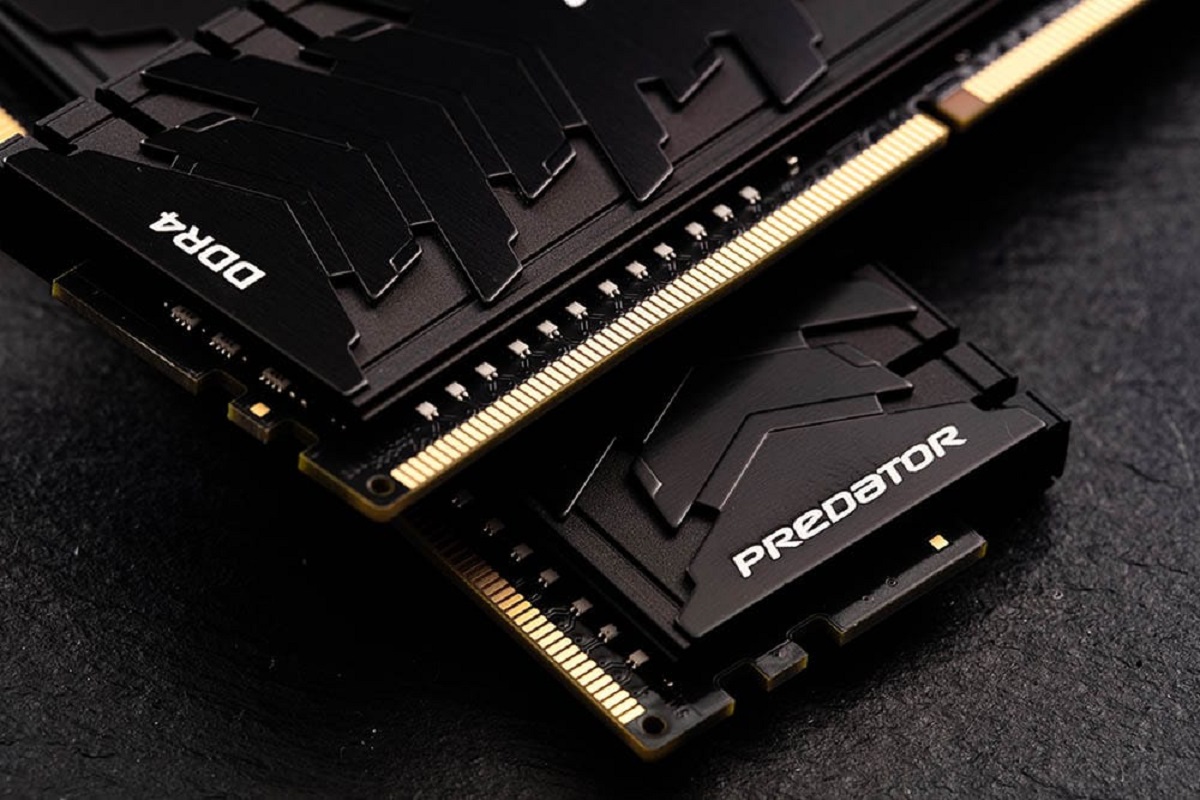
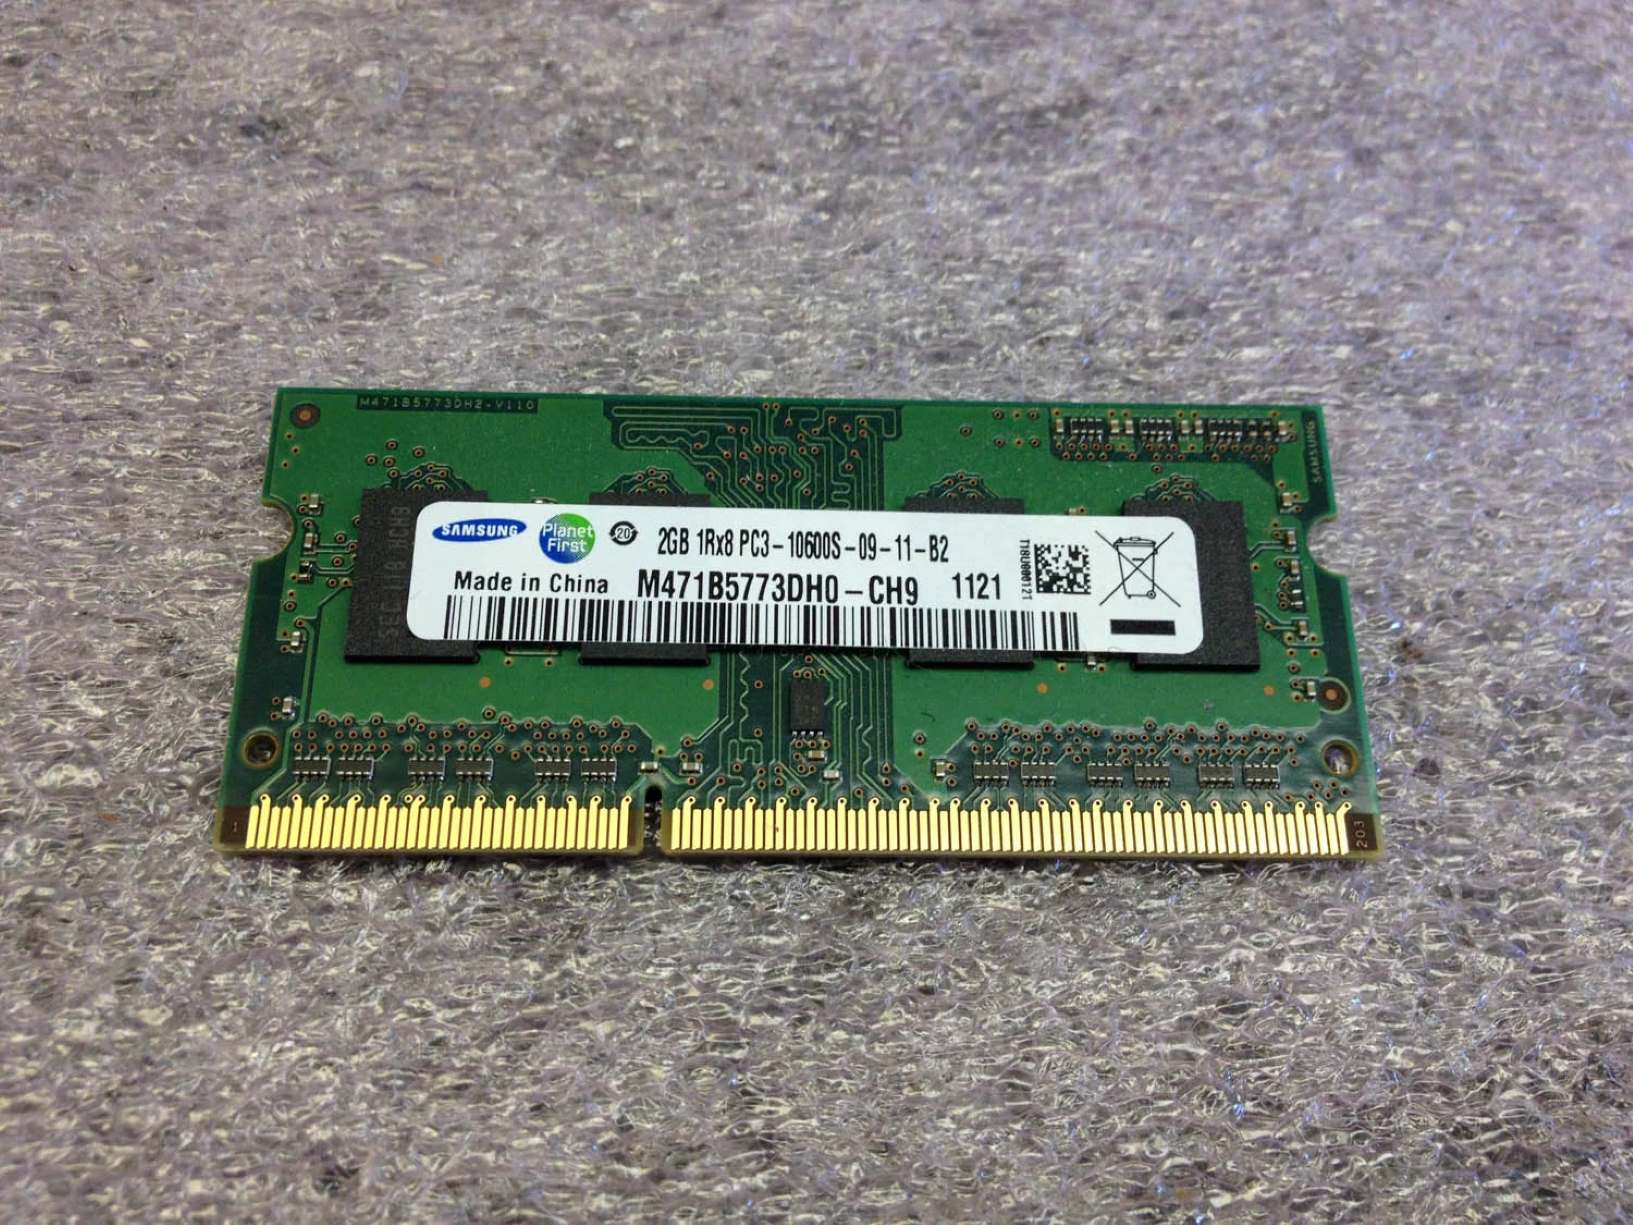
4. Check the labels on the RAM modules: Look for any labels or stickers on the RAM modules themselves. The label usually contains vital information about the brand, model, and specifications of the RAM. The brand name is often prominently displayed on the label, making it relatively easy to identify.
5. Make a note of the brand: Once you’ve identified the brand, write it down or take a picture for future reference. It’s also a good idea to note down any other relevant information, such as the model number or capacity of each module.
6. Close the computer case: After you’ve gathered the necessary information, safely close the computer case and secure it with screws or latches as required.
Checking the physical labels on your RAM modules is a reliable and direct method to determine the brand of your RAM. However, keep in mind that this method may not be applicable if the RAM modules are not easily accessible, such as in laptops or pre-built systems. In such cases, you can explore digital methods to check the brand of your RAM, as we will discuss in the following sections.
Method 2: Using the System Information tool on Windows
If you’re using a Windows operating system, you can easily utilize the built-in System Information tool to check the brand of your RAM. Here’s how:
1. Open the System Information tool: Press the Windows key + R on your keyboard to open the Run dialog box. Type “msinfo32” (without quotes) and press Enter. This will launch the System Information tool.
2. View the RAM information: In the System Information window, expand the “Components” category in the left-hand sidebar and click on “Memory.” This will display detailed information about your computer’s RAM.
3. Check the manufacturer: Look for the “Manufacturer” field under each RAM module listed. The manufacturer’s name will typically indicate the brand of the RAM.
4. Take note of the brand: Make a note of the RAM manufacturer for future reference. You can also take note of other details such as the module’s size, speed, and part number.
5. Close the System Information tool: Once you’ve gathered the necessary information, close the System Information tool by clicking on the X button or pressing Alt + F4.
The System Information tool provides comprehensive details about your computer’s hardware, including the brand of your RAM. It offers a convenient and easy-to-access method for checking the brand without the need to physically open your computer case.
Note that the steps may vary slightly depending on the version of Windows you’re using, but the general process remains the same. If you encounter any difficulties, refer to the Windows support documentation or search online for specific instructions for your Windows version.
Method 3: Using the Terminal on macOS
For macOS users, checking the brand of your RAM can be done through the Terminal application. Here’s how you can do it:
1. Open the Terminal application: You can find the Terminal application in the Utilities folder within the Applications folder, or you can use the Spotlight search feature (Cmd + Space) and type “Terminal” to open it.
2. Run the system_profiler command: In the Terminal window, type the following command and press Enter: system_profiler SPHardwareDataType. This command retrieves detailed hardware information about your Mac.
3. Locate the RAM details: Look for the section labeled “Memory” in the Terminal output. This section contains information about your Mac’s RAM configuration.
4. Check the manufacturer: Within the “Memory” section, look for the “Part Number” field. The part number usually contains the manufacturer’s name, which indicates the brand of your RAM.
5. Make a note of the brand: Take note of the RAM manufacturer for future reference. You can also note down other details such as the module’s size, speed, and any additional specifications provided.
6. Close the Terminal: Once you have gathered the necessary information, you can close the Terminal window by clicking on the cross icon or pressing Cmd + Q.
Using the Terminal application provides a simple and quick method to check the brand of your RAM on macOS. It eliminates the need to physically access your computer’s internal components and provides detailed information about your Mac’s hardware configuration.
If you encounter any issues or are unsure about using the Terminal, you can refer to the macOS support documentation or search online for specific instructions related to your macOS version.
Method 4: Using the command line on Linux
If you’re using a Linux distribution, you can utilize the command line to check the brand of your RAM. Here’s how:
1. Open the terminal: Launch the terminal application on your Linux distribution. You can typically find it in the Accessories or System Tools category of the applications menu.
2. Run the dmidecode command: In the terminal, enter the following command and press Enter: sudo dmidecode --type memory. This command retrieves detailed information about your computer’s memory.
3. Locate the manufacturer: Look for the line that starts with “Manufacturer:” within the output of the dmidecode command. This line will specify the manufacturer or brand of your RAM.
4. Note the brand: Make a note of the RAM manufacturer for future reference. Additionally, you may want to gather other information such as the module’s size, speed, and any other specifications provided.
5. Close the terminal: Once you have gathered the necessary information, you can close the terminal window.
Using the command line on Linux distributions, such as Ubuntu, Debian, or Fedora, provides a convenient way to check the brand of your RAM without the need for additional tools or graphical user interfaces.
Keep in mind that the specific command and its output may vary slightly depending on your Linux distribution. If you encounter any difficulties or want to explore alternative methods, refer to the documentation for your specific distribution or search online for commands tailored to your Linux flavor.
Method 5: Using third-party software
If you prefer a more user-friendly and comprehensive approach to check the brand of your RAM, you can utilize third-party software specifically designed for hardware information. Here’s how you can use third-party software to determine the brand of your RAM:
1. Research and choose reliable software: There are numerous third-party software options available for hardware information, such as CPU-Z, Speccy, HWINFO, and AIDA64. Research and select a reputable software program that suits your needs and is compatible with your operating system.
2. Download and install the software: Visit the official website of the chosen software and download the appropriate version for your operating system. Follow the installation instructions provided and ensure that you only download from trusted sources.
3. Launch the software: Once installed, open the software application on your computer. Most hardware information programs have a user-friendly interface and provide detailed information about various hardware components, including RAM.
4. Locate the RAM details: Look for the section or tab that displays information about your computer’s memory or RAM. Within this section, you should be able to find details about the brand, model, capacity, and other specifications of your RAM.
5. Check the RAM manufacturer: Look for the field or label that indicates the manufacturer or brand of your RAM. In most cases, it will be clearly indicated, making it easy to identify.
6. Take note of the brand: Make a note of the RAM manufacturer for future reference. You can also record any additional information provided by the software, such as the module’s size, speed, and timing.
7. Close the software: Once you have gathered the necessary information, you can close the third-party software application.
Using third-party software offers a convenient and comprehensive method to check the brand of your RAM. These programs not only provide information about the RAM brand but also offer insights into other hardware components, allowing you to monitor and analyze your system’s performance.
Always make sure to download third-party software from reputable sources and use trusted programs to maintain the security of your computer.
Conclusion
Checking the brand of your RAM is vital for understanding its compatibility, performance, warranty, and future upgrade possibilities. In this article, we explored five different methods to determine the brand of your RAM.
We started by discussing the physical method of checking the physical labels on the RAM modules themselves. This method allows you to directly identify the brand by examining the labels or stickers on the modules.
We then moved on to digital methods specific to different operating systems. For Windows users, using the System Information tool provides an easy way to retrieve detailed hardware information, including the RAM manufacturer.
MacOS users can rely on the Terminal application to access system information using the system_profiler command. This allows for convenient retrieval of RAM details without the need to physically open the computer.
Linux users can utilize the command line and the dmidecode command to extract RAM information and determine the brand without the reliance on graphical interfaces.
Lastly, we discussed the option of using third-party software, which provides a user-friendly and comprehensive approach to check the brand of your RAM. These programs offer detailed information about various hardware components, including the RAM brand.
By following these methods, you can easily determine the brand of your RAM, enabling you to make informed decisions about compatibility, upgrades, and troubleshooting. Remember, understanding your RAM brand plays a crucial role in optimizing your computer’s performance and ensuring the longevity and reliability of your system.


