Introduction
Changing your name on Afterpay is a simple process that allows you to update your personal information and ensure that your account reflects your correct details. Whether you have recently gotten married, changed your legal name, or simply want to update your profile with a different name, Afterpay provides a convenient way to make this change.
By updating your name on Afterpay, you can avoid any confusion or complications that may arise when using the service for online shopping and managing your payments. Your new name will be associated with all transactions and communications related to your Afterpay account. To help you through the process, this article will guide you step-by-step on how to change your name on Afterpay.
Please note that Afterpay requires sufficient documentation to verify name changes for security purposes. This ensures that only authorized individuals can make changes to their accounts. Keep reading to learn how to change your name on Afterpay and enjoy a seamless experience with your updated information.
Step 1: Sign in to Your Afterpay Account
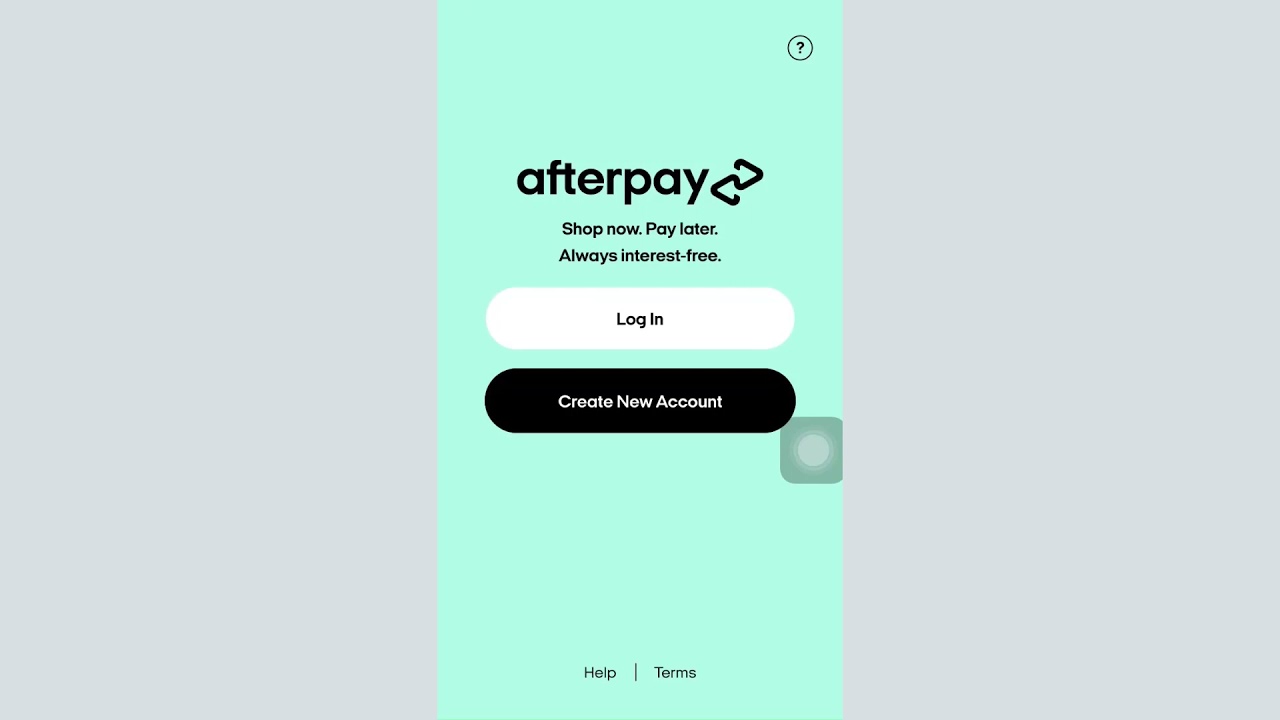
The first step to changing your name on Afterpay is to sign in to your account. Open your preferred web browser on your computer or mobile device and visit the Afterpay website. Once there, locate the “Sign In” button and click on it. Enter your registered email address and password to access your account.
If you have forgotten your password, you can click on the “Forgot Password?” link and follow the instructions to reset it. After resetting your password, proceed to sign in with your updated credentials.
If you do not have an Afterpay account, you will need to create one before proceeding with the name change process. Simply click on the “Sign Up” or “Create Account” option and enter your personal details as prompted. Follow the verification steps to complete the registration and gain access to your new Afterpay account.
It’s important to ensure that you have access to the email address associated with your Afterpay account before proceeding. After sign-in, you can move on to the next step and update your account settings.
Step 2: Go to Your Account Settings
Once you have successfully signed in to your Afterpay account, navigate to the account settings section. Look for the “My Account” or “Profile” tab usually located at the top right corner of the webpage. Click on it to access your account settings.
In the account settings, you will find various options to manage and edit your personal information. This includes your name, email address, phone number, and other relevant details. Select the “Edit” or “Update” option next to the name field to proceed with changing your name.
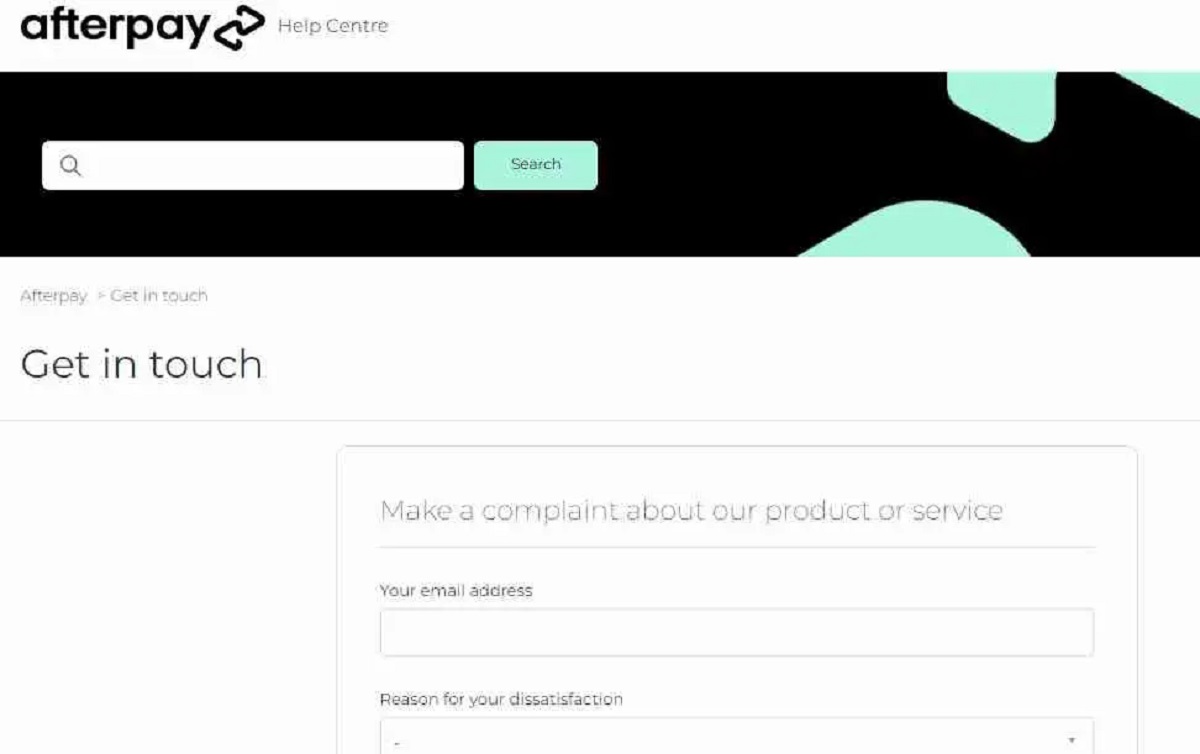
If you are unable to locate the account settings section or encounter any difficulties, consider referring to the Afterpay website’s FAQ or Help section for further guidance. You can also reach out to the Afterpay customer support team for assistance.
Now that you have accessed your account settings, it’s time to update your personal information and proceed with changing your name.
Step 3: Update Personal Information
Once you are in the account settings section of your Afterpay account, locate the field for your name. Click on the “Edit” or “Update” option next to the name field to make changes to your personal information.
In the name field, enter your new name exactly as you would like it to appear on your Afterpay account. Make sure to double-check the spelling and ensure that the name reflects your legal or preferred name accurately.
While updating your personal information, you may also want to review and update other relevant details such as your email address, phone number, and billing address. Ensure that all the information is accurate and up to date to avoid any issues with your Afterpay account in the future.
Remember, Afterpay values the security of your account, so it is essential to provide accurate and trustworthy information. By keeping your personal information updated, you can ensure a smoother experience when using Afterpay for online shopping and managing your payments.
Once you have made the necessary changes to your personal information, proceed to the next step in the name change process: changing your name.
Step 4: Change Your Name
After updating your personal information, it’s time to change your name on your Afterpay account. In the name field, make sure that your new name appears correctly and reflects the desired change.
If you are changing your name due to a marriage, divorce, or legal name change, it’s important to ensure that your Afterpay account reflects your updated information. This will help avoid any confusion or discrepancies when making purchases or managing your payments.
Double-check the spelling and accuracy of your new name. Ensure that it is entered exactly as you want it to appear on your Afterpay account. Remember that it should match your legal or preferred name for identification purposes.
By changing your name on Afterpay, you can ensure that all future transactions and communications associated with your account reflect your correct and updated information.
Once you have verified the accuracy of the name change, proceed to the next step, where you will be required to provide supporting documentation.
Step 5: Provide Supporting Documentation
After updating and changing your name, Afterpay may require you to provide supporting documentation to verify the name change request. This is an essential step to ensure the security and authenticity of your account.
Typically, Afterpay requests documents such as a valid government-issued identification, marriage certificate, divorce decree, or legal name change document. The specific requirements may vary depending on your location and the reason for the name change.
Gather the necessary documents as per Afterpay’s requirements. Ensure that the documents are clear, legible, and show the relevant information, including your old and new names. To expedite the process, consider preparing digital copies of the documents in advance.
Keep in mind that providing false or misleading documentation may result in the rejection of your name change request. It is crucial to provide accurate and valid supporting documentation to proceed with your name change successfully.
Once you have gathered the necessary documents, proceed to the next step to submit your name change request.
Step 6: Submit the Request
After updating your personal information, changing your name, and gathering the required supporting documentation, it’s time to submit your name change request to Afterpay.
Look for a “Submit” or “Save” button in the account settings section of your Afterpay account. Click on it to initiate the name change request process.
On the submission page, you may be prompted to upload the supporting documentation that verifies your name change. Follow the instructions provided and upload the required documents. Ensure that the documents are clear and legible for easy verification.
After uploading the documents, review all the entered information, including your updated name and other personal details. Double-check for any errors or discrepancies and make corrections if necessary.
Once you are satisfied with the accuracy of the information provided, click on the “Submit” or “Save” button to submit your name change request to Afterpay.
After submitting the request, Afterpay will review the information and documentation provided. The review process may take some time, and you may receive a confirmation email acknowledging the receipt of your request.
Keep an eye on your email for any further instructions or updates from Afterpay regarding your name change request. If there are any issues or additional information needed, Afterpay will communicate with you via email or provide instructions on how to proceed.
Once your name change request has been approved and processed by Afterpay, your account will reflect the updated name, and all future transactions and communications will be associated with the new name.
It’s important to note that in some cases, Afterpay may require further verification or may deny the name change request if the provided documentation is insufficient or does not meet their requirements. Should this occur, you may need to contact Afterpay’s customer support for further assistance.
Congratulations! You have successfully completed the process of changing your name on Afterpay.
Conclusion
Changing your name on Afterpay is a straightforward process that involves signing in to your account, updating your personal information, changing your name, providing supporting documentation, and submitting your request. By following these steps, you can ensure that your Afterpay account reflects your correct and updated name.
It’s crucial to provide accurate information and valid supporting documentation to verify your name change request. This ensures the security and authenticity of your Afterpay account while avoiding any confusion or issues with future transactions and communications.
Remember to review the entered information and double-check for any errors or discrepancies before submitting your name change request. Afterpay will review the information and documentation provided, and you may receive a confirmation email acknowledging the receipt of your request.
Keep in mind that the name change request may take some time to process. Be patient and keep an eye on your email for any further instructions or updates from Afterpay regarding the status of your request.
If you encounter any difficulties or have any questions during the name change process, don’t hesitate to reach out to Afterpay’s customer support for assistance. They will be able to provide you with the necessary guidance and help resolve any issues you may face.
By successfully changing your name on Afterpay, you can ensure that your account reflects your correct and updated information. This will provide you with a seamless experience when using Afterpay for online shopping and managing your payments.
Congratulations on successfully completing the name change process on Afterpay, and enjoy using the service with your updated name!