Introduction
Are you tired of your old Spotify username and want to change it to something more unique and personalized? Look no further! In this article, we will guide you through the step-by-step process of changing your Spotify username. With just a few simple steps, you can give your Spotify profile a fresh new identity!
Having a unique username on Spotify not only reflects your individuality but also makes it easier for your friends and followers to find and identify you. Whether you want to use your real name, a catchy phrase, or a combination of both, changing your Spotify username will give you the freedom to express yourself in your preferred way.
Before we dive into the process, it’s important to note that changing your Spotify username can only be done on the desktop version of the Spotify app or through the Spotify website. So make sure you have access to a computer or laptop before you begin.
Now, without further ado, let’s get started on this exciting journey to change your Spotify username!
Step 1: Accessing your Spotify account settings
To change your Spotify username, the first step is to access your account settings. Follow these simple instructions to get started:
- Open the Spotify desktop app on your computer or go to the Spotify website in your preferred web browser.
- Log in to your Spotify account using your username and password. If you’re already logged in, skip to the next step.
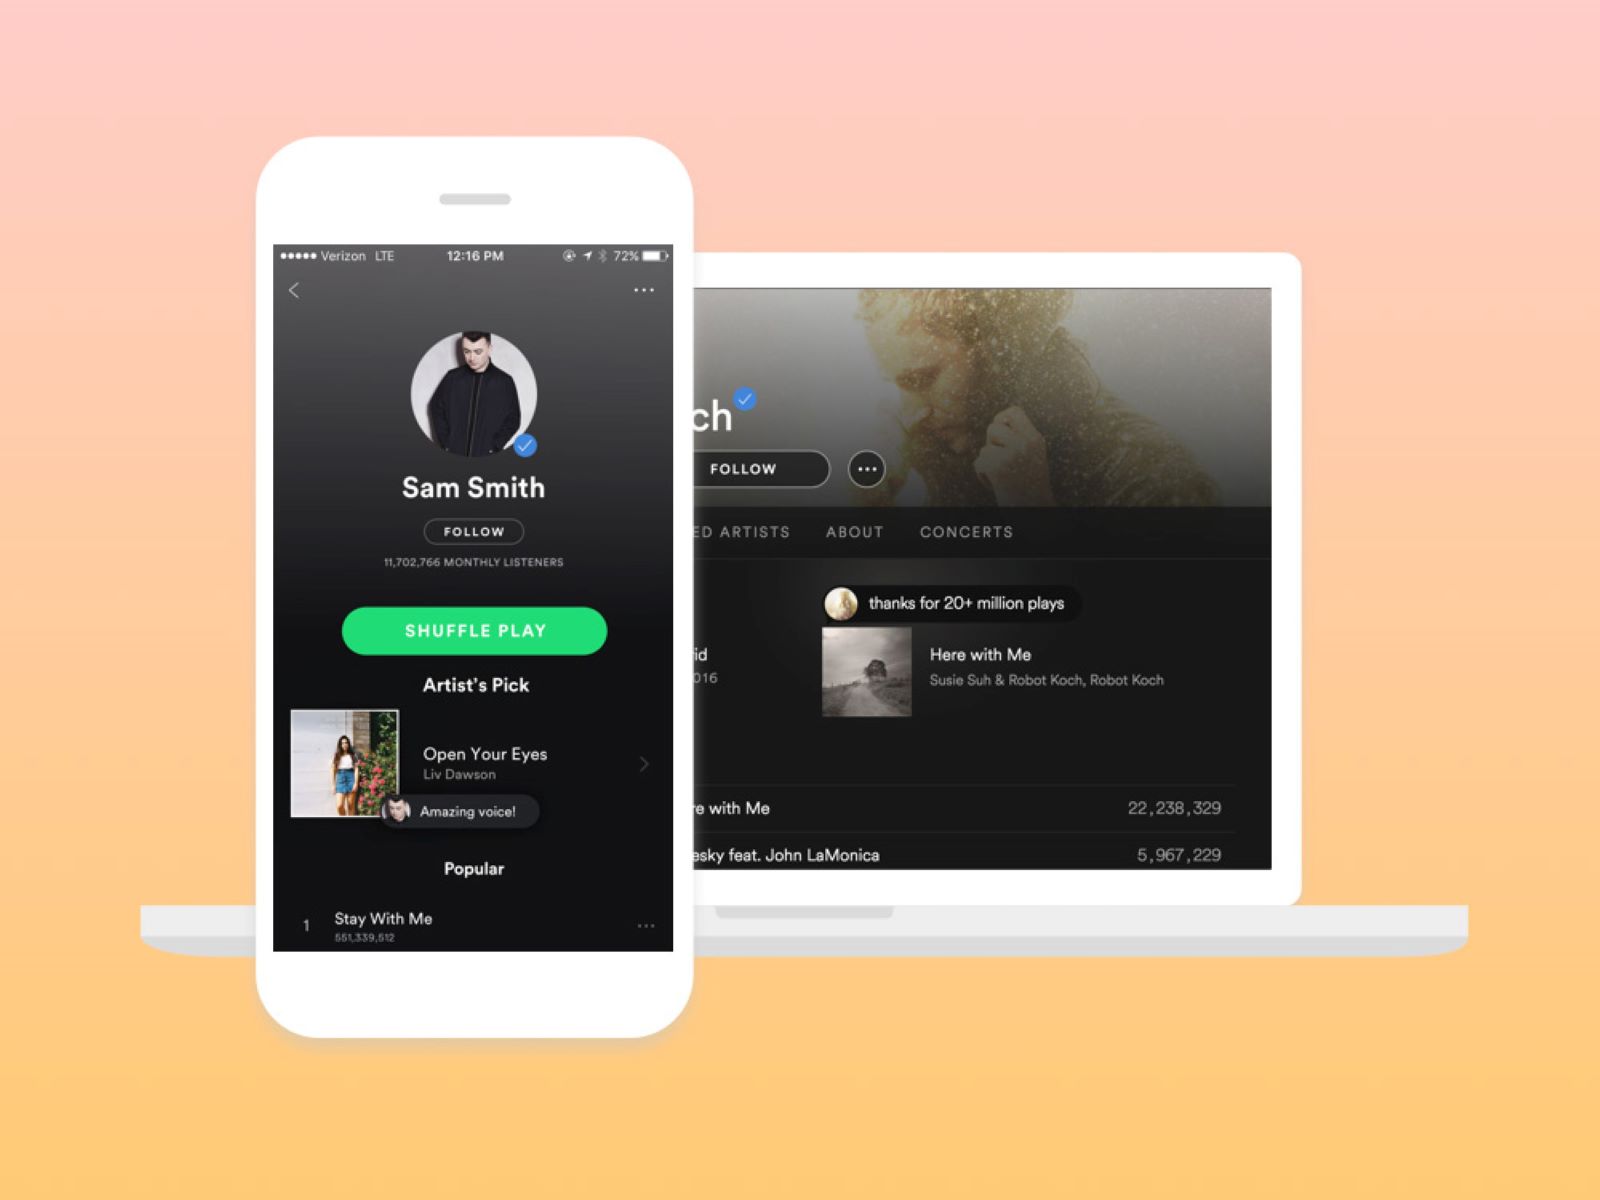
- On the top right corner of the screen, click on your username or profile picture to open the drop-down menu.
- From the drop-down menu, select the “Settings” option. This will take you to the settings page of your Spotify account.
Once you’re on the account settings page, you’re one step closer to changing your Spotify username. However, before we proceed, it’s important to note that you can only change your display name on Spotify, not the actual username. Your username is a unique identifier assigned to your account and is not editable.
To customize how your profile appears to others, you have the option to change your display name. Let’s move on to the next step to learn how to do that.
Step 2: Editing your profile information
Now that you’re on the account settings page, it’s time to edit your profile information. Follow these straightforward steps to change your display name:
- Scroll down to the “Profile” section on the account settings page.
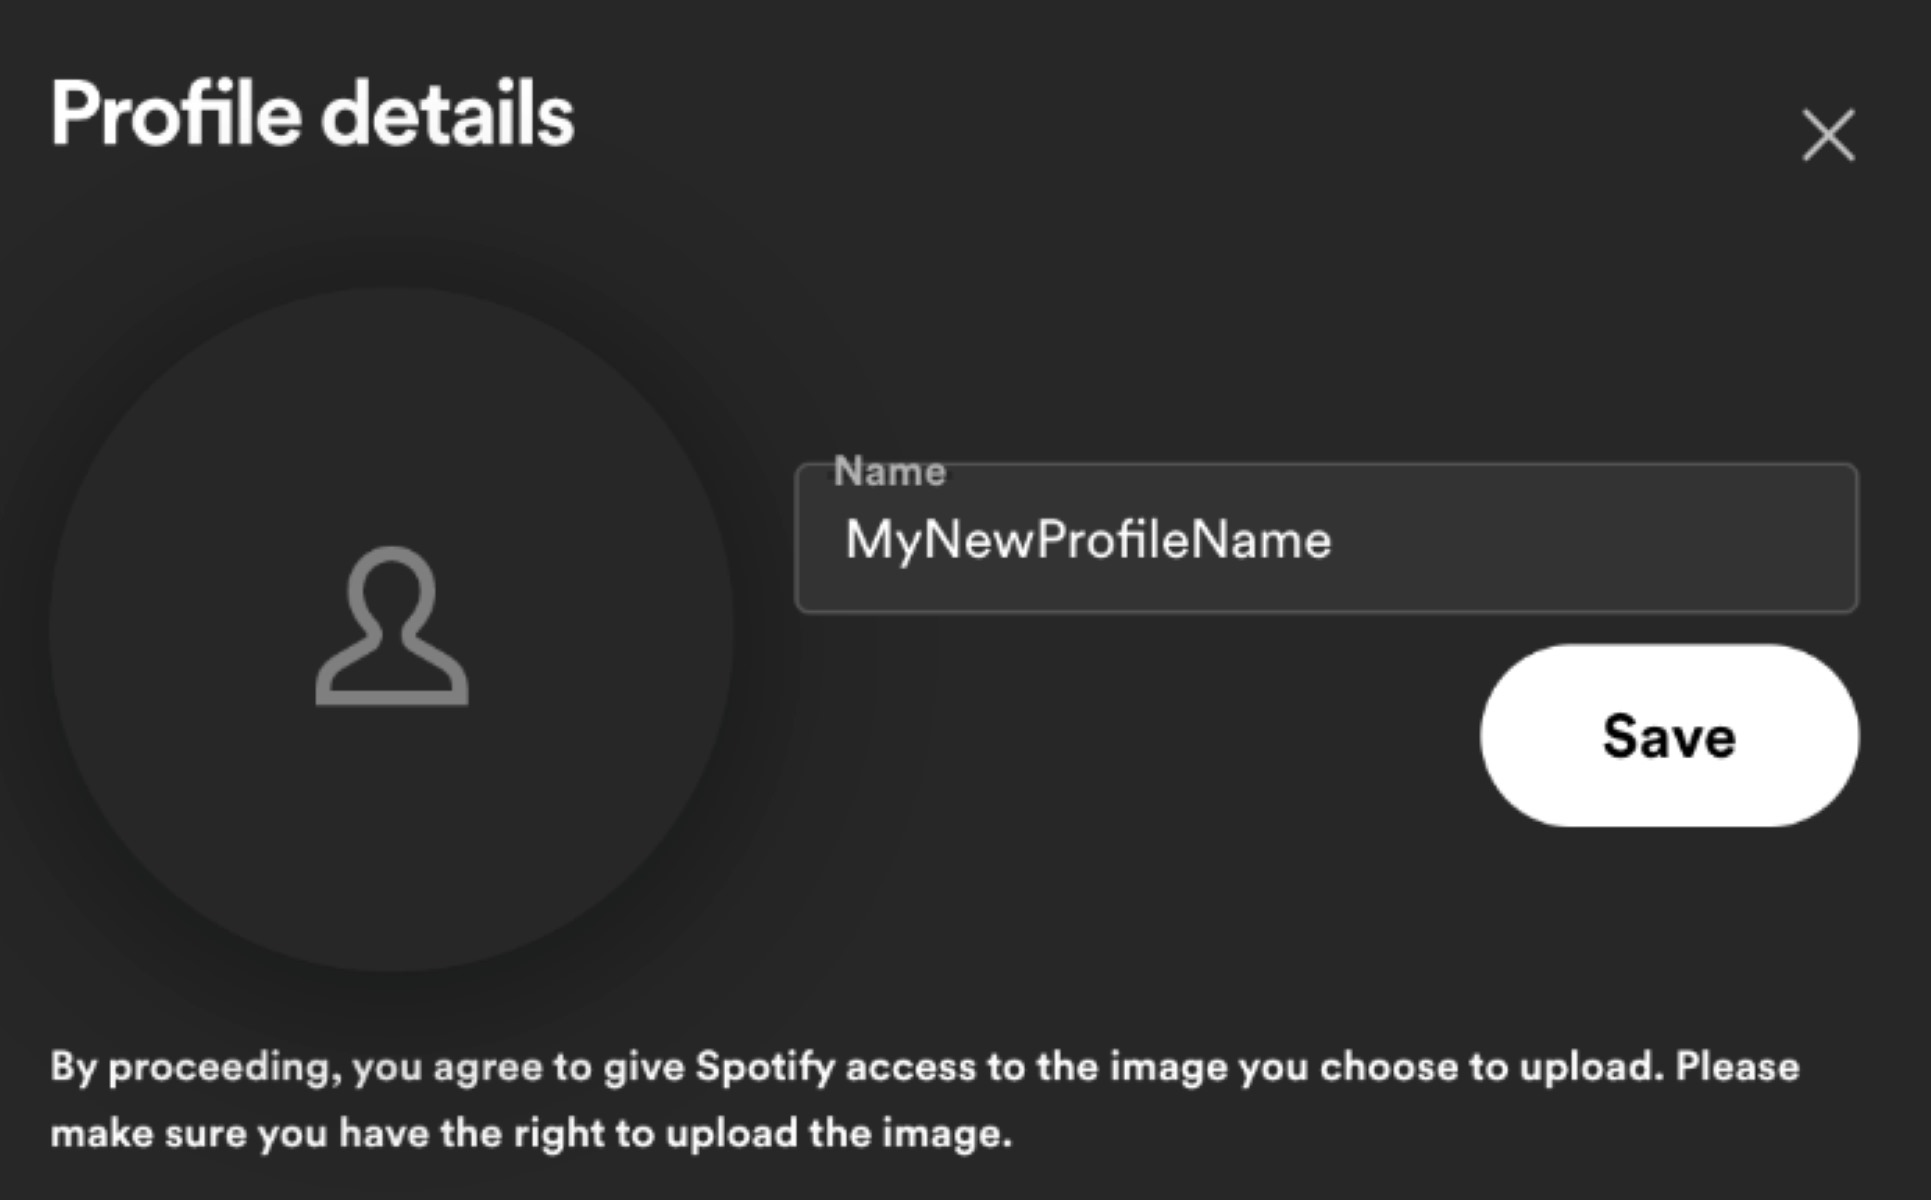
- Click on the pencil icon or the “Edit profile” button next to your current display name.
- In the pop-up window that appears, you’ll see an input field where you can enter your new display name.
- Type in your desired display name in the input field. You can use your real name, an alias, or any other name that represents you.
- Once you’ve entered your new display name, click on the “Save” or “Update” button to save your changes.
It’s important to note that changing your display name does not affect your Spotify username or your login credentials. The display name is simply how your profile is shown to others, while the username is a unique identifier used for logging in to your account.
Additionally, you have the option to upload a profile picture to further personalize your Spotify profile. Let’s move on to the next step to learn how to change your Spotify profile picture.
Step 3: Changing your Spotify username
While you cannot directly change your Spotify username, you can create a new account with your desired username and transfer your playlists and saved music to the new account. Here’s how you can go about it:
- Log out of your current Spotify account by clicking on your username or profile picture in the top right corner and selecting “Log Out” from the drop-down menu.
- Once logged out, click on the “Sign Up” button on the Spotify homepage to create a new account.
- Fill in the required information, including your email address, password, date of birth, and a desired username. Make sure to choose a unique and memorable username for your new account.
- After creating your new account, sign in using your new credentials.
- Now comes the crucial step of transferring your playlists and saved music. You can do this manually by searching for and adding your favorite songs and playlists to your new account. Alternatively, you can use third-party tools or services designed specifically for transferring Spotify playlists between accounts.
It’s important to keep in mind that changing your username in this way means starting with a fresh Spotify account. You will lose your followers, playlists, and personalized recommendations from your old account. However, by taking the time to rebuild your library, you can create a new and improved Spotify experience with your desired username.
Once you have completed the transfer of your music and playlists, your new account will have your desired username, and you can continue enjoying Spotify with a fresh start.
Step 4: Confirming your new Spotify username
After creating a new Spotify account with your desired username, it’s important to confirm that the username has been successfully changed. Here’s what you need to do:
- Open the Spotify app or website and log in to your new account using the recently created credentials.
- Navigate to your profile page by clicking on your username or profile picture in the top right corner of the screen.
- On your profile page, verify that your new username is displayed correctly. It should now reflect the username you chose during the account creation process.
- Browse through your playlists and saved music to ensure that all your transferred content is intact and associated with the new username.
- If everything looks good and your new username is displayed correctly, congratulations! Your Spotify username has been successfully changed.
It’s worth noting that once your username has been changed, it may take some time for the changes to reflect throughout the Spotify app and website. So don’t worry if you don’t see the updated username immediately, as it may take a little while to propagate across all platforms.
Now that you have confirmed your new Spotify username, you can start enjoying your favorite music, creating playlists, and sharing your music taste with your friends and followers.
Step 5: Updating your Spotify profile picture
A personalized profile picture can add a touch of uniqueness to your Spotify account. Follow these steps to update your profile picture:
- Open the Spotify app on your computer or visit the Spotify website and log in to your account.
- Click on your username or profile picture in the top right corner to access the drop-down menu.
- Select the “Profile” option from the drop-down menu.
- On your profile page, you will see your current profile picture. Hover your cursor over it and click on the pencil icon that appears.
- Choose the option to either upload a new image from your computer or connect to your preferred image source, such as Facebook or Instagram.
- Select the image you want to use as your profile picture and click on “Save” or “Update” to apply the changes.
Make sure the image you choose for your profile picture is of high quality and represents your personality or interests effectively. This image will be visible to other Spotify users who visit your profile and can help them identify you easily.
Remember, your profile picture can be updated at any time, so feel free to change it whenever you want to refresh your Spotify profile’s appearance.
Congratulations! You have successfully updated your Spotify profile picture. Now, your profile will stand out and reflect your unique style.
Conclusion
Changing your Spotify username may not be as straightforward as simply editing it, but by following the steps outlined in this guide, you can successfully give your Spotify profile a fresh new identity. Although you can’t directly change your Spotify username, creating a new account with your desired username and transferring your playlists and saved music can help you achieve the personalized profile you desire.
Remember, when changing your Spotify username, it’s important to consider the impact on your followers and playlists. Starting anew means rebuilding your library and potentially losing your followers, personalized recommendations, and the history associated with your previous account. However, with a little effort, you can create a new and improved Spotify experience with a username that truly represents you.
Along with changing your display name and profile picture, updating your Spotify profile allows you to express your individuality and make your presence on the platform more unique. Whether it’s for professional reasons or personal preference, having a personalized username and profile can help you stand out and make your Spotify experience more enjoyable.
So, if you’re ready for a fresh start and a new Spotify username, follow the steps outlined in this guide to change your Spotify profile and make it truly yours. Enjoy the process of customizing your profile, exploring new music, and sharing your favorite tracks with friends and followers!