Introduction:
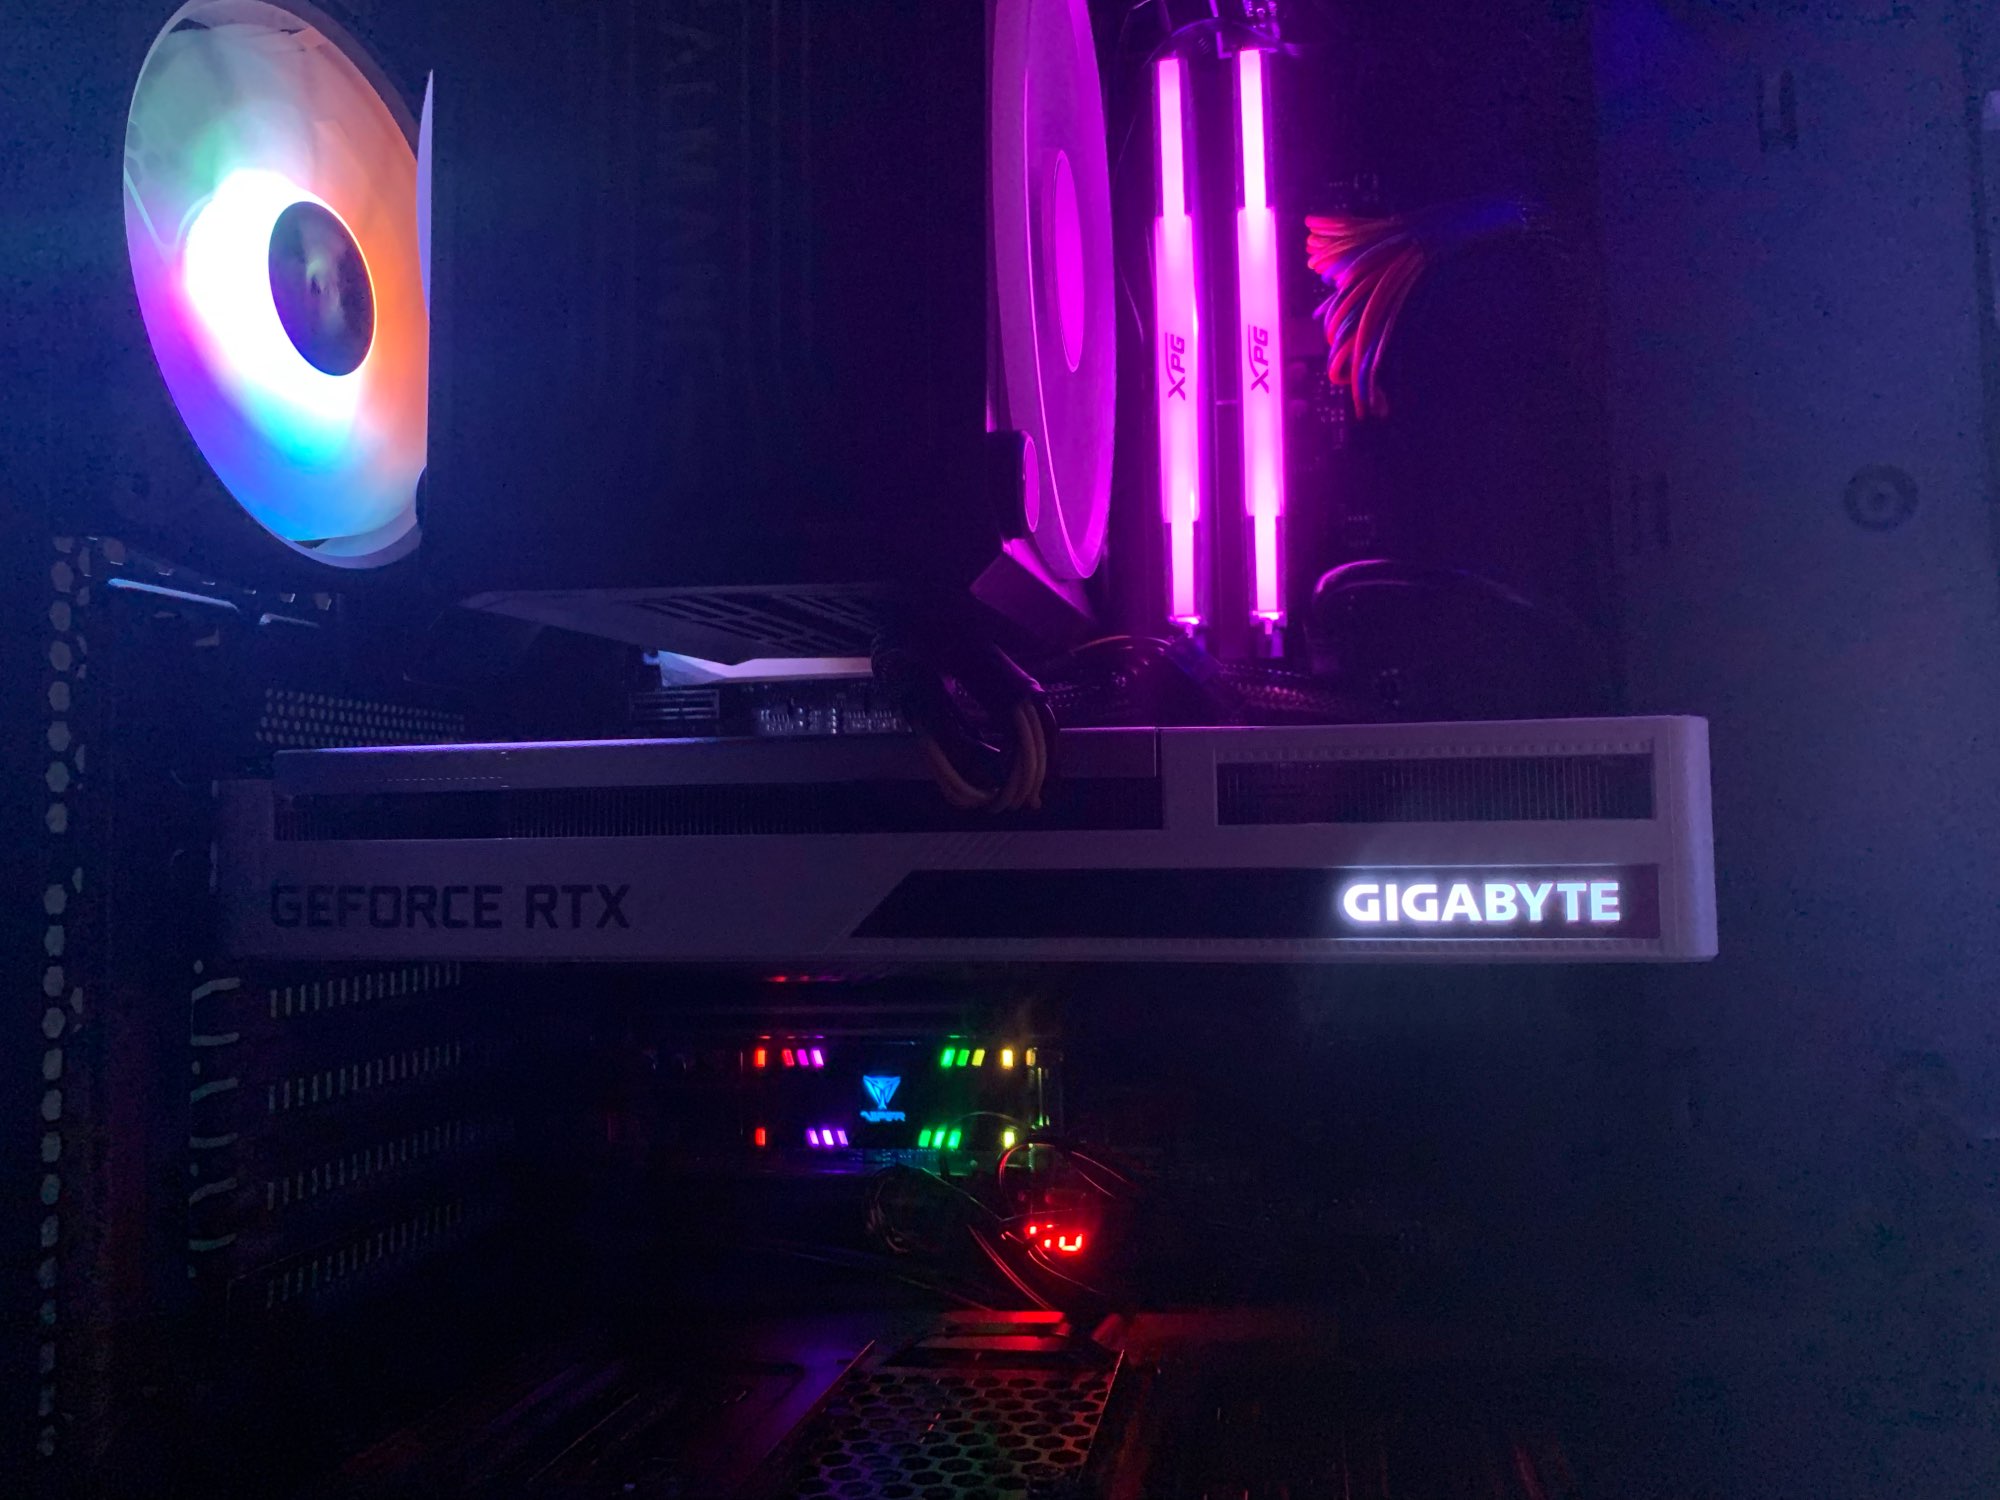
RGB lighting has become increasingly popular in the world of gaming and PC customization. It adds a mesmerizing glow to your setup and allows you to personalize your gaming experience. One brand that offers stunning RGB lighting options is Gigabyte. Their GPUs come with customizable RGB lighting that can be adjusted to match your style and preferences.
Changing the RGB lighting on your Gigabyte GPU may seem like a daunting task, but with the right guidance, it can be a straightforward process. In this guide, we will walk you through the steps to change the RGB lighting on your Gigabyte GPU, ensuring that you can unleash your creativity and customize your gaming rig exactly the way you want it.
Before we dive into the step-by-step instructions, it is important to note that the process may vary slightly depending on the specific Gigabyte GPU model you have. However, the overall method for changing the RGB lighting remains similar across most models. Make sure to consult your GPU’s user manual or Gigabyte’s official website for any specific instructions related to your particular model.
So, whether you want a subtle and elegant RGB glow or a vibrant and eye-catching light show, let’s embark on this journey of customizing your Gigabyte GPU RGB lighting.
Step 1: Gathering the necessary tools and software:
Before you can begin changing the RGB lighting on your Gigabyte GPU, you need to gather a few essential tools and software. Here’s what you’ll need:
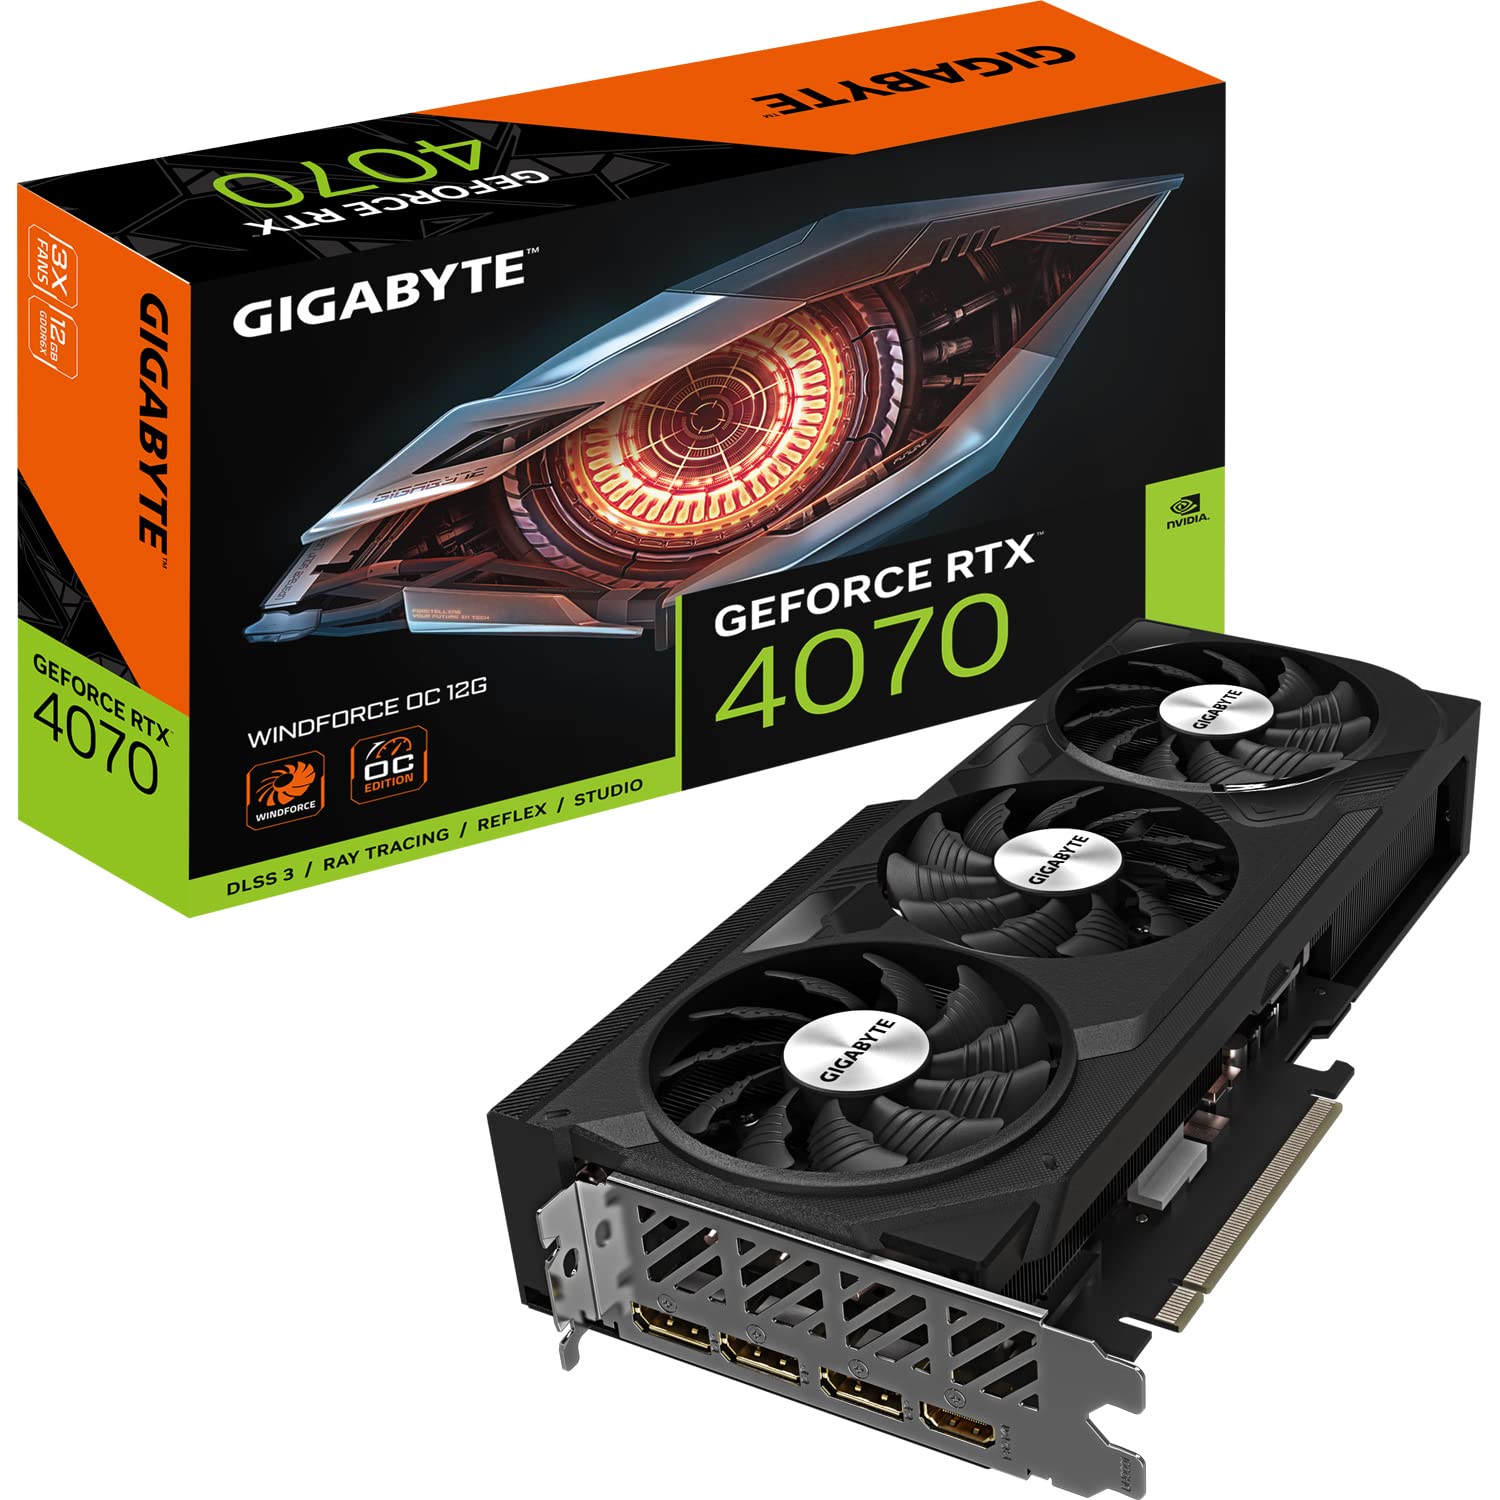
- Gigabyte GPU: Obviously, you’ll need a Gigabyte graphics card with RGB lighting capabilities. Make sure your GPU model supports RGB customization. Check the official Gigabyte website or your GPU’s user manual to verify this information.
- Computer: You’ll need a computer that is compatible with the Gigabyte GPU and meets the system requirements to run the RGB software. This typically includes a Windows operating system (such as Windows 10) and sufficient processing power and storage space.
- RGB Fusion 2.0 software: Gigabyte provides its own software called RGB Fusion 2.0 to control the RGB lighting on their GPUs. Visit the Gigabyte’s official website and navigate to the support section to download the latest version of the RGB Fusion 2.0 software. Ensure that you download the version compatible with your operating system.
- Internet Connection: To download the RGB Fusion 2.0 software, you’ll need a stable internet connection. Make sure you have an active connection to ensure a smooth installation process.
Once you have gathered these tools and software, you’re ready to move on to the next step. Ensure that your Gigabyte GPU is properly installed in your computer and connected to the power supply. It’s also a good idea to back up any important files or data on your computer before proceeding with the installation of the RGB Fusion 2.0 software.
Step 2: Downloading and installing the RGB Fusion 2.0 software:
Now that you have gathered the necessary tools, it’s time to download and install the RGB Fusion 2.0 software. Follow these steps to get started:
- Visit the Gigabyte website: Open your preferred web browser and go to the official Gigabyte website. Navigate to the support section.
- Search for RGB Fusion 2.0: Use the search feature on the Gigabyte website to find the RGB Fusion 2.0 software. Alternatively, you can look for the software under the “Downloads” or “Support” section.
- Select the appropriate version: Make sure you select the version of RGB Fusion 2.0 that is compatible with your operating system. Gigabyte usually provides different versions for Windows 10, Windows 8, or other Windows operating systems.
- Download the software: Once you have selected the correct version, click on the download link to start downloading the RGB Fusion 2.0 software. The download may take a few minutes, depending on your internet speed.
- Install the software: Once the RGB Fusion 2.0 software is downloaded, locate the setup file in your designated download location. Double-click on the file to start the installation process. Follow the on-screen instructions to complete the installation. Make sure you read and accept the terms and conditions if prompted.
- Restart your computer: After the installation is complete, it is recommended to restart your computer to ensure that the RGB Fusion 2.0 software is properly integrated into your system.
Once your computer has restarted, you are now ready to configure the RGB settings in the RGB Fusion 2.0 software. Proceed to the next step to learn how to customize the RGB lighting on your Gigabyte GPU.
Step 3: Configuring RGB settings in RGB Fusion 2.0:
With the RGB Fusion 2.0 software installed on your computer, it’s time to configure the RGB settings for your Gigabyte GPU. Follow these steps to get started:
- Launch the RGB Fusion 2.0 software: Open the RGB Fusion 2.0 software on your computer. You can usually find it in your list of installed programs or search for it in the Start menu.
- Explore the interface: Take a moment to familiarize yourself with the RGB Fusion 2.0 interface. You’ll typically find different tabs or sections that allow you to control various aspects of the RGB lighting, such as colors, effects, and synchronization with other components.
- Select your Gigabyte GPU: If you have multiple Gigabyte GPUs installed in your system, make sure to select the specific GPU you want to customize. This step is crucial to ensure that changes are applied to the correct GPU.
- Choose a lighting mode: RGB Fusion 2.0 offers various lighting modes, including static colors, dynamic effects, and even customizable options. Explore the available modes and choose the one that suits your style and preferences. You can experiment with different colors and effects to find the perfect combination.
- Adjust the RGB colors: If you choose a static or customizable lighting mode, you can further refine the RGB colors. RGB Fusion 2.0 allows you to adjust the intensity and hue of each color channel (red, green, and blue) to achieve your desired color palette.
- Preview and save the changes: As you make adjustments to the RGB settings, RGB Fusion 2.0 usually provides a live preview of the changes on your Gigabyte GPU. Take advantage of this feature to see how the lighting looks before finalizing your settings. Once you’re satisfied, save the changes in the software.
Remember to periodically save your RGB lighting configurations as you make changes to avoid losing your personalized settings. Now that you have configured the RGB settings in the RGB Fusion 2.0 software, let’s move on to the next step to learn how to adjust the RGB lighting on your Gigabyte GPU.
Step 4: Adjusting RGB lighting on your Gigabyte GPU:
Now that you have configured the RGB settings in the RGB Fusion 2.0 software, it’s time to adjust the RGB lighting on your Gigabyte GPU. Follow these steps to make the necessary adjustments:
- Open the RGB Fusion 2.0 software: Launch the RGB Fusion 2.0 software on your computer if it is not already open. Make sure your Gigabyte GPU is selected in the software.
- Navigate to the RGB lighting controls: Look for the section or tab in the RGB Fusion 2.0 software that allows you to control the GPU’s RGB lighting. This section typically displays various options related to colors, effects, and brightness.
- Choose the desired lighting mode: Depending on your preferences, you can choose a static color, dynamic effect, or a customized lighting mode. Select the mode that best suits your style and gaming setup. You can use the preview feature in the software to see how the lighting will look on your Gigabyte GPU before applying the changes.
- Adjust the brightness: If you find that the RGB lighting on your Gigabyte GPU is too bright or too dim, most RGB Fusion 2.0 software versions allow you to adjust the brightness level. Use the provided controls to increase or decrease the brightness according to your preference.
- Apply the changes: Once you are satisfied with the adjustments, click on the “Apply” or “Save” button in the RGB Fusion 2.0 software to finalize the changes. The software will send the new RGB settings to your Gigabyte GPU, and the lighting adjustments should take effect immediately.
Take some time to admire the new RGB lighting on your Gigabyte GPU. If you want to make further changes or explore different lighting options, you can always go back to the RGB Fusion 2.0 software and adjust the settings accordingly.
Now that you have successfully adjusted the RGB lighting on your Gigabyte GPU, let’s proceed to the next step to learn how to sync the RGB lighting with other components in your gaming setup.
Step 5: Syncing RGB lighting with other components:
Syncing the RGB lighting on your Gigabyte GPU with other components in your gaming setup can create a harmonious visual experience. Follow these steps to sync the RGB lighting between your Gigabyte GPU and other compatible components:
- Check component compatibility: Ensure that your other components, such as RGB fans, RAM modules, and motherboards, are compatible with Gigabyte’s RGB Fusion 2.0 software. This compatibility will allow you to sync the RGB lighting across multiple devices.
- Install additional RGB software: If you have RGB components from other manufacturers, you may need to install their respective RGB software. Check the manufacturer’s website for information on how to download and install the software. Ensure that the software is compatible with your Gigabyte GPU and other components.
- Explore synchronization options: RGB Fusion 2.0 software typically provides various synchronization options to connect and control different RGB components. Look for options like “Synchronize to Music,” “Synchronize to CPU temperature,” or “Synchronize to other peripherals.” Experiment with these options to create a coordinated lighting effect.
- Configure synchronization settings: Depending on the RGB Fusion 2.0 software version, you may need to adjust certain settings to enable synchronization. Look for options like “Sync All,” “Manual Sync,” or individual device sync settings. Follow the prompts and instructions provided to configure the synchronization settings.
- Review and test synchronization: Once you have set up the synchronization between your Gigabyte GPU and other components, take a moment to review the changes and ensure everything is functioning as desired. Test different lighting effects and configurations to see the sync in action.
- Make adjustments if necessary: If you find that the synchronization is not working as expected or if there are any inconsistencies in the RGB lighting, review the synchronization settings and check for any compatibility issues between the components. Make necessary adjustments to ensure a seamless synchronization.
By syncing the RGB lighting across different components, you can create a visually stunning and cohesive gaming setup. Take advantage of the synchronization options provided by the RGB Fusion 2.0 software and other compatible RGB software to enhance the overall aesthetics of your gaming rig.
In the next step, we will discuss some common issues that you may encounter with RGB lighting and how to troubleshoot them effectively.
Step 6: Troubleshooting common issues with RGB lighting:
While working with RGB lighting on your Gigabyte GPU, you may encounter some common issues. Here are a few troubleshooting tips to help you overcome these challenges:
- Ensure correct installation: Double-check that your Gigabyte GPU is properly installed in your computer and connected to the power supply. Sometimes, loose connections or incorrect installation can cause issues with RGB lighting.
- Update RGB Fusion 2.0 software: Visit the Gigabyte website regularly to check for any software updates for the RGB Fusion 2.0 software. Updated versions often include bug fixes and improved compatibility with different hardware components.
- Check for driver updates: Make sure your GPU drivers are up to date. Outdated drivers can sometimes lead to compatibility issues with the RGB Fusion 2.0 software. Visit the Gigabyte website or use a driver updater tool to check for the latest GPU drivers.
- Adjust USB headers: If you have connected your Gigabyte GPU to the motherboard using USB headers, ensure that they are properly seated and securely connected. Loose connections can result in RGB lighting not functioning correctly.
- Scan for conflicts with other software: Some antivirus or security software may interfere with the proper functioning of the RGB Fusion 2.0 software. Temporarily disable or whitelist the RGB Fusion 2.0 software to check if it resolves any issues.
- Restart your computer: If you’re experiencing any inconsistencies or glitches with the RGB lighting, try restarting your computer. Sometimes, a simple reboot can resolve minor software or hardware conflicts.
- Seek support: If you have tried the above troubleshooting steps and are still facing issues with the RGB lighting on your Gigabyte GPU, visit the official Gigabyte website for support. They usually have comprehensive FAQs, troubleshooting guides, and a support forum where you can seek assistance from Gigabyte representatives or fellow users.
Remember that troubleshooting can vary depending on the specific issue and your hardware configuration. It’s always a good idea to consult the documentation or contact support for your Gigabyte GPU or other RGB components if you need further assistance.
With these troubleshooting tips, you can overcome common issues and ensure that your RGB lighting setup functions optimally for an immersive gaming experience.
Conclusion:
Customizing the RGB lighting on your Gigabyte GPU can bring a whole new level of personalization and visual appeal to your gaming setup. By following the steps outlined in this guide, you have learned how to change the RGB lighting on your Gigabyte GPU using the RGB Fusion 2.0 software.
We started by gathering the necessary tools and software, ensuring that you have everything required for the customization process. Then, we walked you through the steps to download and install the RGB Fusion 2.0 software, the essential tool for controlling the RGB lighting on your Gigabyte GPU.
You learned how to configure the RGB settings in the RGB Fusion 2.0 software, allowing you to choose lighting modes and adjust colors to match your preferences. We then guided you through adjusting the RGB lighting on your Gigabyte GPU to achieve the desired brightness and effects.
Additionally, we discussed how to sync RGB lighting with other components in your gaming setup, creating a synchronized and visually stunning experience. Finally, we provided troubleshooting tips to help you overcome common issues you may encounter along the way.
Remember, customizing the RGB lighting on your Gigabyte GPU is all about unleashing your creativity and personalizing your gaming rig. Don’t hesitate to experiment with different colors, effects, and synchronization options to create a unique and immersive lighting experience.
Now that you have the knowledge and tools to change the RGB lighting on your Gigabyte GPU, it’s time to unleash your creativity and transform your gaming setup into a vibrant and mesmerizing masterpiece.


