Introduction
Welcome to our guide on how to change the battery in a Logitech mouse. Logitech is a renowned brand known for its high-quality computer peripherals, including mice. Over time, the battery in your Logitech mouse may drain, which can result in issues with its performance and responsiveness. However, replacing the battery is a simple and straightforward process that can easily be done at home.
Whether you have a wireless or a Bluetooth Logitech mouse, the steps for changing the battery remain relatively similar. In this guide, we will walk you through the necessary steps to ensure a seamless battery replacement. By following these steps, you can have your Logitech mouse up and running with a fresh battery in no time.
Before we dive into the step-by-step instructions, it’s important to note that the method of battery replacement may vary slightly depending on the specific model of your Logitech mouse. Therefore, we recommend consulting the user manual or the Logitech website for any model-specific instructions or troubleshooting guides.
In the following sections, we will highlight each step necessary to change the battery in your Logitech mouse. From removing the battery cover to inserting the new battery and replacing the cover, we will cover everything you need to know. Let’s get started!
Step 1: Remove the battery cover
The first step in changing the battery of your Logitech mouse is to locate and remove the battery cover. The location of the battery cover may vary depending on the mouse model, but it is usually found on the underside of the mouse.
To avoid any accidental clicks or movements while removing the battery cover, it is recommended to turn off the mouse or disconnect it from your computer temporarily. This will prevent any disruptions and ensure a smoother battery replacement process.
Once the mouse is turned off, flip it over to expose the underside. You will notice a small sliding or push-release button near the back of the mouse. This button is usually marked with an arrow or battery icon as an indicator of the battery compartment.
Press and hold the release button, and while doing so, slide the battery cover in the direction indicated by the arrow or icon. As you slide the cover, you may feel a slight resistance, but this is normal. Continue sliding until the cover detaches from the mouse body.
Some Logitech mouse models may have a twist-off battery cover instead of a sliding one. In this case, simply twist the battery cover counter-clockwise until it detaches from the mouse body. Ensure you rotate it firmly but gently to avoid damaging the cover or the mouse.
After removing the battery cover, set it aside in a safe place where it won’t get lost or damaged. Now that the battery compartment is exposed, you’re ready to move on to the next step, where we will remove the old battery from the mouse.
Step 2: Take out the old battery
Now that you have successfully removed the battery cover, it’s time to take out the old battery from your Logitech mouse. This step is crucial to ensure a seamless battery replacement and ensure proper functioning of your mouse.
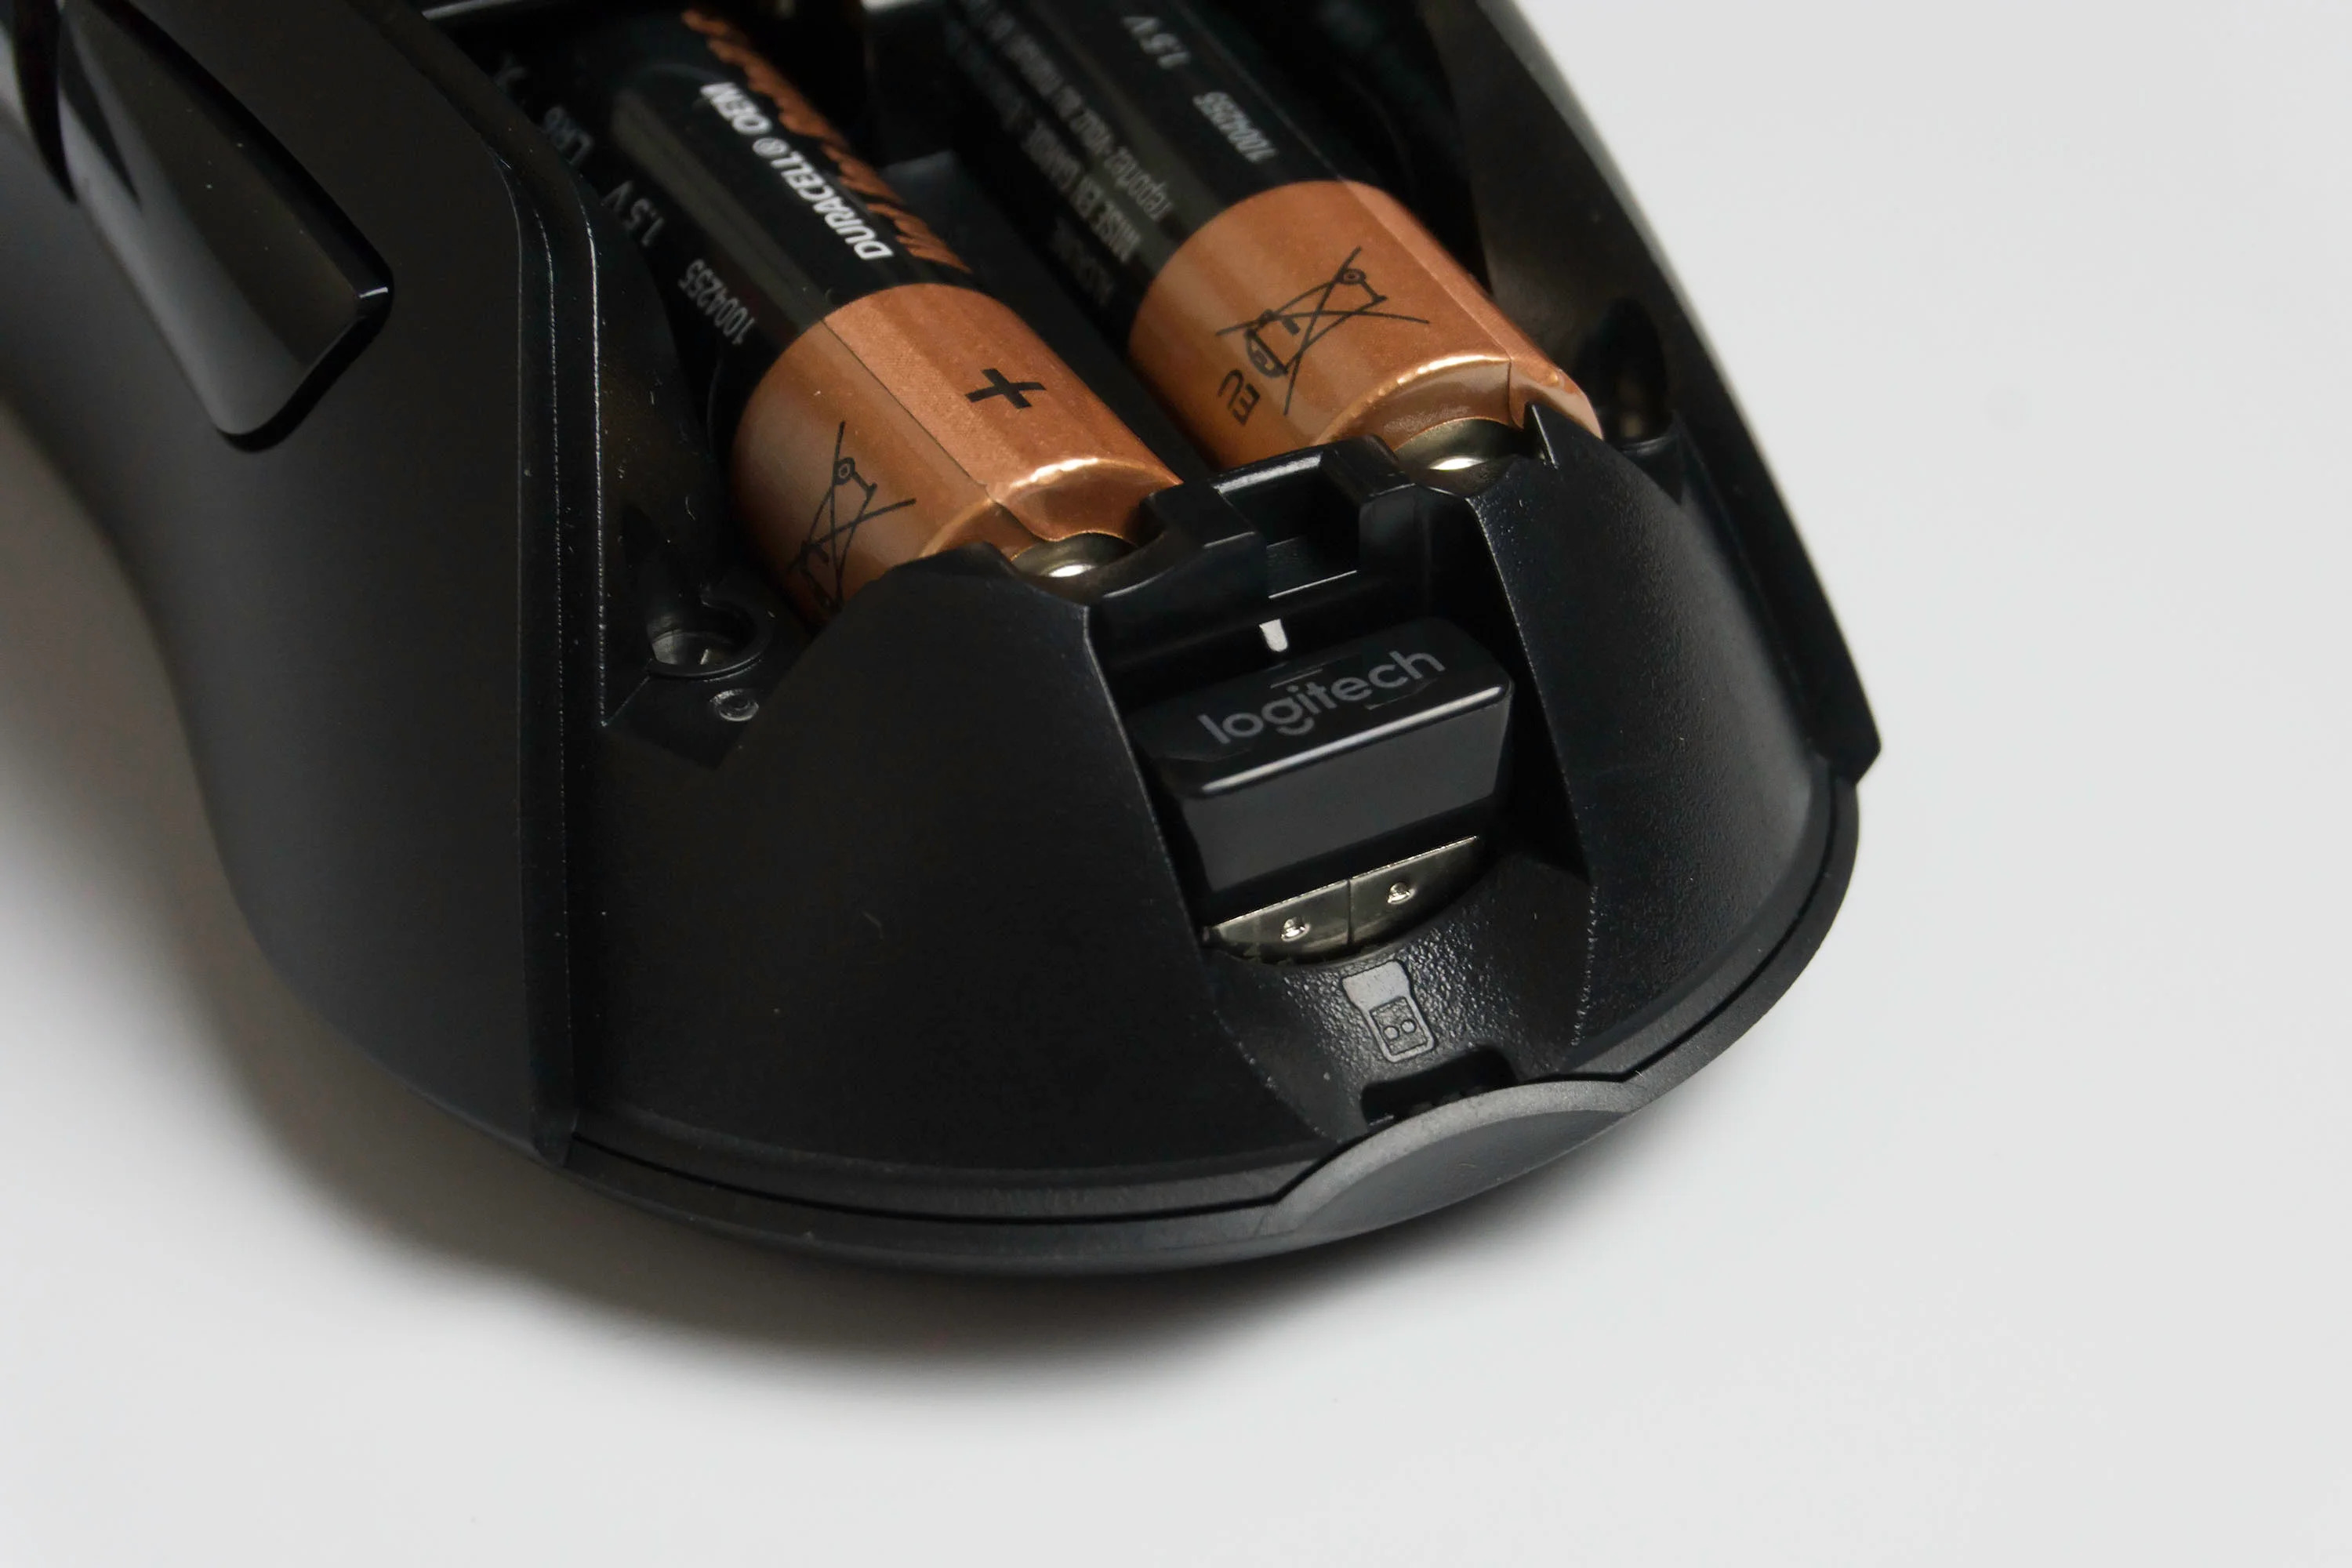
Inside the battery compartment, you will see the old battery snugly fit in place. The battery may be a coin-type battery, such as the widely used CR2032, or it may be a rechargeable battery depending on your mouse model. Regardless of the type, handle the battery with care to avoid any damage or injury.
To remove the battery, locate the edges or the latch that secure it into place. Tilt the mouse slightly, or use your fingertip or a non-metallic tool to gently pry out the battery from its compartment. Take your time and avoid using excessive force to prevent any accidental damage to the mouse or the battery.
Once you have loosened the old battery, carefully lift it out of the compartment and set it aside. Inspect the battery for any signs of damage or leakage. If you notice any abnormalities, dispose of the old battery properly in accordance with local regulations and safety guidelines.
It is important to note that if you are replacing a rechargeable battery, follow the manufacturer’s instructions regarding proper disposal or recycling of the old battery. Rechargeable batteries contain certain materials that should not be disposed of in regular household trash.
With the old battery removed, you’re halfway through the process of changing the battery in your Logitech mouse. Next, we will move on to the third step, where we will insert the new battery into the mouse and ensure a secure fit.
Step 3: Insert the new battery
Now that you have removed the old battery from your Logitech mouse, it’s time to insert the new battery. This step is crucial to ensure the smooth functioning of your mouse and restore its power.
Before inserting the new battery, make sure you have the correct replacement battery. Check the user manual or the Logitech website for the recommended battery type for your specific mouse model. Using the wrong battery can lead to compatibility issues or potential damage to your mouse.
Take the new battery and examine it to ensure there are no signs of damage or leakage. Properly align the battery with the compartment by matching the positive (+) and negative (-) indicators on both the battery and the battery compartment. This will help ensure that the battery is inserted correctly.
Gently slide or press the new battery into the compartment, ensuring that it fits snugly in place. You may hear a slight click or feel a small resistance as the battery settles into position. This is normal and indicates that the battery is securely inserted.
If you are using a rechargeable battery, make sure it is fully charged before inserting it into the mouse. Refer to the manufacturer’s instructions for information on charging the battery and how long it typically takes for a full charge.
Once the new battery is securely inserted, take a moment to double-check that it is properly aligned and positioned. This will help ensure a reliable power connection and optimal performance of your Logitech mouse.
With the new battery successfully installed, you’re almost done with the battery replacement process. In the next step, we will cover how to replace the battery cover and secure it back onto your Logitech mouse.
Step 4: Replace the battery cover
In the final step of changing the battery in your Logitech mouse, you will need to replace the battery cover to secure the new battery and protect it from dust and damage. Follow these instructions to safely and effectively reattach the battery cover:
First, ensure that the battery compartment is clean and free from any debris. Wipe away any dust or residue with a soft, dry cloth to ensure a clean surface for the battery cover.
Next, align the battery cover with the corresponding slots or hinges on the mouse body. Slide the cover back into place, following the direction indicated by the arrow or icon on the cover itself.
If your Logitech mouse has a twist-off battery cover, align the cover with the threads on the mouse body and twist it clockwise until it is securely fastened. Be careful not to overtighten the cover as it may damage the threads or the cover itself.
Once the cover is in place, press it down firmly to ensure it is securely attached to the mouse body. You may hear a slight click or feel a slight resistance as the cover locks into position.
Double-check that the battery cover is properly aligned and sits flush with the mouse body. This will help maintain the overall aesthetics of your Logitech mouse while providing optimal protection for the battery.
Finally, turn on your Logitech mouse or reconnect it to your computer. Ensure that the mouse is functioning properly by moving the cursor on your screen and performing basic clicks. If the mouse is not responding, double-check the battery orientation and reinsert it if necessary.
Now that you have successfully replaced the battery and secured the battery cover, you can enjoy hassle-free and uninterrupted use of your Logitech mouse. Remember to keep track of the battery life and replace it as needed to maintain optimal performance. Refer to the Logitech user manual or website for specific battery life recommendations for your mouse model.
Conclusion
Changing the battery in your Logitech mouse is a simple process that can be done at home with just a few steps. By following our guide, you can ensure a smooth and hassle-free battery replacement experience.
We started by removing the battery cover, either by sliding it or twisting it off, depending on your mouse model. Next, we moved on to taking out the old battery, being careful not to damage it or the mouse during the process.
Afterwards, we inserted the new battery, ensuring it was properly aligned with the positive and negative indicators. We took care to insert it securely into the compartment, checking for any clicks or resistance to ensure a snug fit.
Lastly, we replaced the battery cover, making sure it was aligned and securely attached to the mouse body. This step helps protect the battery and maintain the overall aesthetics of your Logitech mouse.
Now that you’ve successfully changed the battery, your Logitech mouse should be back in action, providing you with precise navigation and smooth scrolling. Remember to regularly check your battery life and replace it as needed to maintain optimal performance.
If you encounter any issues during the battery replacement process or have any further questions, we recommend referring to the Logitech user manual or contacting Logitech’s customer support for assistance. They can provide specific instructions and guidance based on your mouse model.
Thank you for using our guide to change the battery in your Logitech mouse. We hope this information has been helpful, and we wish you a seamless experience with your Logitech mouse for many more productive hours to come!