Introduction
Welcome to the world of streaming media! With the popularity of online video streaming platforms on the rise, it’s no wonder that people are looking for convenient ways to enjoy their favorite shows and movies on the big screen. One such method is using a device called Chromecast, which allows you to cast content from your laptop to your TV.
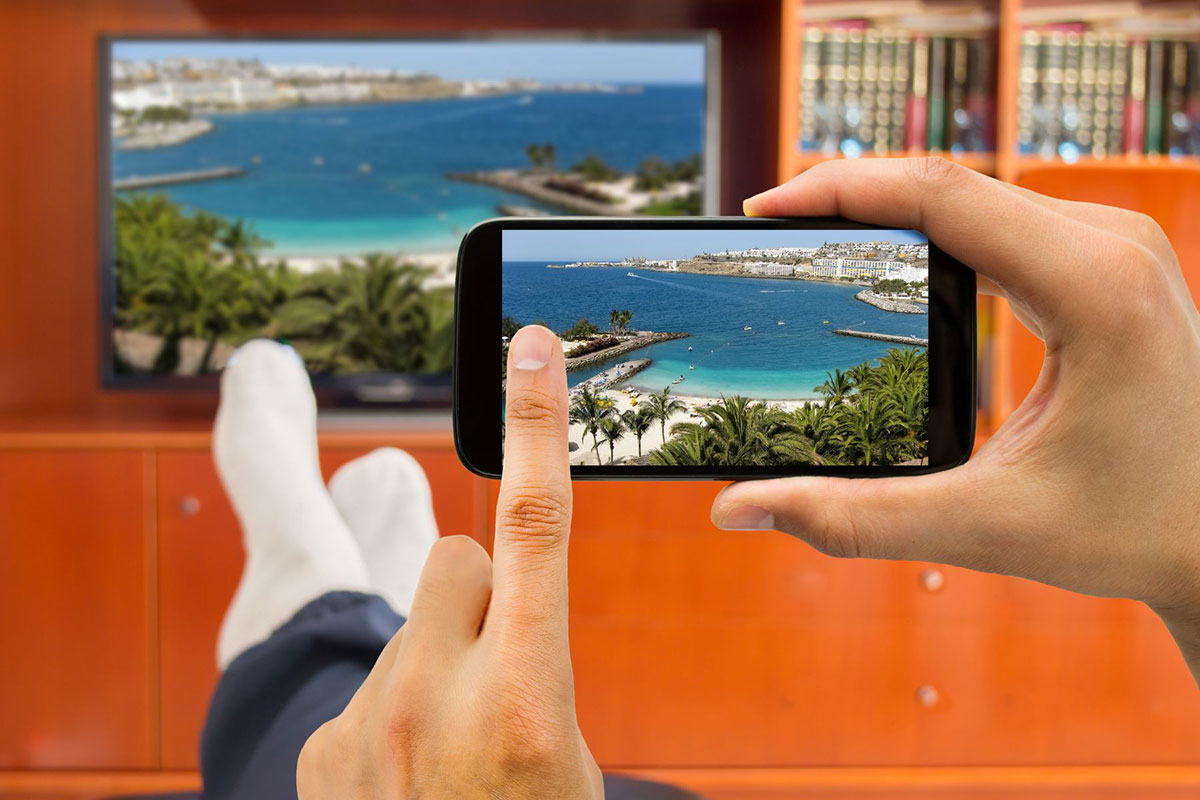
If you’re tired of huddling around your laptop or struggling to see the details on a small screen, casting to your TV with Chromecast is the perfect solution. This handy device connects your laptop and TV, enabling you to stream videos, photos, presentations, and more on a larger display with just a few simple steps.
In this guide, we’ll take you through the process of casting from your laptop to your TV using Chromecast. Whether you want to binge-watch your favorite series, showcase a slideshow of your vacation photos, or give a presentation with the visual aid on a larger screen, Chromecast has got you covered.
Before diving into the step-by-step instructions, let’s familiarize ourselves with what Chromecast is and what you’ll need to get started.
What is Chromecast?
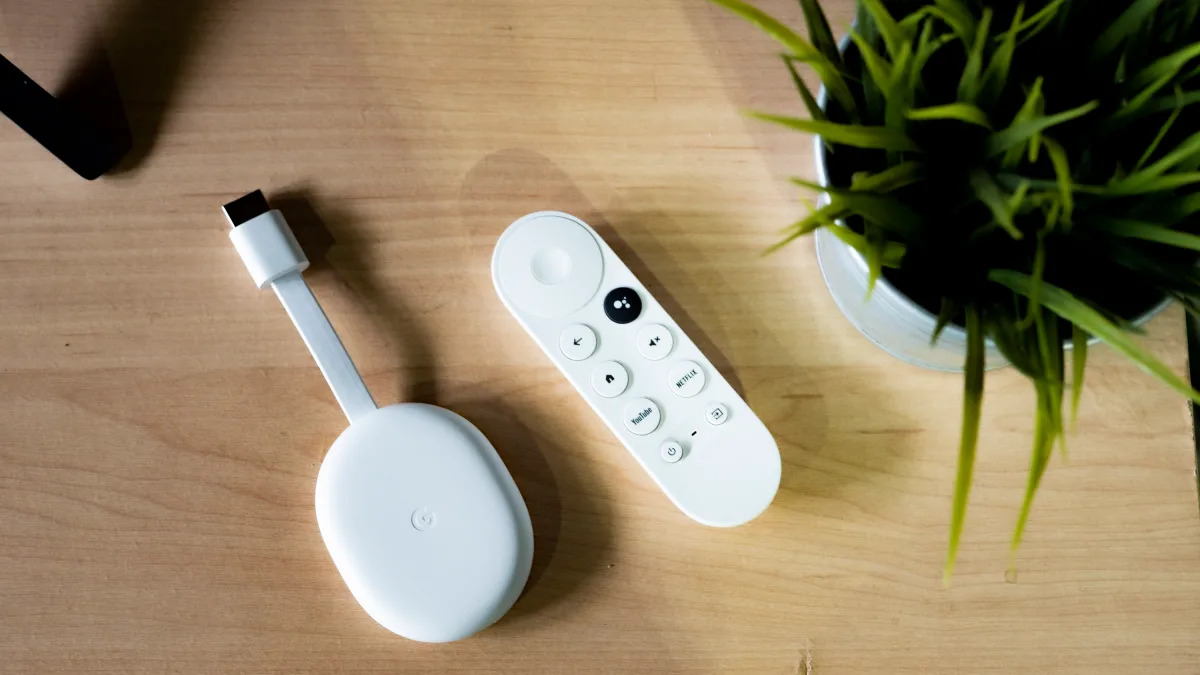
Chromecast is a small streaming device developed by Google that plugs into the HDMI port of your television. It allows you to wirelessly stream content from your laptop, smartphone, or tablet to your TV, essentially turning your television into a smart TV. With Chromecast, you can enjoy a wide variety of online content on your big screen without the need for additional cables or devices.
One of the key features of Chromecast is its ability to mirror or cast the display of your laptop or other devices onto your TV. This means that whatever you see on your laptop screen can be projected onto your TV, creating a more immersive viewing experience. Whether it’s streaming movies and TV shows, playing games, browsing the web, or even giving presentations, Chromecast opens up a world of possibilities.
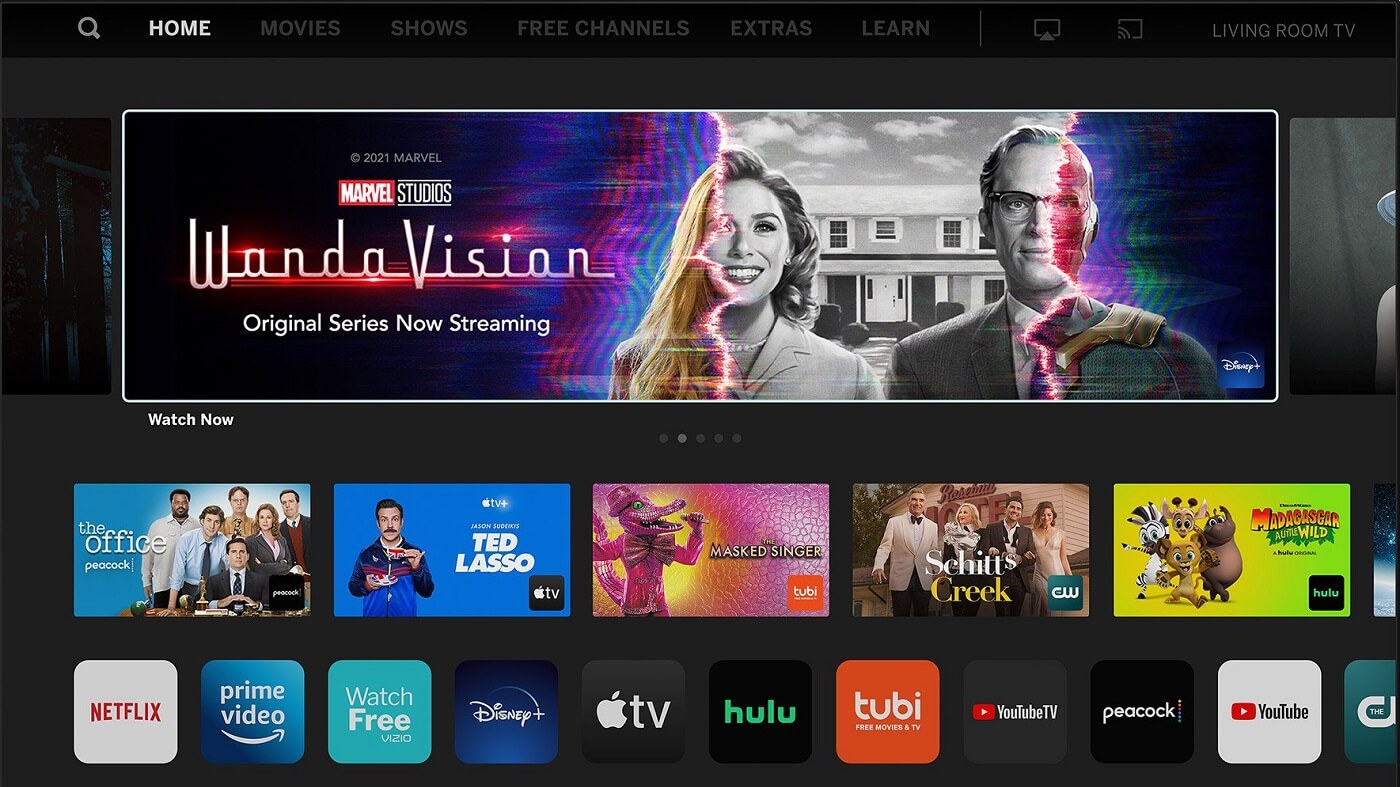
Chromecast is compatible with a wide range of apps and streaming services, including popular platforms like Netflix, YouTube, Hulu, Disney+, Spotify, and many more. It also supports casting from a variety of devices, including laptops, smartphones, and tablets running on both Android and iOS operating systems. This allows you to have the flexibility to cast from different devices depending on your preferences or availability.
Setting up Chromecast is a straightforward process that can be done in just a few minutes. All you need is a stable Wi-Fi connection, a compatible television with an HDMI port, and a laptop or device to initiate the casting. Once set up, you can enjoy the convenience of streaming your favorite content directly to your TV, enhancing your entertainment experience.
Now that we have a basic understanding of what Chromecast is, let’s move on to the requirements for setting up and using Chromecast to cast from your laptop to your TV.
Requirements
Before you can start casting from your laptop to your TV using Chromecast, there are a few requirements that you need to meet:
1. A Chromecast device: First and foremost, you’ll need a Chromecast device. There are different models available, so make sure to choose one that suits your needs. Chromecast devices can be purchased online or at electronics retailers.
2. A TV with an HDMI port: Chromecast connects to your television via an HDMI port. Ensure that your TV has an available HDMI port to plug in the Chromecast device.
3. A stable Wi-Fi network: Both your laptop and Chromecast need to be connected to the same Wi-Fi network for casting to work. Make sure you have a stable internet connection and know the Wi-Fi network name and password.
4. A laptop or desktop computer: You’ll need a laptop or desktop computer with the Google Chrome browser installed. Chromecast works seamlessly with the Chrome browser, so ensure that you have the latest version installed on your device.
5. A power source for Chromecast: Chromecast requires power to function, so ensure that you have a power source nearby to plug in the Chromecast device. This can be a USB port on your TV, a power adapter, or a power bank.
6. Access to streaming apps: To cast content from your laptop to your TV, you’ll need access to compatible streaming apps or websites. Some popular options include Netflix, YouTube, Hulu, Disney+, Spotify, and more. Make sure you have accounts set up for these services if necessary.
Once you have all the necessary requirements in place, you’re ready to set up your Chromecast and start casting from your laptop to your TV. In the next section, we’ll guide you through the process of setting up your Chromecast and connecting your laptop and Chromecast to the same Wi-Fi network.
Step 1: Setting up your Chromecast
Before you can start casting from your laptop to your TV, the first step is to set up your Chromecast device. Follow these simple steps to get started:
- Unbox your Chromecast device: Start by unboxing your Chromecast device and remove it from the packaging. You should find the Chromecast dongle, a USB power cable, and a power adapter if included.
- Connect your Chromecast to your TV: Plug the Chromecast dongle into an available HDMI port on your TV. If you have limited HDMI ports, you may need an HDMI extender or switch to create space for the Chromecast.
- Power up your Chromecast: Connect the USB power cable to the Chromecast dongle and plug the other end into a power source. You can use the USB port on your TV if available, or use the power adapter and plug it into a wall socket.
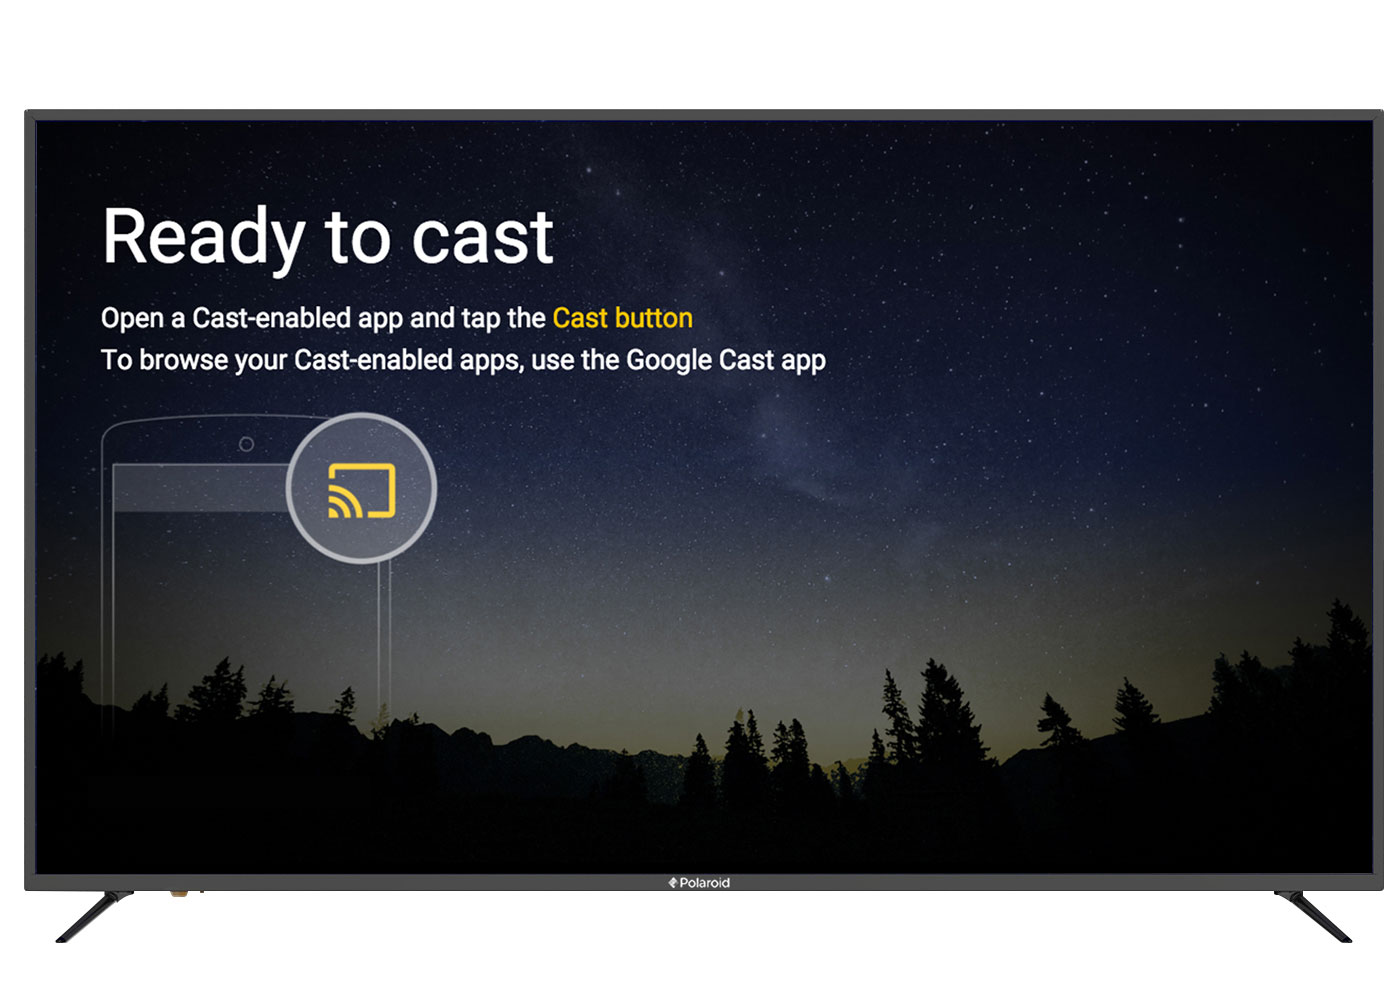
- Select the appropriate input source: Use your TV remote to switch the input source to the HDMI port that your Chromecast is connected to. This will display the Chromecast setup screen on your TV.
- Download the Google Home app: On your laptop or mobile device, download and install the Google Home app from the respective app store (Google Play Store for Android or App Store for iOS). This app will guide you through the setup process.
- Open the Google Home app: Launch the Google Home app on your laptop or mobile device and follow the on-screen instructions to set up your Chromecast. Make sure your laptop and Chromecast are connected to the same Wi-Fi network.
- Set up your Chromecast: The Google Home app will detect your Chromecast device. Confirm that the device shown matches the one you are setting up and proceed with the setup process.
- Connect your Chromecast to your Wi-Fi network: The app will prompt you to connect your Chromecast to your Wi-Fi network. Select your network from the available options and enter the password if required. Your Chromecast will then connect to the Wi-Fi network.
- Customize your Chromecast settings (optional): Once the setup is complete, you can optionally customize your Chromecast settings, such as giving it a unique name, enabling guest mode, or configuring privacy settings.
And that’s it! You have successfully set up your Chromecast device. Now, let’s move on to the next step: connecting your laptop and Chromecast to the same Wi-Fi network.
Step 2: Connecting your laptop and Chromecast to the same Wi-Fi network
In order to cast from your laptop to your TV using Chromecast, it is essential that both devices are connected to the same Wi-Fi network. Follow these steps to ensure a seamless connection:
- Ensure your laptop is connected to Wi-Fi: Make sure that your laptop is connected to a stable Wi-Fi network. Check the Wi-Fi icon in the taskbar or system tray of your laptop to confirm the connection.
- Turn on your TV: Turn on your television and switch it to the input source where your Chromecast is connected. You should see a screen indicating that your Chromecast is ready to cast.
- Open the Google Chrome browser: Launch the Google Chrome browser on your laptop. If you don’t have it installed, you can download it for free from the official Google Chrome website. Ensure that you have the latest version of Chrome installed.
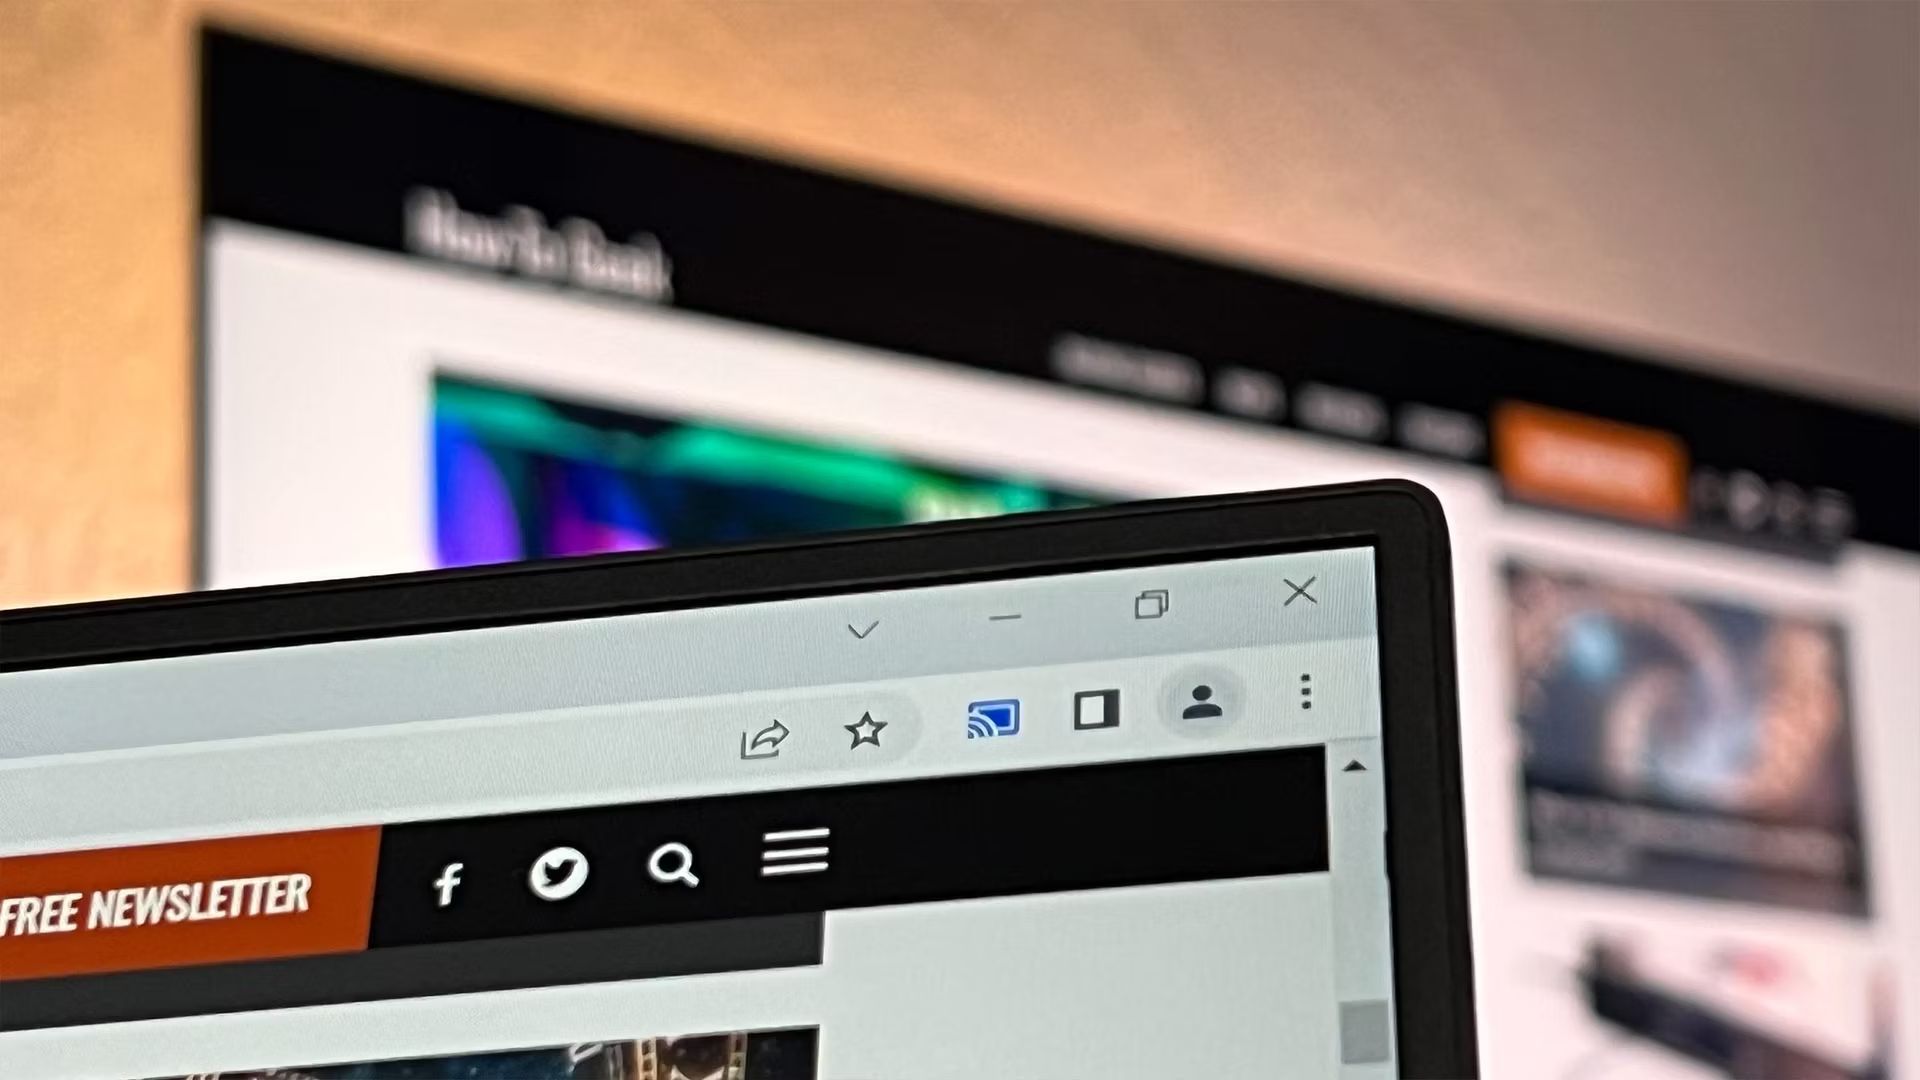
- Click on the Cast icon: Look for the Cast icon in the top-right corner of the Chrome browser window. It looks like a square with three curved lines in the bottom-left corner. Click on the Cast icon to open the casting options.
- Choose your Chromecast device: In the casting options menu, you will see a list of available Chromecast devices on your network. Choose your Chromecast device from the list. If you have multiple Chromecast devices, select the one connected to the TV you want to cast to.
- Start casting from your laptop to the TV: Once you have selected your Chromecast device, you can choose what you want to cast from your laptop to the TV. You can cast the entire browser tab, specific content within the tab, or even your desktop. Select the desired option from the casting menu.
- Enjoy the content on your TV: After selecting the casting option, the content from your laptop will start displaying on your TV. You can now sit back, relax, and enjoy your favorite movies, TV shows, presentations, or any other media directly on the big screen.
- Control playback from your laptop: While casting, you can control playback and volume directly from your laptop. Pause, play, adjust the volume, or even browse other websites or tabs without interrupting the casting.
- End casting: When you’re done casting, you can click on the Cast icon again and select “Stop casting” to end the casting session. Alternatively, you can simply close the tab or browser window that you were casting.
By following these steps, you can easily connect your laptop and Chromecast to the same Wi-Fi network and start casting your favorite content to your TV. Now that you know how to connect your devices, let’s move on to the next step: installing the Google Chrome browser.
Step 3: Installing the Google Chrome browser
In order to cast from your laptop to your TV using Chromecast, it is necessary to have the Google Chrome browser installed. If you haven’t already installed it, follow the steps below to install Google Chrome:
- Visit the Google Chrome website: Open your current web browser and navigate to the official Google Chrome website. You can do this by typing “www.google.com/chrome” in the address bar and pressing Enter.
- Download Google Chrome: On the Google Chrome website, you will find a prominent button that says “Download Chrome” or a similar label. Click on this button to initiate the download process.
- Choose the correct version: The website will automatically detect your operating system and display the appropriate version of Google Chrome for your device. Make sure you select the correct version of Chrome for your laptop’s operating system (Windows, macOS, or Linux).
- Start the installation: Once you have selected the appropriate version, click on the “Download” button to start the installation process. The installer file will be saved to your computer’s downloads folder.
- Run the installer: Locate the downloaded installer file on your computer (usually in the downloads folder) and double-click on it to run the installer. This will start the Google Chrome installation wizard.
- Follow the on-screen instructions: The installation wizard will guide you through the process of installing Google Chrome. Follow the on-screen instructions, such as accepting the terms of service and choosing the installation location, to proceed.
- Wait for the installation to complete: The installation process may take a few moments to complete. Once it finishes, you will see a confirmation message indicating that Google Chrome has been successfully installed.
- Launch Google Chrome: After the installation is complete, you can launch Google Chrome by either clicking on the “Finish” button in the installation wizard or by finding the Google Chrome icon on your desktop or in your Start menu (Windows) or Applications folder (macOS).
- Update Google Chrome (optional): It is recommended to keep Google Chrome updated to ensure you have the latest features and security patches. To check for updates, click on the three-dot menu icon in the top-right corner of the browser window, go to “Help,” and select “About Google Chrome.” If updates are available, they will be automatically downloaded and installed.
By following these steps, you can easily download and install the Google Chrome browser on your laptop. Once you have Google Chrome installed, you can proceed to the next step: casting from your laptop to the TV.
Step 4: Casting from your laptop to the TV
Now that you have set up your Chromecast, connected your laptop and Chromecast to the same Wi-Fi network, and installed the Google Chrome browser, you are ready to start casting from your laptop to the TV. Follow these steps:
- Launch the Google Chrome browser: Open the Google Chrome browser on your laptop by clicking on its icon on the desktop or in the Start menu (Windows) or the Applications folder (macOS).
- Navigate to the content you want to cast: In the Google Chrome browser, navigate to the website or open the web page that contains the content you want to cast to your TV. This can be a video streaming site, a photo album, a presentation, or any other web-based content.
- Click on the Cast icon: Look for the Cast icon in the top-right corner of the Chrome browser window. It resembles a square with three curved lines in the bottom-left corner. Click on the Cast icon to open the casting options.
- Select your Chromecast device: In the casting options menu, you will see a list of available Chromecast devices on your network. Choose the Chromecast device that is connected to the TV you want to cast to.
- Choose what you want to cast: After selecting your Chromecast device, you will be presented with options to cast the entire browser tab, specific content within the tab, or even your entire desktop. Select the appropriate option based on the content you want to cast.
- Start casting: Once you have selected the casting option, the content from your laptop will begin appearing on your TV screen. You can now sit back and enjoy the content on the big screen.
- Control playback from your laptop: While casting, you can control playback, adjust the volume, and even navigate to other tabs or websites on your laptop without interrupting the casting.
- End casting: When you’re done casting, you can click on the Cast icon again and select “Stop casting” to end the casting session. Alternatively, you can simply close the tab or browser window that you were casting.
With these steps, you can easily cast your laptop’s screen or specific content to your TV using Chromecast. Whether it’s watching movies, sharing photos, giving presentations, or browsing the web, casting to your TV enhances the viewing experience and makes it more enjoyable.
Now that you know how to cast from your laptop to your TV, let’s explore the next step: customizing your casting options.
Step 5: Customizing your casting options
Customizing your casting options allows you to have more control over the appearance and behavior of the content you cast from your laptop to your TV using Chromecast. Here are some ways to customize your casting options:
- Adjust the video quality: Depending on your internet connection and preferences, you can change the video quality of the content you cast. To do this, click on the Cast icon in the Chrome browser, select your Chromecast device, and then click on the Settings gear icon. From there, you can choose the video quality option that best suits your needs.
- Enable fullscreen casting: By default, Chromecast casts the content in a tab or window mode. However, you can enable fullscreen casting for a more immersive experience. To do this, click on the Cast icon, select your Chromecast device, and then click on the More options (three-dot) icon. In the dropdown menu, toggle the “Fullscreen” option to enable it.
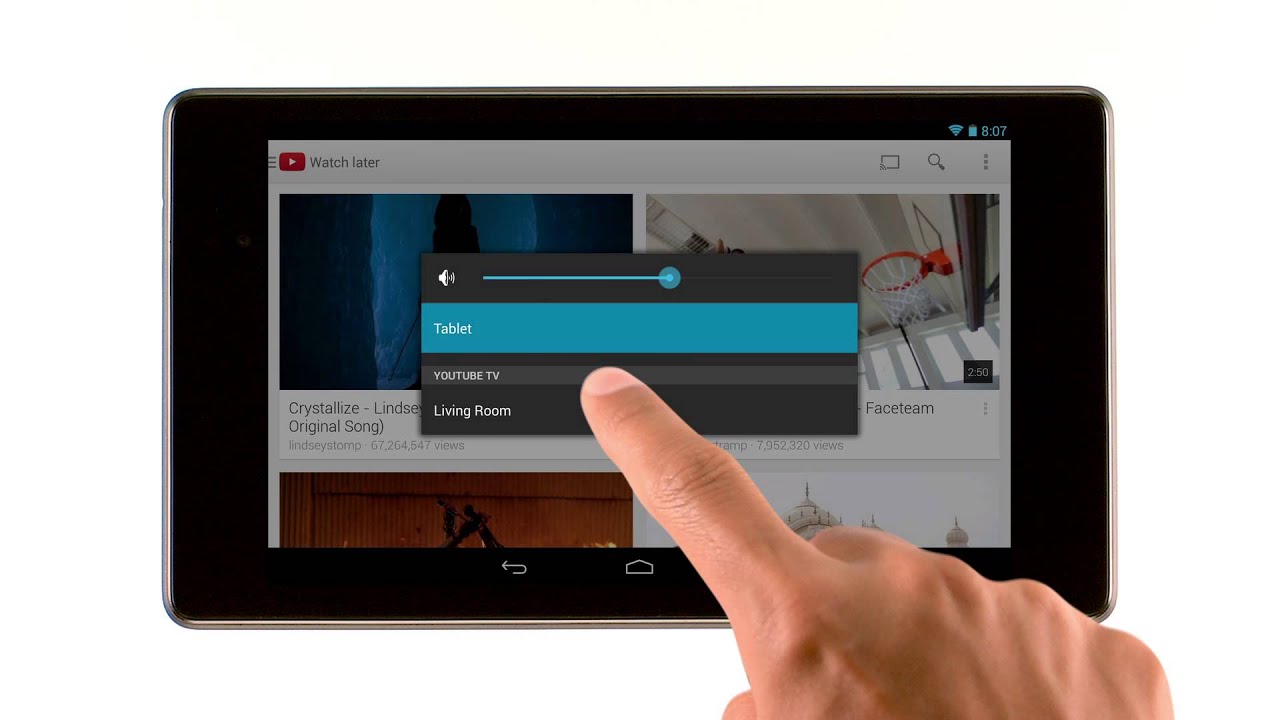
- Change the casting source: In addition to casting from the Chrome browser, you can also cast from other sources, such as specific apps or media players. Certain mobile apps have built-in casting functionality that allows you to send content directly to your TV. Look for the casting icon within the app to initiate casting.
- Enable guest mode: If you have guests who want to cast to your Chromecast without connecting to your Wi-Fi network, you can enable guest mode. Open the Google Home app on your laptop or mobile device, select your Chromecast device, and go to the device settings. From there, enable guest mode, and your guests can cast to your Chromecast by entering a four-digit PIN displayed on the TV.
- Modify privacy settings: If you’re concerned about the information being collected by Chromecast during casting, you can modify your privacy settings. Open the Google Home app, select your Chromecast device, and navigate to the device settings. From there, you can adjust the privacy settings according to your preferences.
- Explore additional casting features: Chromecast offers additional features and capabilities, such as screen mirroring from Android devices or casting from within specific apps. Take some time to explore the various options and features of your Chromecast device to make the most out of your casting experience.
By customizing your casting options, you can tailor the casting experience to suit your preferences and enhance the way you enjoy content on your TV. Feel free to experiment with these options and discover the settings that work best for you.
With this step, you have now learned how to customize your casting options. Let’s move on to the next section: troubleshooting common issues that may arise while casting from your laptop to your TV using Chromecast.
Troubleshooting common issues
While casting from your laptop to your TV using Chromecast is generally a smooth and seamless experience, there may be times when you encounter certain issues. Here are some common problems that you might come across and their possible solutions:
- No Cast devices found: If your Chromecast device is not appearing in the casting options, ensure that your laptop and Chromecast are connected to the same Wi-Fi network. Check that both devices have a stable internet connection and that the Wi-Fi network is functioning properly. Restarting your router and Chromecast may also resolve the issue.
- Poor video quality or buffering: If you experience poor video quality or constant buffering while casting, it may be due to a slow internet connection. Try moving closer to your Wi-Fi router or connecting your laptop to a wired (Ethernet) connection for a more stable connection. You can also adjust the video quality settings to a lower resolution for smoother playback.
- No sound or audio issues: Check that the volume on both your laptop and TV is turned up and not muted. Ensure that the correct audio output is selected on your laptop. If you’re using an HDMI connection for audio, make sure the HDMI cable is securely plugged into both your Chromecast and TV.
- Casting is freezing or disconnecting: If your casting session freezes or disconnects frequently, it may be due to an unstable Wi-Fi connection. Make sure your laptop is within range of your Wi-Fi router and that there are no obstacles or interference affecting the signal. You can also try restarting both your Chromecast and laptop and ensure they are running the latest firmware and software updates.
- Peripheral device compatibility: Some peripheral devices, such as external monitors or docking stations, may interfere with the casting process. If you’re experiencing issues while casting, try disconnecting any unnecessary peripheral devices and casting directly from your laptop’s built-in display.
- Google Chrome browser issues: If you encounter issues specifically within the Google Chrome browser, such as freezing or crashing, try clearing your browser cache and cookies. You can also try disabling any extensions that may be interfering with the casting process.
- Restart your devices: If all else fails, try restarting both your laptop and Chromecast. Sometimes a simple reboot can resolve temporary glitches or connectivity issues.
If you continue to experience difficulties while casting from your laptop to your TV, you can visit the official Google Chromecast support website or reach out to their support team for further assistance.
With these troubleshooting tips, you should be able to resolve common issues and enjoy a seamless casting experience. Now that you’re equipped with troubleshooting knowledge, let’s conclude this guide.
Conclusion
Casting from your laptop to your TV using Chromecast opens up a world of possibilities for enjoying your favorite content on the big screen. Whether you’re streaming movies and TV shows, showcasing photos and presentations, or simply browsing the web, Chromecast provides a seamless and convenient way to enhance your viewing experience.
In this guide, we have walked through the step-by-step process of setting up your Chromecast, connecting your laptop and Chromecast to the same Wi-Fi network, installing the Google Chrome browser, and casting from your laptop to the TV. We have also explored customizing your casting options and troubleshooting common issues that may arise.
By following these instructions, you now have the knowledge and skills to effortlessly cast content from your laptop to your TV using Chromecast. You can enjoy your favorite shows, movies, and more on a larger screen, creating a more immersive and enjoyable viewing experience for yourself, your family, or your friends.
Keep in mind that Chromecast continues to evolve with new features and updates. Be sure to stay up to date with the latest firmware and software updates to enjoy the latest functionalities and improvements.
So, gather your popcorn, grab your laptop, and start casting to experience the joy of entertainment on the big screen with Chromecast. Sit back, relax, and enjoy the show!