Introduction
Welcome to the world of Spotify, where millions of songs are at your fingertips. However, every now and then, you might come across a song that just doesn’t sit well with your musical taste. Whether it’s a track you dislike or simply want to avoid hearing for personal reasons, Spotify provides a handy solution – the ability to block a song.
Blocking a song on Spotify ensures that it is not played again in your music library or any of your playlists, giving you complete control over your listening experience. Whether it’s a song that reminds you of a bad memory or an artist whose music you’re just not a fan of, you can easily block it and move on to enjoying the rest of your musical journey.
In this guide, we’ll walk you through the simple steps you need to follow to block a song on Spotify. Whether you’re using the Spotify desktop app or the mobile app on your phone, the process is quick and straightforward.
So, let’s dive in and discover how you can effortlessly block a song that you no longer want to hear on Spotify.
Step 1: Open Spotify
The first step to blocking a song on Spotify is to open the Spotify application on your device. Whether you’re using a desktop computer, laptop, or mobile phone, make sure you have the Spotify app installed and logged in with your account credentials.
If you’re using a desktop computer or laptop, locate the Spotify app in your list of installed applications or search for it in your computer’s search bar. Once you find it, click to open the app and ensure that you’re signed in to your Spotify account.
If you’re using a mobile device, such as a smartphone or tablet, locate the Spotify app on your home screen or in your app drawer. Tap on the Spotify icon to launch the app and ensure that you’re logged in to your account.
Once you have the Spotify app open and logged in, you’re ready to start the process of blocking a song that you no longer want to hear. Let’s move on to the next step and find the song you wish to block.
Step 2: Find the song you want to block
Now that you have Spotify open and logged in, it’s time to locate the song that you want to block. Whether the song is already playing or you want to block it preemptively, the process is the same.
If the song you want to block is currently playing, you can find it in the “Now Playing” section of the Spotify app. This section is usually located at the bottom of the screen and displays the album artwork and name of the currently playing song.
If the song is not currently playing, you can search for it using the search bar in the Spotify app. Tap on the search icon, usually represented by a magnifying glass, and enter the name of the song or the artist in the search bar. Spotify will display relevant results based on your search query.
Browse through the search results until you find the specific song you want to block. Once you’ve located it, you’re ready to move on to the next step and block the song from playing.
Remember, the ability to block a song is available for both individual tracks and songs within albums and playlists. So whether you want to block a single song or a whole album, Spotify has you covered.
Now that you’ve found the song you want to block, let’s proceed to the next step and learn how to do it.
Step 3: Right-click on the song
Once you have found the song you want to block, it’s time to take action and prevent it from playing again. To do this, you’ll need to right-click on the song in the Spotify app.
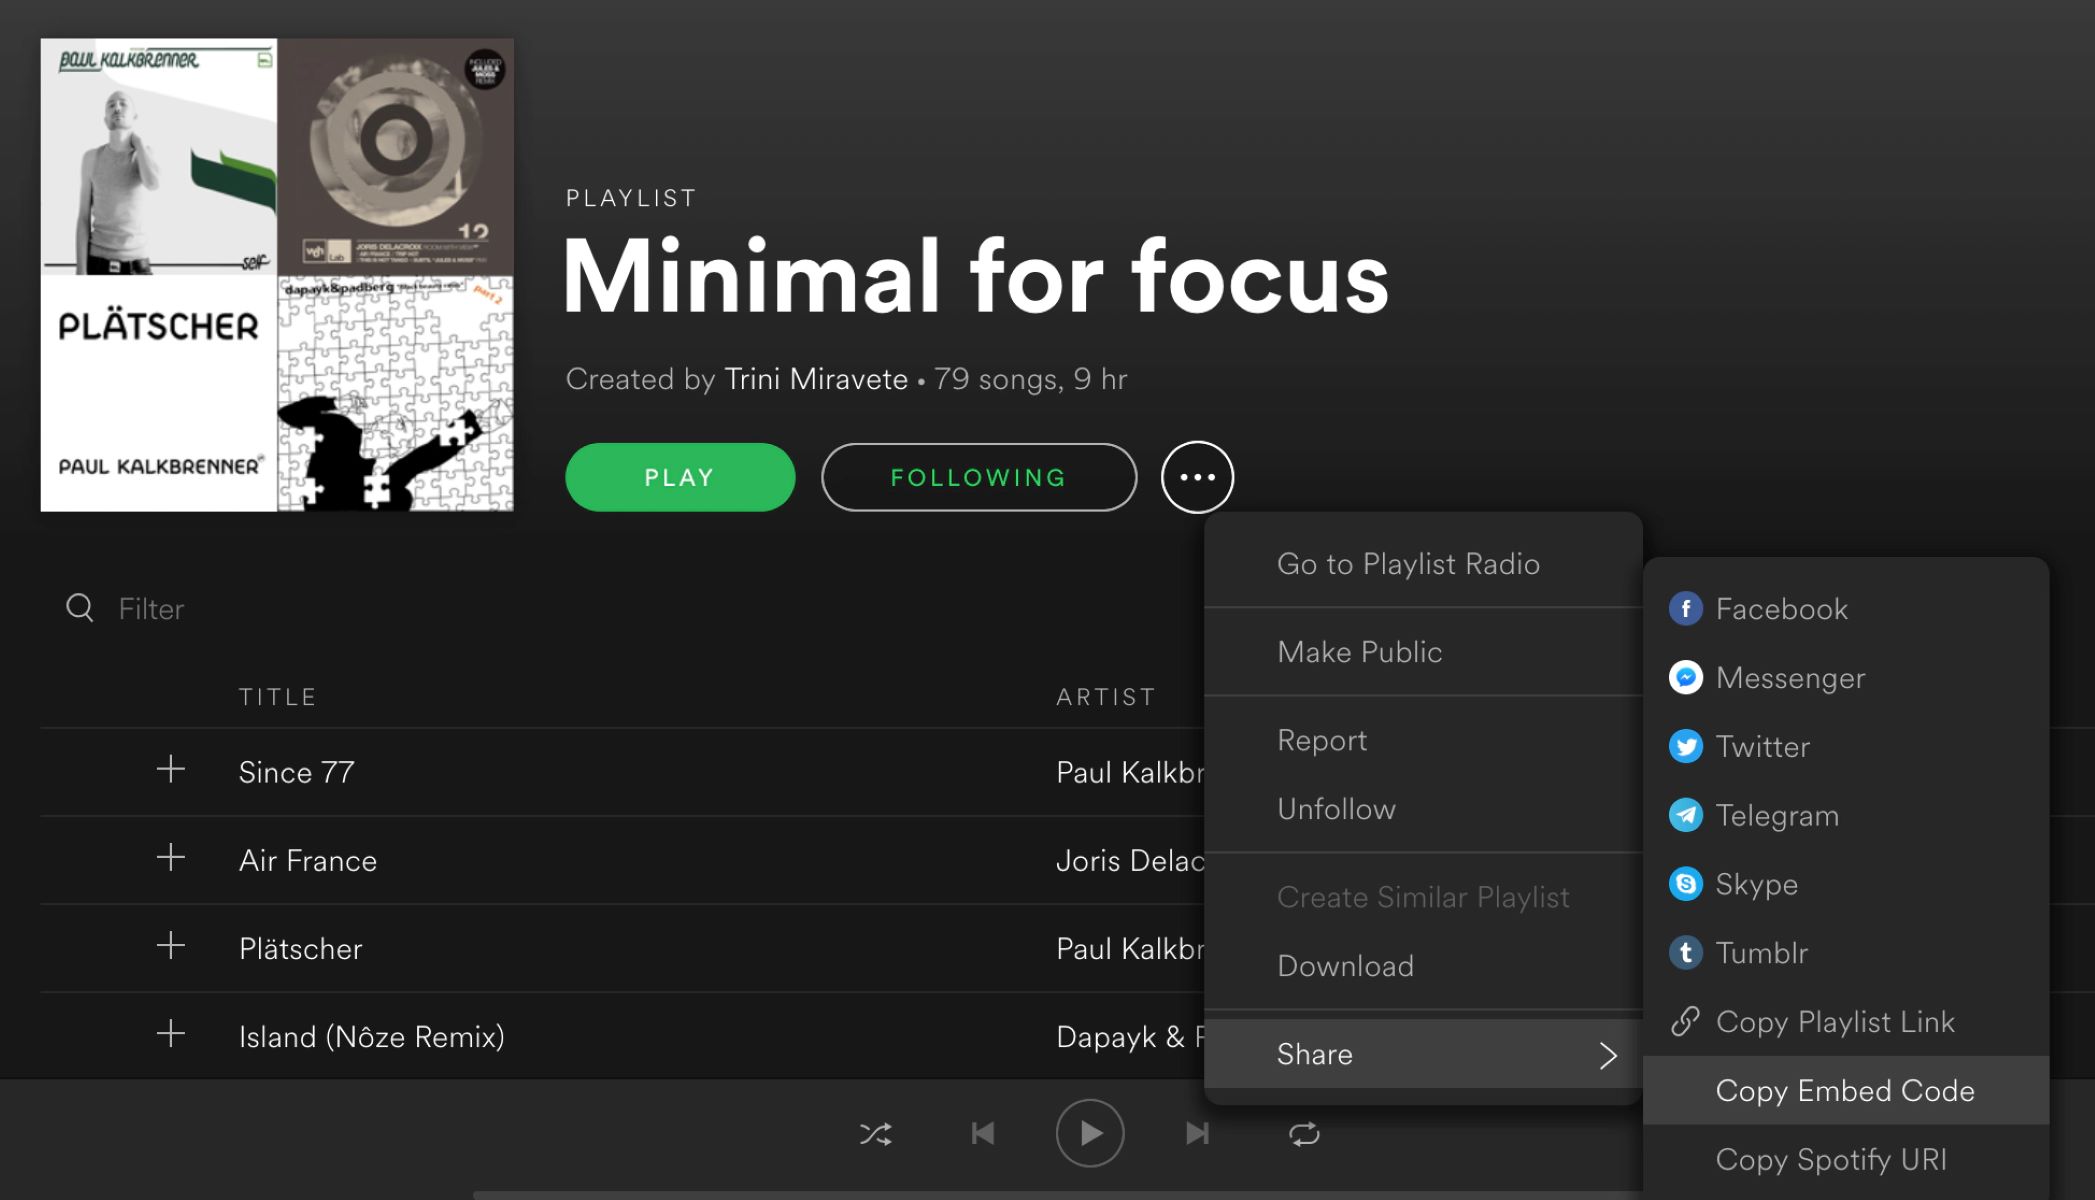
If you’re using the Spotify desktop app on your computer or laptop, locate the song in your library, playlist, or the “Now Playing” section. Right-click on the song with your mouse or trackpad to bring up a context menu. This menu will provide various options for interacting with the song.
If you’re using the Spotify mobile app on your smartphone or tablet, the process is slightly different. Instead of right-clicking, you’ll need to long-press on the song. Simply press and hold your finger on the song until a context menu appears on the screen.
In both cases, whether you’re using the desktop or mobile app, the right-click or long-press action will open a menu with several options. However, keep in mind that the exact wording and layout of the menu might differ between the desktop and mobile versions of Spotify.
Now that you have successfully right-clicked (or long-pressed) on the selected song, let’s move on to the next step and choose the option to block the song.
Step 4: Select “Don’t play this song”
After right-clicking (or long-pressing) on the song you want to block, a context menu will appear in the Spotify app. The next step is to select the appropriate option to block the song from playing.
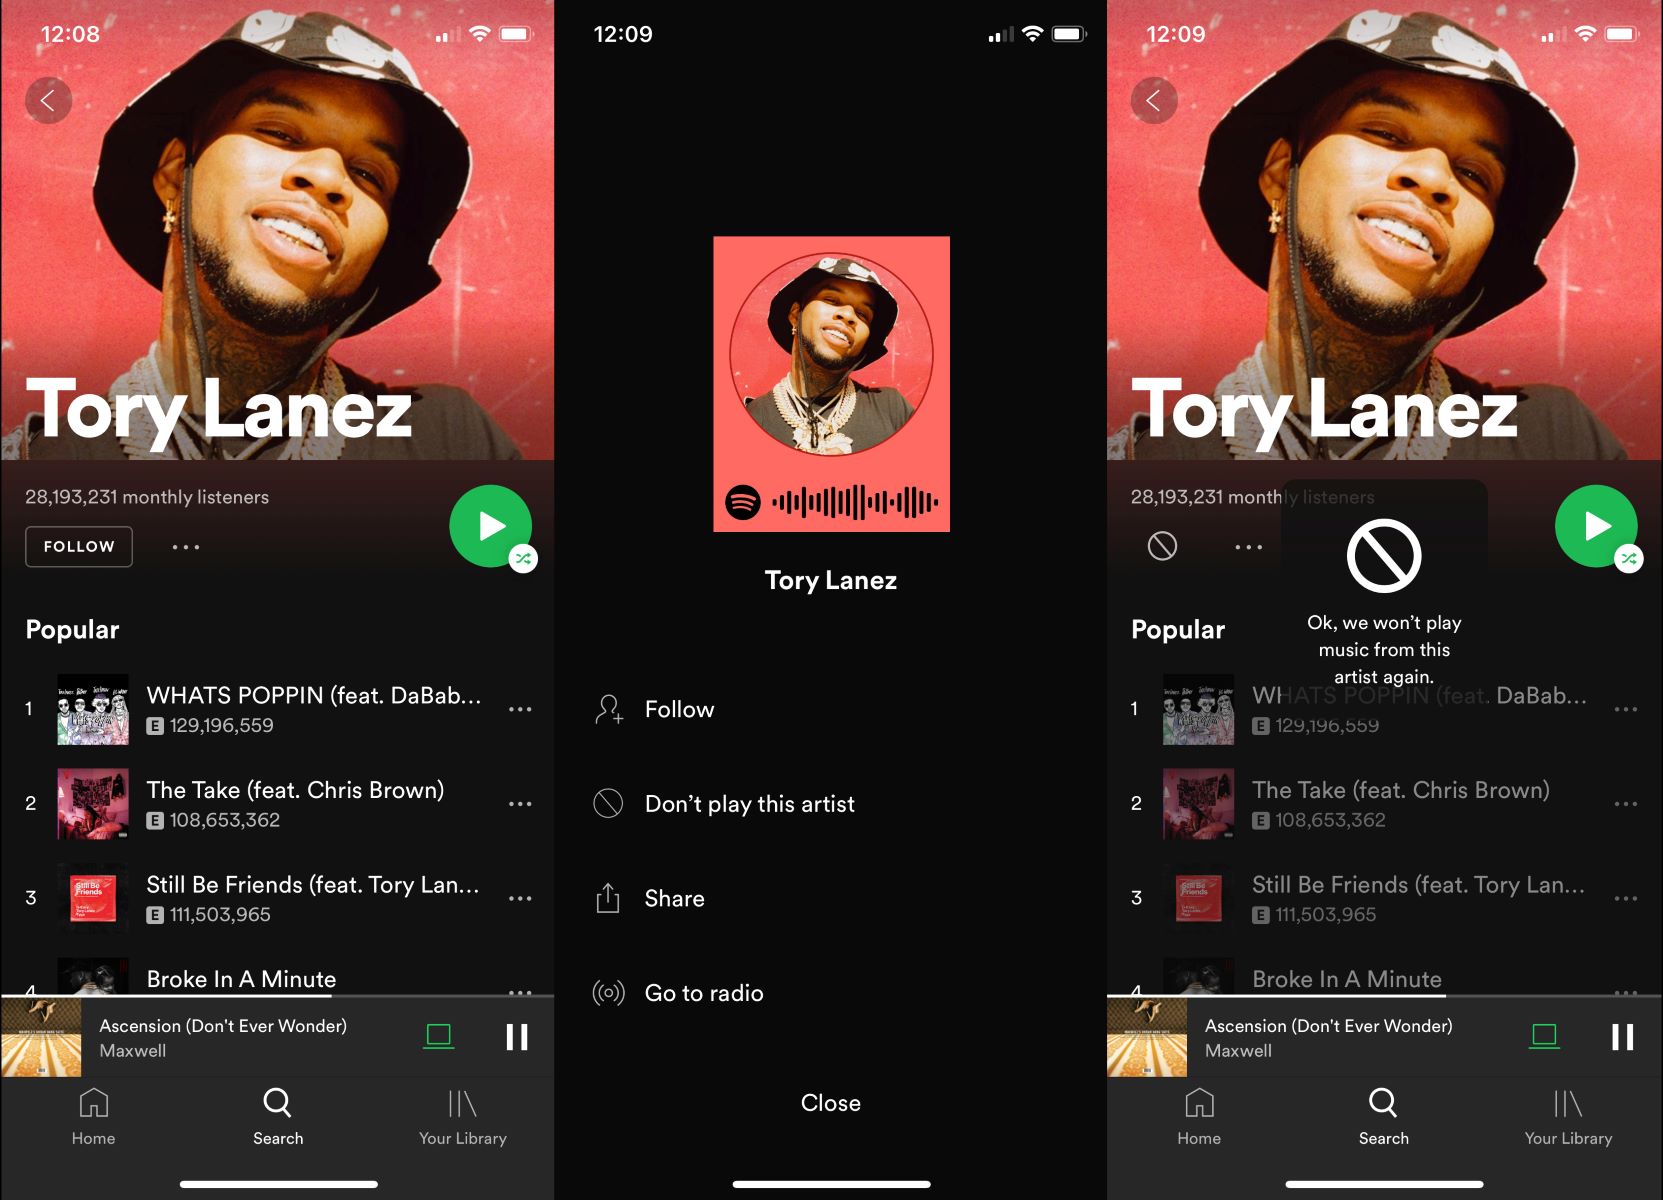
In the context menu, scroll down and look for the option that says “Don’t play this song” or something similar. The wording may vary slightly depending on the version of the Spotify app you’re using, but it will convey the same idea.
Once you have located the “Don’t play this song” option, click on it or tap on it to initiate the process of blocking the song. By selecting this option, you are letting Spotify know that you do not want this specific song to be played anymore.
It’s worth noting that blocking a song on Spotify is specific to your account. This means that the song will still be available for others to listen to, but it will be excluded from your personal listening experience.
Blocking a song is a great way to curate your own custom music library and ensure that it aligns with your preferences. By eliminating songs that you dislike or no longer wish to hear, you can create a more enjoyable and tailored musical journey.
Now that you have chosen the option to block the song, let’s move on to the next step and confirm the block.
Step 5: Confirm the block
After selecting the “Don’t play this song” option, Spotify will prompt you to confirm the block. This is to ensure that you are intentionally blocking the song and not making any accidental changes to your music library.
In the confirmation prompt, Spotify may display a message asking if you’re sure you want to block the song. Take a moment to review the confirmation message and make sure you’re certain about blocking the song.
If you’re using the desktop app, you may need to click on the “Confirm” or “Block” button to proceed with the block. On the mobile app, you might be asked to tap on “Yes” or a similar confirmation button to confirm the block.
Once you have confirmed the block, Spotify will immediately take action and ensure that the song is excluded from your playlists, recommendations, and future playback. From now on, you won’t have to worry about the song playing again in your personal music library.
It’s important to note that if you have blocked a song from a specific album or playlist, the song will still appear in those contexts, but it will be skipped when it reaches that specific track.
By confirming the block, you have successfully prevented the song from playing in your Spotify account. Now, let’s move on to the optional step of unblocking a song if you change your mind later on.
Step 6: Unblocking a song
If you ever change your mind and want to unblock a song that you had previously blocked on Spotify, don’t worry, it’s a simple process.
To unblock a song, start by opening the Spotify app on your device and navigating to the respective playlist or album where the blocked song is located.
Once you have located the blocked song, right-click on it if you’re using the desktop app, or long-press on it if you’re using the mobile app. This will bring up a context menu with various options.
In the context menu, look for the option that says “Remove from blocked songs” or something similar. The wording may vary depending on the version of the Spotify app you’re using, but it will convey the idea of unblocking the song.
Click on the “Remove from blocked songs” option or tap on it to initiate the process of unblocking the song. Spotify will then remove the song from your list of blocked songs, allowing it to be played again in your music library and playlists.
Keep in mind that unblocking a song applies specifically to your account and does not affect other Spotify users. If you unblock a song, it will still remain blocked for other users who come across it.
By being able to easily unblock songs, you have the flexibility to revisit your musical preferences and adapt your listening experience as your tastes evolve over time.
Now that you know how to unblock a song, you have full control over your Spotify library. Whether you want to block or unblock songs, you can curate a collection that perfectly suits your musical preferences.
So go ahead and explore the power of blocking and unblocking songs on Spotify to create a personalized music experience like no other.
Conclusion
Congratulations! You have now learned how to block and unblock songs on Spotify. By following these simple steps, you can tailor your listening experience to your personal preferences and create a music library that resonates with you.
Blocking a song on Spotify allows you to avoid hearing tracks that you dislike or want to avoid for various reasons. Whether it’s a song that brings back painful memories or an artist whose music doesn’t appeal to you, Spotify gives you the power to take control of your musical journey.
Remember that blocking a song is specific to your account, so while it won’t be played in your personal library or playlists, it will still remain accessible to others. This means that you can customize your listening experience without impacting the enjoyment of other Spotify users.
If you ever change your mind about a blocked song, you can easily unblock it and reintroduce it into your music library. This flexibility allows you to adapt your preferences and keep your music collection dynamic and evolving.
So the next time you come across a song that doesn’t align with your taste or brings unwanted emotions, follow these steps to effortlessly block and unblock songs on Spotify.
Now, go ahead and enjoy your personalized Spotify experience, where you have full control over the songs that play in your digital world of music.


