Introduction
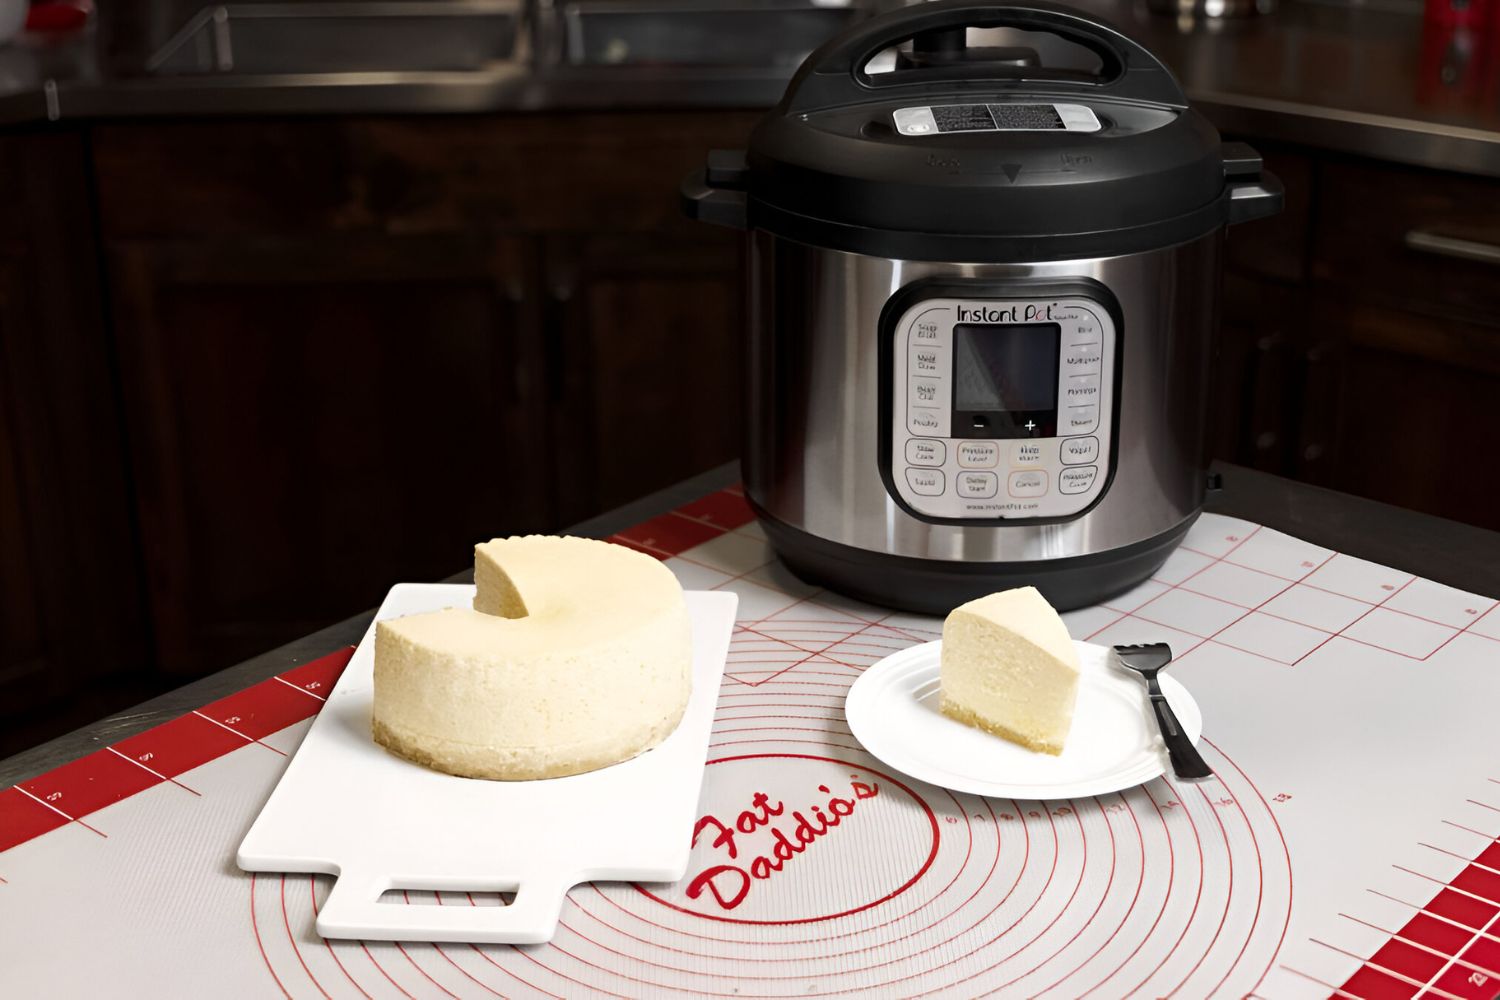
Welcome to the wonderful world of baking! If you’re a cheesecake enthusiast looking for a quicker and more efficient way to bake your favorite dessert, then you’re in for a treat! In this guide, we will show you how to bake a delicious cheesecake using an electric pressure cooker.
Traditionally, baking a cheesecake in the oven can be a time-consuming task, requiring precise temperature control and long baking times. However, with the help of an electric pressure cooker, you can achieve the same creamy and velvety results in a fraction of the time.
One of the key benefits of using an electric pressure cooker for baking is its ability to create a moist and evenly cooked cheesecake. The sealed environment and steam generated inside the cooker create the perfect conditions for the cheesecake to set perfectly without drying out. Plus, the high-pressure environment helps to reduce cooking time significantly, which means you can enjoy your homemade cheesecake in no time!
This method is not only convenient but also allows you to experiment with different flavors, textures, and toppings. Whether you prefer the classic New York style cheesecake or want to try something more adventurous like a chocolate or fruit-infused variation, the electric pressure cooker will deliver exceptional results every time.
Now, you might be wondering if baking a cheesecake in a pressure cooker is safe. The answer is yes! Electric pressure cookers are specially designed to handle high heat and pressure, making them suitable for baking delicate desserts like cheesecake. However, it’s important to follow the manufacturer’s instructions and safety guidelines to ensure a seamless and successful baking experience.
In the following sections, we will dive into the ingredients you’ll need, step-by-step instructions, and some useful tips to ensure your cheesecake turns out perfect. So, let’s get started on this delightful journey of baking a cheesecake in an electric pressure cooker!
Ingredients
To bake a delicious cheesecake in an electric pressure cooker, you’ll need the following ingredients:
- 2 cups of graham cracker crumbs
- 1/2 cup of melted butter
- 2 8-ounce packages of cream cheese, softened
- 1 cup of granulated sugar
- 1 teaspoon of vanilla extract
- 3 eggs
- 1/2 cup of sour cream
- 1/4 cup of all-purpose flour
These ingredients will give you a classic and creamy cheesecake base. However, feel free to experiment with different flavors and add-ins to suit your taste preferences. For example, you can add lemon zest for a refreshing twist or chocolate chips for a decadent touch.
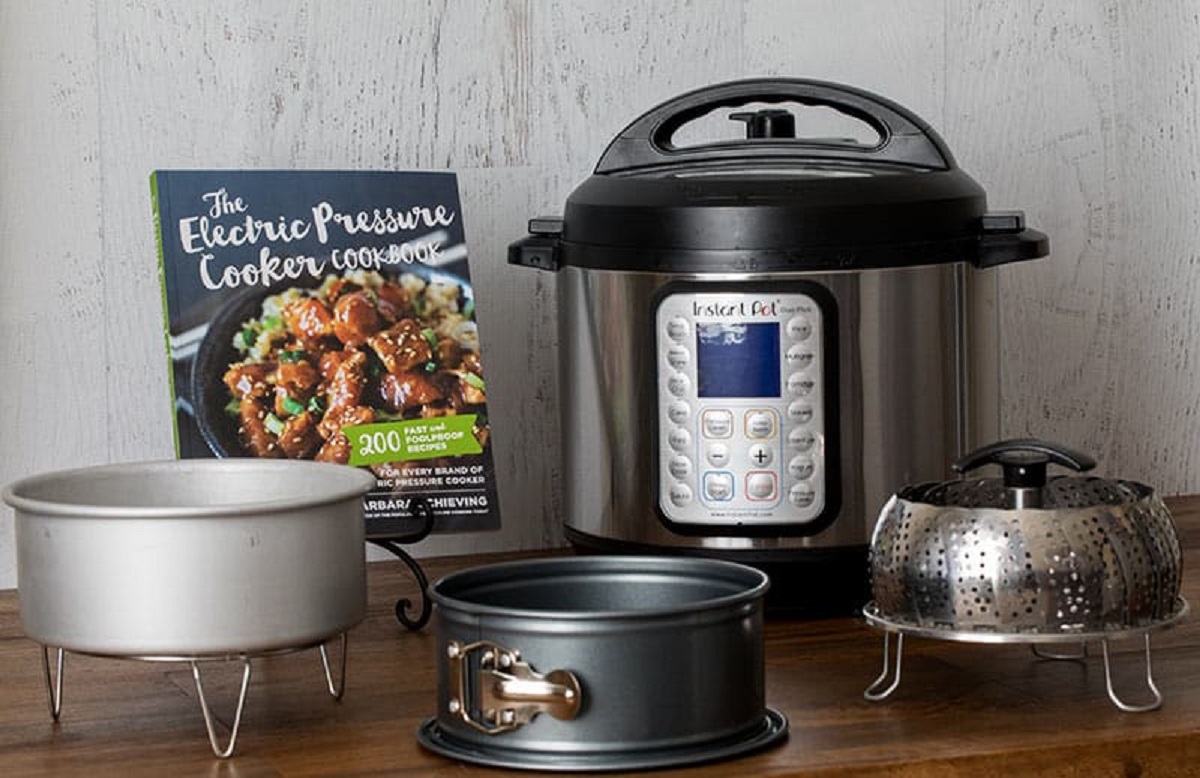
Additionally, you’ll need the following equipment:
- 6- or 7-inch springform pan
- Aluminum foil (for wrapping the pan)
- Trivet or rack to elevate the pan
Make sure to gather all the ingredients and equipment before you begin. Having everything prepared and ready will make the baking process smoother and more enjoyable.
Step-by-Step Instructions
Now that you have your ingredients and equipment ready, it’s time to start baking your cheesecake in an electric pressure cooker. Follow these step-by-step instructions for a delicious and foolproof result:
- Begin by preparing your springform pan. Grease the bottom and sides of the pan with butter or cooking spray to prevent the crust from sticking.
- In a bowl, mix the graham cracker crumbs and melted butter until well combined. The mixture should resemble wet sand.
- Press the graham cracker mixture evenly into the bottom of the greased pan, creating a firm and even crust. You can use the back of a spoon or the bottom of a measuring cup to press it down firmly.
- Place the pan in the freezer for about 10 minutes to set the crust while you prepare the filling.
- In a large mixing bowl, beat the cream cheese until smooth and creamy. Add in the granulated sugar and vanilla extract, and continue beating until well combined.
- Add the eggs one at a time, beating well after each addition. This will help create a smooth and fluffy texture.
- Now, add the sour cream and flour to the cream cheese mixture. Beat on low speed until everything is fully incorporated. Be careful not to overmix.
- Remove the pan from the freezer and pour the filling over the prepared crust. Smooth the top with a spatula or the back of a spoon.
- Cover the pan tightly with aluminum foil, ensuring it’s sealed properly. This will prevent any excess moisture from seeping into the cheesecake.
- Pour 1 cup of water into the bottom of the electric pressure cooker. Place the trivet or rack inside the cooker.
- Place the covered springform pan on top of the trivet or rack, making sure it’s centered and stable.
- Secure the lid of the pressure cooker and set it to high pressure. Cook the cheesecake for about 25-30 minutes.
- Once the cooking time is complete, allow the pressure to release naturally for about 10 minutes before manually releasing any remaining pressure.
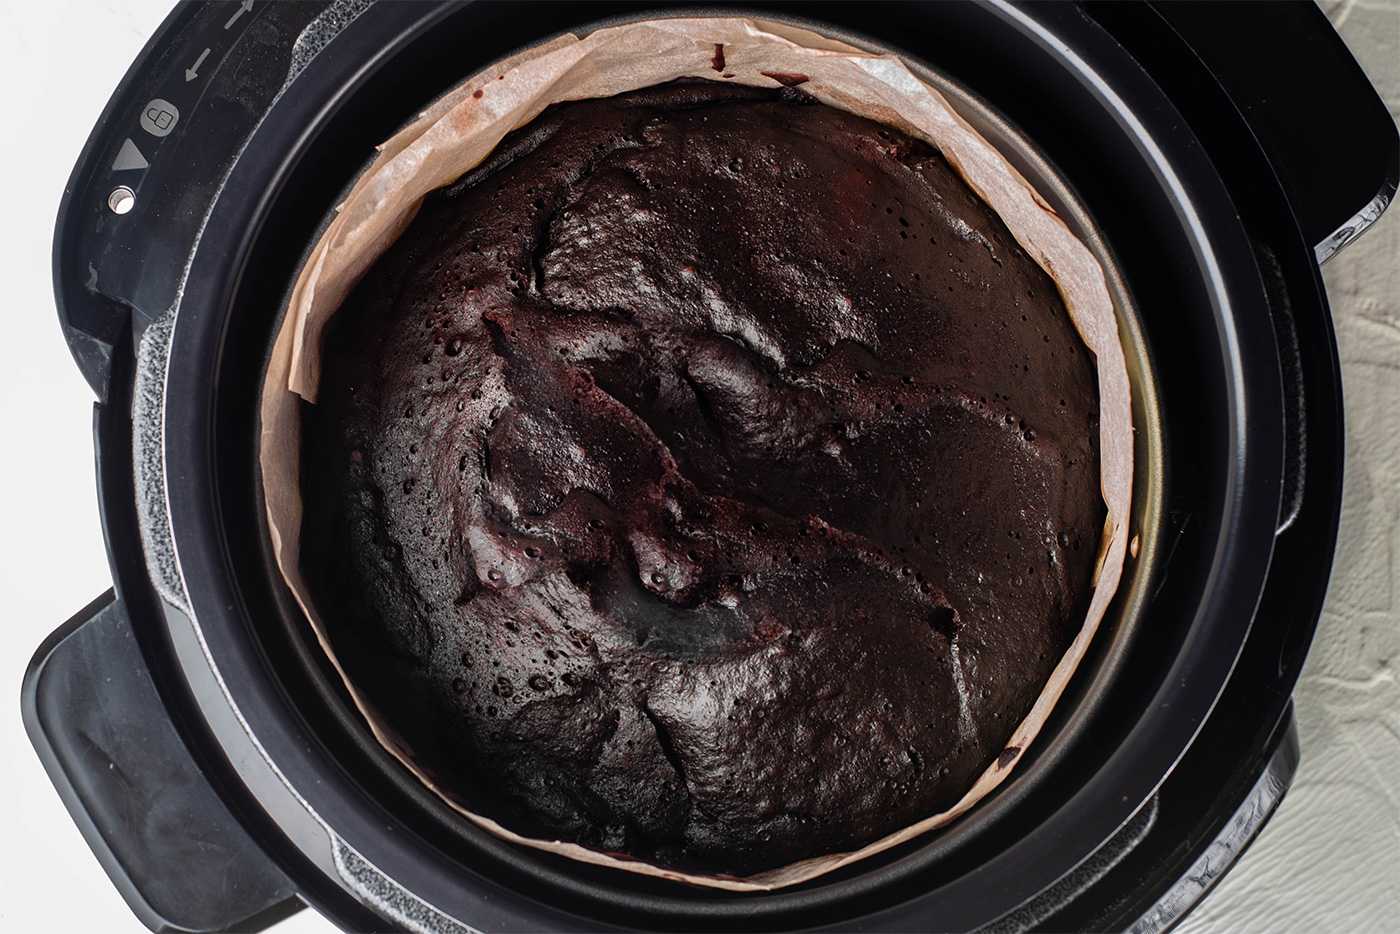
- Carefully remove the cheesecake from the pressure cooker using oven mitts or silicone gloves. Remove the foil cover and let it cool to room temperature.
- Once cooled, refrigerate the cheesecake for at least 4 hours, preferably overnight, to allow it to set completely.
- Gently remove the sides of the springform pan and transfer the cheesecake to a serving plate.
- Now your delicious cheesecake is ready to be enjoyed! Slice it into portions and serve as is or garnish with your favorite toppings.
Follow these instructions closely, and you will be rewarded with a perfectly baked cheesecake that is rich, creamy, and full of flavor.
Tips for Success
Baking a cheesecake in an electric pressure cooker can be a fun and rewarding experience. To ensure your cheesecake turns out perfect every time, here are some valuable tips:
- Always use room temperature ingredients, especially the cream cheese and eggs. This will help create a smoother and more uniform texture.
- Be sure to properly grease the springform pan and press the crust firmly into the bottom. This will help prevent any leaks or crumbly crusts.
- When mixing the cream cheese filling, avoid overmixing. Overmixing can result in a dense and rubbery texture. Mix until the ingredients are just combined.
- For the water in the pressure cooker, use hot water from the tap. This will help the cooker reach the desired pressure faster.
- After cooking, allow the pressure to release naturally for a few minutes before manually releasing the remaining pressure. This will help prevent any sudden changes in texture and minimize the risk of cracks.
- Once the cheesecake is cooked, refrigerate it for at least 4 hours, preferably overnight. This resting time will allow the flavors to meld and the cheesecake to set completely.
- When removing the sides of the springform pan, run a knife along the edges first to release the cheesecake cleanly.
- Store the cheesecake in the refrigerator in an airtight container. It will stay fresh for about 3-4 days.
- Feel free to get creative with toppings and decorations. Fresh fruits, chocolate ganache, caramel sauce, or whipped cream are just a few options to enhance the presentation and flavor.
- Experiment with different flavor variations. Add chocolate chips, crushed cookies, or even swirls of fruit puree to the batter for a unique twist.
Remember, practice makes perfect! Don’t be discouraged if your first attempt isn’t flawless. With each try, you’ll gain more experience and become a pro at baking cheesecakes in an electric pressure cooker.
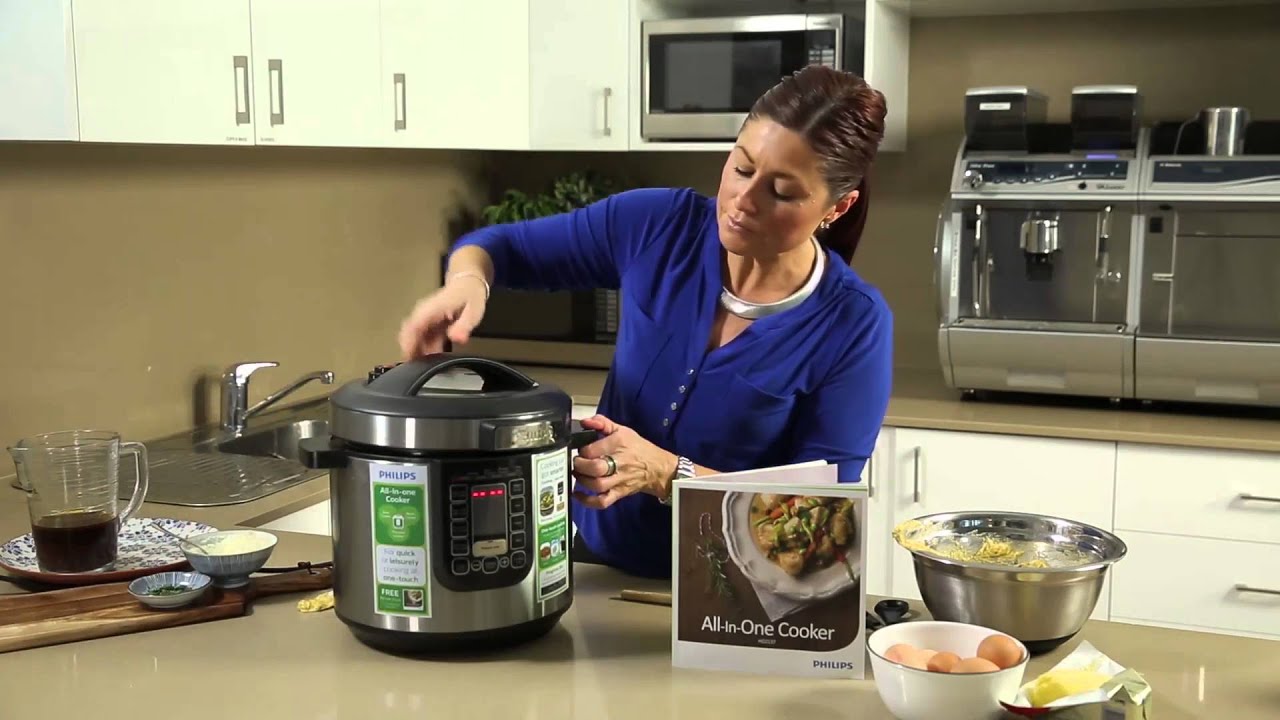
Using the Pressure Cooker
Using an electric pressure cooker to bake a cheesecake might seem intimidating at first, but it’s actually quite straightforward. Here are some essential steps to follow when using a pressure cooker:
- Read and familiarize yourself with the manufacturer’s instructions for your specific pressure cooker model. Each model may have slight differences in functionality and operating procedures.
- Ensure that the sealing ring and any other removable parts are in place and properly installed.
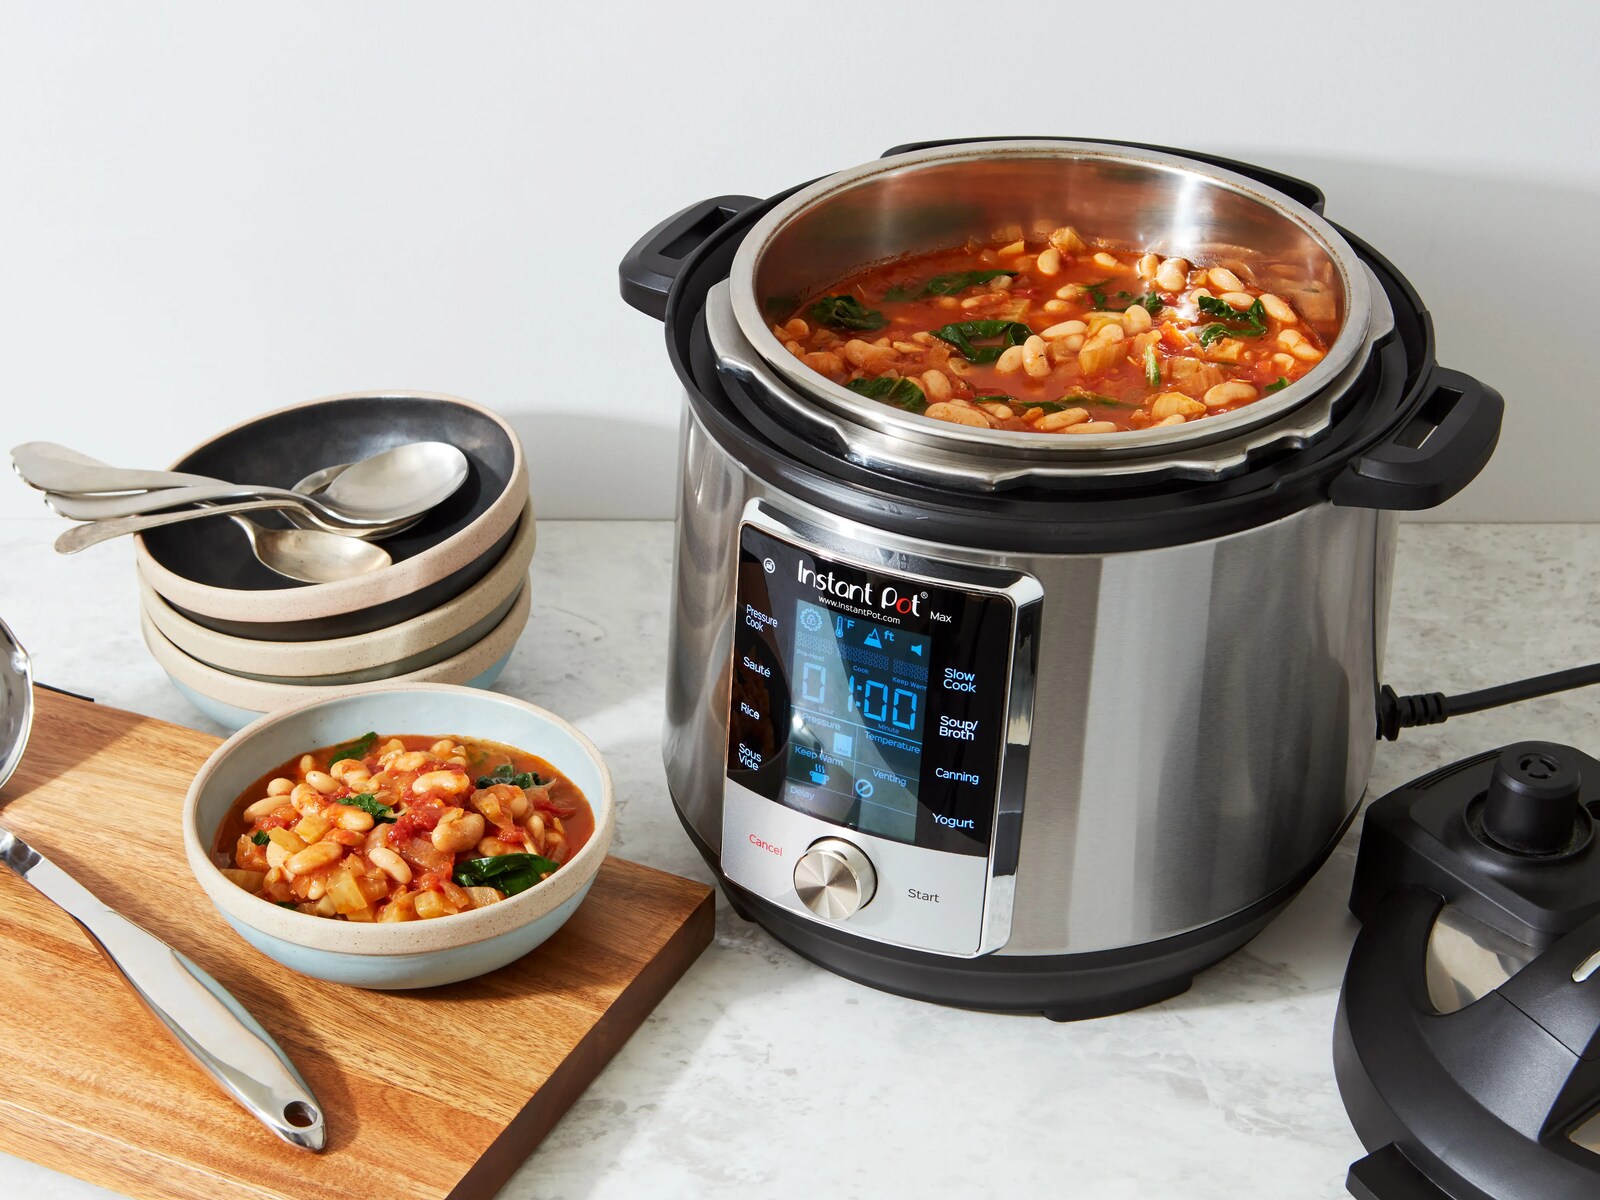
- Before adding the cheesecake to the pressure cooker, pour the recommended amount of water into the bottom of the cooker. This will create steam and maintain the necessary pressure during cooking.
- Place a trivet or rack inside the cooker. This will elevate the cheesecake pan from direct contact with the water, preventing it from becoming waterlogged.
- Place the covered springform pan onto the trivet or rack, making sure it is centered and stable. Close and lock the pressure cooker lid securely.
- Set the pressure cooker to high pressure and adjust the cooking time as per the recipe instructions.
- Once the cooking time is complete, allow the pressure to release naturally for a few minutes. This will help the cheesecake settle without any sudden change in pressure.
- After the natural release, manually release any remaining pressure according to your pressure cooker’s instructions.
- Using oven mitts or silicone gloves, carefully remove the cheesecake from the pressure cooker.
It’s essential to note that the cooking times may vary based on different pressure cooker models and personal preferences. If you find your cheesecake needs additional time to set, you can always return it to the pressure cooker for a few more minutes.
Remember to follow all safety precautions and heed the manufacturer’s instructions when using the pressure cooker. The appliance can reach high pressure and temperatures, so it’s crucial to handle it with care.
Baking a cheesecake in an electric pressure cooker provides a convenient and efficient way to enjoy a homemade dessert. So, don’t be afraid to delve into the world of pressure cooker baking and discover a new realm of delicious cheesecakes!
Adding Toppings and Decorations
Once your cheesecake is baked and perfectly set, it’s time to take it to the next level by adding delectable toppings and decorations. Here are some ideas to inspire you:
1. Fruit Compote: Top your cheesecake with a luscious fruit compote made with fresh or frozen fruits. Whether it’s a classic berry compote or a tropical mango and pineapple blend, the fruity goodness will complement the rich flavor of the cheesecake perfectly.
2. Chocolate Ganache: Drizzle a velvety chocolate ganache over the top of the cheesecake for a luxurious touch. You can use dark, milk, or white chocolate depending on your preference. For added flair, you can also add sprinkles or chopped nuts.
3. Whipped Cream: Dollop some homemade whipped cream on individual slices of cheesecake for a light and airy contrast. You can sweeten the cream and add flavorings like vanilla or a hint of citrus zest for an extra dimension of taste.
4. Caramel Sauce: Drizzle a generous amount of warm caramel sauce over the cheesecake to add a rich and sweet flavor profile. Consider sprinkling some flaky sea salt on top of the caramel for a delightful salty-sweet combination.
5. Fresh Berries: Arrange a colorful assortment of fresh berries on top of the cheesecake for a vibrant and refreshing presentation. Strawberries, raspberries, blueberries, and blackberries all work beautifully with the creamy cheesecake base.
6. Cookie Crumbs: Crush your favorite cookies, like Oreos or gingersnaps, and sprinkle the crumbs over the surface of the cheesecake. This adds a delightful crunch and enhances the visual appeal of the dessert.
Remember, the possibilities for toppings and decorations are endless. Let your creativity soar and experiment with different combinations to create a cheesecake masterpiece that suits your tastes and preferences.
When adding toppings, consider adding them just before serving to maintain their freshness and texture. This will ensure that your cheesecake looks as good as it tastes.
Now, it’s time to indulge in the decadence of your homemade cheesecake, adorned with tantalizing toppings and decorations. Enjoy every delicious bite!
Serving and Storing
Your cheesecake is now ready to be served and enjoyed! Here are some tips on how to serve and store your delectable creation:
Serving:
- Using a sharp knife, slice the cheesecake into individual portions. Make sure to wipe the knife clean between each slice for clean cuts.
- For an extra touch of elegance, you can garnish each slice with a sprig of fresh mint or a dusting of powdered sugar.
- Serve the cheesecake at room temperature or slightly chilled, depending on personal preference. Allow it to sit at room temperature for about 10-15 minutes before serving to bring out the flavors and texture.
Storing:
- Once the cheesecake is cooled, cover it with plastic wrap or transfer it to an airtight container. This will help retain its freshness and prevent any odors from permeating.
- Place the cheesecake in the refrigerator and store it for up to 3-4 days. Homemade cheesecakes tend to taste better the longer they have time to set and develop their flavors.
- If you have leftovers, individual slices can be wrapped in plastic wrap or stored in single-portion containers to enjoy later.
- For longer storage, you can freeze the cheesecake. Wrap it tightly in plastic wrap and aluminum foil, ensuring it is well protected from freezer burn. Frozen cheesecake can be stored for up to 2-3 months.
- When ready to enjoy a frozen cheesecake slice, transfer it to the refrigerator overnight to thaw. This will help preserve its texture and taste.
Remember, the texture of the cheesecake may slightly change after being refrigerated or frozen. However, the rich and creamy flavors will remain intact, making it a truly delightful treat.
Now that you know how to serve and store your cheesecake, you can confidently enjoy it on any occasion – whether it’s a special celebration or a simple indulgence after a long day.