Introduction
Welcome to the digital age, where our smartphones have become an integral part of our lives. From capturing precious memories to storing important documents, our smartphones hold a vast amount of valuable data. However, with the increasing reliance on these devices, the importance of backing up that data cannot be overstated.
Imagine losing all your contacts, photos, and important files in an instant. The thought alone is enough to send a shiver down your spine. That’s why learning how to backup your smartphone to a USB stick is not only practical but essential in protecting your valuable data.
In this article, we will guide you through the process of backing up your smartphone to a USB stick. Whether you’re an iPhone enthusiast or an Android aficionado, we’ve got you covered. So let’s dive in and discover the steps to safeguarding your data!
By the end of this article, you’ll have the confidence and knowledge to create a backup of your smartphone with ease. So let’s not waste any more time and get started on this data-saving journey!
Why Should You Backup Your Smartphone?
Backing up your smartphone may not be the most exciting task, but it is one of the most important things you can do to safeguard your data. Here are a few compelling reasons why you should prioritize backing up your smartphone:
- Protection against loss or theft: Smartphones are easily lost or stolen, and if you don’t have a backup, you risk losing all your valuable data forever. By regularly backing up your device, you can ensure that you have a copy of your important files, contacts, and photos, even if the worst happens.
- Safekeeping memories: Our smartphones are often the go-to device for capturing special moments. From priceless family photos to videos of cherished memories, losing these irreplaceable files would be devastating. By backing up your smartphone, you can preserve these memories and protect them from accidental deletion or device failure.
- Smooth device transition: Whether you’re upgrading to a new phone or need to reset your current one, having a backup makes the transition process much smoother. You can easily transfer all your data, settings, and apps from your backup to the new device, saving you time and effort in setting up everything from scratch.
- Protection against software issues: Sometimes, smartphones encounter software issues or glitches that can lead to data corruption or loss. By having a backup, you can easily restore your device to a previous, stable state, minimizing the impact of any software-related problems.
- Peace of mind: Knowing that your valuable data is backed up provides peace of mind. Whether it’s important work documents, sentimental photos, or treasured music playlists, you can rest easy knowing that your data is safe and secure.
As you can see, there are several compelling reasons to regularly backup your smartphone. It’s a simple task that can save you from potential data disasters and offer peace of mind. So, let’s not wait any longer and dive into the process of backing up your smartphone to a USB stick!
What You’ll Need
Before you can start backing up your smartphone to a USB stick, there are a few things you’ll need to gather:
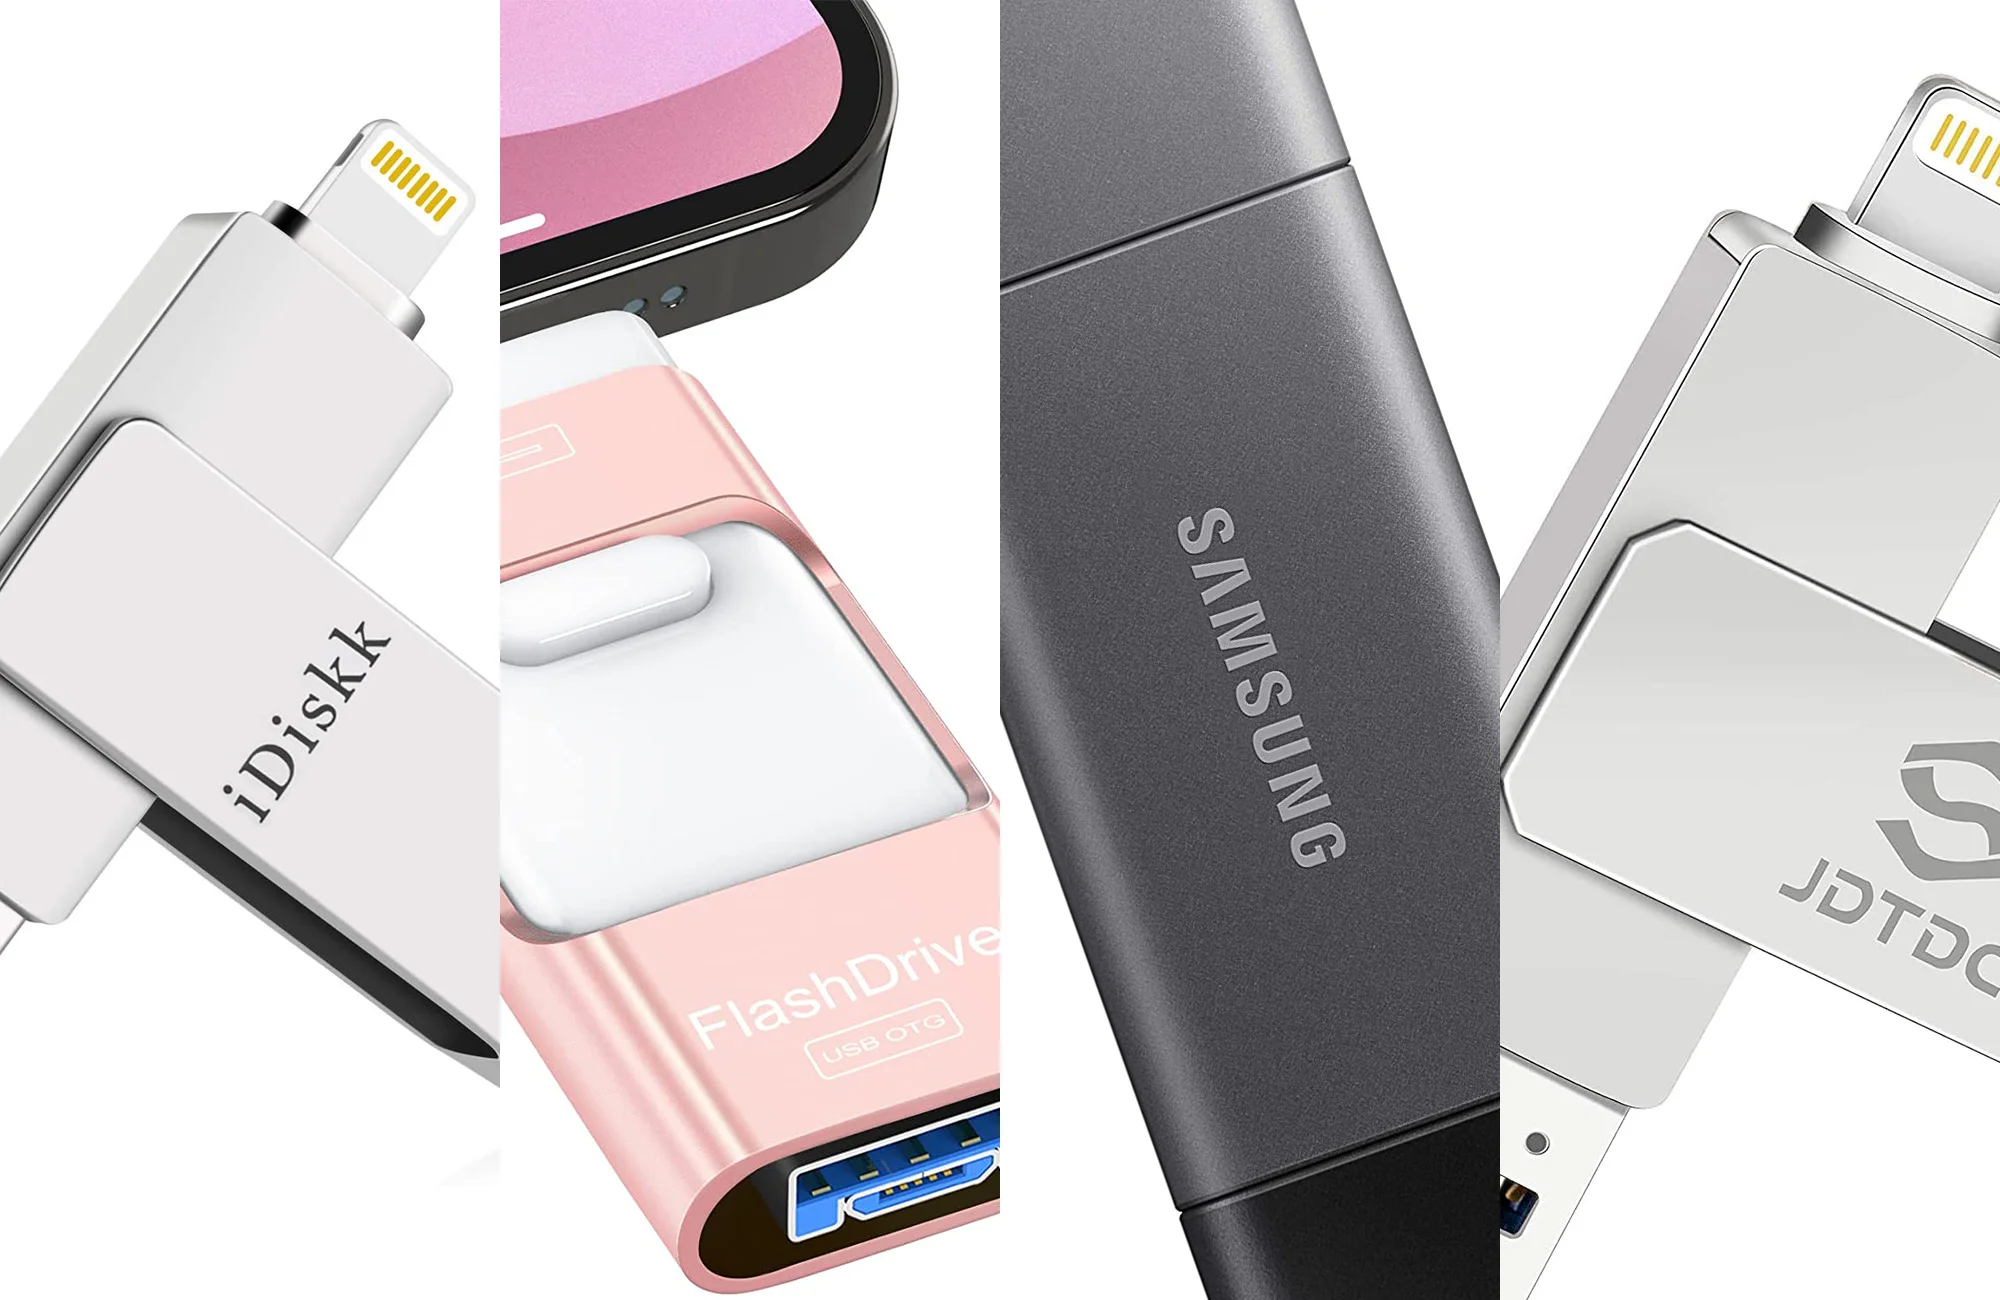
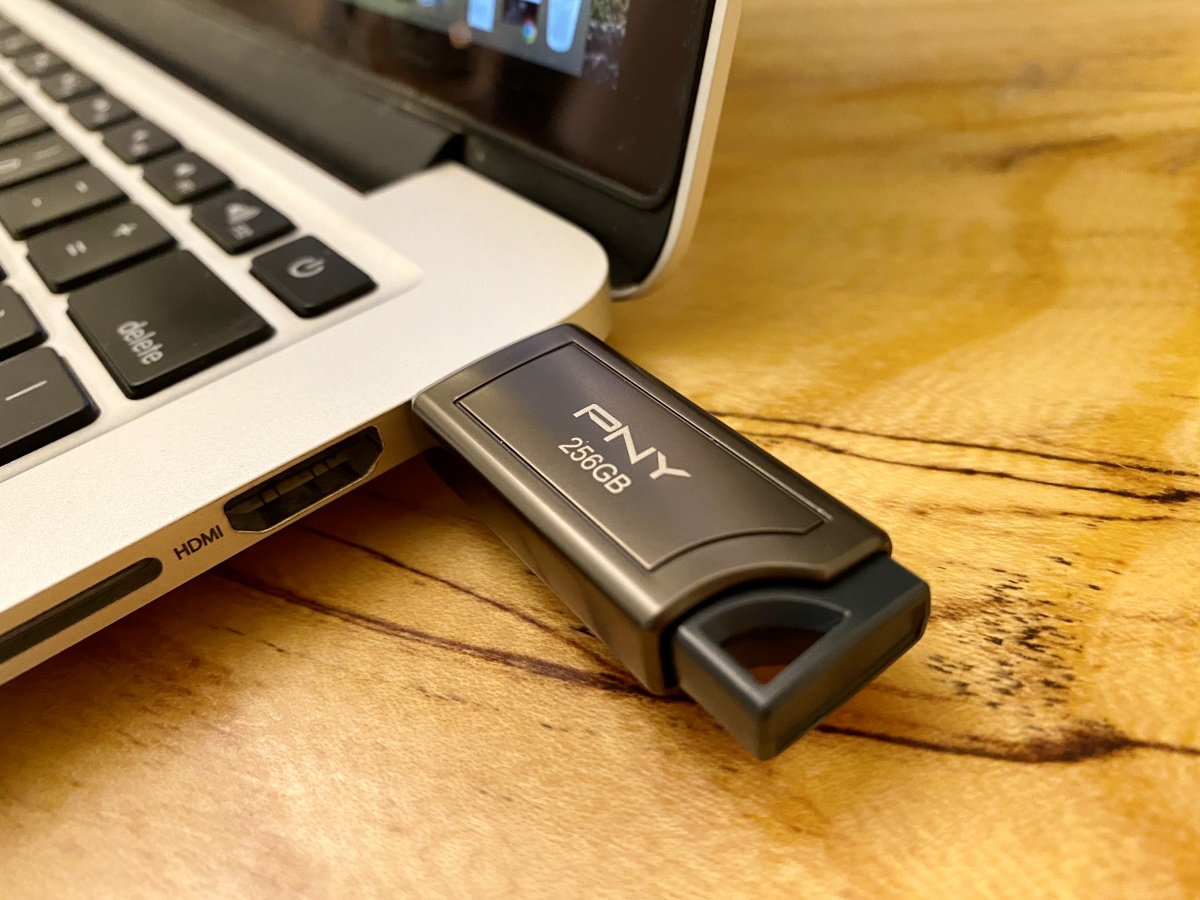
- A USB stick: Ensure that you have a USB stick with sufficient storage capacity to accommodate the data you want to backup. It’s recommended to use a USB stick with at least double the storage space of your smartphone’s internal memory.
- A compatible USB connector: Depending on your smartphone model, you may need a USB connector that is compatible with your device. This could be a USB-C, micro USB, or Lightning connector. Check your smartphone’s specifications or consult the manufacturer’s website to confirm the type of connector you need.
- A computer: You will need a computer to facilitate the transfer of data from your smartphone to the USB stick. Ensure that your computer is equipped with a USB port and has the necessary compatibility with your smartphone’s operating system.
- A USB transfer app or software: Depending on your smartphone and computer, you may need to install a USB transfer app or software. This will enable the smooth transfer of data between your smartphone and USB stick. Check your smartphone’s app store or the manufacturer’s website for any recommended transfer apps or software.
Once you have gathered these items, you’re ready to move on to the next steps and start backing up your data. It’s always a good idea to double-check that you have everything you need to ensure a seamless process.
Now that you know what you need, let’s proceed to the next section where we’ll guide you through the step-by-step process of connecting your USB stick and initiating the backup process.
Step 1: Check Compatibility
Before diving into the process of backing up your smartphone to a USB stick, it’s crucial to ensure compatibility between your smartphone and the USB stick. Here are the essential aspects to consider:
- USB OTG Support: Check if your smartphone supports USB On-The-Go (OTG) functionality. USB OTG allows your smartphone to act as a host and connect to external devices such as USB sticks. You can check your smartphone’s specifications or search online to determine if it supports USB OTG functionality.
- USB Connector Type: Identify the type of USB connector your smartphone uses. The connector type can vary based on the model and manufacturer. Popular options include USB-C, micro USB, and Lightning. Make sure you have a USB stick with a compatible connector or a USB adapter that can bridge the connection between your phone and the USB stick.
- Operating System Compatibility: Ensure that your smartphone’s operating system is compatible with the USB transfer app or software you plan to use. Some transfer apps or software may only be compatible with specific operating systems. Check the app store or the manufacturer’s website for compatibility information.
If your smartphone supports USB OTG and you have a USB stick with a compatible connector, you’re off to a great start. However, if your device does not have USB OTG support, there may still be alternative options available, such as using cloud storage or syncing your data with a computer. These methods may vary depending on your smartphone’s operating system, so it’s always good to explore available alternatives.
Once you’ve checked compatibility and ensured that your smartphone can connect to a USB stick, you’re ready to proceed to the next step: connecting the USB stick to your smartphone.
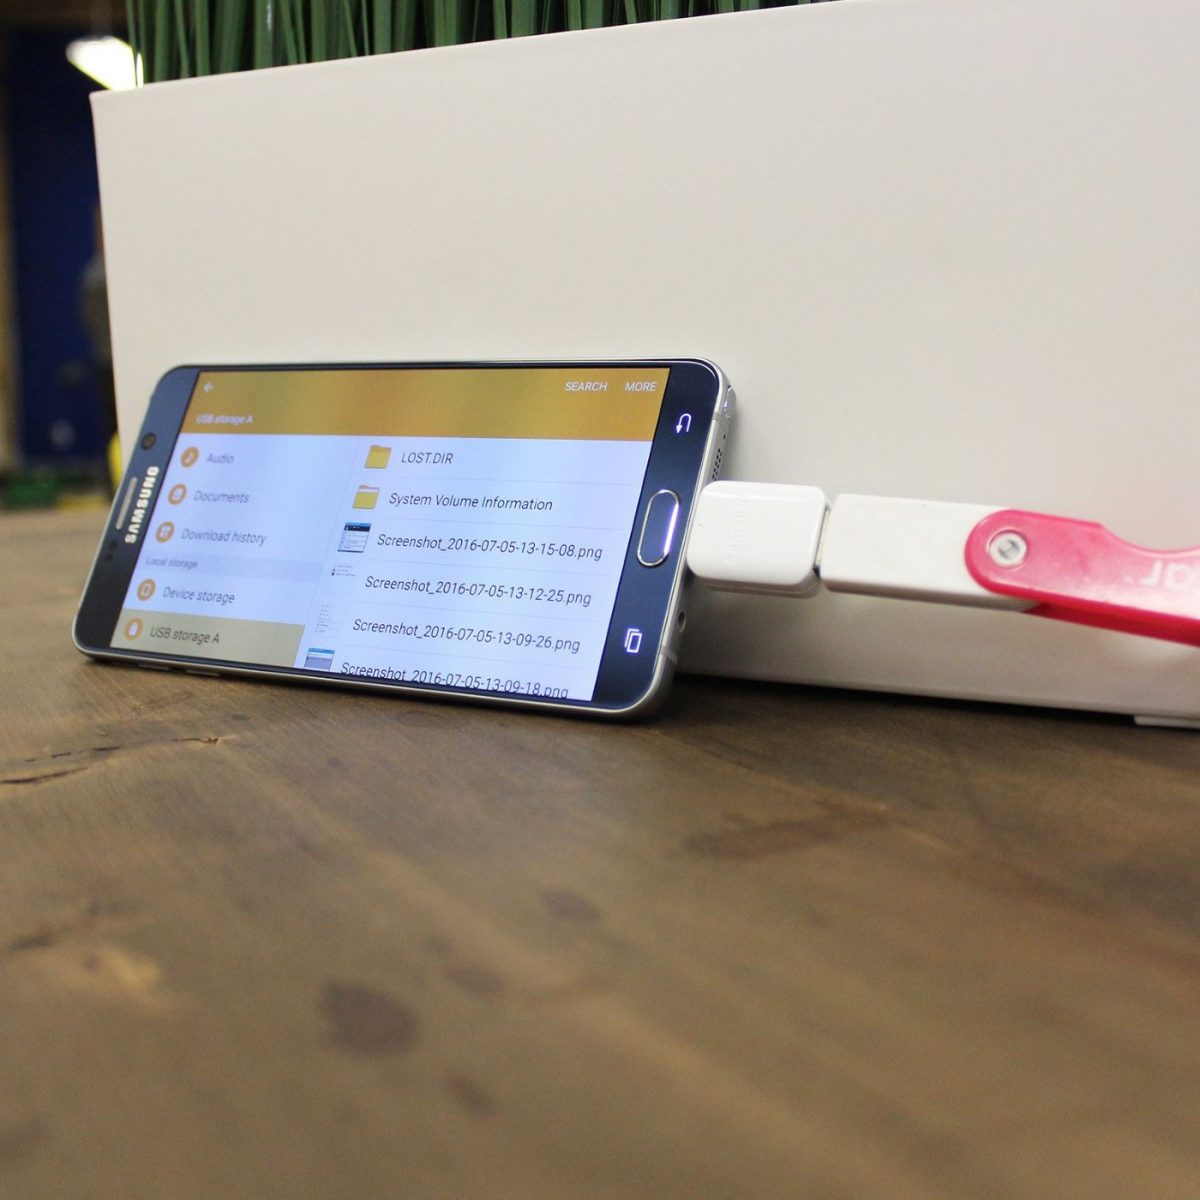
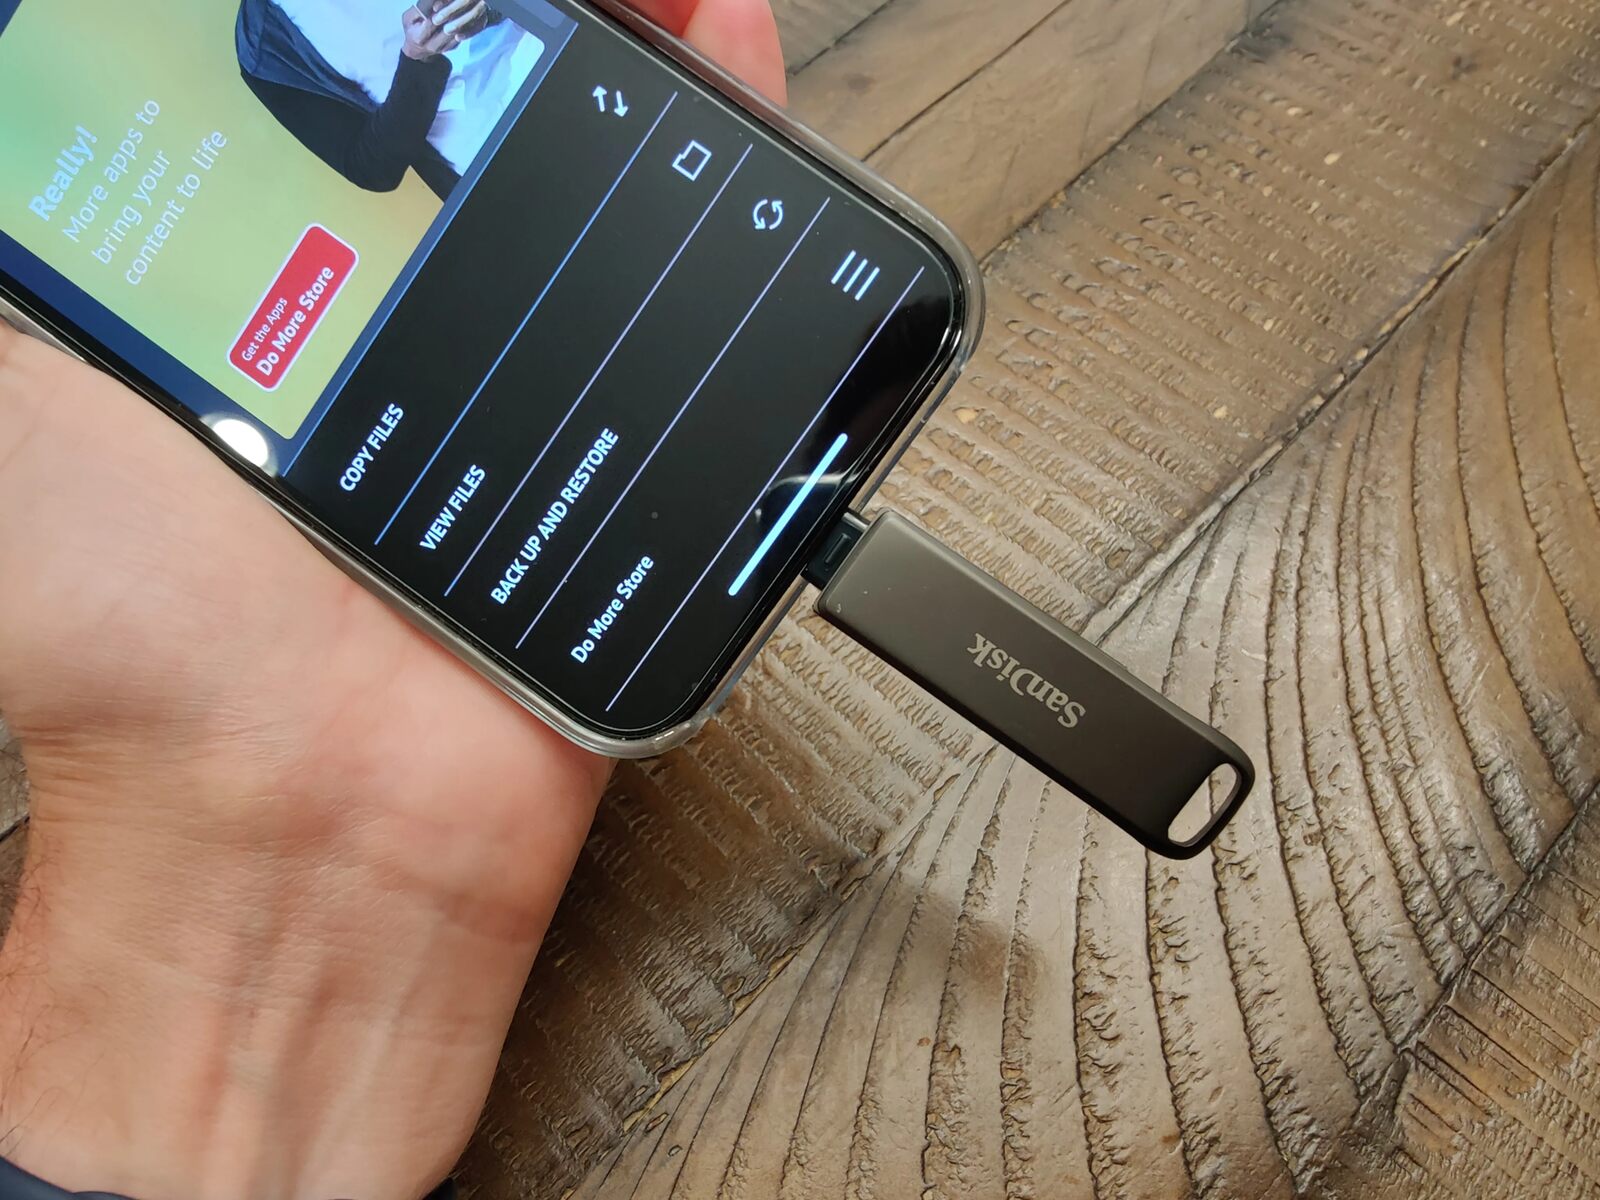
Step 2: Connect the USB Stick
Now that you’ve confirmed compatibility and gathered the necessary equipment, it’s time to connect the USB stick to your smartphone. Follow these steps:
- Locate the USB connector: Identify the USB connector on your smartphone. It may be at the bottom of the device or on the side, depending on the model.
- Insert the USB stick: Insert the USB stick into the USB connector on your smartphone. Take care not to apply excessive force, and ensure that the connection is secure.
- Confirm the connection: Once the USB stick is connected, your smartphone should recognize the external storage device. You may receive a notification on your device indicating that a USB device has been connected.
- Verify the connection: To verify that your smartphone recognizes the USB stick, navigate to the File Manager or Settings on your device. Look for the option to explore external storage or connected devices. If the USB stick is displayed, it means the connection was successful.
It’s important to note that some smartphones may require additional steps or settings adjustments to enable USB connectivity. Refer to your device’s user manual or the manufacturer’s website for specific instructions on connecting external storage devices.
Once the USB stick is securely connected to your smartphone, you’re ready to move on to the next step: enabling USB transfer mode to initiate the backup process.
Step 3: Enable USB Transfer Mode
After connecting the USB stick to your smartphone, the next step is to enable USB transfer mode. This mode allows your device to communicate with the USB stick and transfer data between them. Follow these steps to enable USB transfer mode:
- Unlock your smartphone: If your device is locked, unlock it using your passcode, fingerprint, or other security methods.
- Check your notification bar: Swipe down from the top of your smartphone screen to access the notification bar. Look for a notification related to the USB connection or external storage. It may appear as “USB connected” or something similar.
- Select the USB connection notification: Tap on the USB connection notification in the notification bar. This will open a dialog box with various connection options.
- Choose “Transfer files” or similar option: From the dialog box, select the option that allows file transfer or data transfer mode. It may be labeled as “Transfer files,” “Media transfer,” or something similar.
- Enable USB debugging (optional): Depending on your device and operating system, you may need to enable USB debugging for advanced access and data transfer. This option is usually found in the Developer Options section of your smartphone’s settings. Refer to your device’s user manual or search online for instructions specific to your device.
Once you have followed these steps and enabled USB transfer mode, your smartphone is ready to exchange data with the USB stick. Your device is now configured to begin the backup process, which we will cover in the next step.
Now that you have enabled USB transfer mode, it’s time to proceed to step 4 and select the data you would like to backup and initiate the transfer process.
Step 4: Select and Transfer Data
With the USB stick connected and USB transfer mode enabled, you’re now ready to select and transfer the data you wish to backup. Follow these steps to proceed:
- Open the File Manager or File Explorer: Locate the file manager or file explorer app on your smartphone. This app allows you to navigate through your device’s internal storage and external storage such as the USB stick.
- Navigate to the desired files and folders: Use the file manager or file explorer to navigate to the files and folders you want to backup. You may choose to backup your photos, videos, documents, contacts, or any other data that is important to you.
- Select the files or folders: Once you have located the desired data, select the files or folders by long-pressing on them or using the provided checkboxes. You can select multiple files or folders at once.
- Choose the “Copy” or “Move” option: After selecting the desired data, choose the appropriate option to copy or move the files. The specific options may vary depending on your file manager app, but they are typically labeled as “Copy” or “Move.”
- Navigate to the USB stick: Use the file manager or file explorer app to navigate to the USB stick. It should be listed as one of the storage options.
- Paste the copied or moved files: Once you are in the USB stick directory, choose the “Paste” option to transfer the selected files from your smartphone to the USB stick. This will initiate the transfer process and create a backup of the selected data onto the USB stick.
- Monitor the transfer process: Depending on the size and quantity of the selected files, the transfer process may take some time. Monitor the progress to ensure that all your desired data is successfully backed up.
After the transfer process is complete, you can disconnect the USB stick from your smartphone. Your data is now securely stored on the USB stick, providing a backup in case of any data loss or unforeseen circumstances.
Now that you have successfully transferred your data to the USB stick, it’s time to safely eject the USB stick, which we will cover in the next step.
Step 5: Safely Eject the USB Stick
After completing the backup process and transferring your data to the USB stick, it’s essential to follow the proper procedure to safely eject the USB stick from your smartphone. This helps prevent any data corruption or damage to the files. Follow these steps to safely eject the USB stick:
- Ensure all data transfer is complete: Before ejecting the USB stick, make sure that all file transfers have finished. Check your file manager app or file explorer to ensure there are no ongoing transfers.
- Locate the “Eject” or “Safely Remove” option: Open your notification bar and look for an option related to ejecting USB devices or external storage. It may be labeled as “Eject,” “Safely Remove,” or something similar.
- Tap on the “Eject” or “Safely Remove” option: Select the appropriate option to safely eject the USB stick. This action ensures that any ongoing processes related to the USB stick are halted, and it can be safely removed from your smartphone.
- Wait for the confirmation: Once you have selected the eject option, wait for a notification or confirmation message indicating that it is safe to remove the USB stick. This message may vary depending on your device, but it typically mentions that the device can be safely removed.
- Disconnect the USB stick: Once you receive the confirmation message, gently disconnect the USB stick from the USB connector on your smartphone. Be careful not to apply excessive force or damage the USB stick or the connector.
By following these steps to safely eject the USB stick, you can ensure that your data remains intact and free from any potential corruption. This step is an important final precaution to take after completing the backup process.
With the USB stick safely disconnected, you have successfully completed the process of backing up your smartphone data to a USB stick. You now have an extra layer of protection for your valuable data, giving you peace of mind knowing that your files are securely stored.
Before we conclude, let’s recap the key steps we covered:
- Check compatibility between your smartphone and USB stick.
- Connect the USB stick to your smartphone.
- Enable USB transfer mode on your smartphone.
- Select and transfer the desired data to the USB stick.
- Safely eject the USB stick from your smartphone.
By following these steps, you can easily create backups of your smartphone data and ensure that your important files are protected. Remember to regularly update your backups to keep them current with the latest changes to your data. With these precautions in place, you can have peace of mind knowing that your valuable data is safe and secure.
Conclusion
Backing up your smartphone data to a USB stick is a smart and essential practice in the digital age. By following the steps outlined in this guide, you can protect your valuable data from loss, theft, or device failure. Let’s summarize the key points we covered:
First, we discussed the importance of backing up your smartphone and the potential risks involved in not doing so. Losing your contacts, photos, and important files can be devastating, but a backup ensures that you have a secure copy of your data.
We then explored the items you’ll need to perform a successful backup, such as a USB stick, a compatible USB connector, a computer, and a USB transfer app or software. Ensuring compatibility and gathering the necessary equipment is crucial for a smooth backup process.
The step-by-step guide took us through the process itself, starting with checking compatibility, connecting the USB stick to the smartphone, enabling USB transfer mode, selecting and transferring the desired data, and safely ejecting the USB stick from the device.
By following these steps, you can effectively back up your smartphone data and have peace of mind knowing that your files are secure. Regularly updating your backups and exploring alternative backup methods, such as cloud storage, can provide additional layers of protection.
Remember, backing up your data is not a one-time task but an ongoing practice. It’s important to schedule regular backups to ensure that your data stays up to date and protected.
Now that you have the knowledge and tools to backup your smartphone to a USB stick, it’s time to take action. Protect your valuable data and ensure that your treasured memories are safe from loss or unexpected events.
So, what are you waiting for? Start the backup process today and enjoy the peace of mind knowing that your data is secure!